
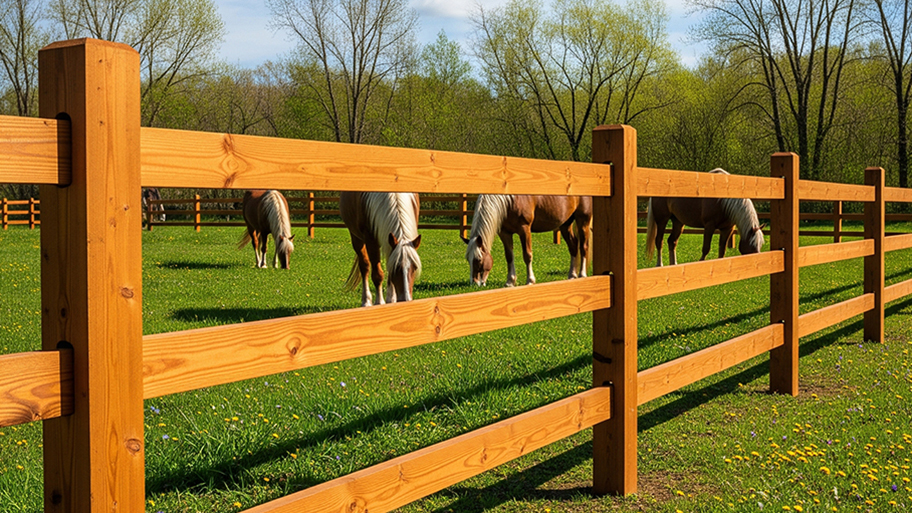
Looking for that rustic charm only a split rail fence can provide? Use this split rail fence cost guide to get an idea of what your fence will total.
Installing a split rail fence will add tons of character to your property

If you’ve been itching to do a DIY fence project, you’ve done yourself a favor by choosing the split rail fence. Not only is it visually pleasing and cost-effective, but the split rail fence also has a straightforward installation process. Here’s everything you need to know to easily install a split rail fence and add some charm to your yard.
While you’re still in the phases of planning a split rail fence installation, make sure you take care of a few business details first.
Check your property lines using your land survey. You can find it by searching your city or county records online, visiting the closest property office, or hiring a professional land surveyor near you.
Look into zoning laws for your city and follow all necessary guidelines.
If you’re part of an HOA, they may have rules about fences, so contact them directly before you begin installing your fence.
Apply for a building or fence permit. Most cities have an online application that you can fill out and submit in a matter of minutes, and fence permits usually only cost $20 to $60.
Call your local utility companies to check and mark for underground water, gas, and power lines. If you don’t know where the utility lines are, you run the risk of digging into them during installation, which could disrupt utilities for you and your neighbors and cause serious injury. There’s even the possibility of hitting electrical lines, which could lead to electrocution.
Once this is all taken care of, you can start moving on to the fun part: choosing your materials. The most common options for a split rail fence are pressure-treated wood or vinyl. Rail choices usually include 8- or 11-foot wooden rails or 5-foot vinyl rails. Split rail fence types can also come in two, three, and four rails.


Before you get started, you need to plan your fence by sketching your outline and measurements on your property survey. Keeping in mind the length of the rails, plot where you want to place your end posts, corner posts, and line posts.
For an accurate sketch, make sure that you’re calculating the rail lengths from the center of each post. Additionally, don’t forget to mark down where you plan to add any gates or other openings. This is where you can unleash your inner artist.
Once you have the sketch, you can figure out how many rails and posts you need to complete your project. With this information, you’ll have an estimate for the cost of your split rail fence.
Next, head outside with stakes and string to mark your fence line. You can use spray paint to indicate where you plan to put your posts and any gates or openings. Be sure to use a measuring tape during this process to make sure you’re calculating everything precisely.
As long as you properly measure and mark everything at this step, you should be able to avoid major issues during the rest of your installation, saving yourself more time and money down the road.

One of the most labor-intensive parts of your split rail fence installation is digging the post holes. Each post hole should be 1/3 of the post length, which is likely either 6 or 7 feet. For example, a 6-foot post should be 2 feet in the ground and 4 feet above the ground. The diameter of the hole should be two to three times wider than the post’s diameter.
You can either do the work manually with a post hole digger or make life a little easier with a power auger. Either choice will get the job done; it just depends on which tools you have on hand, what your budget is, and how much labor you’re able to put into digging.
Your soil type may affect the type of digger you need to use, so keep that in mind as you make your decision. Tougher, more rocky soil may require a powered digger, like an auger, whereas a shovel or standard post hole digger can easily maneuver softer, more loose soil.
Start with setting the end posts first, using a level to make sure your post is perfectly vertical. You don’t have to set these posts in concrete, but you should use 6 inches of gravel at the bottom to allow for proper water drainage and prevent wood rot.
Once your gravel is in and your post is vertical, you can fill the hole back in with the dirt you took out, compressing it firmly around the bottom of the post as you go. Mound any extra dirt around the foot of each post to help excess moisture fall away from the fence.
The final step is adding the rails. Firmly slide them into the holes in your posts and trim them as needed.
Of all the fence types, the split rail fence is one of the easier DIY installations. By going this route, you can save on labor costs, which range from $10 to $30 per linear foot. Since most split rail fences don’t need concrete or foam to set the posts, this is a relatively simple and popular DIY project, requiring just a bit of labor and precise measurement at the most difficult steps.
But if installing a split rail fence seems like a project that's too much to take on by yourself, you can hire a fence company near you to do it all from start to finish. Calling a pro might be a good idea if your soil type is hard to dig in, you want a really long fence, or your property has a lot of slopes, which could complicate measurements.
A reliable team for moves across state. My switch to a new place needed careful lifting through tight hallways. The movers checked the doorway first, then carried heavier pieces with slow, controlled movements. Their patience helped prevent damage, and I?d choose them again.
We have used Window Warriors many times with no issues. They arrived on time and were very professional . We have pets and Window Warrior team treated them very well, well trusted team.
We have bought and sold numerous times over the past 50 years. Sherman Hall and Top Line are top notch. Thorough and detailed, he explains every possibility, probability, and eventuality. High class and pleasant. The best.
 Top Line Home Inspections, LLC
Our homes curb appeal skyrocketed thanks to Custom Paint Jobs LLC s exterior painting.
Window Depot did an amazing job on my deck. I wasnt sure what I wanted to do, but their composite decking was affordable and will last a long time. I am excited to have family over, and I am no longer embarrassed by my backyard. Jeff and the ground crew were polite, respectful, and caring for...
Great job...edging and pre clean up went well with a great job with seal coat. Friendly, efficient and professional.
 All Star Paving and Sealing
Did an amazing job transforming my yard. Also installed sod in places, would recommend to everyone.
Manuel Calvillo is the best option in the area for roofing and you won't be disappointed.
We hired Andrew and the team from Midwest Lightscapes for a custom lighting design and installation on a Victorian Village home. The house had outdated low-voltage halogen outdoor lights and many of them were not working. Andrew designed and installed a new system including uplighting on the...
 Midwest Lightscapes
The work was completed in a day and a half. They cut small trees, pulled out an old swing set, pulled out railroad ties and left the place spotless when the job was complete. I am very happy with the fence and their efforts were above and beyond my expectations.
 Elite Fence
From average costs to expert advice, get all the answers you need to get your job done.
Looking for that rustic charm only a split rail fence can provide? Use this split rail fence cost guide to get an idea of what your fence will total.

Knowing how much a cedar fence costs will help you stay on budget. Use this guide to estimate and plan for your project.
A new fence adds privacy, improves safety, and even boosts curb appeal. But how much does fence installation cost? Find out in this guide.
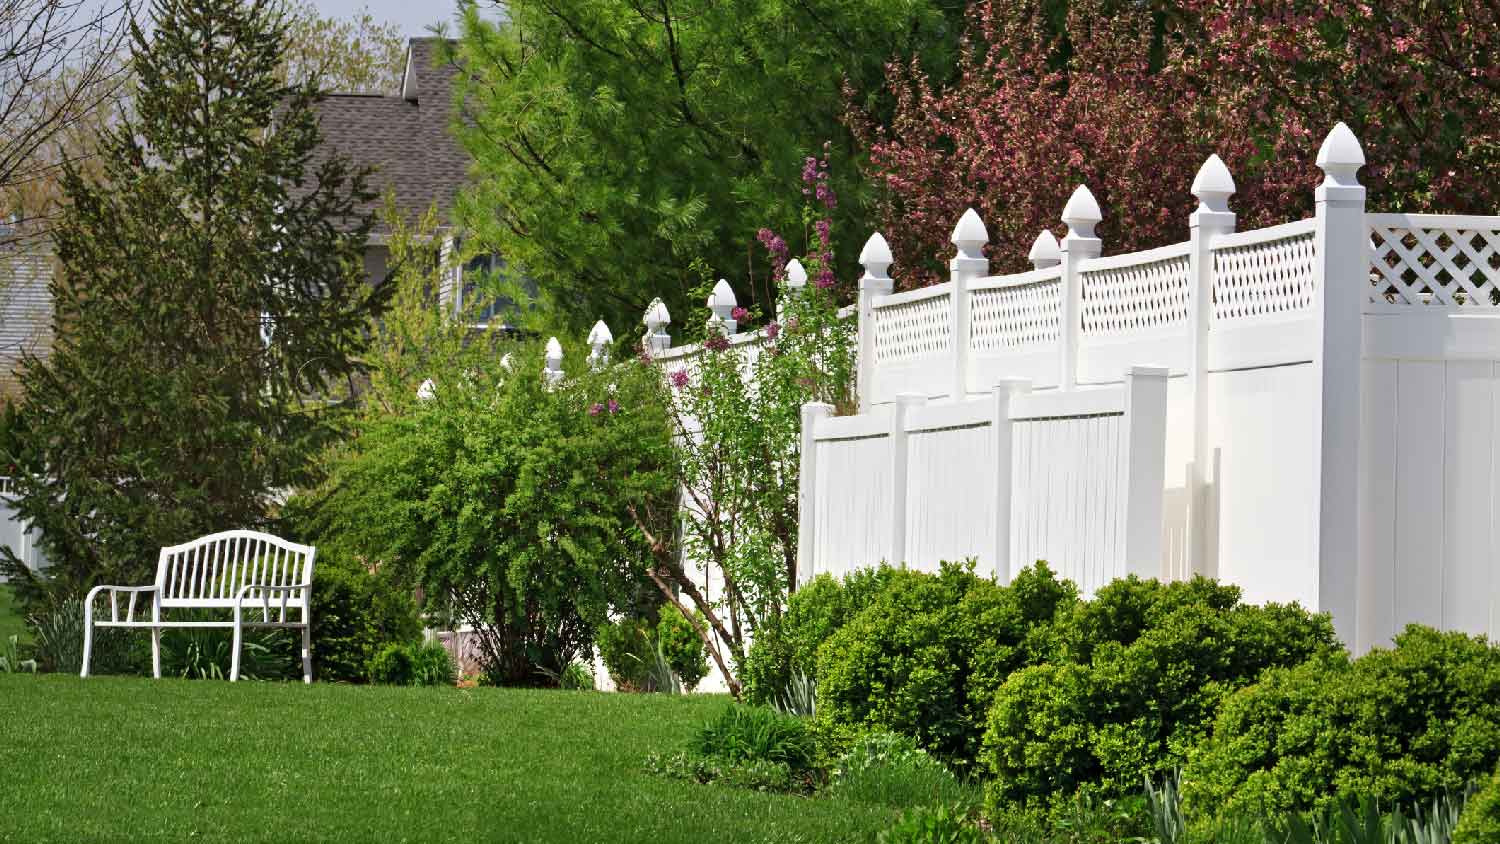
Choosing a vinyl, PVC, or plastic fence offers benefits over wooden fencing, like improved durability. Learn about the many types of vinyl fencing available.

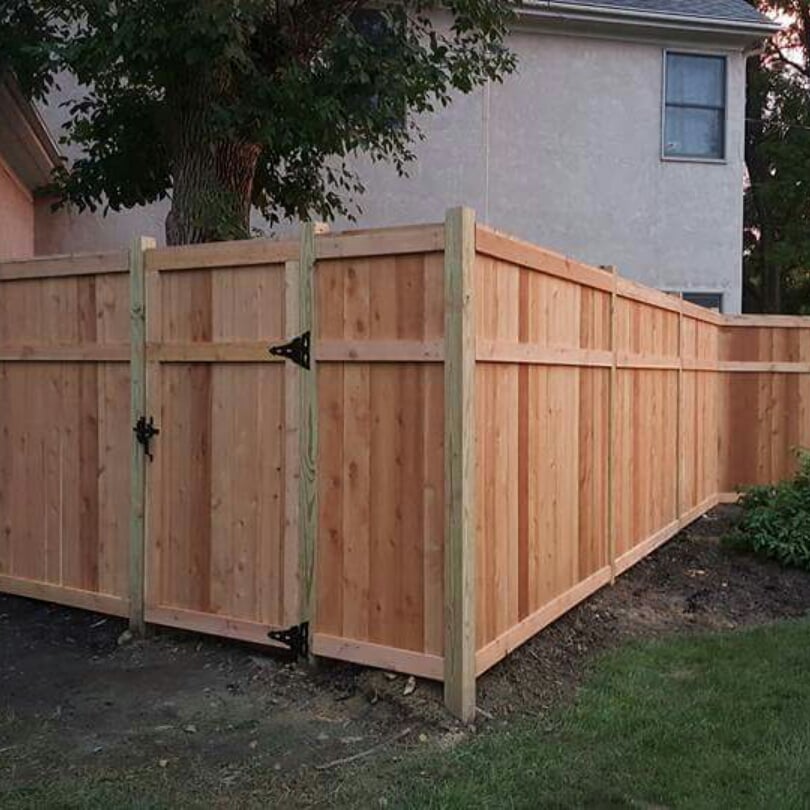
Whether you’re installing a new fence or redoing an old one, it’s worth checking out different designs first. These wooden fence ideas will help you find the perfect fit for your yard.
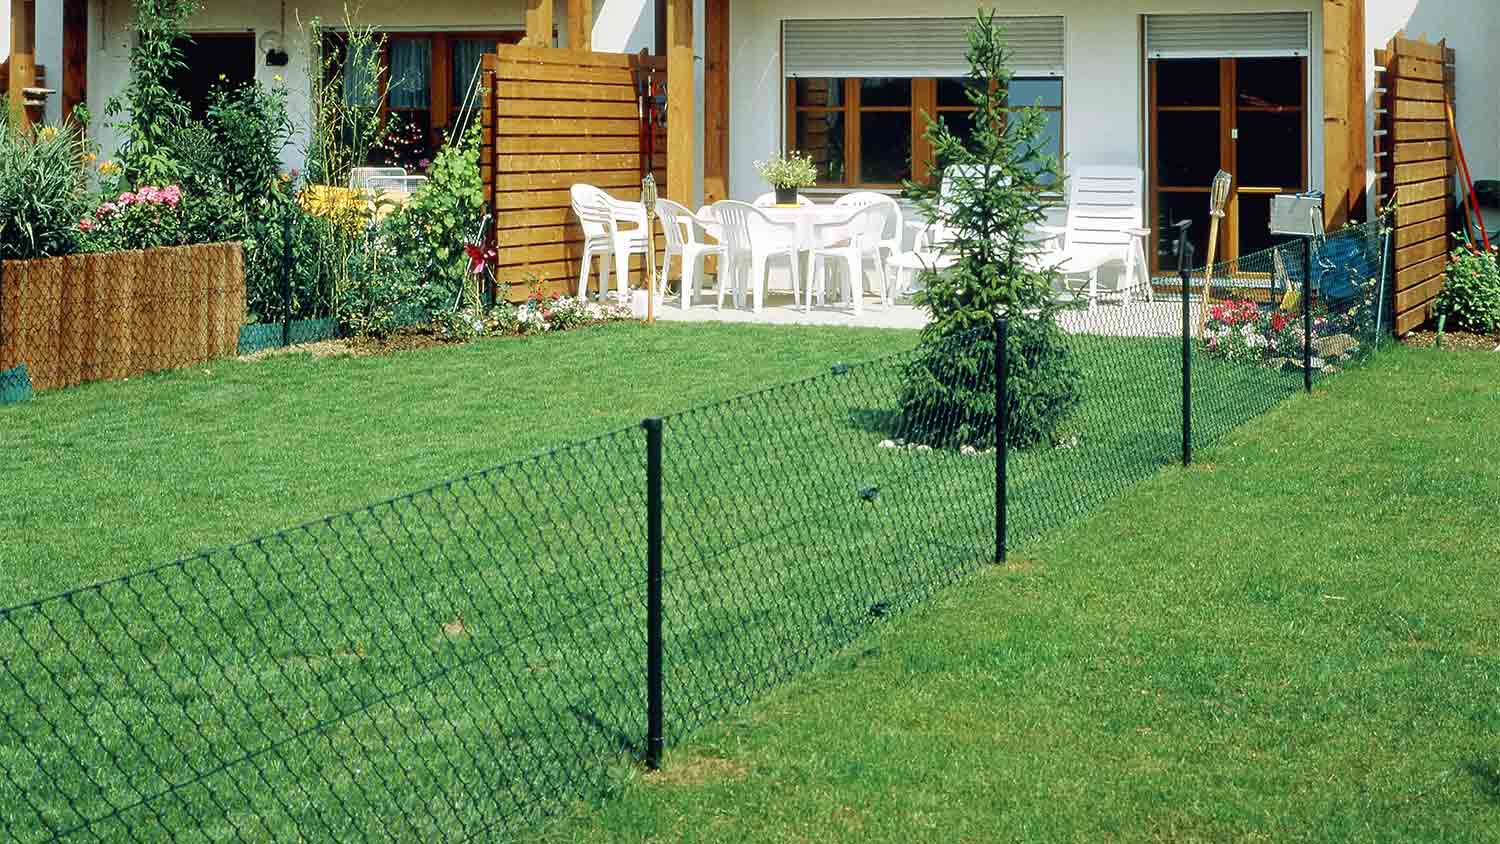
Ready to restore privacy to your yard using a few tools and a little elbow grease? Here’s how to repair a chain link fence in eight simple steps.