
•
Find out the average AC freon leak repair cost, key price factors, and how to save. Get transparent estimates and expert tips for homeowners.
Jump on an AC leak to prevent serious damage to your system

Repairing refrigerant leaks keeps your AC running efficiently, as damaged refrigerant lines prevent proper cooling and increase your energy bills significantly.
Expect to pay $200 to $1,000 to fix an AC leak, with average costs around $400 depending on the leak severity and location.
Your clogged air filter can freeze evaporator coils and cause water leaks, so replace it every 30 to 90 days to prevent system damage.
Hiring a local air conditioning repair professional provides reliable help with refrigerant leak diagnosis and drain line repairs, keeping your home comfortable year-round.
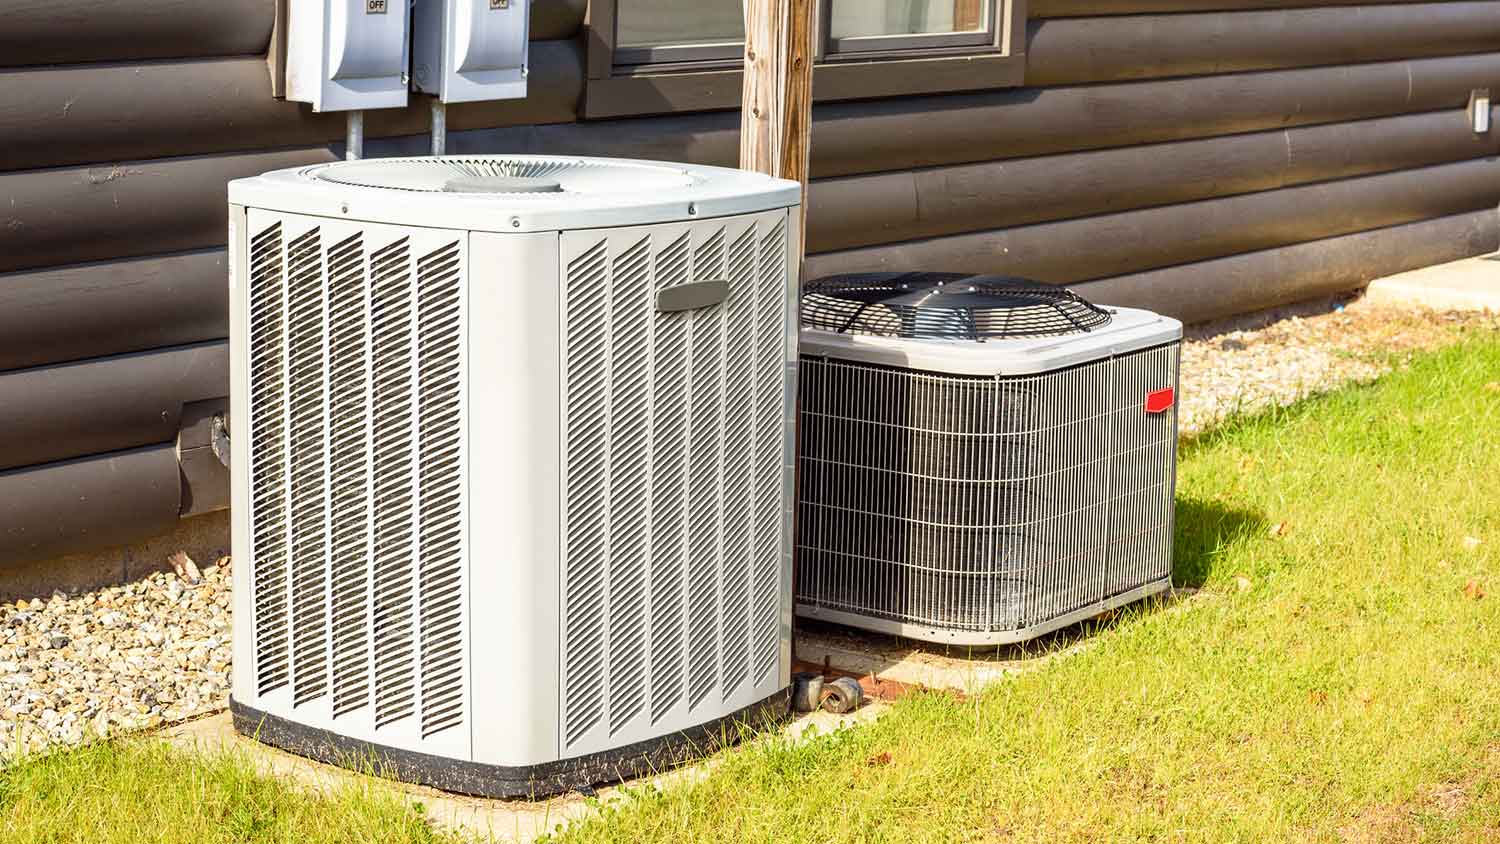
If it’s a hot summer’s day and your air conditioner isn’t providing the relief you need, your system may have a leak. AC leaks have a variety of causes, many of which can be tough to locate or fix without the help of a professional AC repair company near you. However, there are certain issues you may be able to track down and handle on your own. This guide will walk you through the steps to take for AC leak repair.
A leak in your AC system typically happens when one or more parts fail. You may have a crack in your system’s drain pans or a clog in your drain line or air filter. You may also have kinks in or damage to your refrigerant lines that cause refrigerant leaks, which prevent your system from working properly and decrease its efficiency. If you don’t fix your leaky AC unit, it may also create long-term problems, including:
More costly damage to your AC system
Increased energy consumption and higher energy bills
Exposure to chemicals that can cause burns and lung damage
Harmful emissions that can damage the atmosphere
The average cost to fix a leak in your AC system—including fixing a refrigerant leak—is around $400, but prices can range from $200 up to about $1,000. Depending on the severity of the leak and the age of your AC unit, fixing a leak may not be the most cost-efficient repair. Unfortunately, the leak may be difficult to repair permanently, and it may return despite your best efforts.
However, installing a new AC system costs between $3,800 and $7,500. HVAC repairs typically cost $200 to $600, which includes the specialist’s hourly rate of $50 to $100 per hour. Repairs can buy you time while you prepare to replace your AC system, but it’s important to know when to repair versus replace an AC unit.
You may have a leak coming from your AC unit if you notice one or more of the following signs:
A puddle of liquid or signs of moisture near your indoor AC unit
An overflowing drain pan
AC system isn’t effectively cooling your home
Ice buildup on your system’s evaporator coils
Higher-than-normal indoor humidity levels
Your system takes longer to cool your home
Your energy bills have increased significantly
Noticeable bubbling sounds coming from your AC unit
Visible damage to your outdoor condenser and connected lines
Signs of mold growth around your indoor air handler
Water leaking from vents or air returns
If you’re unsure whether your AC system has a leak, contact a professional HVAC contractor for an expert inspection. Immediately addressing needed AC repairs and replacements can prevent hazards and higher costs in the long run.

While you may want to fix this issue on your own, only the most experienced homeowners should handle an AC leak. In most cases, it’s best to leave this type of fix in the hands of a professional to avoid costly mistakes. However, you can take a few DIY steps to handle minor issues. Be sure to follow each step carefully and avoid common HVAC repair mistakes.
The most common cause of AC leaks is a clogged air filter. Dirty filters slow or stop cool airflow, preventing refrigerant from moving through the system. If that’s the case, the refrigerant can freeze your system’s evaporator coils, and water will drip from your AC. If you notice a lack of airflow, follow these steps to address this problem immediately and avoid serious damage to your AC system.
Look for frozen coils near your outdoor condenser unit or indoor air handler.
If you notice ice, immediately turn off the AC unit.
Locate and open the filter door on your air handler.
Pull out the old air filter and replace it with a new one.
Clean out your home’s vents, registers, and grilles with a vacuum or duster.
Allow 24 hours for frozen coils to melt before turning your AC unit back on.
If your evaporator coils continue to freeze, you may have a more complex problem that only a professional can address. Dirty coils, a broken blower motor, or a low refrigerant level can all be potential culprits. Leave your system off and contact a pro right away.
Most AC systems feature two drain pans to catch condensation under the air handler, the indoor unit is usually installed in an attic, basement, or dedicated closet. One pan is permanently attached to the air handler directly under the evaporator coils, while the other removable pan is under the entire unit. Take the following steps to assess the drain pans:
Turn off the AC unit.
Inspect the drain pan and surrounding piping for leaks.
If you don’t immediately notice a leak, use a wet and dry vacuum to clean the pan.
Shine a flashlight on the pan’s bottom, corners, and edges to expose any cracks.
Apply a water sealant over the crack as a temporary fix.
Purchase a new drain pan and replace the old one.
Whether you can complete the final step on your own depends on which drain pan you’re replacing. You can remove and replace the pan under your AC unit yourself. However, the pan under your evaporator coils is typically welded to your unit, and only an experienced HVAC pro can replace it.
Check your drain line if your drain pans aren’t the cause of your leak. This part is typically a PVC pipe near the drain pan. There should be an access point sticking up at a 90-degree angle with a plastic cap on top, as well as a section of the pipe that leads to some sort of drainage area. Clogs from fungi, algae, or other debris can be the sneaky culprits of leaks if the water backs up inside the drain line. Take the following steps to fix a clog yourself:
Unscrew the cap and pour about six ounces of white vinegar down the drain line.
If the line remains clogged, go to your outdoor AC condenser unit.
Locate the outdoor condensate drain line near the unit—typically a PVC pipe.
Connect a wet-dry vacuum attachment to the outdoor line and turn it on.
Use vacuum suction to pull out any debris clogging the drain pipe.
You can purchase wet-dry vacuum attachments that connect to outdoor drain lines online or at most home improvement stores. If your AC leak persists after unclogging your pipes, you’ll need to call an HVAC professional to diagnose and handle the issue.

So, how can you prevent these pesky AC leaks from happening again? Regular maintenance of your AC system can prevent some of the issues that cause refrigerant leaks, as well as the steep cost of a coolant leak repair. The components you should monitor are your system’s drain line and air filter, and a professional HVAC inspection can prove effective for internal issues that could cause AC leaks.
Drain lines can cause leaks when they get clogged with debris, so keeping them clear can prevent problems. Every three months, you or an HVAC professional should connect a wet-dry vacuum attachment to your outdoor drain and remove any buildup from the line.
Clogged air filters can freeze your evaporator coils, stopping airflow and potentially causing serious damage to your AC unit. To avoid this head-scratching problem, replace your system’s air filter every 30 to 90 days. Expect to replace filters more often during the summer when the AC runs regularly.
Finally, keep the area around your outdoor condenser unit clear. Shrubs, trees, and human activity around the condenser could result in problems that lead to leaks. A visual examination of your unit and the lines connected to it for damage once per quarter is also a good way to find leaks and related problems early.
Some smaller AC repairs, like changing out the system’s air filter, can cost as low as $10 to $50 to carry out on your own, making DIY a no-brainer. However, most repairs will require special tools and skills that only a licensed HVAC technician can use, especially if you’re dealing with a refrigerant leak.
While you will save money by doing work yourself, DIY repairs done improperly can void your system’s warranty and cause further damage that will increase your costs down the line. Moral of the story: err on the side of caution and hire an HVAC professional to tackle AC leaks and repairs, especially if they stem from refrigerant line issues or internal components.
I normally do not leave reviews, but my experience with Worthington Air was extremely frustrating and disappointing. About 30 days ago, I had a consultation done for an HVAC replacement and was quoted approximately $15,079. Based on that quote, I applied for financing through their company...
Great company! Price was competitive, technician showed up on time and completed the job (exterior electric Radon fan replacement) quickly. Would hire them again.
As usual with ECO, tech Jordan was outstanding, very professional, very knowledgeable, and very thorough with repairs made to tankless water heaters. Very highly recommend ECO!!!
 Eco Plumbers, Electricians, and HVAC Technicians
Raven and crew does absolutely fantastic job. They are very professional if any concerns were to occur with any of her work she always took responsibility and finished out with a great job. I have worked with her business for a year and have always been satisfied. Very trusted business and...
I would recommend this company to anyone! He showed up on time, was friendly, completed a very difficult repair on our dryer vent cover, was responsive, and pricing was extremely fair and competitive. I would have him back to do any of our repairs or cleanings without hesitation!
Ace Fireplace Services' chimney sweep service is truly exceptional. They used advanced technology to ensure a thorough cleaning process, and my chimney has never looked better. I highly recommend their services.
 Ace Fireplace Services
The technician was very professional and friendly. He answered all my questions and was very thorough. He left the fireplace area very clean . He inspected from the roof and advised me as to other work that might need to be done. There was no pressure there. I was very satisfied with the...
 Supreme brick & chimney
Excellent experience with hiring Tether House to Mount our 77’ Samsung TV in our bedroom. Fast, friendly, and knowledgeable. Highly recommend.
On time, clean and finished fast. Windows seem sturdy and the finish is good. Caulking was done with no smudges. Would recommend.
Great job...edging and pre clean up went well with a great job with seal coat. Friendly, efficient and professional.
 All Star Paving and Sealing
From average costs to expert advice, get all the answers you need to get your job done.
Find out the average AC freon leak repair cost, key price factors, and how to save. Get transparent estimates and expert tips for homeowners.

Explore how much an AC compressor costs to install based on cost factors like it’s type, brand, size, and local labor rates.

If your air conditioning unit isn’t functioning properly, you might need an AC recharge. Our guide will detail what a typical AC recharge cost looks like.
When your AC refrigerant leaks, you’ll need to find a quick fix, as long-term consequences could be costly. Learn why your refrigerant is leaking and your next steps.
If your AC unit isn’t functioning properly, you might have a refrigerant leak. Our guide will show you why refrigerant leaks are dangerous.
Think you have an AC coolant leak? Check out six telltale signs that something is up with the coolant in your system and tips to prevent it in the future.