
•
Get a clear estimate for stove repair costs. Learn what impacts pricing, compare repair vs. replacement, and find tips to save on your next stove repair.
Last night’s bolognese is no match for your cleaning prowess


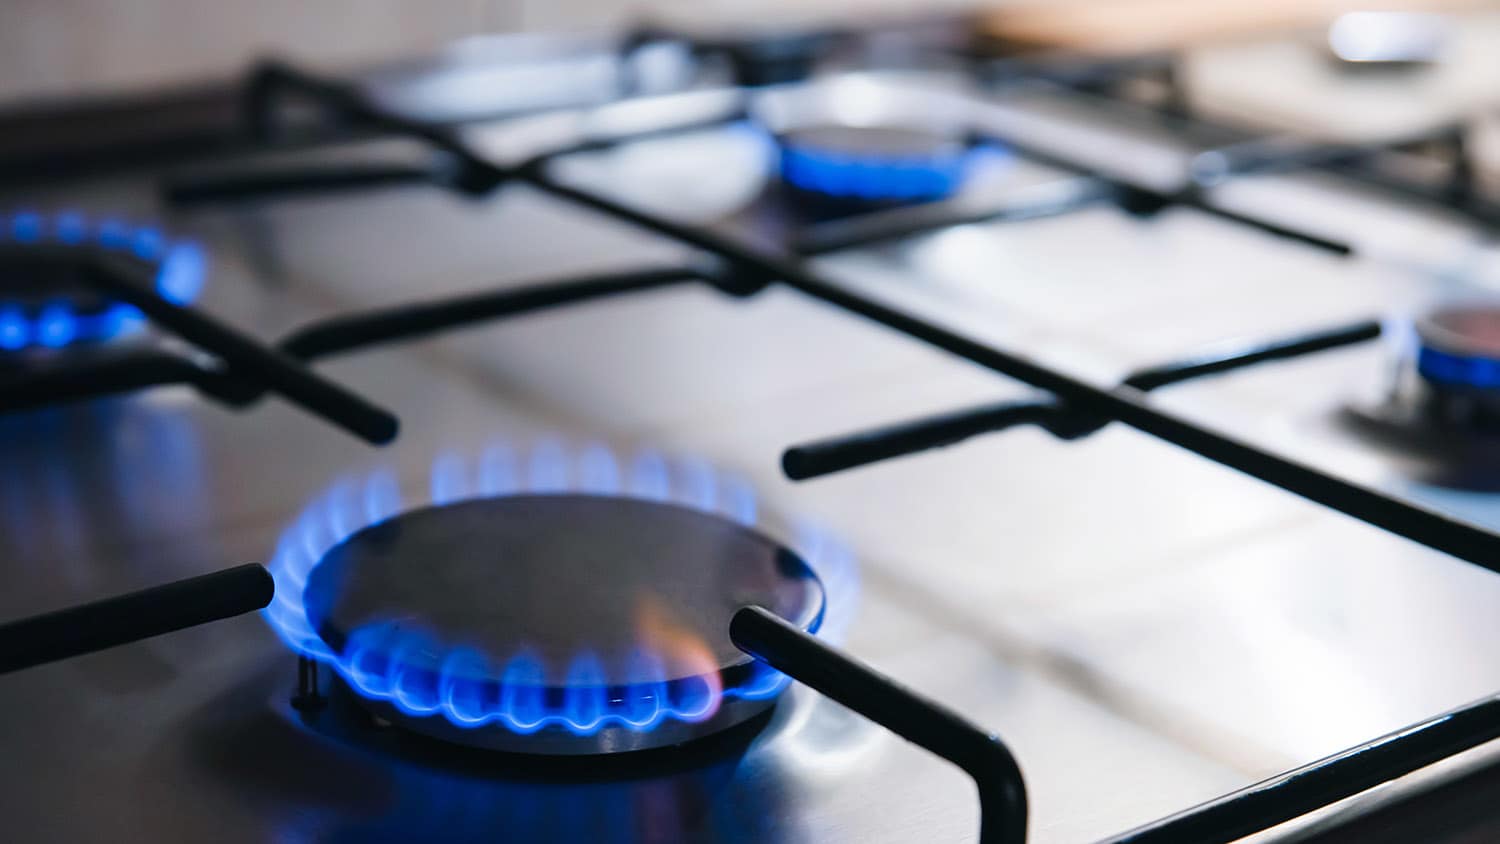
Your gas stove sees a lot of action—it’s where you reheat leftovers, prepare roast chicken on Sunday night, boil water for tea, and so much more. Over time, the gas burners on your stove can look worse for wear, and even start to malfunction due to built up grease and grime. work improperly due to too much grime. Learn how to clean gas stove burners for a sparkling clean stovetop.
Safety first. Before you clean your gas stove burners, ensure they are completely cool. It’s a good project to do sometime between breakfast and dinner, assuming you don’t use your oven for lunch. Wait one hour after cooking breakfast, then you can get to work scrubbing the grime off once the oven and stovetop return to room temperature.
Give your oven’s owner’s manual a quick read-through to understand the various components of your stovetop. Find and review the information regarding the location of your gas line and the precautions you should take when turning it off and when re-lighting the pilot light.
And while you have your owner’s manual out, review the instructions on how to clean your oven, and check that off your cleaning list at the same time. Learning how to clean gas stove burners can help you understand how your whole range works and how to keep it looking new.
Abrasive cleaning supplies like baking soda, steel wool, and nylon-coated sponges can permanently scratch surfaces. If you need a deep clean, a cleaning pro will have the right supplies to get your space sparkling and avoid damage.

It’s always smart to know where your gas shut off valve is located before cleaning a gas stovetop. Start by making sure your burners and the oven are all in the “off” position. Most shut-off valves are accessible through the bottom drawer of your range, or just behind the oven. You may need to pull your oven away from the wall to access the shut off valve.
When cleaning your gas stove burners, remember that the stove also runs on electricity—for features like the clock and timer—so be sure to unplug your stove before starting this project.

You should be able to remove the grates from your gas range by simply lifting them up. If they don’t move, check your owner’s manual to see how to remove them. Once they are removed, place them off to the side on your countertop.
Gentle dish soap and warm water can tackle most grease when cleaning a gas stovetop. Soak the grates in a sink full of soapy water before scrubbing away any caked-on food. If the food won't budge, add one quarter cup each of vinegar and baking soda to the soapy water, and let the grates sit for another 30 minutes. After soaking the grates, set them aside to dry completely.
Gas ranges have burner caps—they look like slim plates that rest on top of the burners. They should be easy to remove by simply lifting them off. Soak them in a bowl of warm water and soap (or submerge them in the sink) for about 20 to 30 minutes, then scrub them using a non-abrasive scrub pad.

You’ll find the gas burner heads below the burner caps. To remove, lift them off the stovetop, making sure not to damage the ignition electrode (a white and metal tube-like component).
Follow the same instructions for cleaning the burner caps as in step three. You may notice gunk inside the port holes. Use a straightened-out paper clip, bobby pin, or a soft-bristled toothbrush to clean it out—just be gentle on the metal. A toothpick or another less-sturdy object is not a good choice for this task, as it can break off into the ports.
If your burner caps, heads, and grates still look dirty, make a paste using baking soda and water (use a one-to-one mixture). “A baking soda paste is a safe, mildly abrasive cleaner, which is useful for cleaning and removing any cooked-on food particles without damaging the stovetop," says Asya Biddle, Angi Expert Review Board member and manager of The Dustbusters, a family-owned and operated janitorial company in Williamsport, PA.
Apply the paste to the surface area of the oven components, and scrub away any caked-on food or dirt with an old toothbrush. You may need to repeat this process a few times.
Once all of the components are cleaned to your satisfaction, rinse them with warm water and set them aside to dry. Meanwhile, you can clean the stovetop with a cleaning spray or the baking soda paste; make sure to wipe it clean and let it dry before replacing the components. If you’ve got time, you might clean under the stove as well.

Now that everything is clean and dry, you can put your gas stovetop back together. Work backward, starting with the heads, then the caps, and finally returning the grates to their rightful home.
Retrace your steps and turn the gas back on. You may also need to relight the pilot light. Read your oven’s owner’s manual for instructions on how to do this, as each model will differ. After the gas and pilot light are back on, test your burners to ensure they’re not producing an odd flame color or shape. If they are, the burner heads might not be fully dry.
Cleaning stove burners is an easy task that you should do about once per week if you’re a cooking enthusiast (or simply have a big family to feed). You can pair the scrub with similar chores, such as cleaning your oven racks.
Whether life is busy or you’re preparing to host a dinner party, you can save time by hiring a house cleaning service to clean your burners. House cleaners typically cost between $30 and $50 an hour, or an average of $170 to clean your entire house. Regularly-scheduled cleaners can get to know your setup and help keep it running smoothly–no matter how many stews boil over.
I had FabClean 614 clean my apartment, and she did an outstanding job. She was so professional and efficient. My apartment looks absolutely spotless every surface, every corner, all cleaned to perfection. Definitely highly recommend FabClean 614 if you're looking for top-notch cleaning...
Best cleaning I've had at my property
Fantastic group, very communicative, and they really did a great job cleaning my condo. Will be hiring them for recurring cleaning!
100% satisfied with the work done by Supreme Brick & Chimney. Josh responded to my Angi request very quickly and squeezed our house into his schedule only a couple business days out. The chimney cleaning process was extremely clean with ZERO dirt going anywhere besides in Josh's vacuum. Very...
 Supreme brick & chimney
On time, clean and finished fast. Windows seem sturdy and the finish is good. Caulking was done with no smudges. Would recommend.
Great job...edging and pre clean up went well with a great job with seal coat. Friendly, efficient and professional.
 All Star Paving and Sealing
Mary Cleaning Service is fantastic! The entire team is professional and pay a great deal of attention to detail. They do such a thorough job of cleaning my house. I would definitely recommend!
It was just fine. They did a good job. They cleaned what needed to be cleaned.
 Dezired Cleaners LLC
They cleaned my very dirty basement. They were prompts, quick, thorough and their price was fair.
Excellent! We were very satisfied with the service provided and the entire experience from start to finish. Very friendly and professional staff. I was able to instantly get in contact with them for a quote and the response time and overall communication remained quick and easy throughout the...
 Prime Cleaning Service
From average costs to expert advice, get all the answers you need to get your job done.
Get a clear estimate for stove repair costs. Learn what impacts pricing, compare repair vs. replacement, and find tips to save on your next stove repair.

How long do gas stoves last? As long as 15 years—though the specifics depend on maintenance. Here’s how to take care of your range.

No one wants to think about the mess of crumbs, dust, and dirt under the stove, but it’s easier to tackle than it seems. Find out how to clean under your oven.

Stovetop splatters become stuck-on messes if left untreated. Find out how to clean electric stovetops and gas stovetops so they’re spotless and sparkling.

Understand the parts of an electric stove and a gas stove, what they do, and how to properly clean and maintain them to make your stoves last longer.
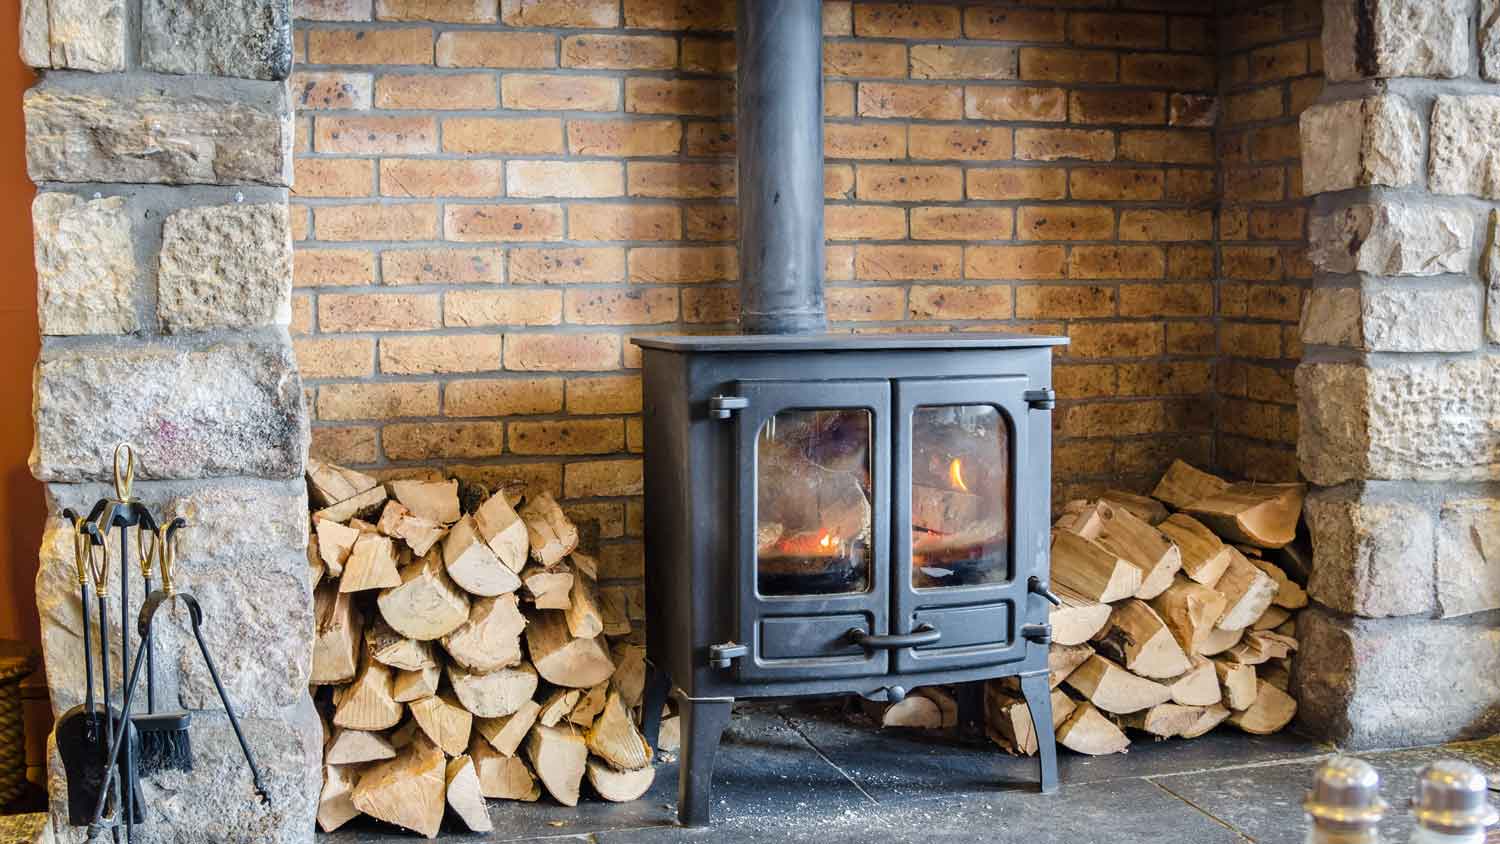
Have you ever wondered how a wood-burning stove works to heat your home? Learn all the wood stove basics with this guide.