

Use our guide to estimate your fireplace repair costs, based on the type of fireplace you have—and what part is broken.
Create a one-of-a-kind look for your fireplace using simple woodworking tools

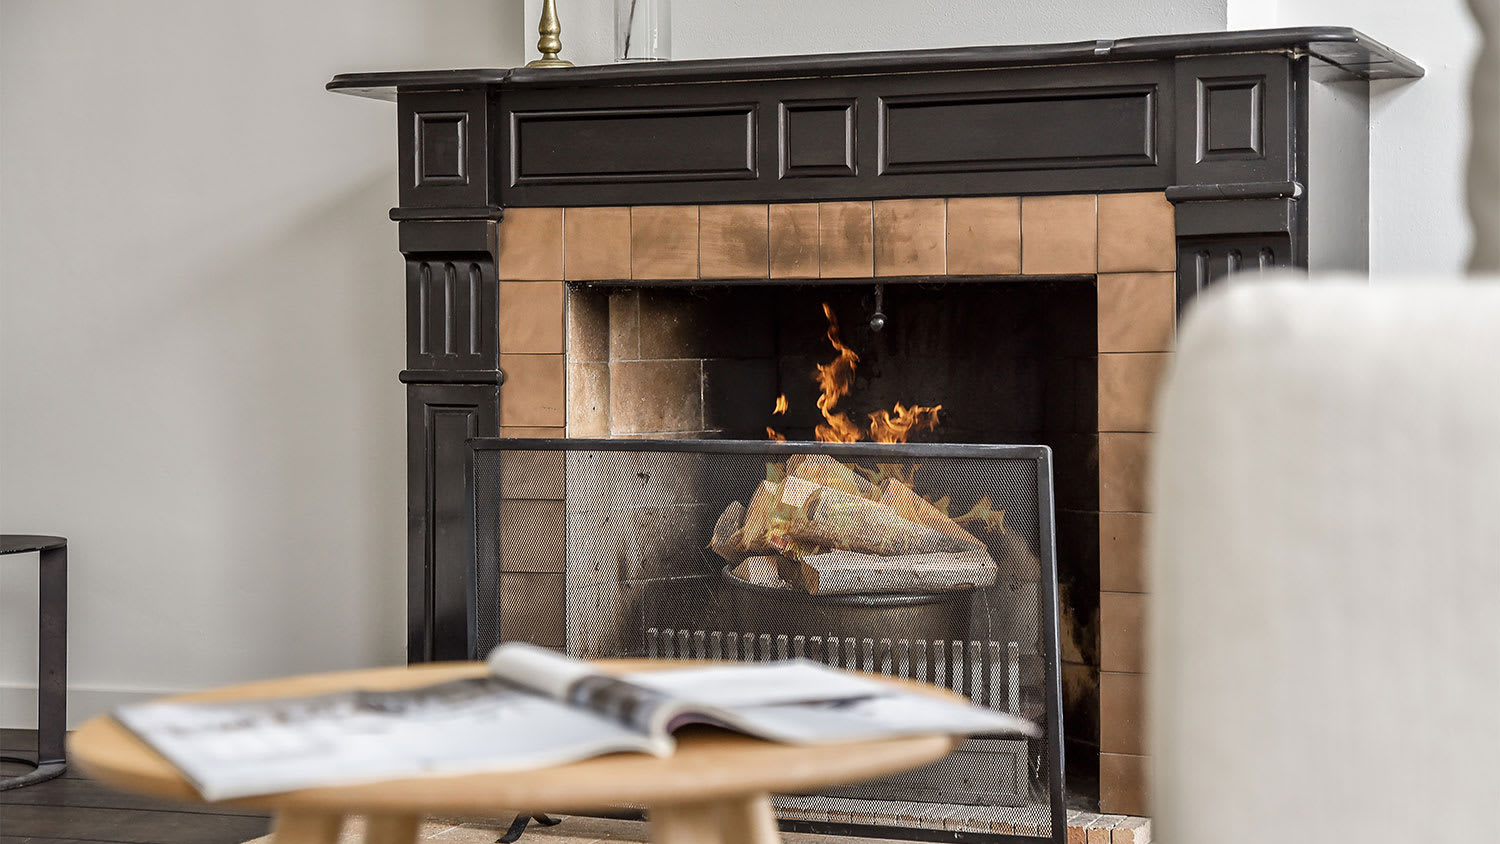
Few things are more rewarding than completing a home renovation project, and a fireplace mantel is one fireplace remodel idea that you can admire each time you sit down in your living room. Rather than opting for a prefabricated mantel kit, you can build your own mantel using lumber and molding. Just gather the right tools, and we’ll walk you through the steps to build a fireplace mantel.
Use a measuring tape to take dimensions of your existing firebox or fireplace area. This will help determine the cuts you need to make to your lumber. Sketch a design on paper once you have your measurements and an idea of what you want. Browse fireplace mantel designs online for more inspiration.
A key consideration is the depth of the mantel shelf. If you’re unsure of how deep to make it, but you plan to place decorative items on it, consider a six-inch deep mantel for ample space.
To ensure your design meets national fire safety codes, you need to leave at least six inches between your mantel and firebox on all sides, plus one inch for every one eighth of an inch your mantel sticks out from the wall. It’s a good idea to create a cardboard template of your design to test how it will fit in your space.
Based on your measurements, use your miter saw to cut the 1-inch by 10-inch pine boards to length for each of the following:
Mantel shelf: The flat piece rests on top of the mantel and runs its width.
Mantel face: The front of the mantel parallel with the opening of the fireplace.
Mantel underside: The opposite side of the shelf.
Mantel ends: The pieces bookending the mantel.
Use your miter saw to cut edge pieces of lumber for each side. When making the cuts, be sure to cut against the grain of your wood. Sand all of your wood pieces with sandpaper to create a smooth surface that will make painting or staining easier.

Assemble the mantel into a rectangular shelf. Affix the edge pieces to the mantel face using your wood glue and nail gun. Then, attach the underside piece with the same materials.
Using your stud finder, locate your studs so you know where you can securely attach each end side to the wall. If you’re attaching your mantel to a tile or stone wall, you need to use construction adhesive instead of nails.
Before nailing, place your level atop each end to ensure that they will create a level surface to support the mantel shelf. Run beads of construction glue along the entire length of each edge that makes contact with the wall. Then, use your nail gun to nail your mantel to the wall at an angle.
Finally, attach the mantel shelf to the rest of the mantel by nailing it through the top.
Give your mantel an elegant, finished look by adding decorative molding to each piece. Attach molding by running a bead of wood glue along the mantel's edge. Then secure it in place with your nail gun. You’ll need different molding styles for each part of your mantel, including:
Crown molding: Top of the breastplate and legs, underneath the mantel shelf
Baseboard trim: Bottom of each leg
Astragal molding: Bottom of the breastplate
Shoe molding: Edges of the mantel shelf
When cutting molding to length with your miter saw, make cuts at a 45-degree angle, so perpendicular accents fit together flush in the corners. Review your saw owner’s manual for specific instructions about the settings required to make an angled cut. You may need to use wood putty to cover visible nail heads and create a smooth finish on all trim pieces.
Once your mantel is assembled and fully sanded, you can apply paint, stain, or another finish to complete the project. Learning how to paint your fireplace is easy if you know where to start. Heat-resistant paint is best to withstand the high temperatures from your fireplace.
Start by lining the area around the mantel with painter’s tape and laying plastic sheets on the floor to avoid getting paint on walls or floors. Apply one or more coats of paint or finish to the mantel according to the instructions on the container, then allow 24 hours for the mantel to dry.
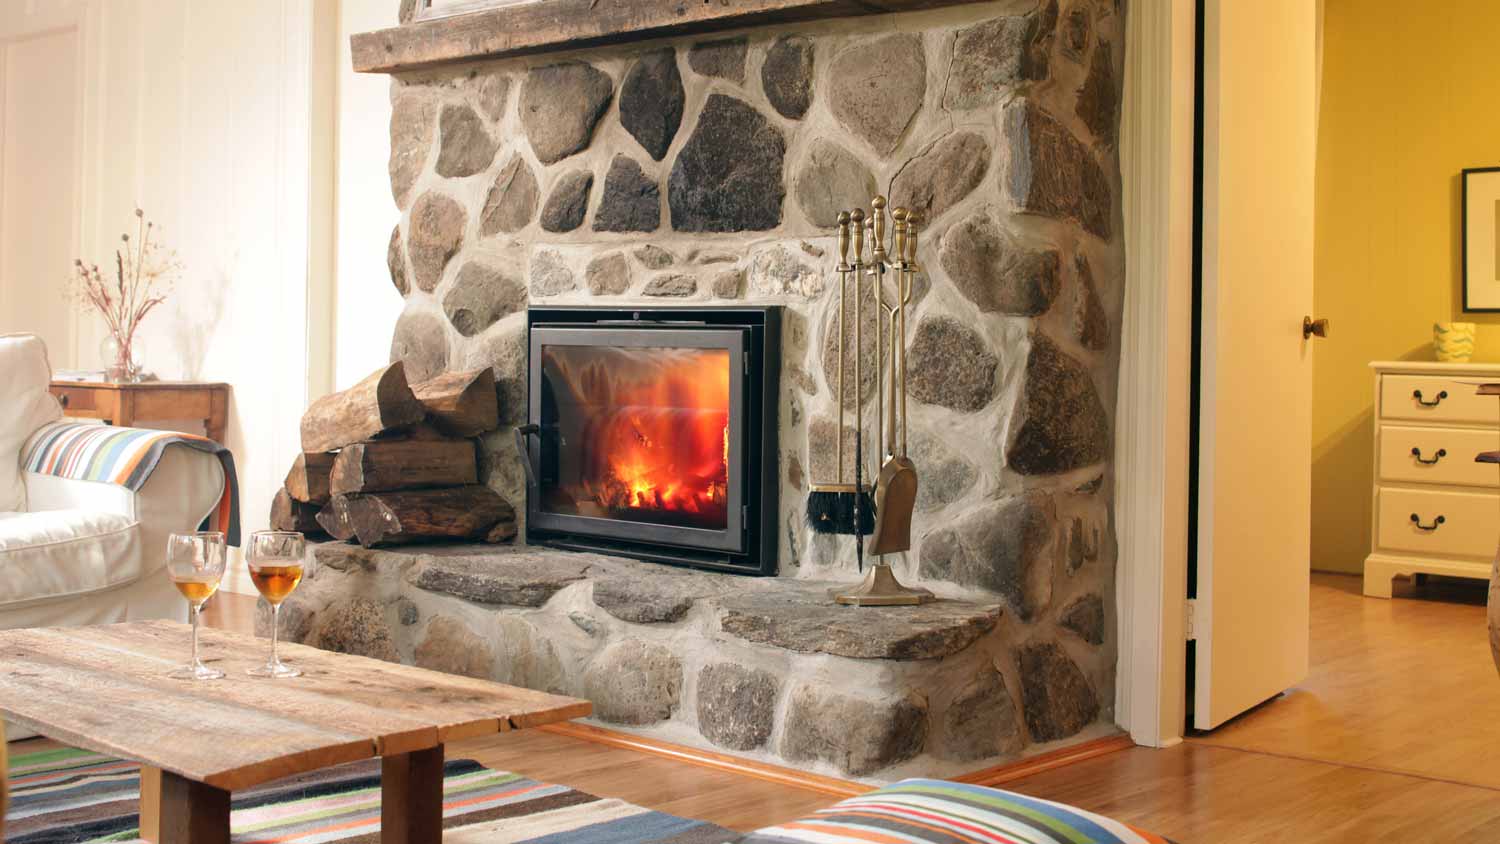
The process of attaching a fireplace to a mantel will vary slightly depending on the type of fireplace in your home.
To install a mantel shelf on a brick or stone surface, start by using a stud finder to identify the wall studs. Make pilot holes at the desired height and align the shelf with them. Use screws that are long enough to give the shelf a firm attachment. Wood screws will work for a wood mantel shelf while masonry screws are recommended for stone mantels.
With some masonry fireplaces, you may need to attach the mantel to the material rather than directly into the wall studs. In this case, use French cleats instead of screws for a secure placement. If you have a concrete over brick fireplace, this method will be your best option.
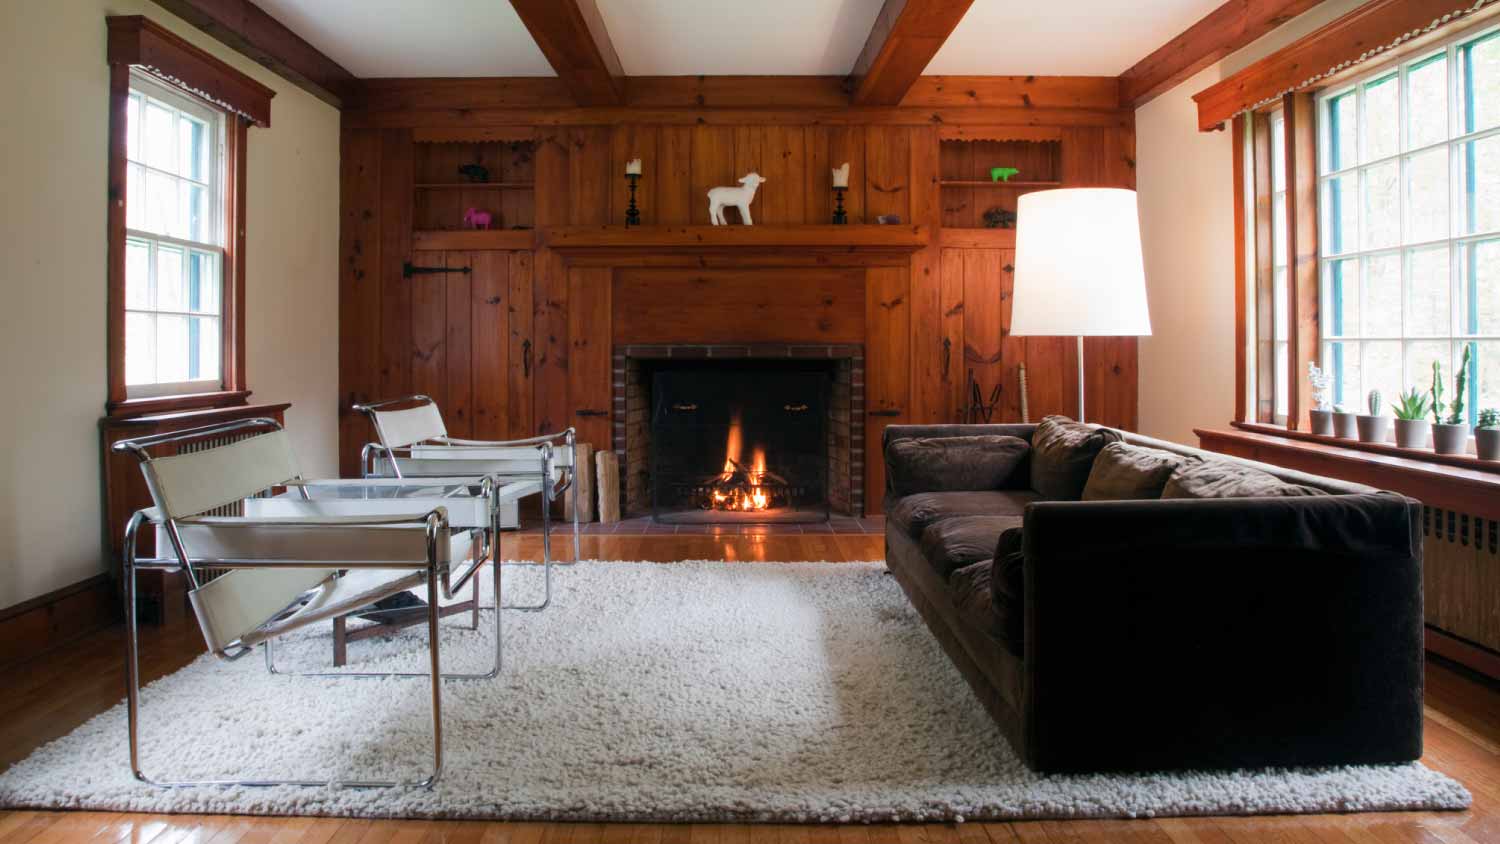
The process for attaching a mantel shelf to a drywall or plasterboard fireplace is the same as a traditional fireplace. Wood screws should be used to affix the mantel.
Most electric fireplaces come with manufacturer-specific mantel shelves or mounting brackets designed to be compatible with their units. Follow the manufacturer's instructions for installing the mantel shelf or mounting bracket. Typically, you'll attach the mounting bracket to the wall using screws and then place the mantel shelf on top of the bracket.
Similar to electric, gas fireplaces often come with specific mantel installation guidelines provided by the manufacturer. Follow the manufacturer's instructions carefully to ensure proper installation. It should be noted that some gas fireplaces may not be suitable for attaching a mantel shelf, so verify compatibility before moving forward with installation.
The total cost to build and install a mantel as a DIY project will depend on the type of wood and trim you purchase. On average, you’ll need about $100 worth of supplies and pay an additional cost to rent or purchase the necessary tools. A finishing nailer rental is about $30 per day, while a miter saw rental is about $50 per day.
Professional installation can range in price depending on the quality of the materials used and the complexity of the design. A comparable simple painted wooden mantel may cost $800 to assemble and install, but combined costs for custom mantel design and installation labor can total $6,000 or more. Reach out to a local fireplace installer for an estimate.
Terrible experience. Walls/trim/floors/cabinets/doors all have drip marks, overspray, etc. Tiling at the fireplace had to be redone by another vendor due to incorrect and shoddy install by Profect. Contractor had his children in our house while he was on site without prior authorization or...
 Profect painting & exteriors
Supreme Brick & Chimney did a great job with a cleaning and inspection of the fireplace! He was efficient, on time, and very pleasant. The space was kept very clean, and the fireplace was spotless when he was done. He also performed a thorough inspection, and did a great job talking us...
 Supreme brick & chimney
Ace Fireplace Services came to the rescue for my chimney repair. They were quick to pinpoint the issue and worked their magic to fix it. My chimney is now in excellent shape, and I'm a satisfied customer.
 Ace Fireplace Services
Custom Paint Jobs LLCs custom murals brought life to our childrens rooms. They love it!
Storms Mobile Welding was great to work with. They were prompt, professional and did an overall excellent job on the project. I highly recommend.
On time, clean and finished fast. Windows seem sturdy and the finish is good. Caulking was done with no smudges. Would recommend.
The team is awesome!! I can generally pick up and clean throughout the week, but they CLEAN! Windows, stair rails, microwave. All the things I can’t ever seem to get to regularly. The house looks and smells great after they leave.
Bought a half a cord of firewood from Pitzer with stacking last month. I waited to report so I could see how the wood burned. <br /> <br /> I have three pet peeves regarding landscapers, but Pitzer scored "A"s regarding all three. First, rather than having customers "leave a message" and...
 Pitzer Landscaping
We decided to update our partially finished basement, with a budget. Gerald worked with me on the lighting and chair rail selections, and produced an end product that was everything we wanted and within our budget. The work was done quickly, and he and his crew were always prompt and...
Outstanding! The granite and the installation went so well that we had the remaining slabs of the granite put into our new house. The 2ND kitchen/wet bar installation went as well as the 1ST, so we had them put granite on our master bath counter top, shower seat, ledge and kick plate for...
 LIND STONEWORKS
From average costs to expert advice, get all the answers you need to get your job done.
Use our guide to estimate your fireplace repair costs, based on the type of fireplace you have—and what part is broken.
A fireplace remodel cost depends on the extent of the remodel and the materials you choose. Use this guide to calculate your costs and budget accordingly.
Discover the average stone fireplace cost for your home. Learn about installation prices, cost factors, and ways to save before starting your stone fireplace project.

Your fireplace can be both functional and decorative. Browse these fireplace mantel ideas to learn how to spruce up your fireplace.
Want to know how to build a fireplace to add charm and warmth to your home? We’ll walk you through the steps—and let you know when to call in the pros.

Did you know fireplaces are a profitable home feature? From cozy indoor retreats to trendy outdoor designs, these fireplace ideas are sure to inspire you.