
There’s nothing better than a dog door to give your pet free access to the outdoors. Use this dog door installation cost guide to see what it will cost you.
Open the door to new design possibilities

Turning a regular door into a Dutch door can feel intimidating, but it’s actually a pretty straightforward project for handy homeowners. With the right prep, a steady hand, and some basic tools, you can create a functional, charming door that refreshes the whole vibe of your space. This guide walks you through every step so you can pull it off without wrecking your door (or your weekend).
Not all doors can withstand being cut in half. You want a solid wood door because it needs to stay sturdy after you slice it in two. Hollow-core doors will fall apart or feel wobbly, so they’re not usually worth the hassle.
Also, make sure your door already fits the frame well and opens and closes without sticking or sagging. If it’s already struggling to open or close, you’ll want to fix that before cutting it up.
With the door still attached to its hinges, measure upward from the bottom of the door to where you want to cut the door in half. Most Dutch doors are cut around 36 inches from the bottom.
Use a pencil to mark the height clearly at multiple points across the door. Then use a level to ensure all markings line up straight before drawing a straight horizontal line across the door face. This line will serve as your guide for cutting the door, so double-check that it’s perfectly straight.
Once your cut line is marked and you’re happy with the placement, remove the door from its hinges and take it down. Use a screwdriver or drill to remove the hinge pins or unscrew the hinges directly. Recruit a helper if the door is heavy or awkward (which it probably is). Then, lay it flat across two sawhorses or a sturdy table so it’s stable and ready for cutting.
Line up your circular saw with the cut line you drew during step two, then double-check that everything’s stable and square. Make sure the door is clamped down or otherwise firmly in place, then cut slowly and steadily along the line. Let the saw do the work—don’t rush it.
After cutting, you’ll be left with two raw edges that probably look pretty rough. If the cut left behind any gaps, dents, or splintered spots, now’s the time to patch them up. Use wood filler to smooth over any imperfections along the cut edges or anywhere else that needs touching up. Apply it with a putty knife, then let it dry completely.
Regardless of whether or not you filled imperfections, grab some medium-grit sandpaper to smooth out the roughest bits, then follow up with fine-grit to get everything nice and even. And don’t forget the corners because they’ll splinter if you leave them sharp.
The goal is for the top of the bottom half and the bottom of the top half to sit flush without snagging or catching.
Once everything’s sanded smooth, you should paint, stain, or seal the freshly cut edges to match the rest of the door and protect the wood. Raw edges are vulnerable to moisture and warping, especially if it’s an exterior door.
If you’re painting, use primer first, then follow up with your topcoat. If you’re staining or sealing, apply an even coat and let it soak in. Whatever finish you use, let it dry fully before moving on. Don’t rush this part, or you’ll end up with tacky edges that stick.
Cutting the door in half means each section now needs its own support, so you’ll need to install one more hinge, usually near the top edge of the bottom half or the bottom edge of the top half, depending on where the existing hinges are. Mark your placement carefully so it lines up with the existing hinges, then pre-drill your holes to avoid splitting the wood. Finally, snugly screw the new hinge into place.
Next, reinstall the bottom half of the door on the existing lower hinges. Line it up carefully with the frame, and use shims if you need to adjust the height or spacing. Then screw the hinges back into place.
Open and close it a few times to make sure it swings smoothly and doesn’t scrape the floor or stick. If it’s not right, fix it now before moving on. The top half depends on this part being solid.
Once the bottom half is swinging smoothly, it’s time to hang the top. Line it up so it sits flush with the bottom half when closed. Double-check the spacing between the two so they don’t rub or leave a big gap.
Use the original top hinge (from before the cut) to secure the upper edge of the top half to the frame. If you added the new hinge to this piece instead of the bottom, secure that one too. Check that it opens and closes smoothly and that the two halves look aligned when shut. Make any adjustments before locking it in.
To keep the two halves working as a full door when needed, you’ll need to connect them with a latch or surface bolt. Install the latch or bolt on the interior side of the door, usually along the vertical edge where the two halves meet.
With the door closed, mark where the latch should go so it lines up cleanly between the top and bottom sections. Screw the hardware into place, making sure it opens and closes without resistance.
Turning a regular door into a Dutch door isn’t the hardest DIY project out there, but there are a few common mistakes that can throw the whole project off if you’re not careful. Here’s what to watch out for:
Using the wrong type of door: Hollow-core doors might seem easier to work with, but they won’t hold up once you cut them. Stick with solid wood for strength and durability.
Cutting without leveling: If your cut line isn’t perfectly straight, the halves won’t align, and the door will look crooked or rub when it closes. Always use a level and check it twice.
Skipping the extra hinge: Each half needs solid support. Forgetting to add a hinge will make the door feel loose, and you’ll probably end up rehanging it later.
Ignoring edge finishing: Raw wood edges will swell, splinter, or soak up moisture over time if you don’t seal or paint them properly. Don’t skip that step just because you’re eager to rehang the door.
Poor alignment during reinstallation: If the halves don’t sit flush with each other or the frame, the door won’t swing properly. Use shims and take your time adjusting as needed.
Building a Dutch door yourself can range from $25 to $150 in materials if you already have the right tools. That includes wood filler, sealant, or paint, and new hardware like a latch or hinge. But if you don’t have a circular saw, drill, sawhorses, or clamps, renting or buying tools can quickly raise your total.
The cost to hire a carpenter usually ranges from $75 to $150 per hour, so you can save a good bit of money by tackling this project yourself. However, this project requires precision cutting, clean alignment, and proper sealing to work well and look right. So if you’re not sure your tools or patience are up for the job, hiring a door installer might be your best bet.
Terrible experience. Walls/trim/floors/cabinets/doors all have drip marks, overspray, etc. Tiling at the fireplace had to be redone by another vendor due to incorrect and shoddy install by Profect. Contractor had his children in our house while he was on site without prior authorization or...
 Profect painting & exteriors
Jason has helped me with multiple household projects, with the most recent being new door installation. He has always showed up on time and organized and has done an incredible job! Jason is very professional and he's now my go-to for anything around my house that needs to be fixed or...
Company came to look at my garage door that was off track. They also said I needed a brace on the other garage door. They put the door back on track, and I paid to install the brace. The technician told me I needed a new garage door opener, and it would cost $1000. Red flags went off in...
 Precision Overhead Garage Door Service
On Sunday 2/26 I requested quotes via Angi from 4 refrigerator repair businesses. Northwest Appliance responded to me Monday morning (2/27) and my refrigerator was repaired by noon the same day. Great communication, they did everything they said they would. The technician had the parts on...
Excellent customer service and knowledge. I was recommend to him from my neighbour. My front door and window came in great and were installed beautifully perfectly, I m very satisfied with their excellent work, so decided to order one more big bow window for my living room. I cant wait for...
Called ahead and worked quickly to install keyless locks on vintage wooden doors.
Scott did not get appropriate access to the property prior to the scheduled inspection which required us to come back later in the day to complete it. He also, unprofessionally, knocked on a neighbor?s door in his attempts to reach someone with access. His overall report was fine though the...
Door Depot was very responsive - they came out the day after my call to assess my needs, then returned at my convenience to complete the work. They arrived early, and the work was completed in a shorter period of time than estimated. Very pleased with the results. I would definitely use them...
 Door Depot LLC
Replace garage doors: Fast response, competitive estimate, timely work done well.
Jeremiah did an awesome job cleaning 28 windows inside and out! He was fast, efficient and now I have a beautiful view again. This was a Groupon for $139 for 20 windows, but I had 28 windows/doors cleaned, so there was an extra $6 per window. Totally worth it.
 Complete Home Services
From average costs to expert advice, get all the answers you need to get your job done.
There’s nothing better than a dog door to give your pet free access to the outdoors. Use this dog door installation cost guide to see what it will cost you.
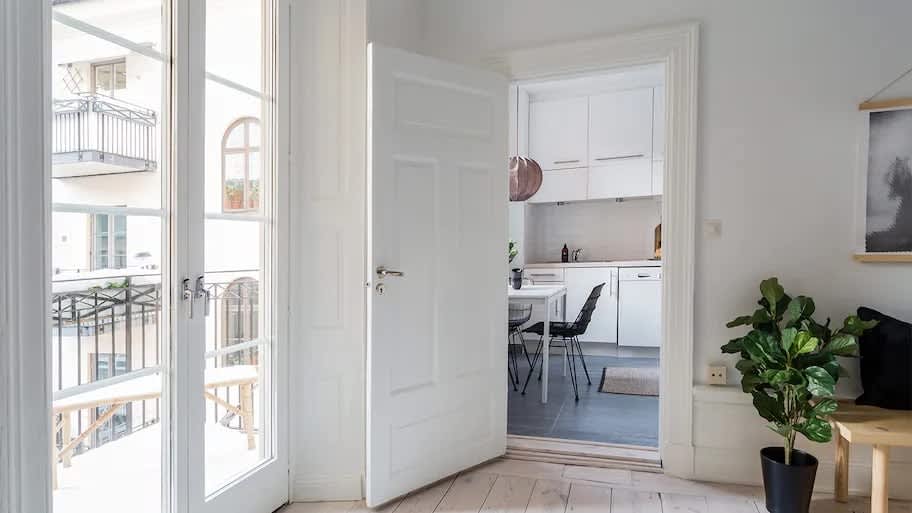
Whether you’re installing a new door or replacing an existing one, the cost of door installation varies based on location, door type, framing needs, and other factors.
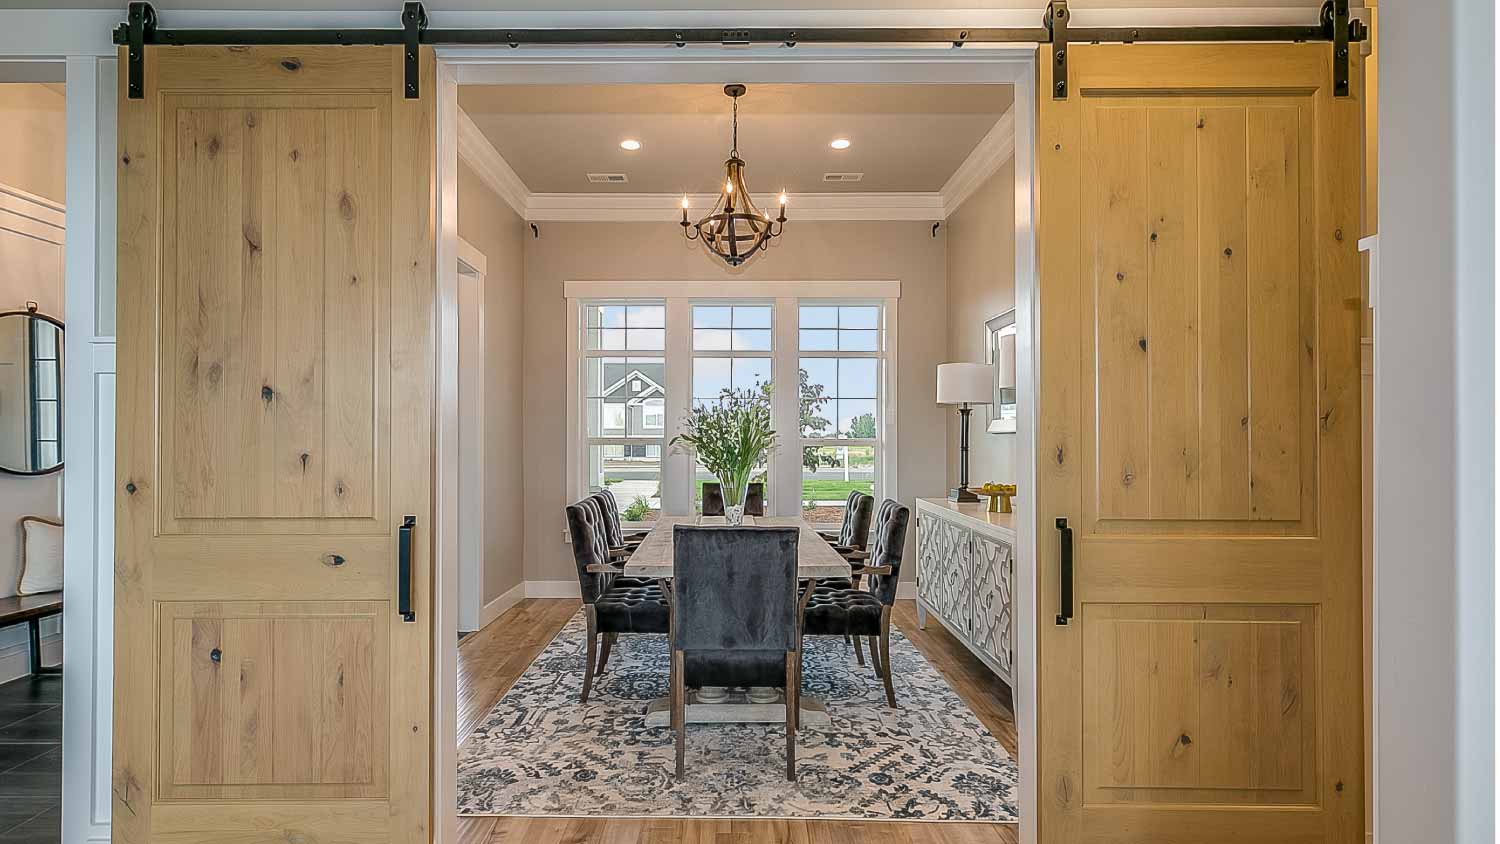
Sprucing up the barn or adding a rustic touch to your home? Use this guide to estimate barn door installation costs, so you can budget for your next project.
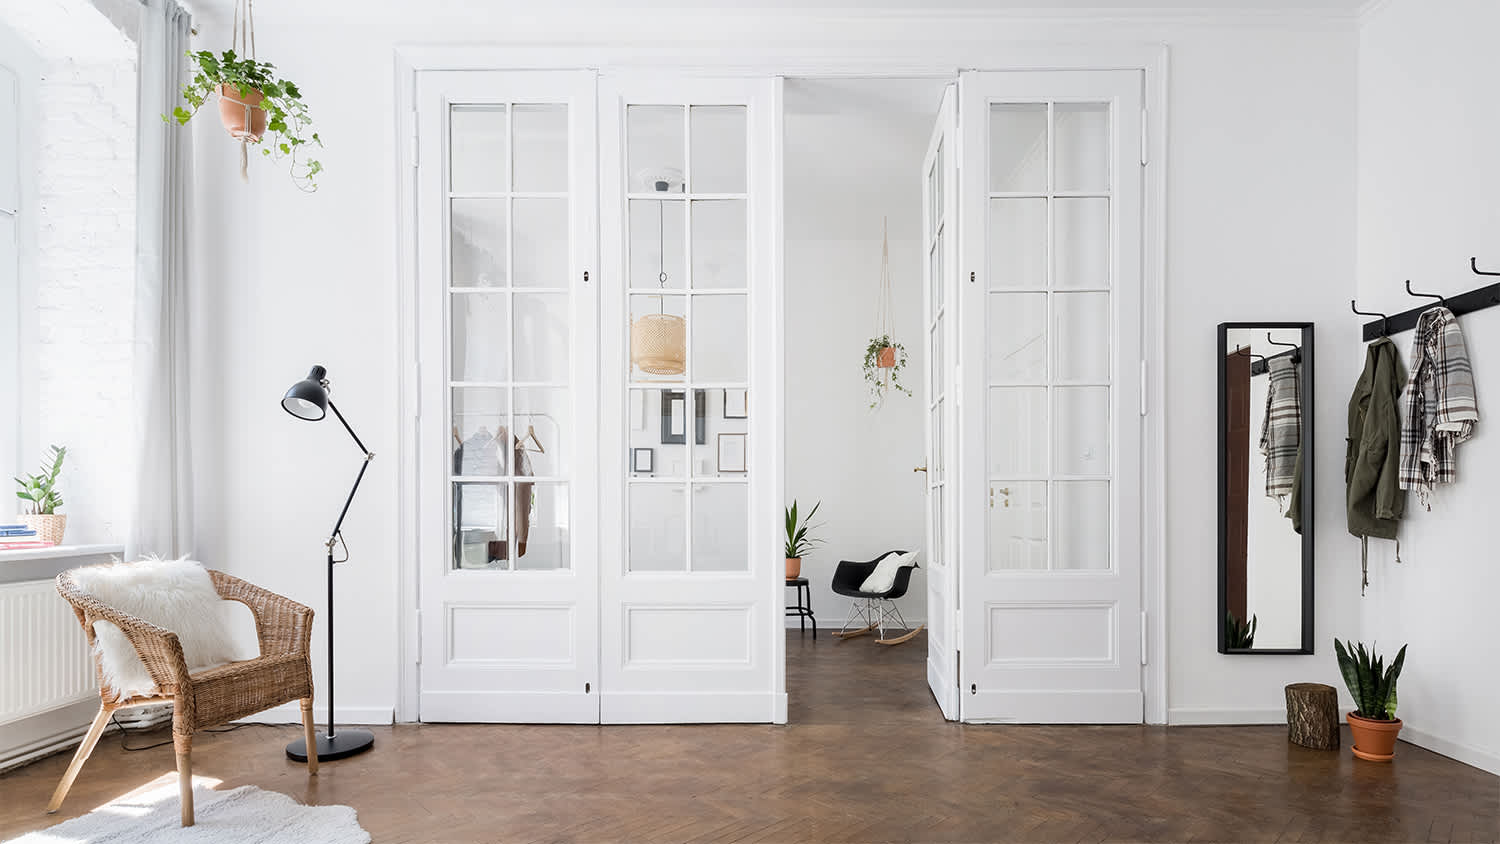
Upgrading an interior door can add character and dimension to your home. Explore these unique interior door styles to see what fits your vibe and space the best.
Looking to build your own custom interior door? Use this complete DIY guide on how to build a door to get the job done in just a few days.
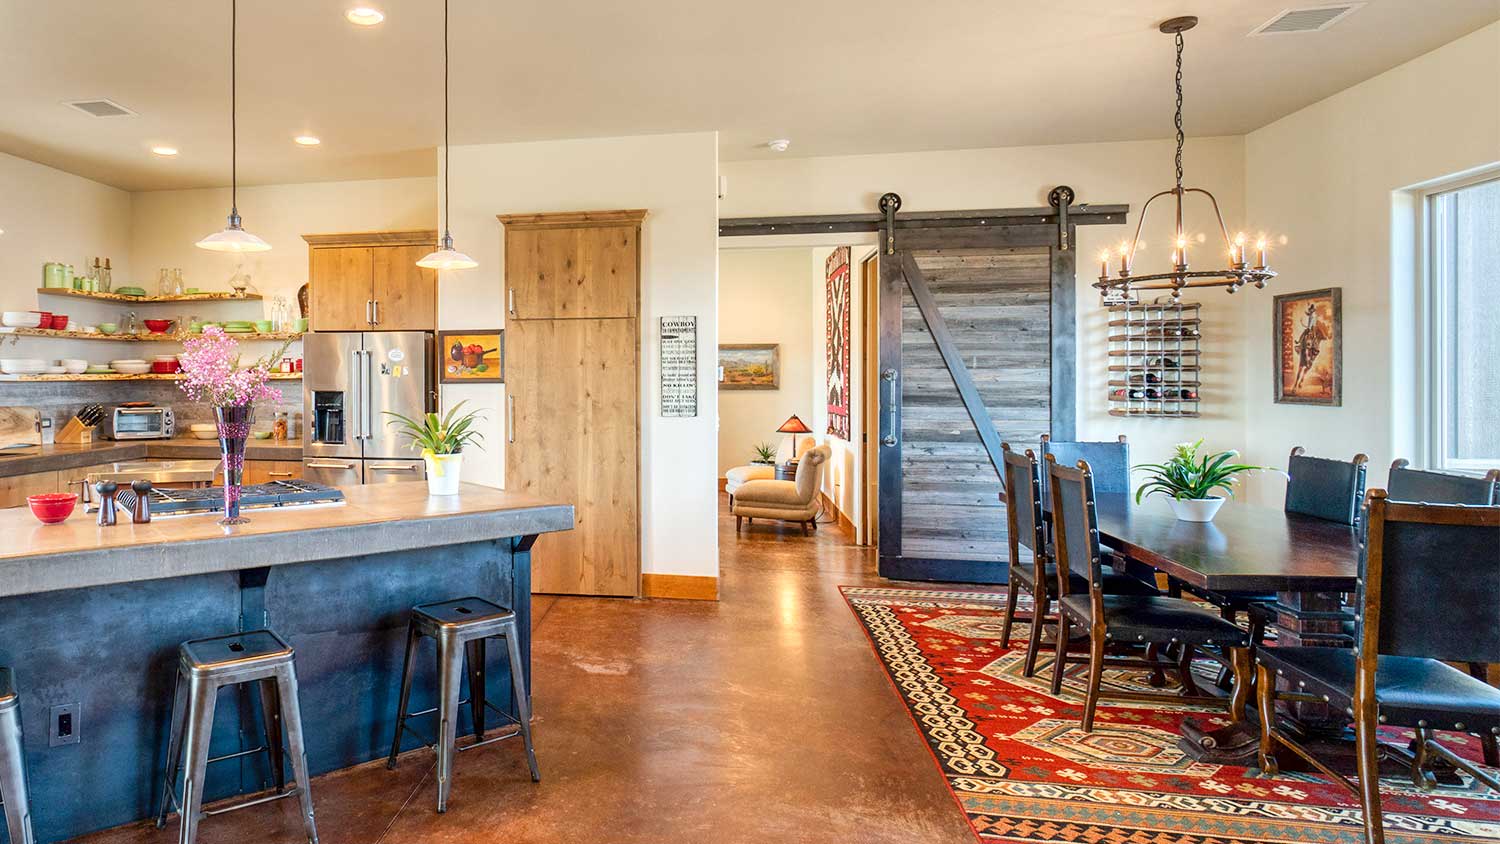
Barn doors can bring some rustic elegance into any room. Use this DIY guide to learn how to build a barn door and elevate your interior space.