
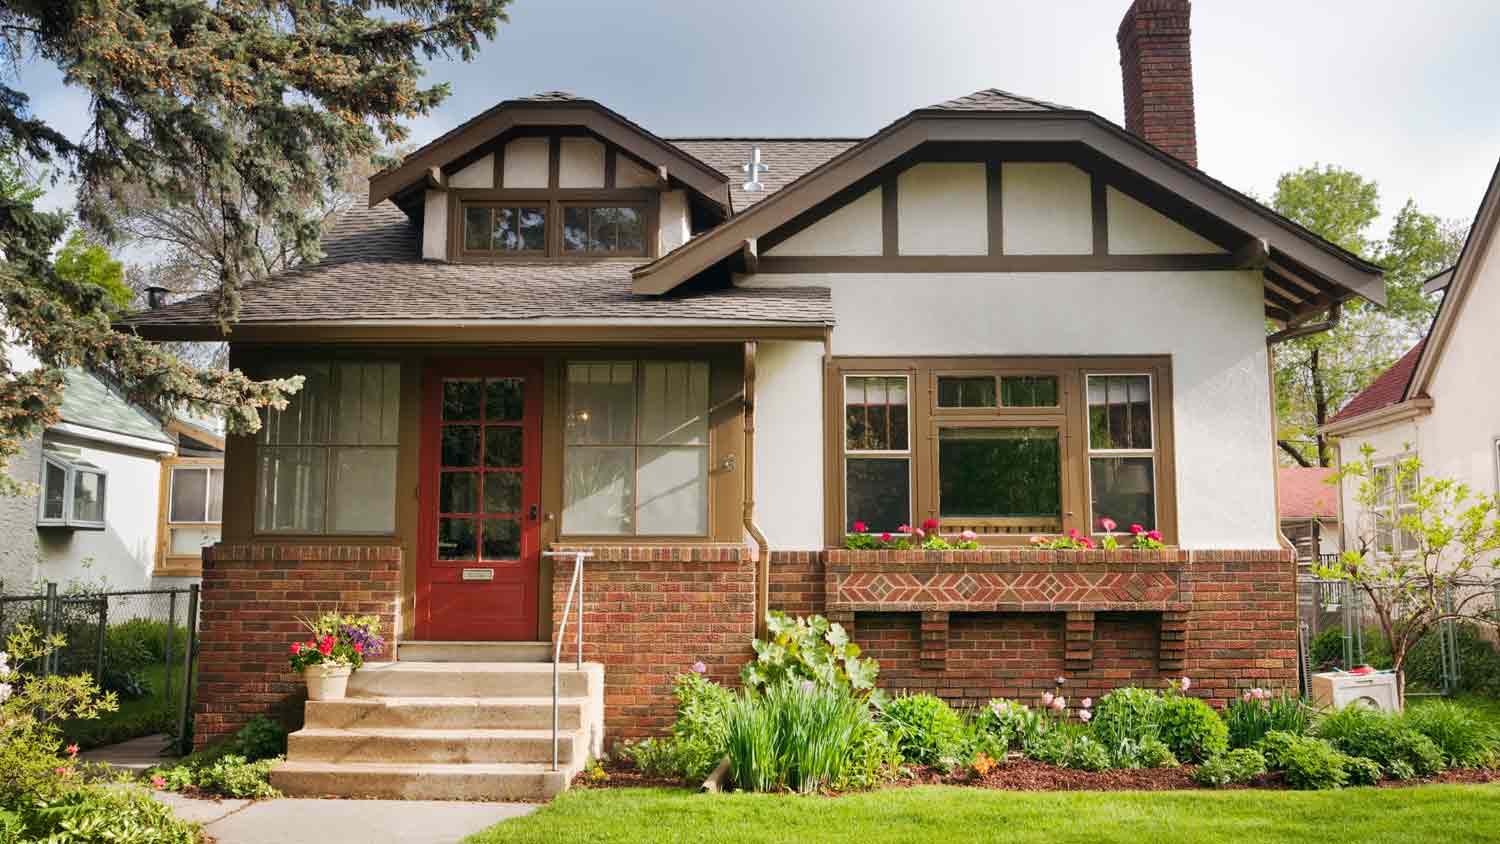
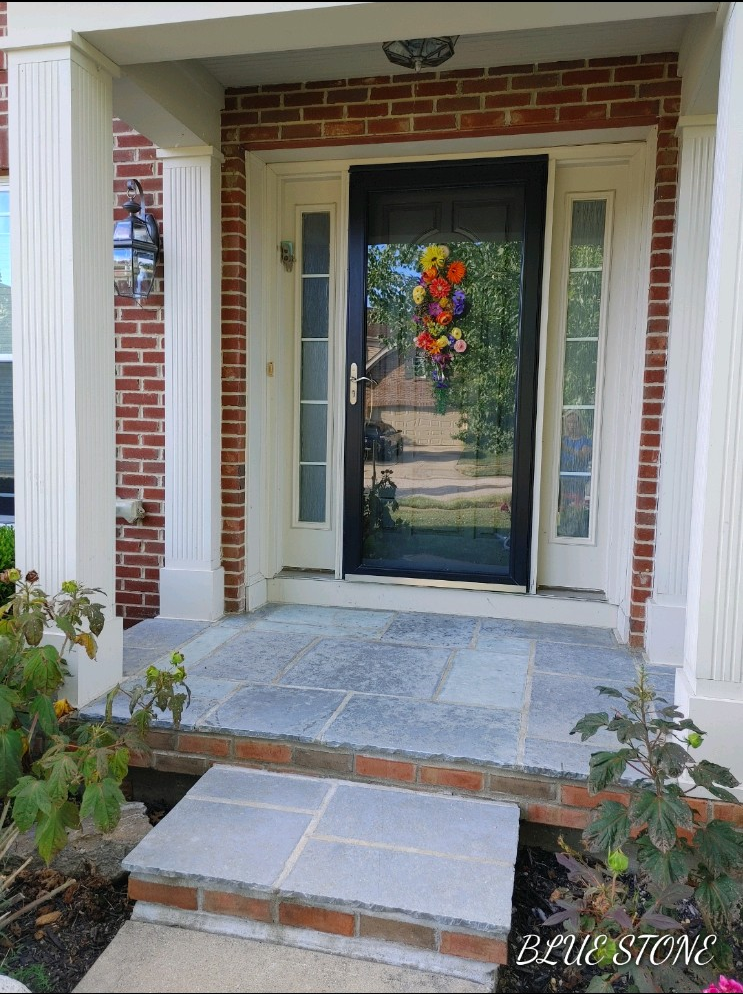
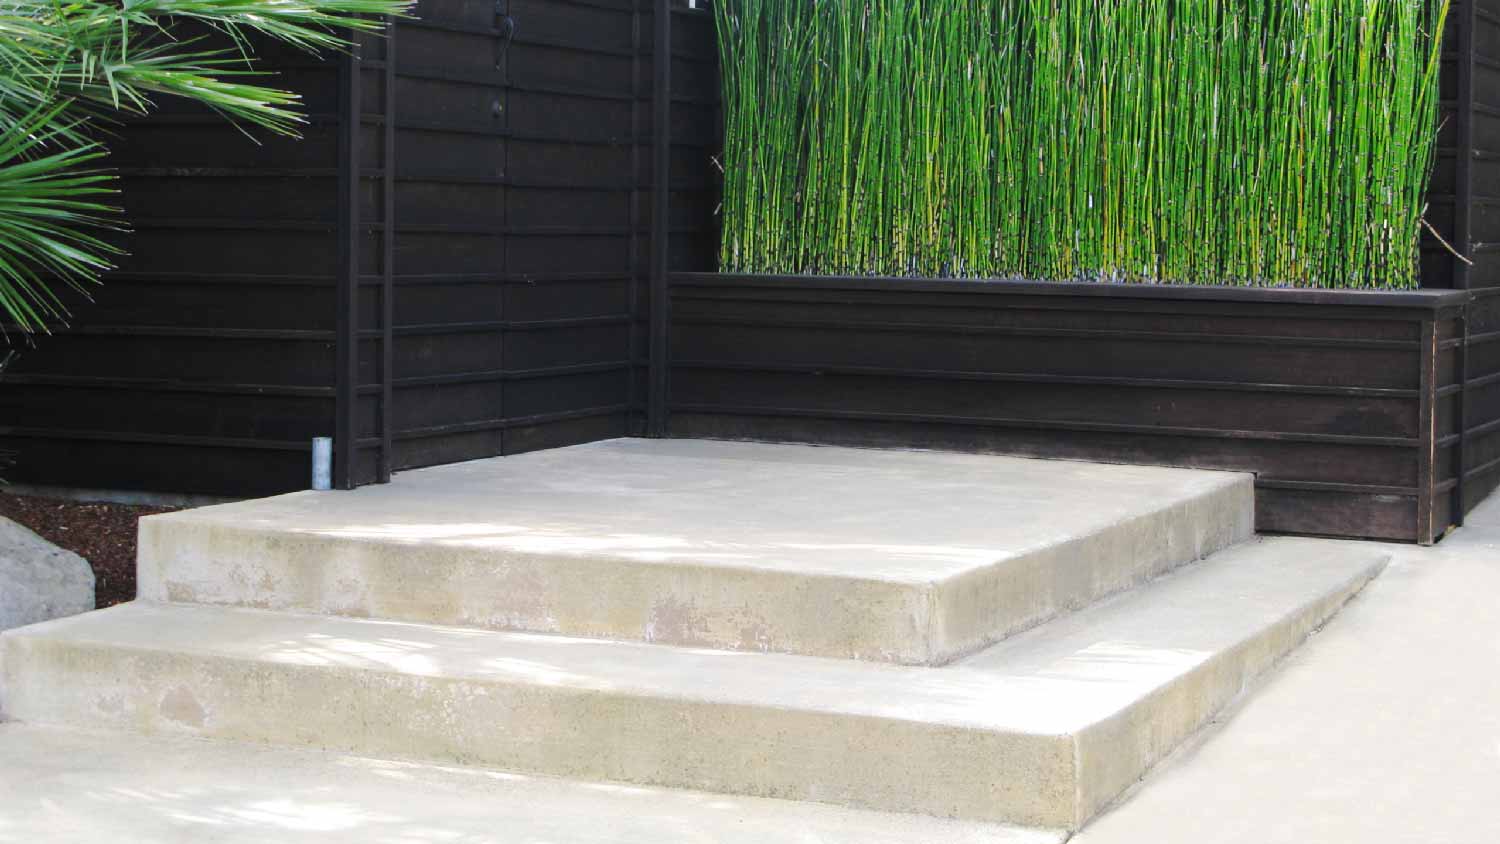
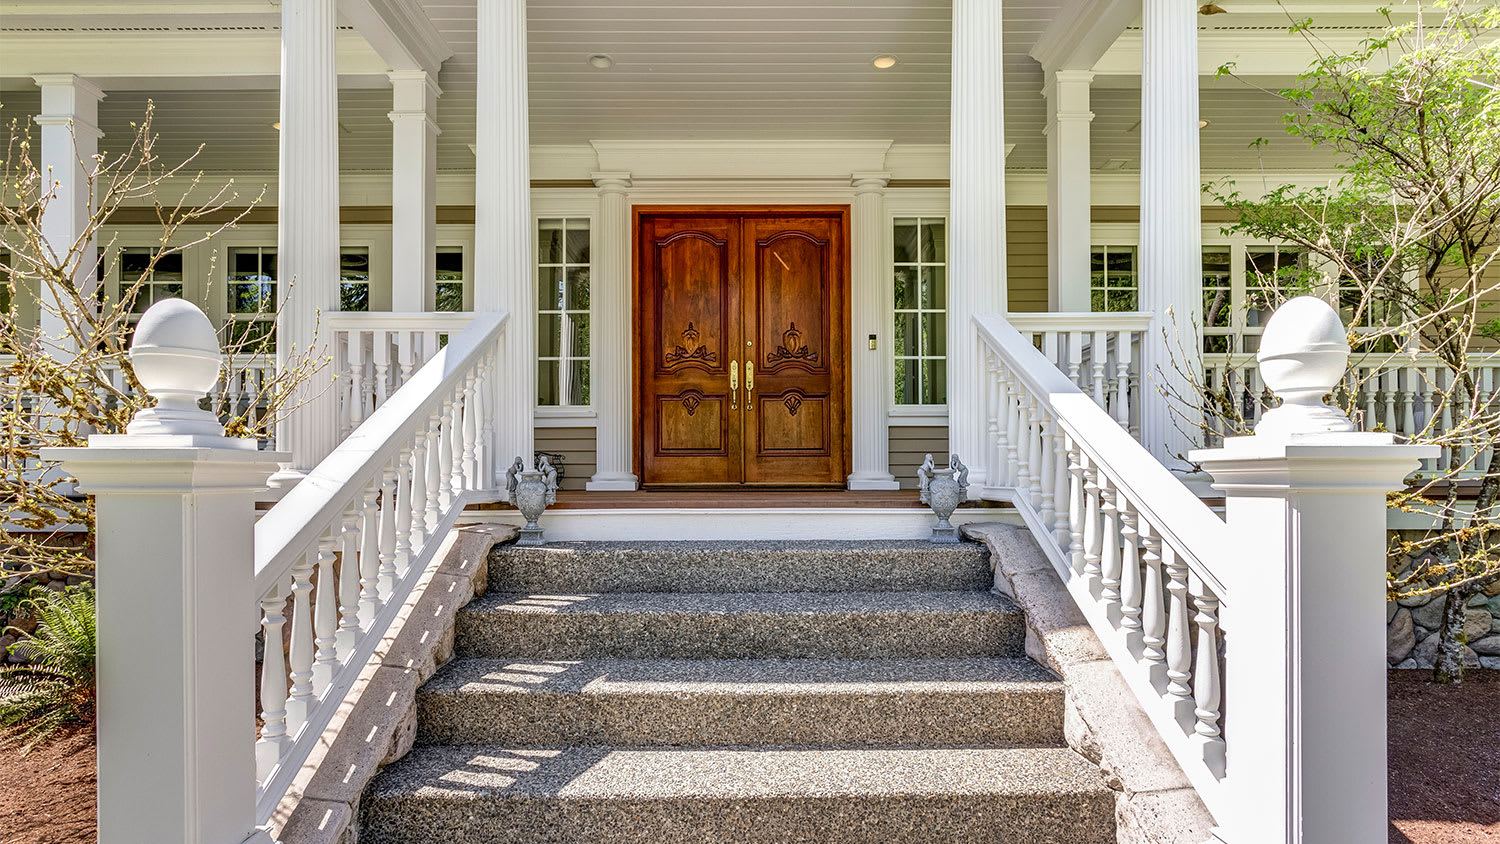
Installing new concrete steps can enhance your home’s curb appeal. Learn all the factors that can affect your concrete steps cost.
Step up your home’s curb appeal


Concrete steps add long-lasting character to your home entryway, but they don’t last forever. Building concrete steps is a big job, but it’s within reach of accomplished DIYers with a weekend to spare and some specialty tools. Follow along to learn how to build a simple set of concrete steps.
Before proceeding, check with your city’s building permit department to determine if you need a building permit. It’s essential to get one if your city or town requires it and understand the building code that applies to your project.
With a permit in hand, you can demolish and remove the old steps, if that applies. Depending on the building code in your area, you may need to replace or install new flashing or other house protection before building new steps. You may have to anchor the new concrete steps to the home’s foundation in some locales. Local codes for stairs vary by geographic location, so it’s best to contact your local building and safety department for compliance requirements.

Get out a measuring tape and a piece of paper to draw a detailed mock-up of the steps you want to build. Plan out the rise and run of your stairs. The rise is the height, and the run is the depth steps. You also want to determine how wide your steps will be.
Determine the total rise (overall height) of the steps in inches. Measure from where you want the steps to start and where you want them to end (such as to meet with the floor of your porch). Divide the height by 7.75 inches, the maximum height each riser can be. Round down to the nearest whole number to calculate the number of steps since the last riser will reach the floor, not another step. Take the total rise and divide by the number of steps to determine your rise per step.
Measure the run (overall distance) the steps will cover. Divide the total run by the number of steps to get the run for each step. Each step must measure at least 11 inches deep for stairs without a nosing. The top step or landing must be at least 36 inches deep by 36 inches wide.
Draw the rise and run dimensions on a 3/4-inch piece of plywood. You’ll use the plywood as one side of the steps and as a landing form.

To ensure your new steps stay level and aren’t prone to cracking due to ground movement, you’ll need to create a firm base.
Using your staircase's depth and width measurements, stake out and mark with a mason’s line an outline of its footprint where it will rest on the ground. Check your outline for square by measuring from each corner to its opposite corner and ensuring the measurements are equal. Remove the soil in the outline plus a couple of inches in each direction to a depth of 4 to 6 inches.
Fill the void with compactable gravel or sand. Tamp it down with a hand tamper.

Much concrete work requires excellent carpentry skills. Work slowly and carefully when cutting your forms. Any mistakes in this step will show up in the poured concrete when it’s more difficult to fix.
Sandwich the second piece of 3/4-inch plywood to the first with your template drawing facing up. Attach the pieces together with a few temporary wood screws. With a circular saw, cut out the side form shape from the plywood.
For each riser, cut a 2-inch by 8-inch board to 1 1/2 inches longer than the width of your staircase. With a circular saw or table saw, rip each riser to the individual riser height. It’s helpful to rip the boards with a 45-degree blade angle, though it’s not necessary. Leave one riser without a 45-degree angle cut.
Concrete is heavy and will distort forms that aren’t secure. Be sure your forms are well-anchored when this step is complete.
Stand the plywood side form up on its bottom edge. With 2 1/2-inch screws, attach the end of the riser without a 45-degree angle to the edge of the plywood. Attach the other end of the riser to the other plywood side form. Attach the second riser to the next riser position in the form with 2 1/2-inch screws. Place the rise with the 45-degree angle facing down and out. Continue with subsequent risers until complete.
Check to ensure that the side form plywood pieces are plumb and level. Install three 2-inch by 2-inch stakes along the bottom of each form. Attach each stake to the form with 2-inch screws.
Drive two 2-by-2 stakes into the ground on all three sides of the steps (you may need more for the front side). Create support abutments between each stake and the form using 2-inch by 2-inch boards. Securely attach the boards to the stakes and the form.
For staircases taller than a single riser, you can use compactable soil or rubble to partially fill the void between the ground and the concrete within the forms. If you have rubble from the demolition of the old stairs, mix it with compactable soil and use it as fill.
Fill the area and tamp often. Allow at least 4 inches of clearance from any form board.

Rebar reinforces your concrete work for a long lifespan. Cut rebar to length with a grinder and metal cutting blade. Install a 12-inch by 12-inch framework of rebar inside the form. Tie each intersection together with rebar ties by twisting the ties with pliers. Allow at least 2 inches between any piece of rebar and the form lumber.

For this step, you’ll need to either rent a cement mixer from a home center or have mixed concrete delivered.
Determine how much concrete you’ll need to mix or purchase. You’ll need 20 pounds of concrete mix per 0.15 cubic feet of stair volume. Knowing ahead of time how much you need and how much concrete costs can ensure you don’t have to make a run to the hardware store in the middle of the project. Using a consistent mixture across the project also allows for a uniform look and less potential cracking.
Spray the inside surface of the forms with a concrete release agent. Mix and pour concrete into the form. Tap the sides and front of the forms with a hammer to reduce voids as you pour the concrete. The more hammering, the better.

Bring the steps to life by screeding and floating the concrete, starting with the top landing to make it level. Create smooth corners with an edging trowel. Trowel the landing and steps until smooth.
Allow the concrete to rest for several minutes until there’s no water on the surface. Then, brush the concrete to create a rough surface for foot traction.
Allow your steps to sit untouched for several hours until you can no longer press your hand into the surface before removing forms. Then, unscrew and remove the riser forms from the side forms.
You may need to mix a small amount of concrete to fill any voids left behind. Trowel smooth with a rubber float and brush in some texture if you like. Remove the side forms and stakes. Trowel and add texture as you like.
Proper curing is essential to avoid cracks in fresh concrete. Use one of the following methods to slow down evaporation so your concrete can cure correctly:
- Beginning several hours after pouring, spray the entire surface eight to ten times per day for one week. Use a garden hose with a gentle spray nozzle.
- Apply concrete curing compound spray following the manufacturer's instructions.
- Cover the entire project with a 4 mil or thicker plastic sheet.
Seal your concrete with a high-quality acrylic or siloxane or silane sealer. Sealer helps the concrete hold up to weather conditions and normal wear and tear. The cost to seal concrete yourself ranges from $0.10 to $0.75 per square foot.
We only recommend pouring concrete steps if you have solid DIY skills and experience. Working with concrete requires using specific tools that may prove too expensive if you’ll only use them for this project.
The cost of supplies for installing concrete steps on your own is between $350 and $550, one weekend, and tool rental or purchase cost. The cost of concrete step installation starts at around $900. A concrete company near you can also provide design ideas and a warranty.
Deane Biermeier contributed to this piece.
Archie did a good job cleaning up the driveway before he laid down the sealer. It looks good. He was gracious and even helped me bring up my groceries. His rate was comparable to another company who came out to give me a quote and he talked to me personally rather than just text me a quote...
Wonderful. I am going to have them remove and replace my driveway in the spring.
 All Star Paving and Sealing
Working with Peter and his crew was a breeze. They were exceptionally polite and did a neat job to repair and seal our driveway. I will definitely talk to them first for additional work.
 Central Paving
The preformed a really good job the staff is incredible never been so happy with my home, A brand new driveway is like a face lift!!
We recently had our office sidewalk repaired and CT Concrete did an "Outstanding" job. They were quick, friendly and the job is "flawless". I would highly recommend CT Concrete for any of your concrete/sidewalk needs.
Called Mark on a Thursday morning. Not really knowing if he could help me or not. I was having driveway, flooding issues due to a clogged channel drain and I was trying to figure out what direction to take. Heavy rains had come on Monday and again on Thursday leading to flooding in my garage...
It went really well! The concrete looks, they even did some patch work on my buildings parking lot. That was such a plus! <br />
 AmeriCoat Asphalt & Concrete
Jand J has provided services for clients of mine for 15 years or maybe longer. They are always honest with their recommendations, providing good advice to my clients and competitive pricing. All three of the structural engineers whom I have dealt with in recent years have Jand J on their...
We first had Mark fix the back patio and liked his work so much we had him make a brick patio on the side of the house. When we decided to change our concrete walkway to brick, we wanted Mark to do the job because his prices were fair and he did such good work on t he other two projects.
 Mark Monnette Masonry
Mr. Lewis was extraordinarily responsive. At the time we realized that the concrete could not be repaired, we had intended to put our house on the market. We were anxious to get the work complete so that we wouldn't delay marketing the house. Mr. Lewis promptly returned our calls, provided...
From average costs to expert advice, get all the answers you need to get your job done.
Installing new concrete steps can enhance your home’s curb appeal. Learn all the factors that can affect your concrete steps cost.
Need to breathe new life into your exterior stoop? Use this guide on concrete step repair cost to see the price of a professional repair.
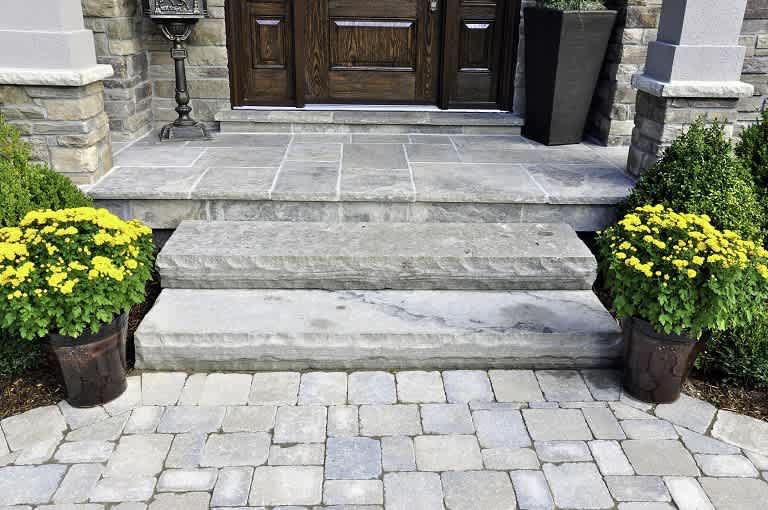
The cost of stone steps can vary considerably depending on the material you choose and how much labor is required. This guide shows you the cost of popular stone steps and all the extra fees you need to consider when tackling this project.
Broken concrete steps can be a safety risk and reduce your home’s curb appeal. Get them back in good condition by hiring a concrete contractor to repair concrete steps.
Want to freshen up your outdoor steps and make them look good as new? Learn how to repair concrete steps quickly and with no experience in this guide
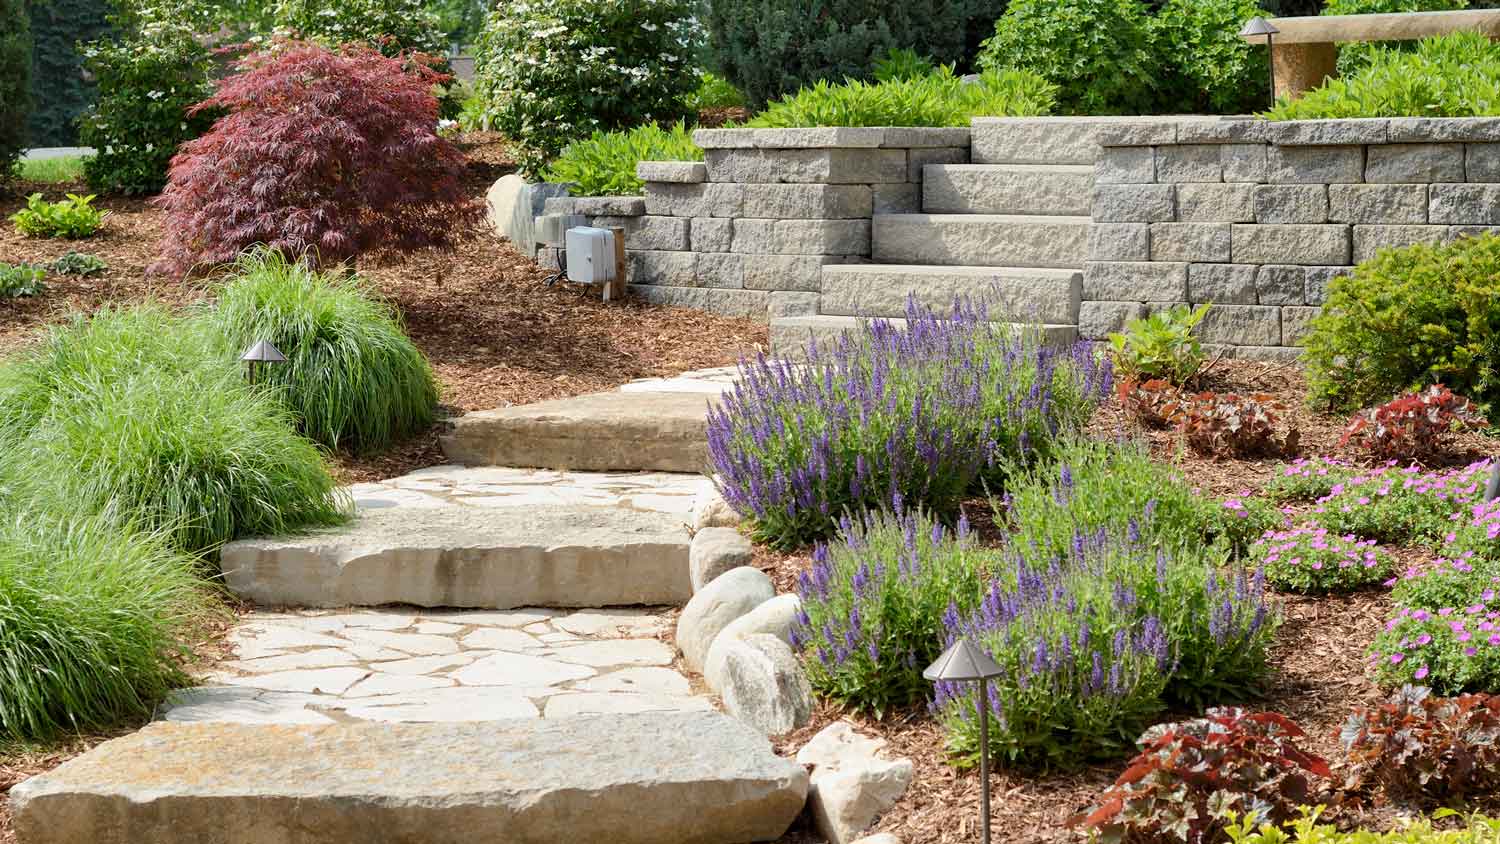
Learn how to build stone steps on a slope. Discover the tools, supplies, and instructions needed to create a functional addition to your landscape.