
Kick erosion to the curb with an eye-catching retaining wall. Retaining wall costs vary based on the material, but this guide will help you budget.
Expand your yard with a sturdy retaining wall

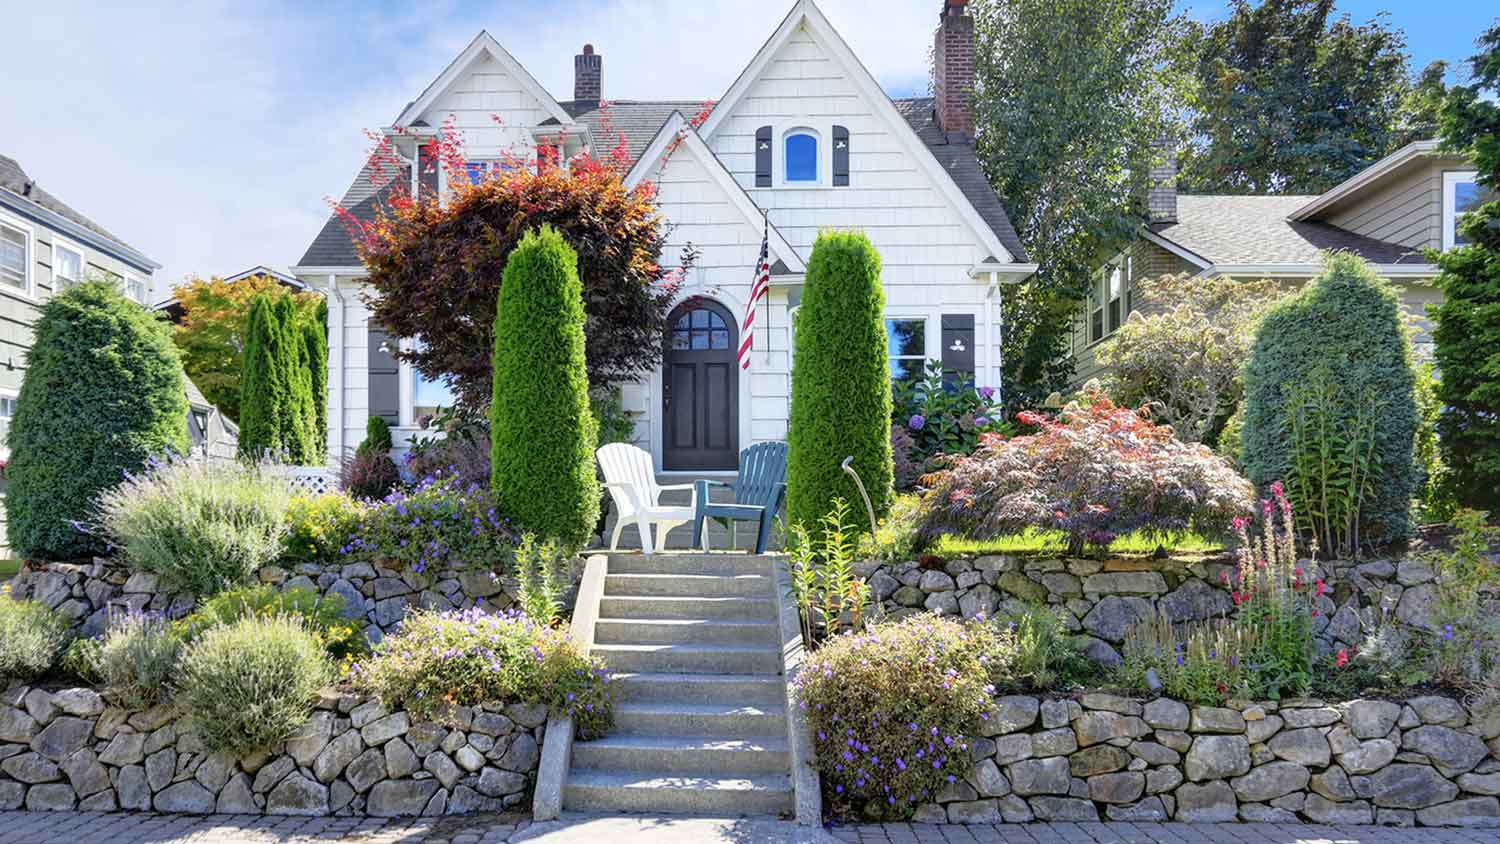
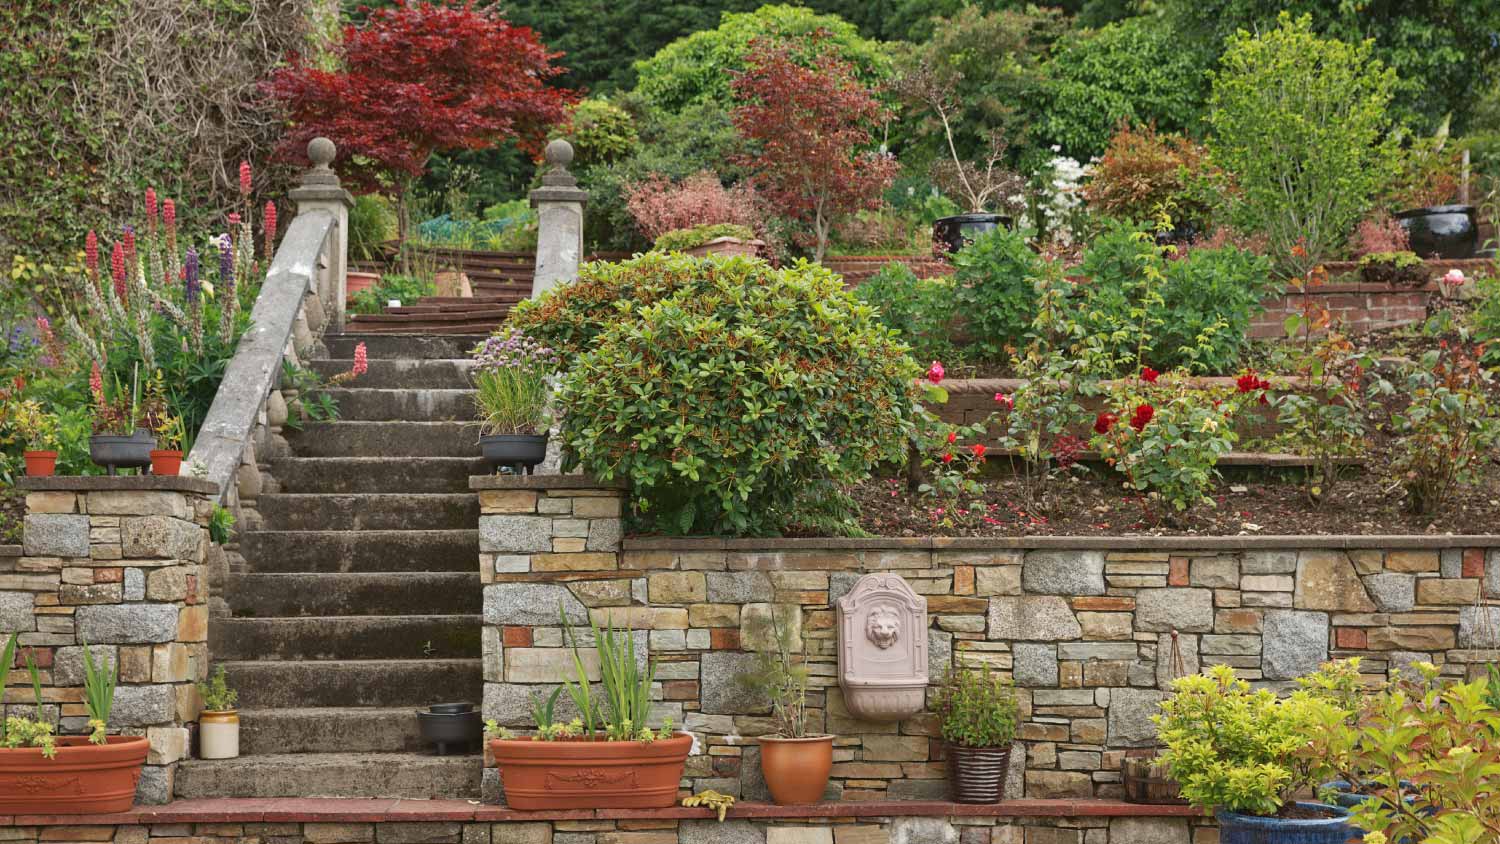
A beautiful backyard oasis is incomplete without a statement retaining wall, especially if your yard is sloped or hilly and you want to prevent erosion on a slope. These structures can increase your usable yard space and increase your curb appeal. But learning how to build a retaining wall with your own two hands is not an easy feat. If you have the tools and the construction know-how, follow this step-by-step guide for a challenging weekend warrior project.
Building a retaining wall requires more planning than your average DIY project. To start, if the retaining wall is big enough, you might need a building permit. Research your local building authority’s requirements to determine if you need one.
You’ll also need an extra set of hands, so grab at least one other person to help build this retaining wall with you. This person can help you lift and place concrete blocks and keep the worksite safe. Additionally, you should wear protective gloves, boots, and work clothes to shield yourself during this DIY.
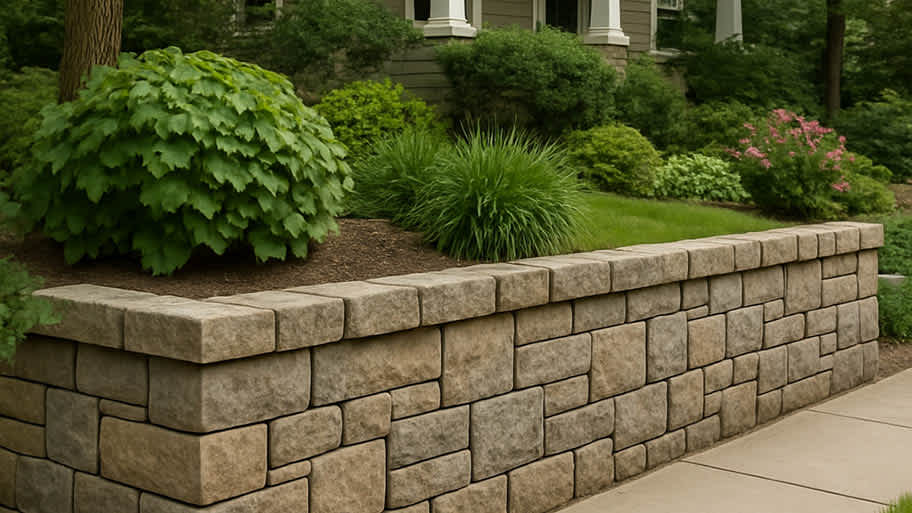
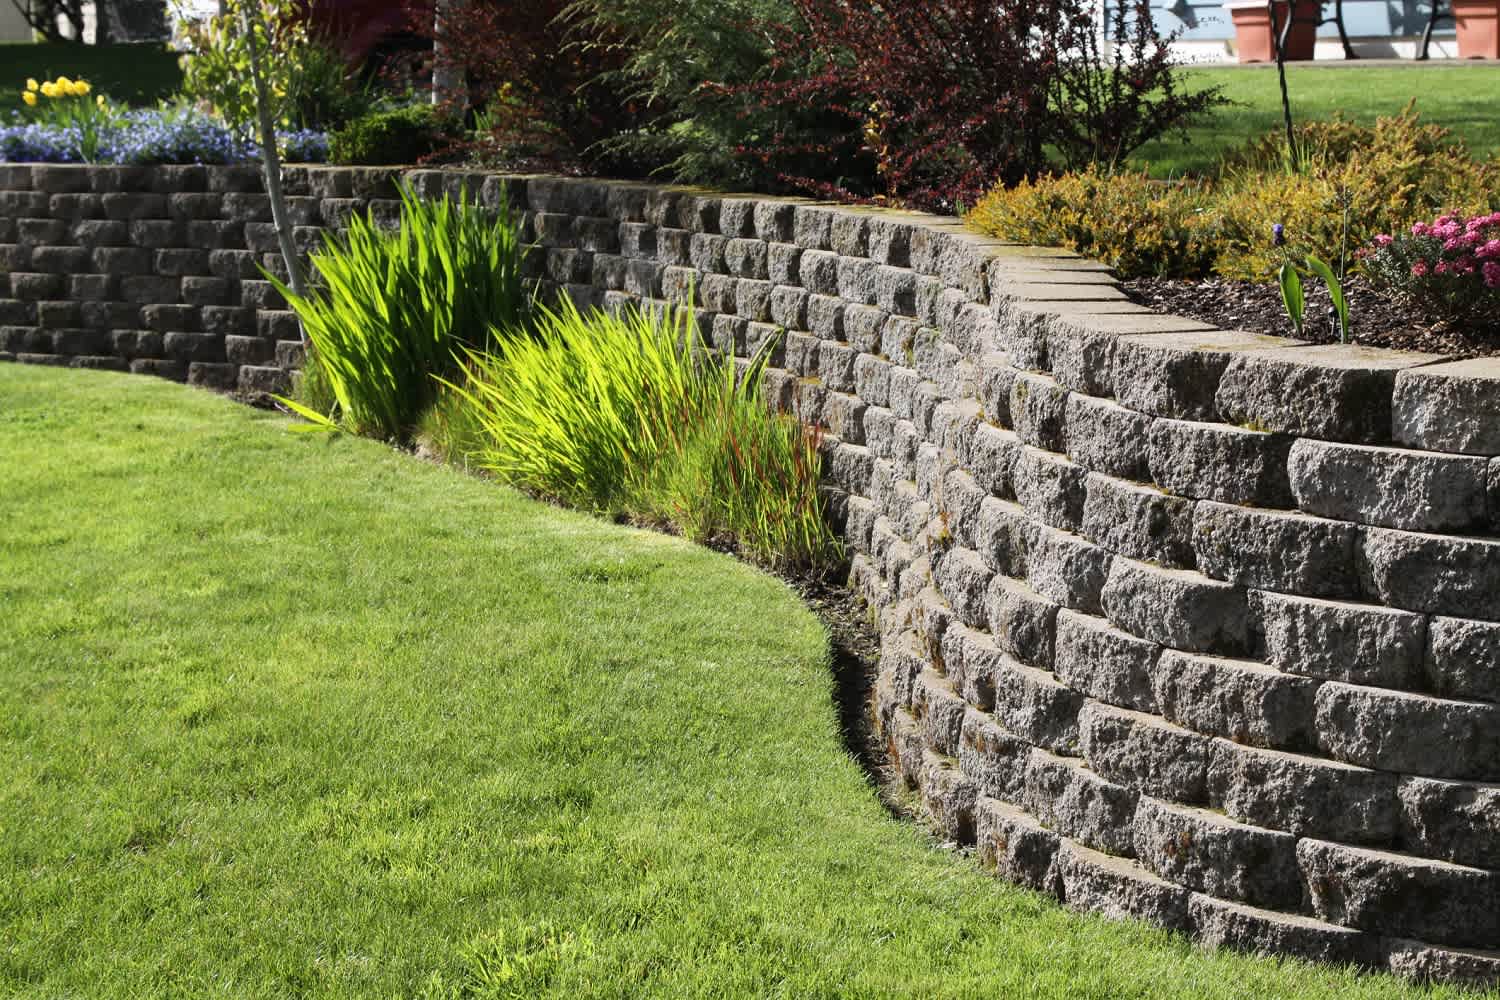
Retaining walls can be made of wood, steel, natural stone, brick, or concrete blocks. Concrete blocks are the best material for DIYers, as they can interlock when stacked and don’t require any mortar or adhesive. However, if you prefer a retaining wall made of wood, steel, natural stone, or brick, you should hire a retaining wall contractor near you to take care of the heavy lifting.
You can create just about any landscape design on a hill, but if you have a severe slope a professional landscaper can help install new drainage. Pooling water can lead to damaged plants and yards.

Determine exactly where your retaining wall will go by using a tape measure to plan out the length and width of your structure. Mark the final location by placing wooden stakes in the ground and tying a string line at the desired height of the wall. Make sure this line is level.
If your retaining wall is curved, use spray paint to mark the location instead.

The sturdiness of your retaining wall depends on how compact and level the base is. To construct the base, start by digging out a trench with a shovel where you previously marked the location. You will want the trench to be twice as wide as your concrete blocks and about 4 to 6 inches deep.
To check that the ground is level, you can temporarily place a two-by-four piece of lumber in the trench and set a standard level on top. Even if your ground has a pronounced slope, your trench still needs to be level so that your retaining wall blocks are level. In this case, dig a trench with steps up or down as needed.
Once your trench is cleared and level, compact the surface with a hand tamper.

Next, add gravel into your trench to complete the base. Choose gravel with stones from 1/2 to 3/4 inches in size and place a 2- to 3-inch layer. Spread the stone with a garden rake and ensure every section receives an even amount. Tamp down the gravel with a hand tamper.
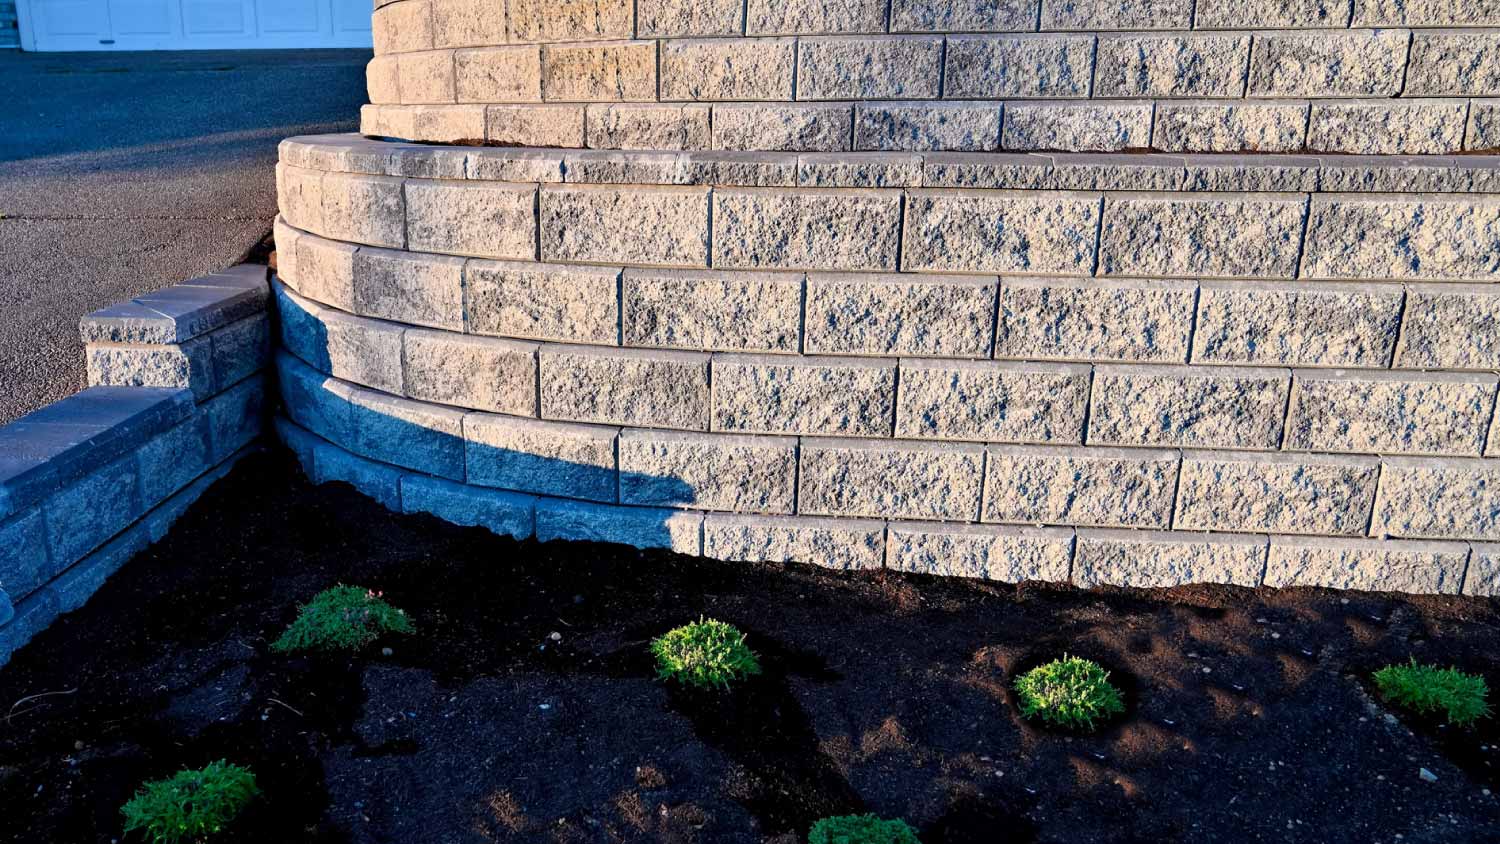
Now that your retaining wall has a sturdy base to rest on, you can begin laying the first course of concrete blocks. Start at one end of your trench and lay the first block centered in the middle of the trench. Use a standard level to ensure the block is level before continuing. If needed, use a rubber mallet to lightly tap down on the block or add more gravel beneath to achieve levelness.
Lay the remaining first course of concrete blocks, checking the level of each one as you go. The levelness of this first row determines the levelness of your entire wall, so this step is crucial.
Once the entire first course of blocks is set, fill in the gap between your retaining wall and the soil behind it with gravel. Lightly tamp the gravel to increase the stability and decrease the soil erosion potential behind your wall.

Your next course of blocks should be staggered from the first course. To do this, you will need to cut one of your concrete blocks in half and place a half-block at each end of the retaining wall. In other words, cover the joints between the blocks on the first course with a full block on the second.
To cut a concrete block in half, use a tape measure and a straight edge to draw a guideline down the middle of the block. Then, cut along the line using a circular saw with a masonry blade. Be sure to wear eye protection, ear plugs, and a dust or respirator mask.
In some cases, you may want to install a drainage system at this point in the project. For example, if your yard is prone to heavy rain or has slopes that create pools of water, a drainage system behind your retaining wall could prevent future damage to the structure caused by this water. There are two main drainage methods to choose from: a drainage pipe or drainage fabric.
For the drainage pipe method, purchase a perforated corrugated pipe that extends the length of your retaining wall. Cover the pipe with a drain sleeve to keep it from getting clogged with dirt and debris, and install it behind your retaining wall. Place gravel around the pipe until it is completely covered. Water collected behind your retaining wall will enter the drainage pipe and drain away rather than collect.
For the drainage fabric method, purchase enough rolls of landscape fabric to cover the entire back surface of your retaining wall. Lay the entire section of drainage fabric down behind the wall. As you continue to build your retaining wall, guide the fabric up the wall, placing gravel behind it after each course.

Continue laying concrete block courses, staggering each layer. Between courses, be sure to keep the surface clean so each block makes a solid connection with the block beneath it. Routinely check the level of the wall as you go. Place the gravel behind each course to ensure it has time to pack down and settle.
While not entirely necessary, you can use a concrete adhesive between the last two rows of your concrete blocks for added stability—useful if your retaining wall is on the tall side. Add a couple of lines of concrete adhesive with a caulk gun to the block surface before installing the next course.
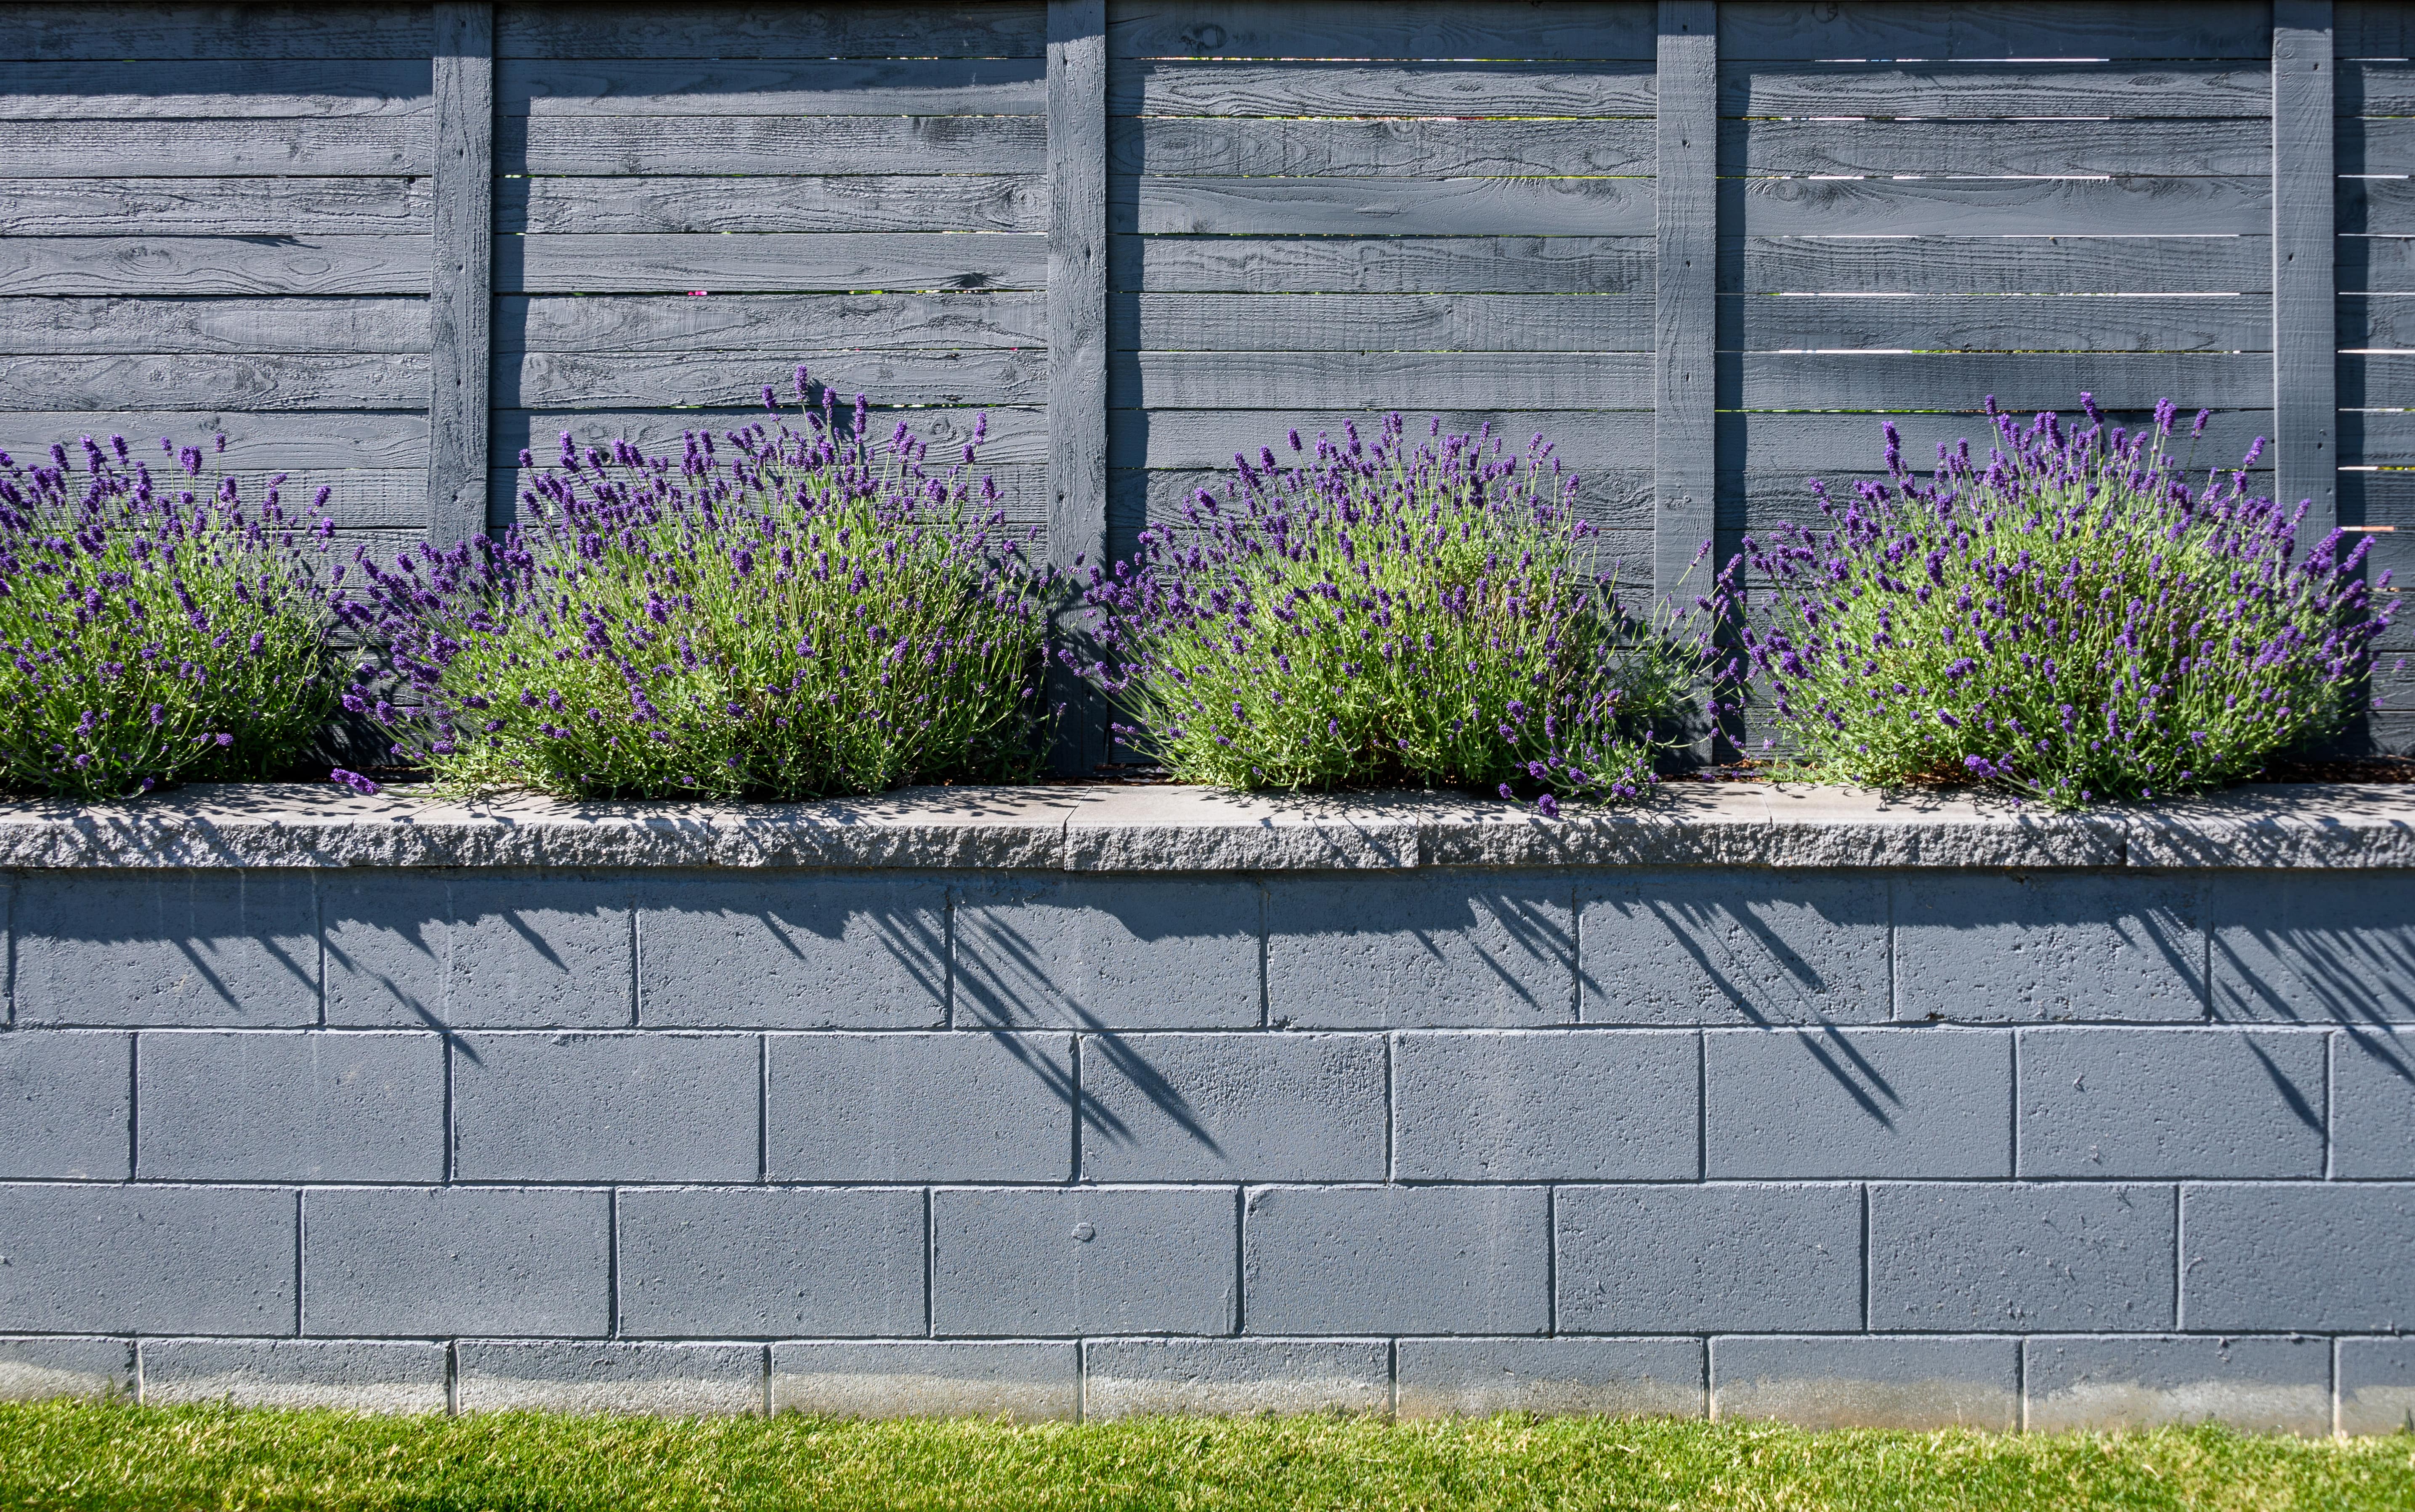
You can add capstone blocks to the top surface to give your retaining wall a finished look. Apply two lines of concrete adhesive with a caulk gun across the top surface of the last course of blocks. Secure your capstones on top, overhanging 1 to 1 ½ inches off the front.
Brush off the last layer of blocks and clean up any debris. Ensure a solid layer of gravel is installed behind your retaining wall. Fill in any exposed areas with topsoil and sod to complete the installation. You might also consider adding other finishing touches, like mulch or landscaping elements.
Building a retaining wall is a strenuous and laborious process, so make sure you’re thoroughly prepared before starting this process. Here are some tips to help it go smoothly:
Preparation is key. Check that you need a building permit before you get started, depending on your local ordinance and the height of the wall. Also, ensure you enlist the help of at least one other person for this project.
Check the weather. Only build your retaining wall in dry weather.
Think about safety. Since this home project uses heavy building materials like cinder blocks, wearing protective gear is a must to protect you from any injuries.
Buy in bulk. Purchase 10% more of your building materials in case of any measurement errors or if you make mistakes.
Building a retaining wall yourself is a gratifying project, but the process requires several tools and some construction expertise. If you do not have all of the necessary tools in your arsenal or if a DIY project of this caliber feels a little too complex, consider hiring a professional for your retaining wall project
The cost of a retaining wall built by a professional is $5,700 on average, ranging from $3,200 to $8,700 depending on the materials and labor needed. Hiring a professional retaining wall company ensures your wall is built correctly and will last for many years to come.
Custom Paint Jobs LLC made our home feel like a piece of art. Thank you for your creativity!
Window Depot did an amazing job on my deck. I wasnt sure what I wanted to do, but their composite decking was affordable and will last a long time. I am excited to have family over, and I am no longer embarrassed by my backyard. Jeff and the ground crew were polite, respectful, and caring for...
First of all, the gentleman I dealt with (Cam?) was very responsive to my many questions and concerns throughout the project, which is a huge plus to me. From the first time I met him for the estimate all the way til the completion of the job, he and his crew were professional and respectful....
 All Star Paving and Sealing
We had a 20+ year old landscape lighting system that needed replacement. Midwest Lightscapes worked with us to design a much improved lighting system, lighting the exterior of the house and the back yard. Installation of the 45 light system took one and one-half days, and went very smoothly....
 Midwest Lightscapes
Another great success for me on home advisor. This company did an awesome job on my landscaping and stayed within my budget. The best part, the work was complete within 2 days of my initial request. Professional and responsive. I highly recommend!
The company no showed on me twice. The 2nd time was no call no show. They were responsive to set up the first appointment to perform the "landscape cleanup". 3 hours after their initial scheduled appointment time they called me to let me know they had some "problem" with the truck and their...
 Ruby Home and Hauling Services
Received ideas for future landscape plans...quote to do the work seemed a bit high but I did not have any other quotes to compare it to, so perhaps that is the going rates. <br />
 Landscapes By Terra, Inc
All around they have done a really great job. <br /> I have used JL Landscapes for the past 8 years. I own and operate my own commercial/residential real estate company where we own, operate, and maintain our own properties. JL Landscapes has been our exclusive landscaper for both our...
 J.L. Landscapes
Bought a half a cord of firewood from Pitzer with stacking last month. I waited to report so I could see how the wood burned. <br /> <br /> I have three pet peeves regarding landscapers, but Pitzer scored "A"s regarding all three. First, rather than having customers "leave a message" and...
 Pitzer Landscaping
I left a message on Sunday requesting to schedule a time to obtain an estimate/walk-through and received a return call in the morning of the following Monday. Mark worked with me and agreed to schedule the estimate/walk-through for the following Saturday. When Mark arrived for the...
From average costs to expert advice, get all the answers you need to get your job done.
Kick erosion to the curb with an eye-catching retaining wall. Retaining wall costs vary based on the material, but this guide will help you budget.
Retaining wall repair cost can vary widely based on the age and condition of the wall being restored. Learn why finding the right pro is important for getting the job done.
Find out how much a concrete retaining wall costs. Get average prices, cost factors, and expert tips to budget and save on your installation.
While it’s possible to DIY build a retaining wall, several pros have advanced knowledge of hardscaping and building. Learn who to hire to build a retaining wall.
If you're looking for an effective solution to prevent soil erosion and create usable spaces on sloped terrains, it's time to learn: what is a retaining wall?
Replacing a retaining wall or installing a new one after grading? Here are some retaining wall questions you should be prepared to answer when hiring a pro.