
•
Discover window security film installation costs. Learn about average prices, cost factors, and ways to save on your home security upgrade.
Bring on the privacy, but hold the bubbles

Window film can serve a variety of purposes: You can give your home more privacy, block out the sun to reduce screen glare and lower your AC bill, or just add a decorative film to breathe some life into your space. Window film installation kits are usually very affordable and readily found at hardware stores. In addition, it’s easy to apply film to several windows in an afternoon (with the help of a friend). New to this project? Here’s how to apply window film with water (or the solution provided in the kit) in 9 easy steps.
Head to your local hardware store (or just browse online) to find a window film installation kit to tackle this project. All you need is a rough idea of how much film you’ll need (buy 15% more for excess trim and for mistakes) and what you’re trying to accomplish with the window film application. Here are a few types of window films to choose from:
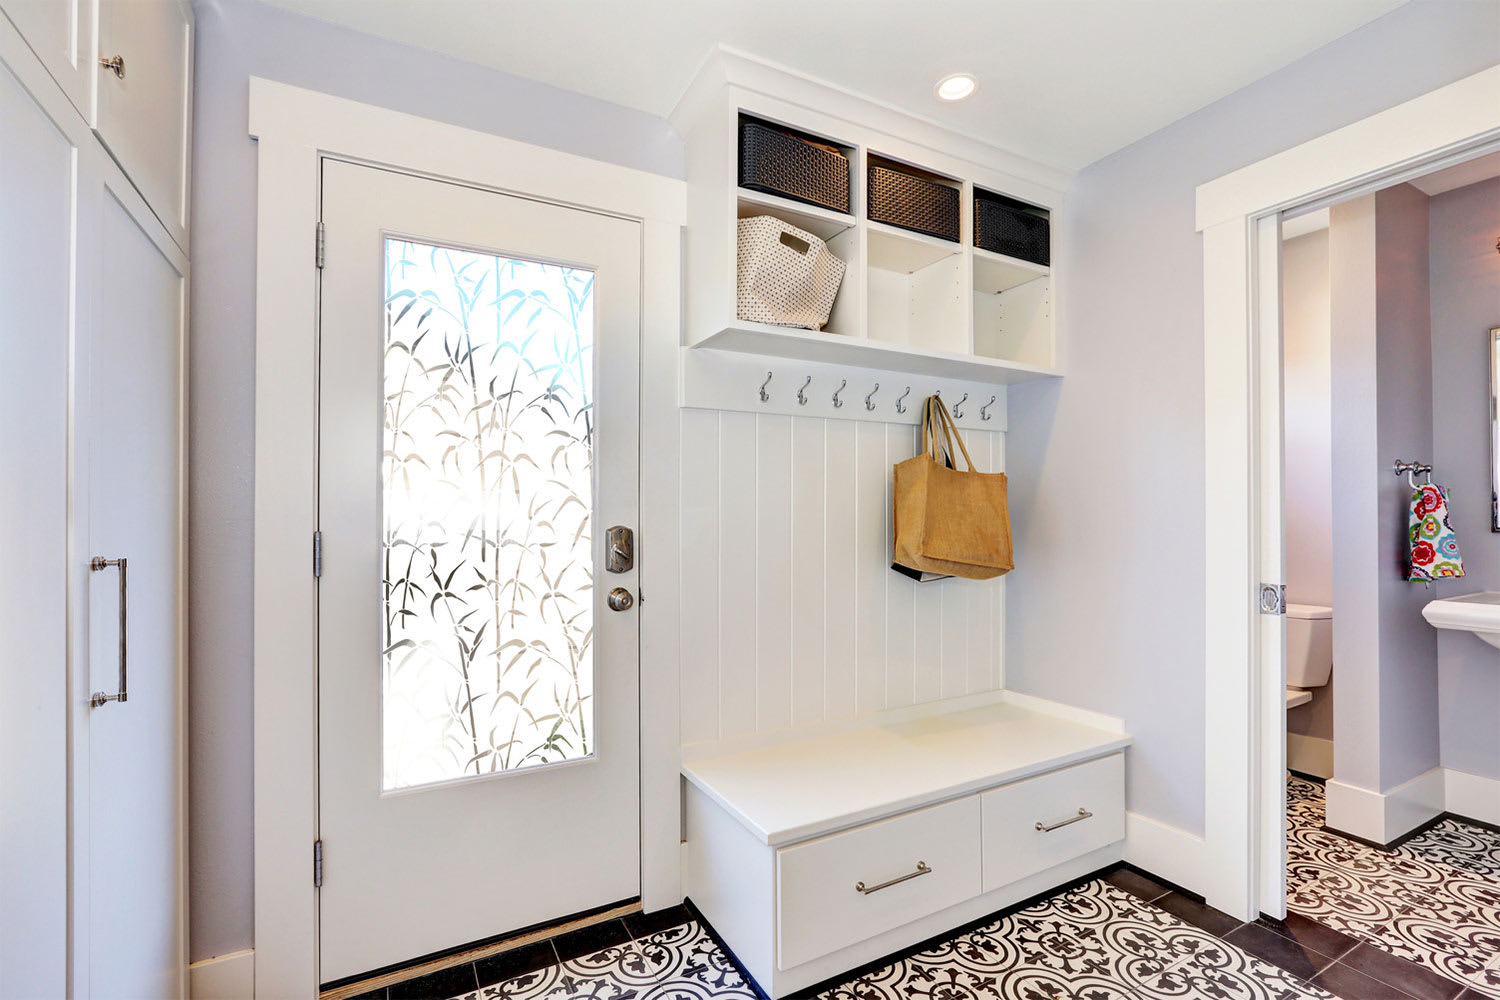
Purchase privacy window film to prevent people from seeing through your windows from the outside.
Privacy window film is ideal for bathroom windows or first-floor bedroom windows that look out to the street
It can be installed on interior glass doors to add privacy to specific rooms
Light can still come in, but there is limited visibility from the outside
Mirrored privacy films allow you to see outside but not the other way around
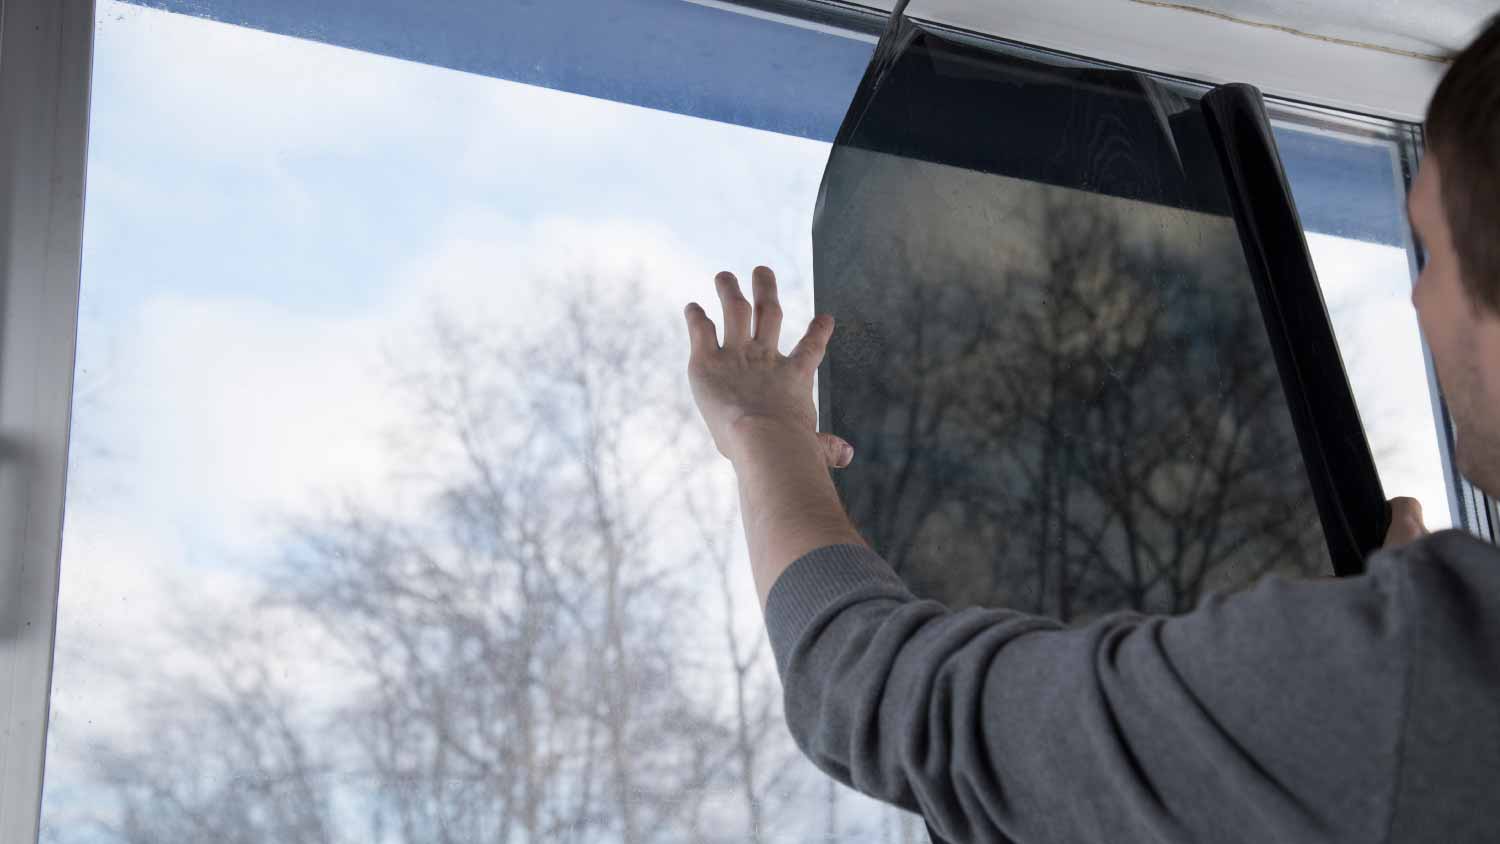
Black privacy films reduce the amount of sunlight coming in—like tinted car windows
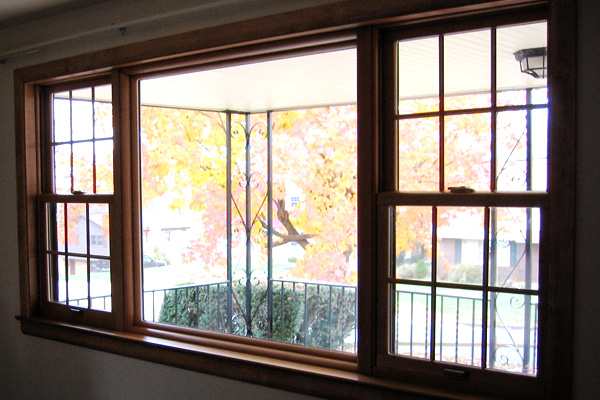
Also called glare-reducing or glare-control window film, this film reduces the amount of UV light entering your home—UV light can cause fading on furniture, floors, wall art, and walls.
Keep your home cooler in the summer with heat-control window film. Key features of this film include:
The ability to reflect the heat and UV rays from the sun
Deflected UV light, which helps protect your floors from fading
Potential heat loss during the winter months
Keep in mind that applying heat-control window film to an old, inefficient window is merely a bandage to a larger problem. If your window is no longer energy efficient, you may need to replace it entirely. Window replacement prices are high, but the savings on your energy bill and the improved value of your home often make the project worth the investment.
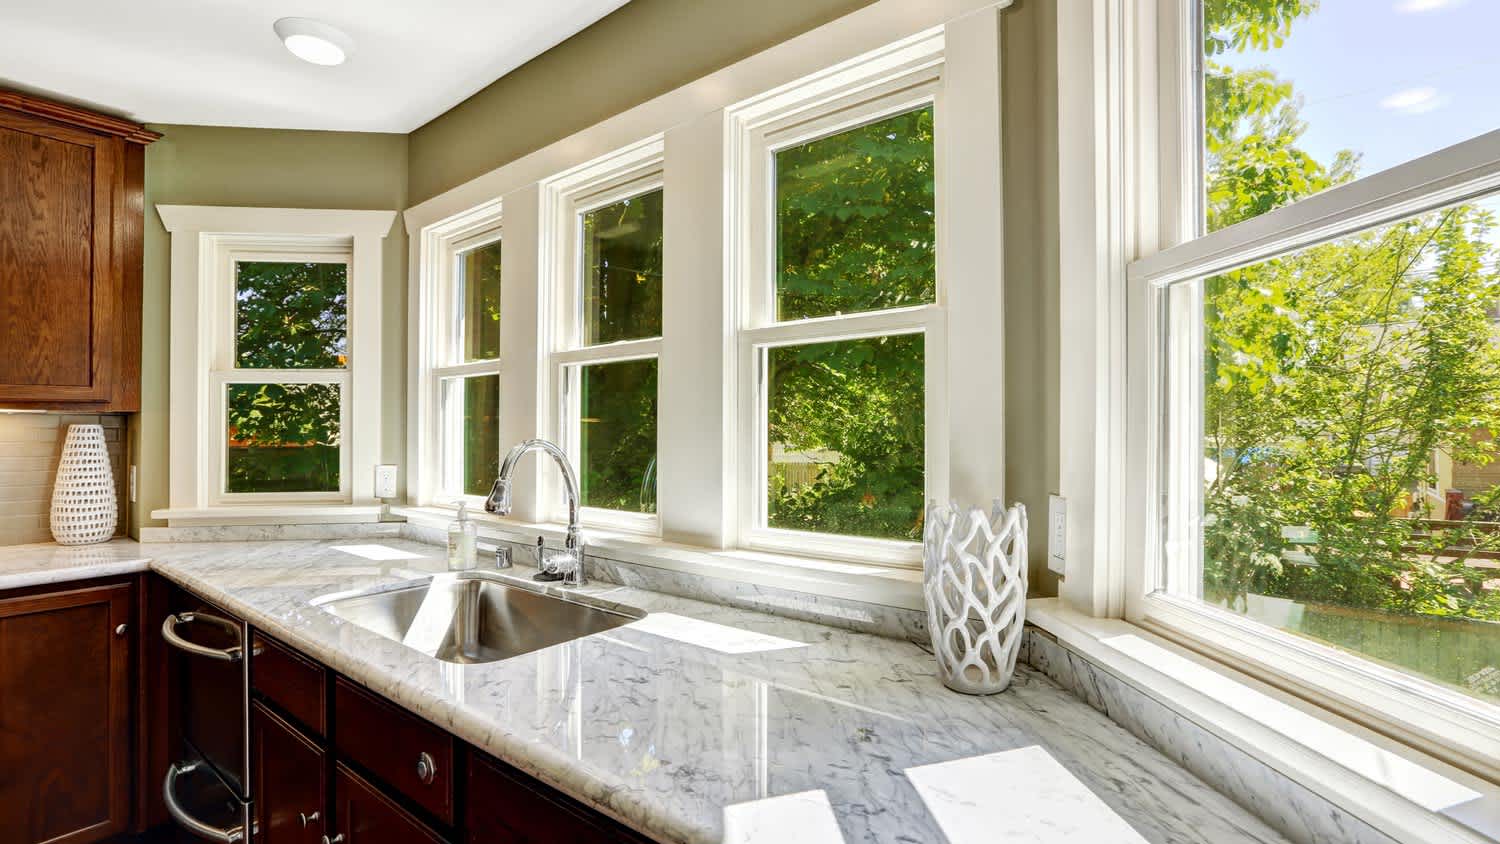
Decorative window film is not functional—it’s fun! This window film can help you revive a room’s aesthetic on a budget, and applying it is an easy DIY project. Decorative window film can look especially nice on kitchen windows, but it’s just one of many kitchen window ideas to consider when rethinking your space.
Some window film installation kits come with their own application solution that you can use to clean your windows and apply the film. But if there’s no application solution in your kit, you can easily make your own.
Mix 1 teaspoon of baby shampoo with 1 gallon of bottled water. The distinctions here are important: Baby shampoo and bottled water will provide the right pH needed for the application.

Pour the solution into a spray bottle, then spray down the entire window. Use a shower squeegee to thoroughly clean the glass. After each complete “squeegee motion,” wipe off the squeegee with a clean, non-linting cloth (like a microfiber towel) to ensure you aren’t just pushing dirt and dust particles around the window.
After squeegeeing the window, spray it down again, and take a new paint scraper to the glass. There can be minute flecks of paint, dirt, and dust that you can’t see that could affect the installation, so scrape the entire window, even if it looks completely clean.
Finally, clean around the window frame. It’s very possible that while squeegeeing the glass panes, you inadvertently send dirt and dust to the edges of the window. Take a clean cloth and wipe down all the edges of the frame to remove any lingering particles.

Measure your window (or individual panes for more complex windows) and cut the window film to size. It should be 1 inch wider and 1 inch longer than the dimensions of your window; it’s best to have a friend or family member double-check your measurements so you can confirm they are accurate.
Straight windows: Straight windows are easy to measure; you’ll want to measure the width from left to right, and then the height from top to bottom.
Round windows: Round windows are rare, but if you have one, you’ll need to measure the circumference (the outer edge of the circle), the diameter (the measurement across the inside, center, from edge to edge of the circle), and the radius (half of the diameter). A formula to calculate the surface area of a round window is A=πr2. (π=3.14).
Curved windows: Curved windows are difficult to measure; to get an accurate measurement, it’s best to call in the help of a local window installer.
You’re almost ready to apply the window film—but you need to spray down the glass again. The solution you created (or that came with the kit) is crucial to adhering the film to the glass.

Adhere two pieces of clear tape to a corner of the window film piece you cut—one piece of tape on each side. The tape will give you leverage to begin peeling the window film from its release liner (the backing of the window film).
As you peel off the window film, liberally spray the adhesive side that will lay on the glass. It’s helpful to have a second person manage the spray bottle as you peel back the film. If you don’t have a helper, lay the film on a clean surface as you peel it; you want to ensure no dirt or dust particles land on the adhesive side.
Note: The key difference between how to apply non-adhesive window film and self-adhesive window film is that, for the former, you do not need to spray the film as you peel off the release liner. As long as the glass itself is wet, you should be fine. For self-adhesive, you need to be more careful when peeling off the film—you don’t want dust, dirt, or any other particles to attach to the film before application, which is why you must spray it as you peel.
Carefully apply the film to the glass, starting at the top. If this is the first piece of film you cut, there will be a straight factory edge that you can line up plumb with the top of the window. Otherwise, install it so there’s a slight overhang past the top of the window.
Continue to work your way down the window, gently applying the film. Ensure that it slightly overhangs the sides and bottom of the window.

Once the film is completely laid against the glass, spray it down with solution. Then, use a plastic card squeegee (many kits come with these) to push the water bubbles out. Start from the center and push outward with the squeegee, stopping roughly 1 inch from the edges. Continue to spray the film as needed to keep it wet while squeegeeing.
To trim the window film, take your 5-in-1 tool to a corner of the window and use the tool to press the edge of the film against the window frame. Then take your utility knife and, starting from the corner, begin to trim the film. Move the utility knife and 5-in-1 tool along the frame together until you’ve trimmed the entire side. Repeat for the other three sides of the window.

Grab the plastic squeegee one more time. Spray down the film again and use the squeegee to push out any remaining bubbles. This time, you can force the water out to the edges. Cover the squeegee with a microfiber towel so that it catches any excess moisture as you push it out of the edges of the film.
Once the moisture is completely gone, voila! Your film is finally installed.
Note: You may be tempted to clean your window film shortly after application, but it can take several days or even weeks for the film to bond completely to the glass. Wait at least 30 days before cleaning.
Once you know how to apply window film and have gotten one or two windows under your belt, installing the film on additional windows is easy. There’s usually no need to hire a local window installer to tackle this job—just invite a friend over to help (and maybe thank them with some well-earned pizza!).
We have used Window Warriors many times with no issues. They arrived on time and were very professional . We have pets and Window Warrior team treated them very well, well trusted team.
I am highly satisfied with the window replacement service I received; the professionals from Savvy Exteriors were punctual and did an amazing job that exceeded my expectations.
I hired windows depot USA of central to install new windows in house in Oshawa. Ilya was very professional from the start, not only did he offered a great price, he also made sure the installation was on time. I am very satisfied with final outcome. The windows look great and the overall...
The team is awesome!! I can generally pick up and clean throughout the week, but they CLEAN! Windows, stair rails, microwave. All the things I can’t ever seem to get to regularly. The house looks and smells great after they leave.
Description says they handle window repair including rotten hardwood - they called me back right away but didnâ t leave a voicemail. I followed up 3 days later and they said they donâ t do that kind of work.
We had a gutter blockage that was causing water to sheet down the side of the house and ultimately it started to come in at a window (need mortar people next). Called around 7:30am, and he responded by 8am. He was able to come out the same morning and do a look over and clean out. He also...
From average costs to expert advice, get all the answers you need to get your job done.
Discover window security film installation costs. Learn about average prices, cost factors, and ways to save on your home security upgrade.
Find out the average home window tinting cost, key price factors, and ways to save. Get transparent estimates for your window tinting project.
When you can't afford to replace the windows or caulk and plastic window film can provide additional insulation to help keep your home cozy in the winter.
Decorative window films are a great way to make a visual impact in your home. Here are 10 stunning ideas for some inspiration for your next DIY project.
When it comes to window film vs tinted glass, there are countless benefits to both options. Our guide compares them side by side for a clearer view.

Window film blocks out the sun’s UV rays from coming inside and can provide privacy, too. But many homeowners might wonder if it will affect the window’s seal. Learn about this issue, how it affects your home's energy efficiency, and more.