

•
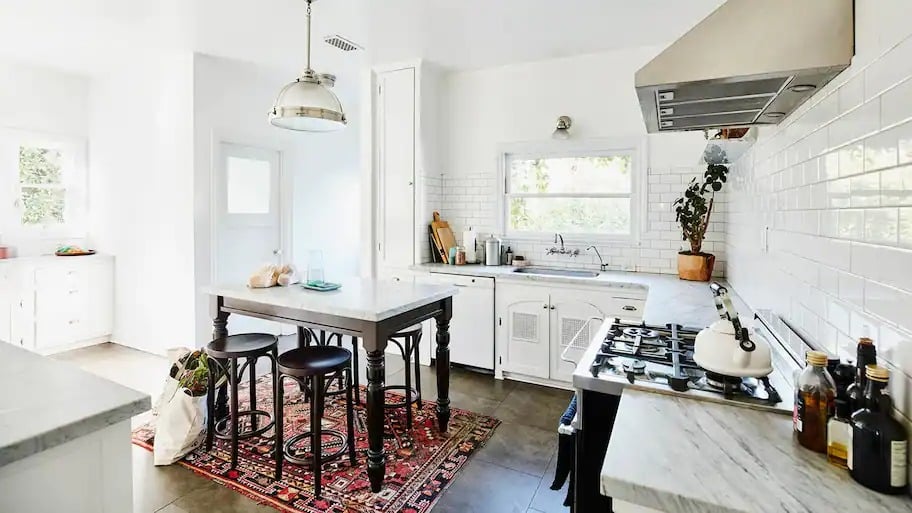
Wondering about the cost to paint a kitchen? Discover prices, key cost factors, and tips to help you budget for your kitchen painting project.
Your prep work won't go unnoticed after the paint goes on


Knowing how to prep walls for painting is a great addition to your DIY toolbox. It also helps ensure that the long hours you spend actually painting are worth it by delivering professional-like results. Thankfully, the prep work isn't nearly as difficult as expected. Here's how to prepare your walls for top-notch results.
Painting and preparing to paint often involves using stepladders, stools, or extension ladders. Always follow ladder safety guidelines when working from any ladder. Even though you won't be high in the air outdoors, even a minor ladder accident can do more harm than just wrecking your painting aspirations.
Additionally, if you live in a house built before 1978, there's a chance that lead paint may still linger in your home. If your walls require repair or sanding before painting, follow all the lead paint safety precautions and rules before starting work.
Depending on the details of your painting project, getting things out of your way will help you work more efficiently and allow you to analyze your results more easily and effectively. Move furniture out of the room or away from the walls and cover it with drop cloths or plastic sheets. Also, protect your flooring with drop cloths wherever you plan to work.
How you clean your walls before painting often depends on which room you're working in. Clean bedroom, living room, and similar rooms by gently wiping them with a sponge or rag moistened with an all-purpose cleaner and water mixture. For kitchens, use a mild degreaser solution to cut through the buildup. In the bathroom or other damp locations, remove any potential mold spots before moving forward.
Do you need to sand the walls before painting? If you have gloss paint on your walls or any trimwork you'll paint, use a 220-grit sanding block or sandpaper to gently scuff the paint surface so the primer will stick well. Wipe off any sanding dust after sanding with a damp cloth.
Allow your walls to thoroughly dry after whichever cleaning method you choose.
Fixing any scratches, cracks, or holes in your walls before painting is the best time to do it. Use spackling compound or wall-filling compound, along with a putty knife, to repair drywall imperfections. Follow up by letting the compound dry thoroughly and sanding the spots smooth with your sanding block. If you're not yet feeling confident about your skills, professional drywall repair costs, on average, between $50 and $75 per square foot.
You can perform this step now or after you apply the primer. If you're painting the trim and the walls, or one or the other, there are bound to be some gaps that require touching up. Use paintable caulk and your caulk gun to fill in spaces between the trim and walls or in the trim itself. Wipe up any excess with a damp rag and allow the caulk ample drying time.
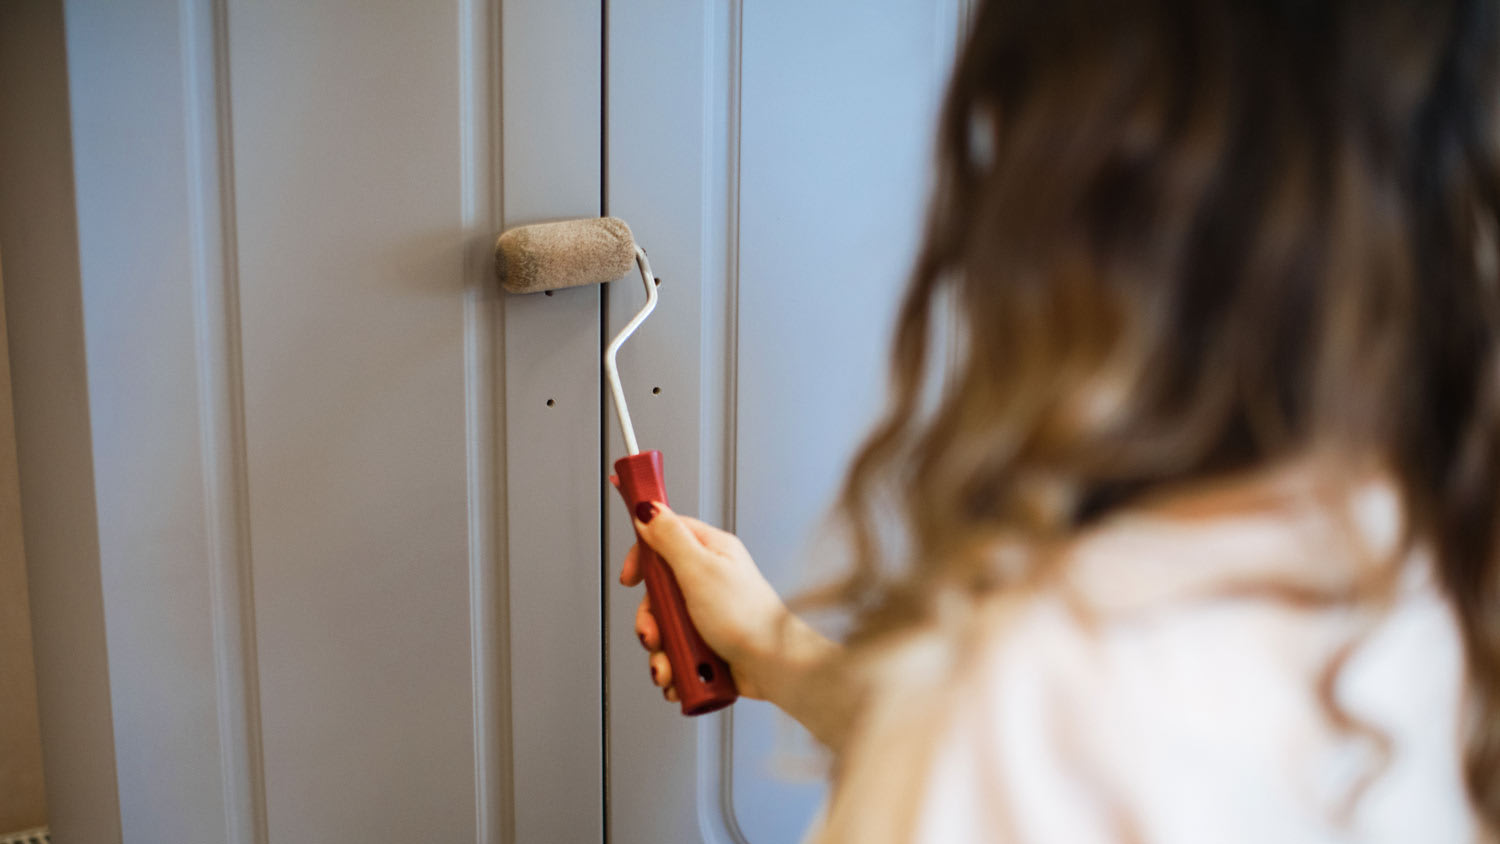
If you're adding painting details or just want a clean line that you don't want to cut, use painter's tape to create your lines. Tape off any woodwork that won't receive paint. You can also use the tape to hold plastic in place around windows and doors that need protection from roller splatter.
Paint primer plays a crucial role in the outcome of your paint job. It performs several functions, including blocking stains, evening out the paint finish, and helping the paint adhere better for long-lasting results. Apply a single coat of primer using a paintbrush to cut in the edges and a roller to fill in large areas. You can also apply a second coat where necessary to help block stubborn stains or cover extra-dark paint colors.
While preparing to paint involves several simple tasks, homeowners often make several mistakes along the way. Most of these involve not allowing enough time between steps. Avoid these errors for the best paint job results.
Not allowing spackle to dry: Spackle dries quickly. However, sanding it too early or trying to apply primer to wet wall-filling compounds will result in having to do it again.
Not allowing walls to dry thoroughly: Primer helps paint to stick to the walls and trim. However, trying to keep it from running and dripping off of still-wet walls is nearly impossible.
Not minding your drop cloths: Remember to move the drop cloths with you as you work around the room. Covering the entire floor with drop cloths may not be necessary if you're only working in part of the room at a time. However, it's easy to forget that you've now stepped off the cloth you were working on when the paint drips hit the floor.
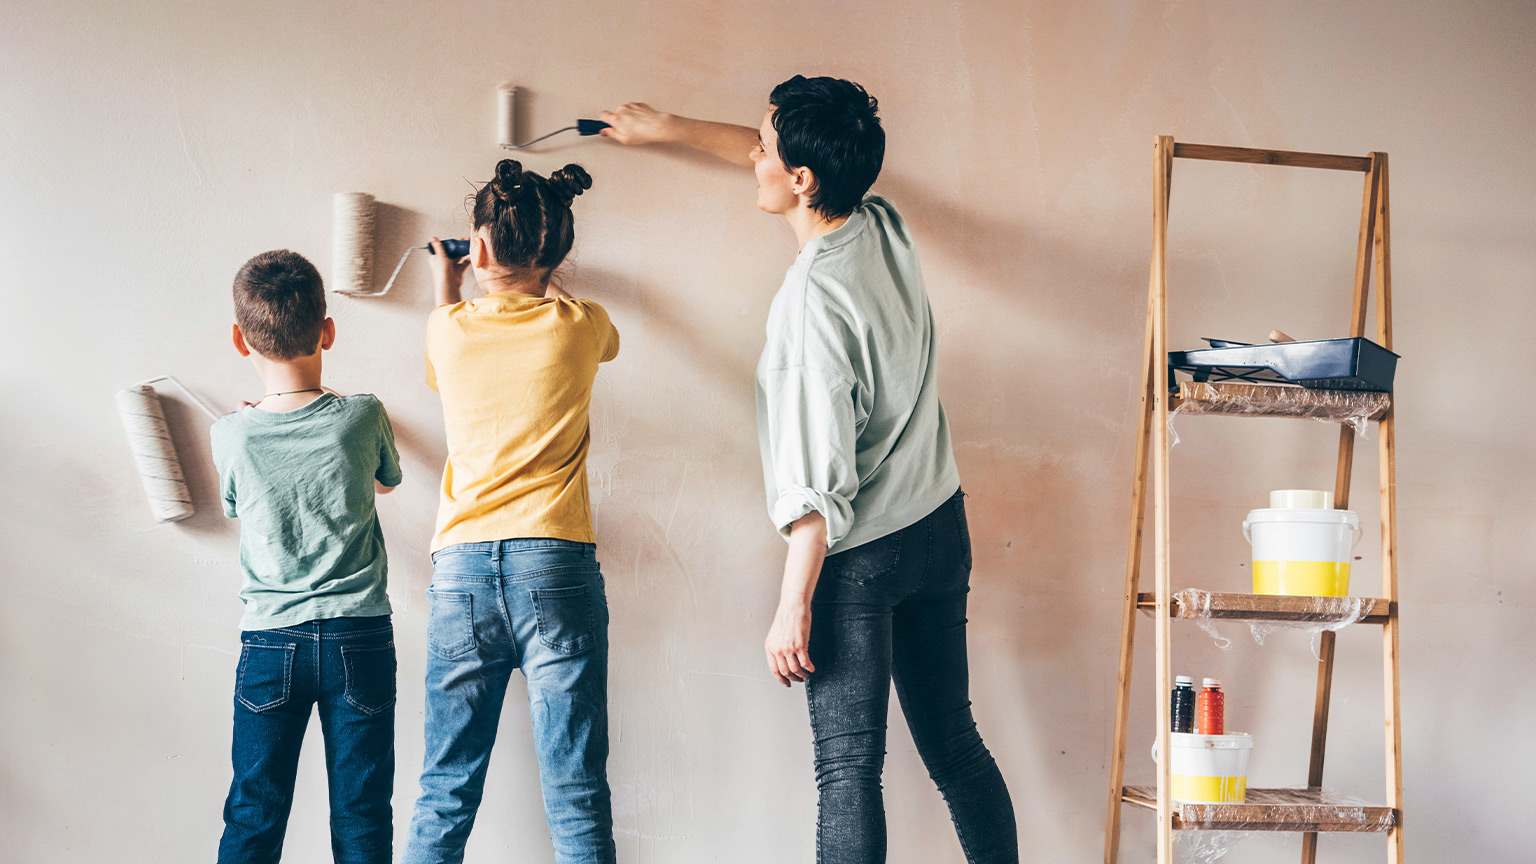
Not allowing yourself enough room to work: While moving all of your furniture out of the way can be a pain, you'll thank yourself several times for doing so as you move around the room with paint buckets, roller pans, brushes, ladders, and everything else.
Preparing your walls for painting should happen immediately before you start your painting tasks. However, from a seasonal perspective, remember that you'll want to allow enough time between prep tasks to accommodate the various drying steps. These steps can take longer if the weather outside prevents you from opening windows or doors for ventilation. If speed is a concern, consider performing the work when the weather allows you to effectively vent the space where you'll work.
Painting is an excellent skill to add to your DIY bag of tricks. However, diligence in the prep work steps is crucial for obtaining professional-looking results. While the tasks are simple, they can be tedious, and waiting for everything to dry can be like, well, watching paint dry.
The cost of hiring an interior painter to do all of this work for you hovers between $970 and $3,100, depending on which and how many rooms you need painted. Many homeowners choose this route and hire a local interior painter to perform the entire job. Doing so frees up plenty of time for doing more enjoyable tasks.
Custom Paint Jobs LLC is the go-to choice for all your painting needs. They painted both the interior and exterior of my house flawlessly. Their work speaks for itself!
Beginning with the estimate, Larry and Peyton were super helpful in getting my new condo's interior re-painted. Not only was the job well done, but also done in a super timely manner as promised.
 Five Star Painting of Plain City and Powell
From average costs to expert advice, get all the answers you need to get your job done.
Wondering about the cost to paint a kitchen? Discover prices, key cost factors, and tips to help you budget for your kitchen painting project.
Discover the cost to paint kitchen cabinets, including average prices, cost factors, and tips to help you budget and save on your next kitchen update.

Painting your kitchen cabinets may take some elbow grease, but you’ll get a kitchen makeover without a lot of money. Here’s how to paint cabinets for a new look.

Find and hire the right professional to paint your kitchen. Learn what to look for, questions to ask, and how to choose a qualified painter.
Have a blast creating the perfect accent wall for your home with these unique wall painting textures, colors, and techniques. Use our list of DIY, kid-friendly, geometric, and patterned ideas to inspire your next painting project.
Your kitchen sees a lot of activity and needs paint that can stand up to heavy use. Find out the best paint finish for kitchens and which ones to avoid.