
Looking to breathe new life into your space with a ceiling refresh? Learn about the cost to paint a ceiling and what factors can affect your total.
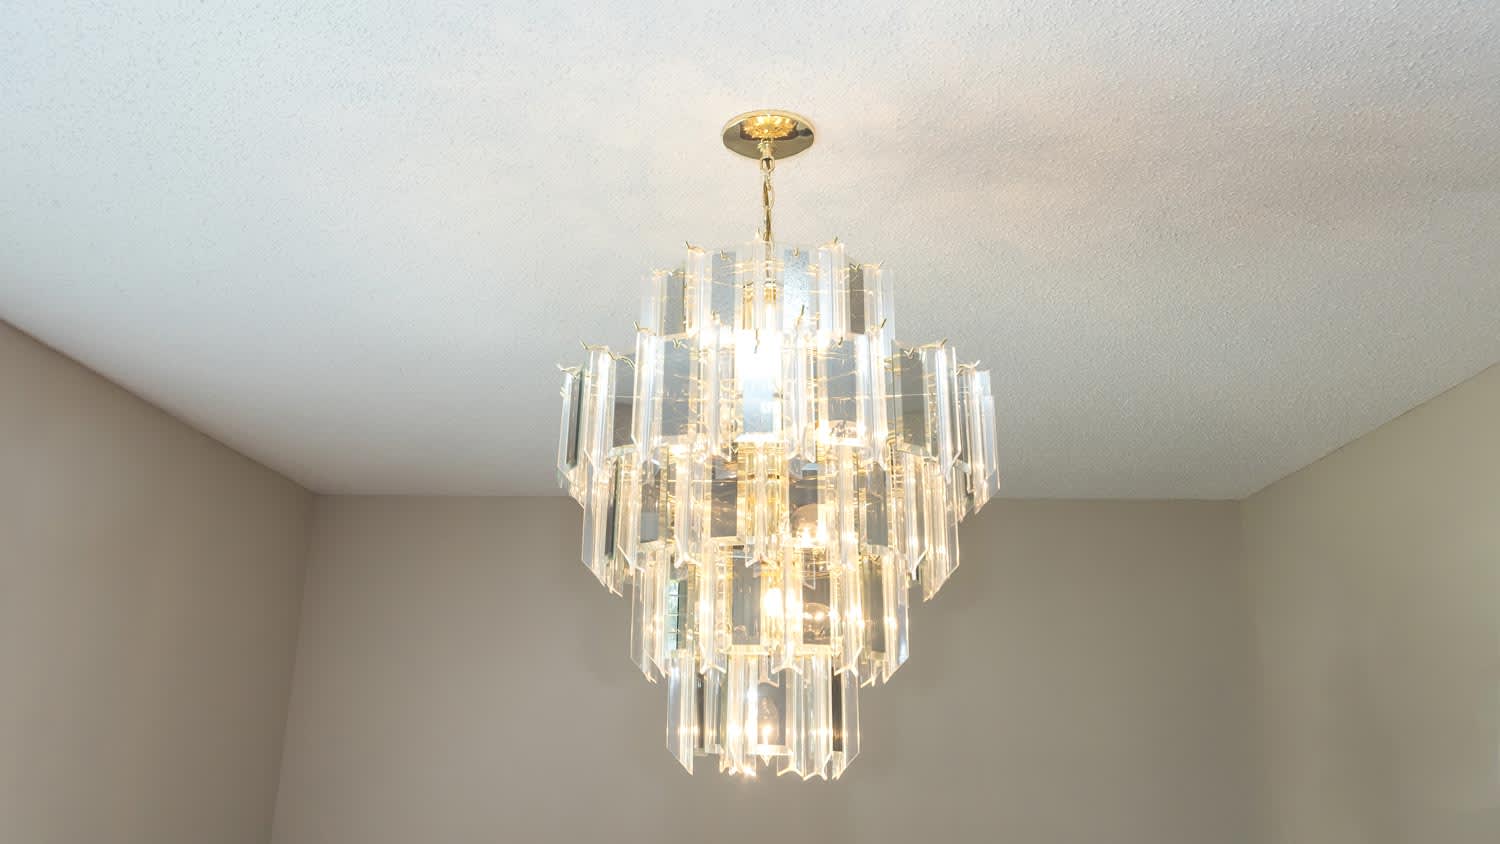
Goodbye dingy ceiling, hello dreamy oasis

Popcorn ceilings can look outdated in a home, but luckily, you can avoid the cost of removing popcorn ceilings by giving the space a refresh. Learning how to paint a popcorn ceiling will be more challenging than painting a smooth ceiling, but it can deliver a more modern look that fits into your home's aesthetic. After you've ruled out asbestos damage, you can get started on this rewarding home project.
Before you start learning how to paint a room with a popcorn ceiling, you need to get the right paint for the job. Flat or matte-finish interior acrylic-latex paint works best to hide imperfections in the textured surface. These finishes also keep it from looking overly shiny, which could emphasize any flaws. Avoid glossy paints, as they can make the uneven texture look harsher and more noticeable.
Popcorn ceilings aren't as popular as they once were, and were found in homes from the 1940s to the 1990s. This means your ceiling could be at risk of containing asbestos, especially if your home was built before 1980, when the material's use was discontinued due to safety concerns.
If this describes your home, don't disturb the popcorn texture yourself. Call an asbestos testing contractor near you to determine if the popcorn texture contains the potentially dangerous material. If so, you’ll need the contractor to remove the texture safely. The cost to remove popcorn ceiling ranges between $900 and $3,000. If asbestos isn't present, you can go ahead and prepare the painting process.
Splatters happen more easily while painting a ceiling. Move all the furniture out of the room and cover the floor with drop cloths. Use painter’s tape on the walls where they meet the ceiling or trim. Apply painter’s tape around ceiling fixtures as well, or cover them in plastic. As you work, wear safety glasses to guard your eyes against splatter as you look upward.

Popcorn texture can collect dust over time, but you have to be careful to apply the right amount of pressure to avoid dislodging the popcorn texture. Use a duster or vacuum cleaner with a brush attachment to gently remove dust. If your ceiling has any cracks or holes, repair these with spackling paste. If the ceiling has water stains, fix any leaks causing the staining to avoid damaging the new paint job.
For a cohesive paint job along the ends of the ceiling, use a paintbrush where the ceiling meets the walls. Using a brush on these edges, called a "cut-in,” allows you to be more precise with the paint versus using a roller and avoids getting paint on the walls. When it’s time to use the paint roller, the paint applied during the cut-in allows you to keep the roller a couple of inches away from the walls, reducing the chances of errors.

Now it's time to paint the ceiling. We recommend using a roller with a nap of 1/2 inch or 3/4 inch. You can choose to use a primer before your paint color if you wish. When applying the paint, you can either use an extension pole and stand on the floor or climb a ladder and use a short handle on the roller.
Precisely controlling the roller on the extension pole can be tough and result in extra splatter. It’s easier to use a ladder and a short-handled roller. However, you can paint faster when you stand on the ground with the extension pole rather than climbing up and down the ladder.
Keep the roller moving in the same direction, back and forth, as you move across the ceiling. Slightly overlap the previously rolled paint to avoid uneven application or missed spots. Go slow to reduce paint splatter and limit the amount of popcorn texture that pulls loose.
Allow the paint to dry completely and decide if a second coat is needed. Popcorn ceilings are known to absorb paint, which means a second coat could be necessary to complete the job. If so, repeat the steps to apply more paint. Just make sure the paint has dried before painting again.
After your paint job is complete, wash your paint roller, paintbrush, and paint tray using warm water. Let the tools dry completely before placing them in storage. With the leftover paint, keep a tight seal on the can to use for any future touch-ups. When the paint is completely dry, remove any painter’s tape, plastic coverings, and drop cloth, and place your furniture back into the room.
Painting a popcorn ceiling can refresh and brighten an old, dingy ceiling without paying for costly removal, giving the space a cleaner and more modern look. When you choose a flat or matte ceiling paint, it can hide imperfections well, helping the ceiling blend more subtly into the room’s overall appearance. Painting is a faster task and less disruptive than removing the popcorn texture.
However, painting a popcorn ceiling can be much trickier than painting a flat ceiling because the textured surface absorbs a lot more paint. There's also a risk that the texture could loosen and fall off if it wasn't properly applied or has weakened over time, especially if you use too much pressure. Once painted, popcorn ceilings are harder to remove later because the paint seals the texture, making it tougher and messier to scrape off if you ever decide to get rid of it.
When it comes to tackling a painting project, choosing the right color is key. According to Angi homeowners who are completing a small painting project, 37% stick with the same or a similar color to the existing one. Of those looking to choose something different, nearly 30% opt for a lighter color compared to 18% choosing a darker shade. So, if you’re looking to paint that popcorn ceiling, it may be worthwhile to stick with a similar, or at least brighter, shade than what’s currently in the room.
Painting a popcorn ceiling is a simple enough DIY task, but you may still want to hire a professional painter. Painting popcorn ceilings is trickier than a flat ceiling and could pose risks and increased mess, so it’s worth exploring the cost to hire a painter. On average, hiring a pro to paint a ceiling costs $1 to $2.50 per square foot, but painting a popcorn ceiling takes more time and requires more paint than an average ceiling. Expect to pay at the higher end of the range to hire a local interior painter for a popcorn ceiling.
If your ceiling does have asbestos, you'll need to go the professional route. An asbestos abatement professional near you can remove popcorn ceiling with asbestos safely and retexture your ceiling. On average, asbestos removal costs between $1,200 and $3,300. At that point, you can choose how you want to repaint the new ceiling.
Asbestos is odorless—so don't rely on your nose to tip you off about asbestos in your home. Asbestos fibers are too tiny for humans to detect their smell, so even large amounts of asbestos will lack a scent. The only way to know if your home has asbestos is to have a pro test for it.

Custom Paint Jobs LLC is the go-to choice for all your painting needs. They painted both the interior and exterior of my house flawlessly. Their work speaks for itself!
Beginning with the estimate, Larry and Peyton were super helpful in getting my new condo's interior re-painted. Not only was the job well done, but also done in a super timely manner as promised.
 Five Star Painting of Plain City and Powell
From average costs to expert advice, get all the answers you need to get your job done.
Looking to breathe new life into your space with a ceiling refresh? Learn about the cost to paint a ceiling and what factors can affect your total.
Popcorn ceiling removal costs depend on the size of your ceiling and any additional services like asbestos removal and resurfacing. Learn all the costs here.
Wondering who you should hire to remove an ugly popcorn ceiling? We’ve got you covered with the best pros for the job, and whether to DIY this project.
A textured, or “popcorn”, ceiling was once a popular home feature. Read on to learn about what a popcorn ceiling is and why it has mostly gone out of fashion.
Cleaning a popcorn ceiling doesn’t have to be tricky. Find out how to clear your popcorn ceiling of dust and stains in just a few simple steps.
Ready to add a bit more visual appeal to your home? Compare popcorn ceilings versus textured ceilings to suit your home's unique style.