
Backsplash installation costs vary by tile type, design, kitchen layout, and contractor. Find out how much your dream backsplash will cost you.
It's like having a whole kitchen remodeling crew in a paint can


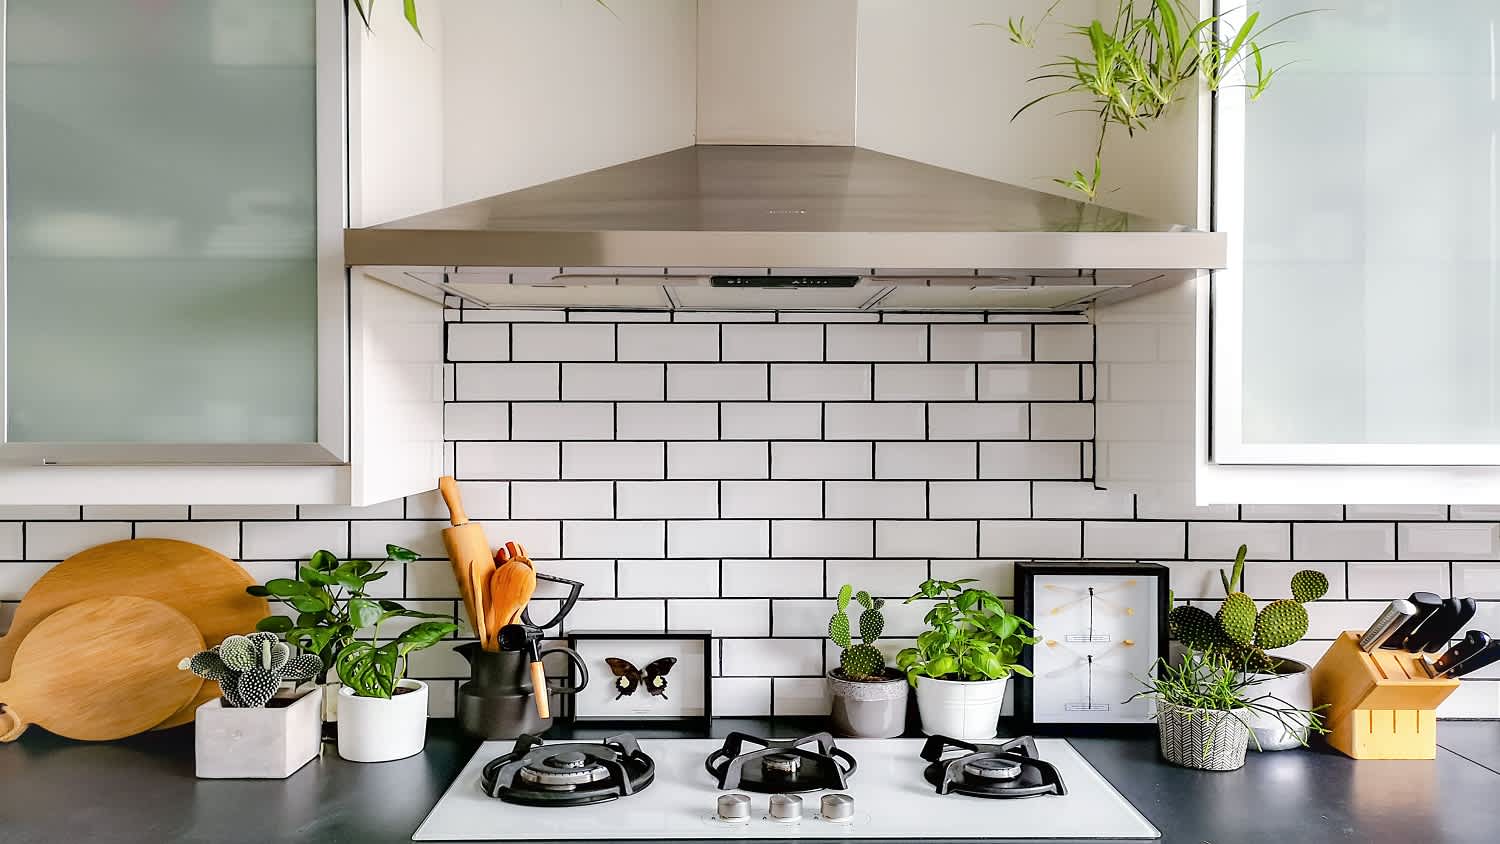
Learning how to paint tile backsplash properly allows you to transform your kitchen inexpensively and within hours, instead of weeks or months. You'll need a bit of patience and a little DIY know-how, but the process is straightforward and well worth your time. Here's how to paint your tile backsplash like a pro.
Before starting your project, clear your countertops of everything possible and cover the horizontal surfaces with painter's tape, plastic, or a drop cloth.
Check the condition of your existing caulk between the backsplash and the countertop. If it's cracked or peeling, use a putty knife to remove damaged sections.
Finally, remove any outlet covers and apply painter's tape over the outlets. Be extra cautious when performing this step and when painting near the outlets later, as the live electrical is exposed.
There's no shame in turning off the electricity to the kitchen circuits at the breaker panel if you feel uncomfortable working with the outlet covers off.

While you don't have to follow the precise steps for cleaning tile and grout when painting your tile backsplash, it's essential to do a thorough job of it. Put on your protective rubber or latex gloves. Use a degreaser solution to remove any built-up grime. Phosphate-free TSP also works well for this purpose. Pay particular attention to places where you'll need to repair the grout after removing it earlier. Use rags or a sponge to rinse the surface.
While you can repair cracked tiles with epoxy, when the plan is to cover them with paint, you can perform an abbreviated version using caulk if they're present on your backsplash. Use a putty knife to force a small amount of acrylic or latex caulk into any tile cracks or chips. Wipe away the excess with a rag and allow it to cure for an hour or so. Check the crack to see if you can feel it with your finger. If so, apply more caulk in the same manner to fill the gap completely.
Repair any grout inconsistencies using a damp finger and acrylic or latex caulk to mimic the existing grout lines. Run a bead of caulk over the missing grout area, slide your finger over the area, pressing the compound into the space. Wipe off the excess with a rag.
Finally, run a bead of the caulk where it needs repair between the backsplash and the countertop.
Just as if you were prepping any other kitchen walls for paint, the preparation is key for success. As such, scuffing shiny surfaces with sandpaper is crucial to help the primer coat stick. Put on your sanding mask and eye protection. Then, use an orbital sander with sandpaper or a sanding block to achieve this. Any grit between 150 and 220 will work. The goal is to simply scuff the surface rather than make it smooth. Wipe off any sanding dust with a damp sponge before moving forward. Also, double-check your tile repair work and touch it up if necessary.
Applying paint primer is crucial to making your backsplash painting job a masterpiece. Working in small sections, use a smaller paintbrush to apply the primer to the grout lines and cut in the edges. Immediately follow up by using a roller to apply primer to the tile surfaces in the same small area. Repeat until the entire backsplash is complete. If your backsplash and paint color differ drastically, consider adding a second primer coat.

Using the same technique of painting the grout lines and cutting in the edges with a brush, and then the tile surfaces with a roller, apply your epoxy paint or enamel paint. Allow the first coat to dry completely before applying a second coat. After applying the second coat, you can add designs or stencil work if desired.
While painting your backsplash isn't technically difficult, there are some key points to remember and mistakes to avoid to achieve professional-like results. Avoid these errors.
Not cleaning thoroughly: Residual grease and dirt will show through your paint job in the form of splotches, even if they're not present after the primer coat. Be sure to clean the entire backsplash thoroughly and clean it a second time if you're unsure.
Using silicone caulk: Caulk that contains silicone will not allow paint to stick to it, even after it's dry. Be sure to use paintable acrylic or latex caulk for tile and grout repairs and between the backsplash and countertops.
Oversanding: While you want to do a thorough job of sanding, avoid using sandpaper grits coarser than 150-grit. Doing so can cause deep scratches that can appear after painting or make the surface appear dull.
Not performing repairs: Paint is an excellent tool for hiding minor surface imperfections, but it can't perform miracles. Do your tile and grout repairs as if you were not going to cover them with paint at all, for a perfect finish when you ultimately do cover them.
While painting your home's backsplash is an excellent way to boost your DIY skill set and save money on labor costs, it does require time and patience.
The cost of professional interior painting for a project like this will be several hundred dollars or more, depending on the specifics. On the other hand, you can accomplish the task yourself for under $200 plus some elbow grease.
However, because the job requires precision and thoroughness, you may want to leave this one to the pros and hire a local painter to do the work.
Custom Paint Jobs LLC is the go-to choice for all your painting needs. They painted both the interior and exterior of my house flawlessly. Their work speaks for itself!
Beginning with the estimate, Larry and Peyton were super helpful in getting my new condo's interior re-painted. Not only was the job well done, but also done in a super timely manner as promised.
 Five Star Painting of Plain City and Powell
From average costs to expert advice, get all the answers you need to get your job done.
Backsplash installation costs vary by tile type, design, kitchen layout, and contractor. Find out how much your dream backsplash will cost you.
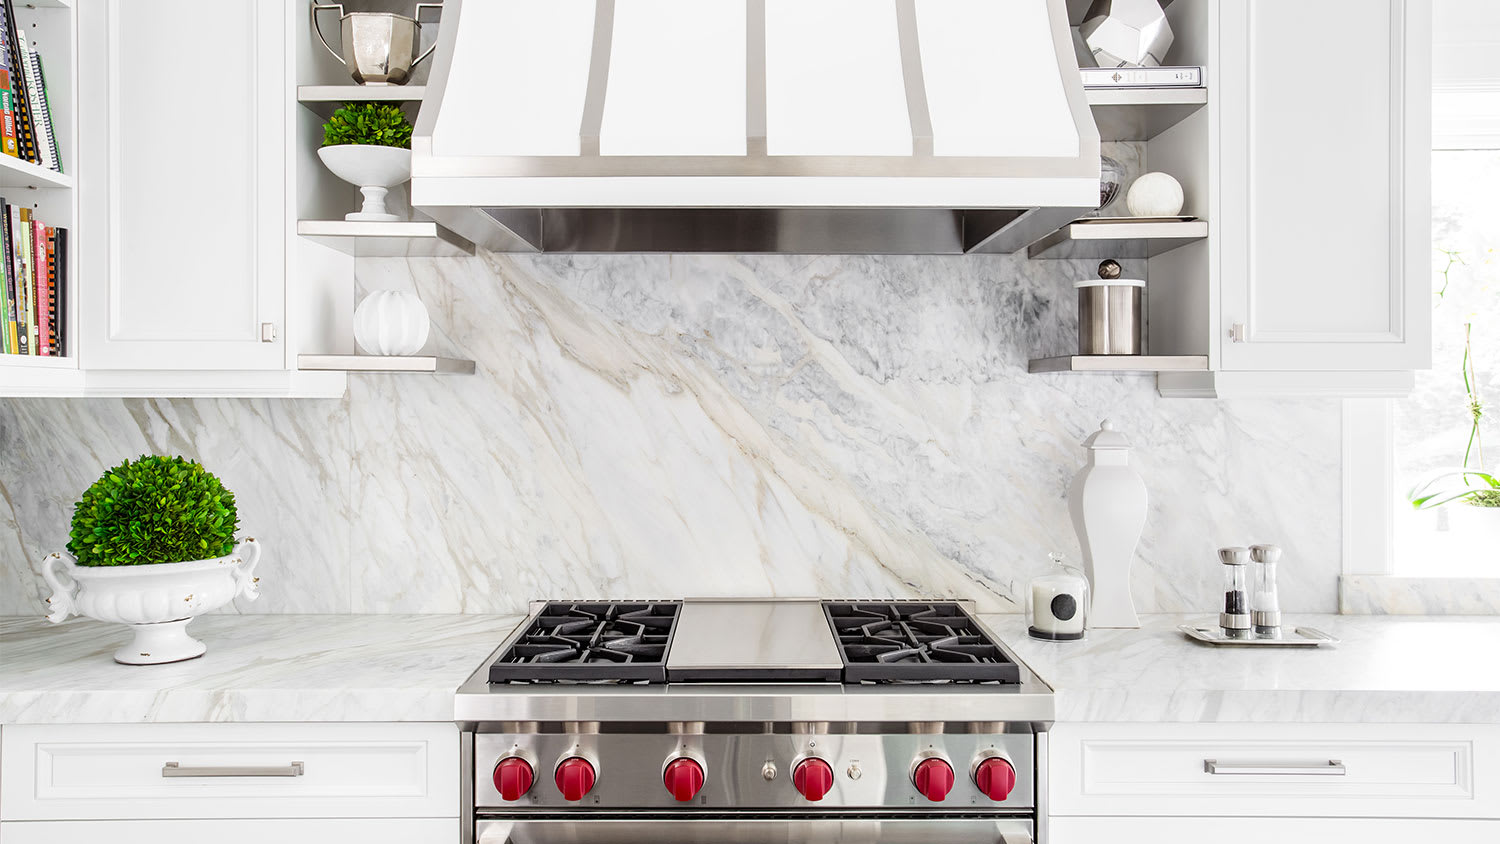
Marble backsplashes are beautiful and costly additions to your kitchen. Our guide lays out marble options and the labor required to install it.
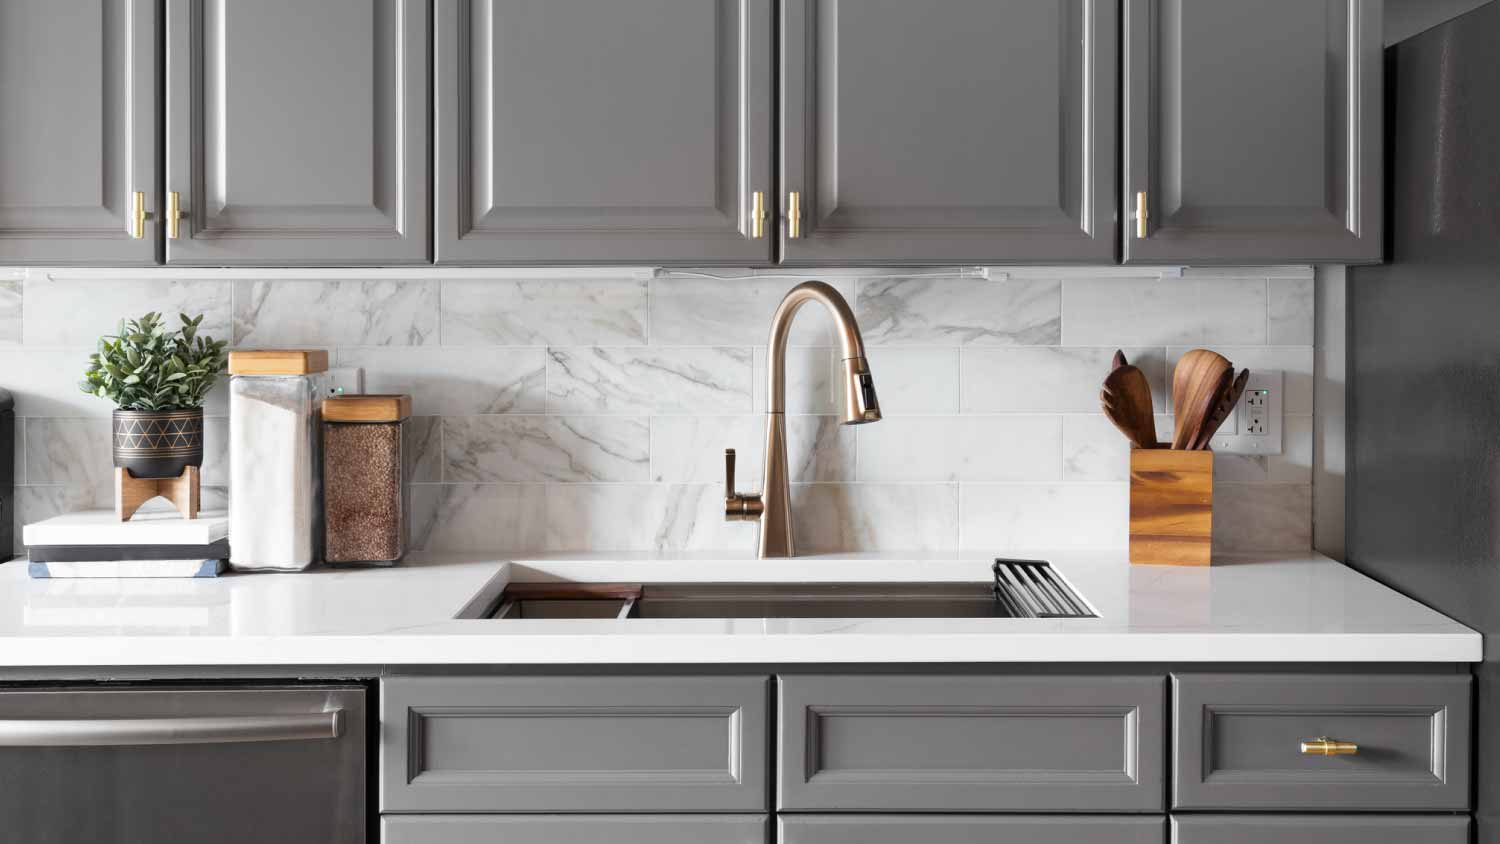
You don’t have to stick with traditional tile for your backsplash. Learn about unique and affordable backsplash alternatives to beautify and protect your kitchen.
Looking to design a beautiful backsplash for your kitchen on a budget? This article gives a dozen examples of affordable, attractive materials to consider. Find inspiration and get educated about ways to spruce up your kitchen without breaking the bank.

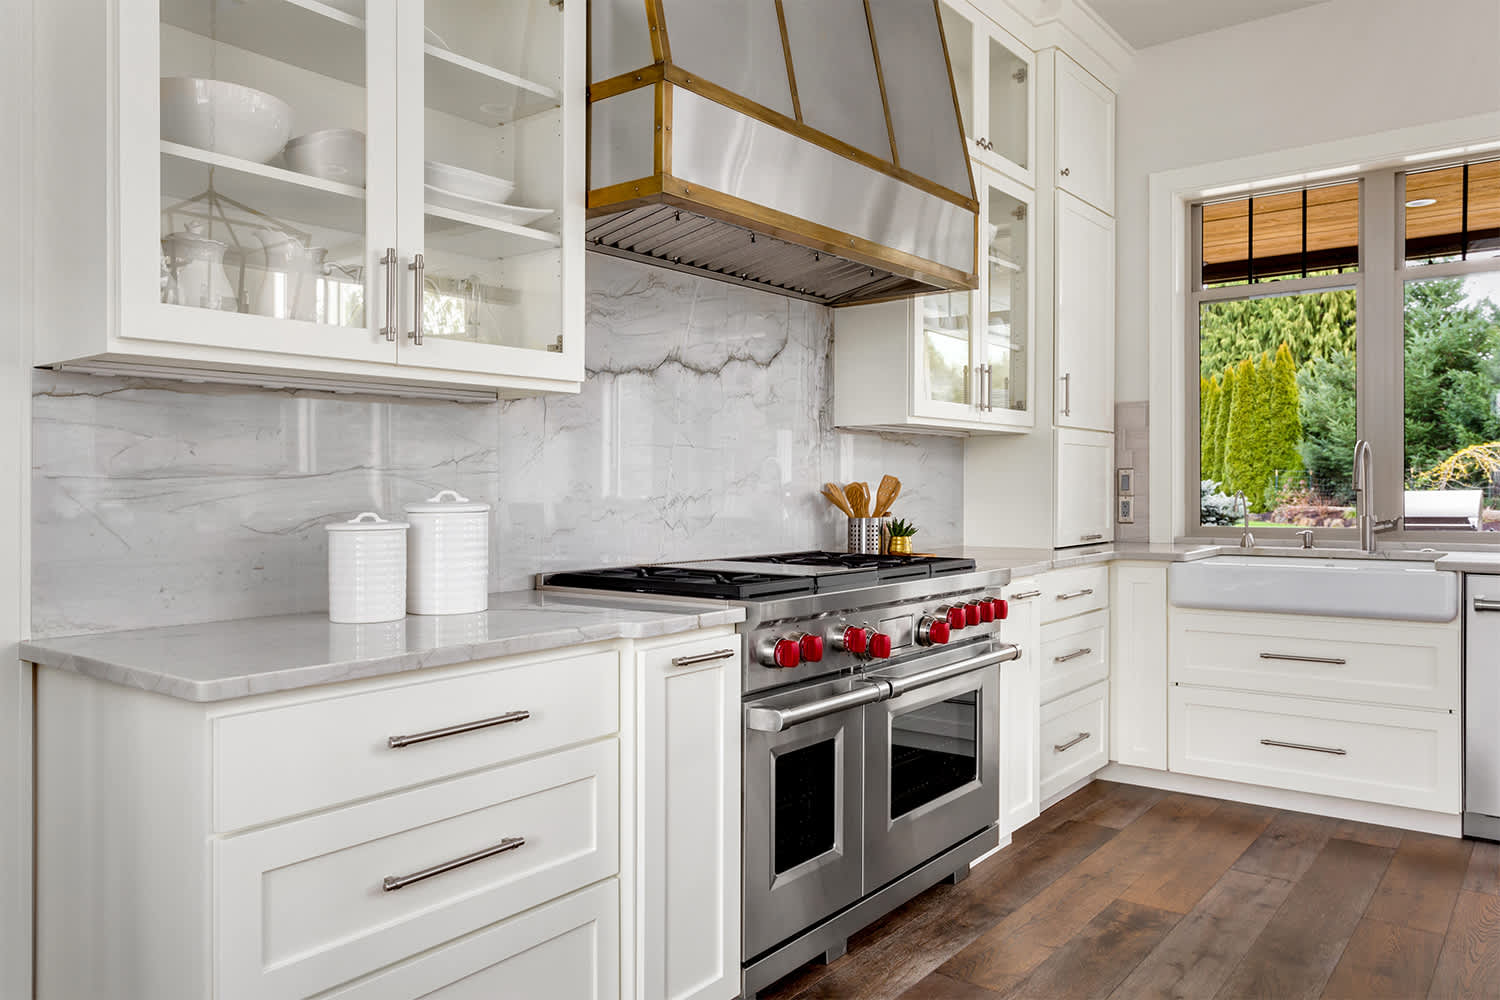
Want to make a new splash with a colorful focal point or work with existing interior design? We’ve got a kitchen backsplash idea that will work for any home.
Do you need a backsplash? Technically, no. However, installing one in your kitchen can add beauty and help avoid costly repairs. Here's how and why.