

If your crown molding has edges or seams, you may want to caulk it. You can DIY this work or hire a pro—use this guide to learn the cost for both.
Elevate your home reno skills with these pro painting tips


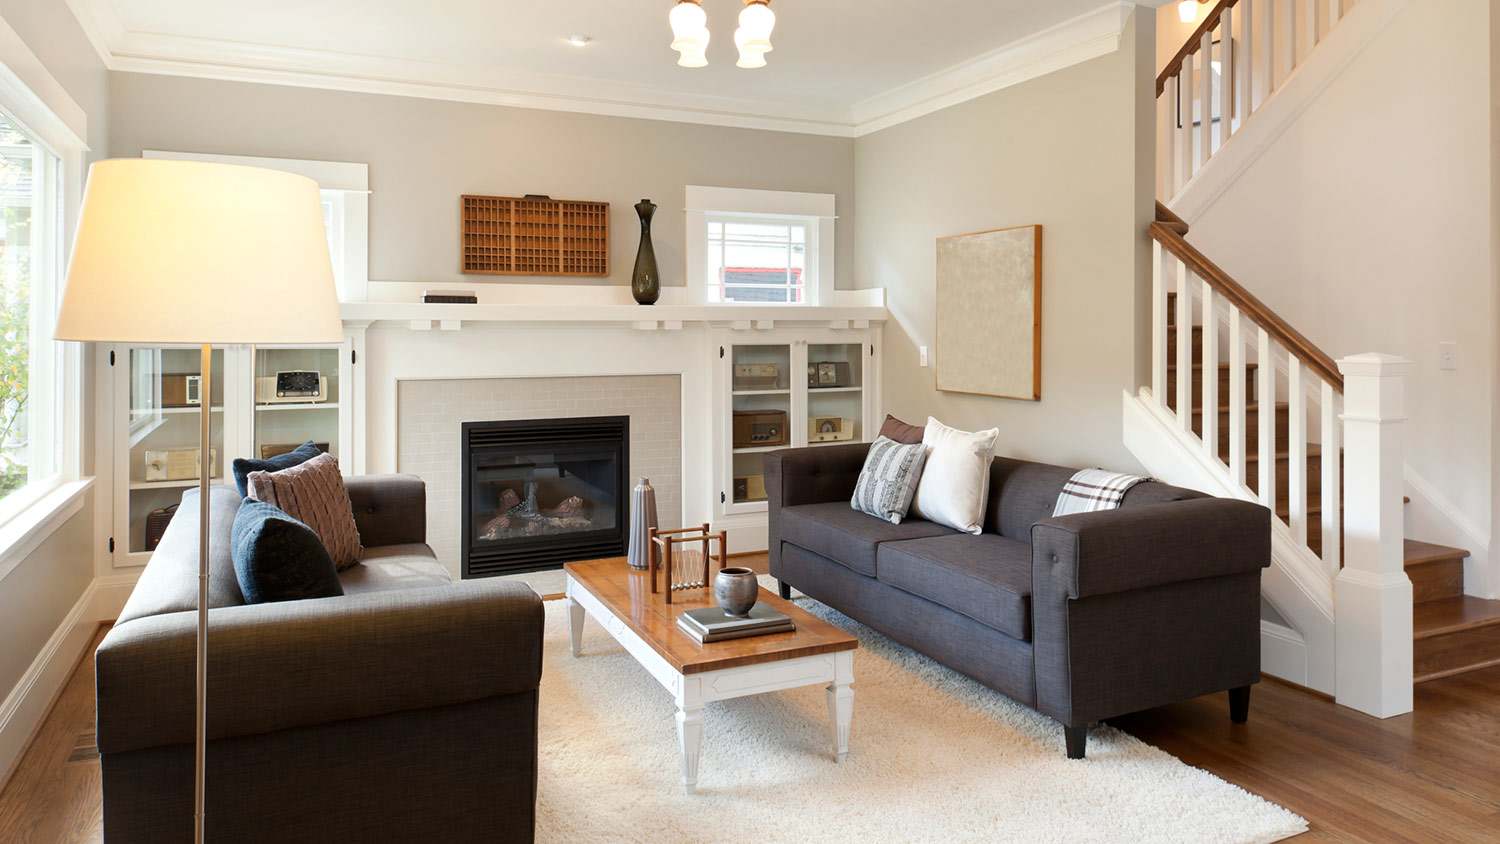
Painting a wall is a job any homeowner can do, but things get a little more tricky when you get into the surfaces that frame a wall. Whether you’re working on a new build starting with crown molding installation or renovating an 1800s Victorian and giving your trim a paint refresh, here are some pro tips for how to paint crown molding.

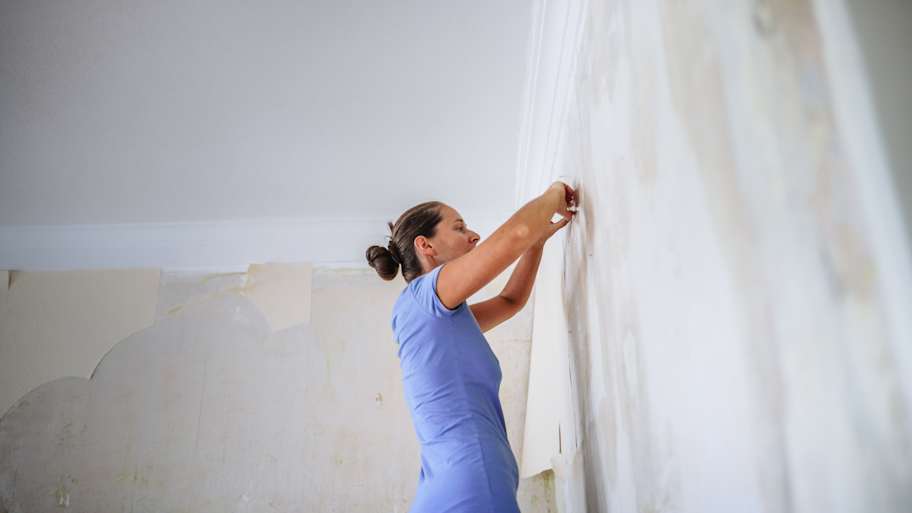
The cost to install crown molding averages $4 to $15 per linear foot, making it an easy and affordable way for homeowners to add a bit of pizazz to an otherwise sterile room. And while some crown molding comes painted, the majority will be raw wood, meaning the very first thing you’ll need to do is prepare trim for painting. After all, any DIY job is only as good as the prep work.
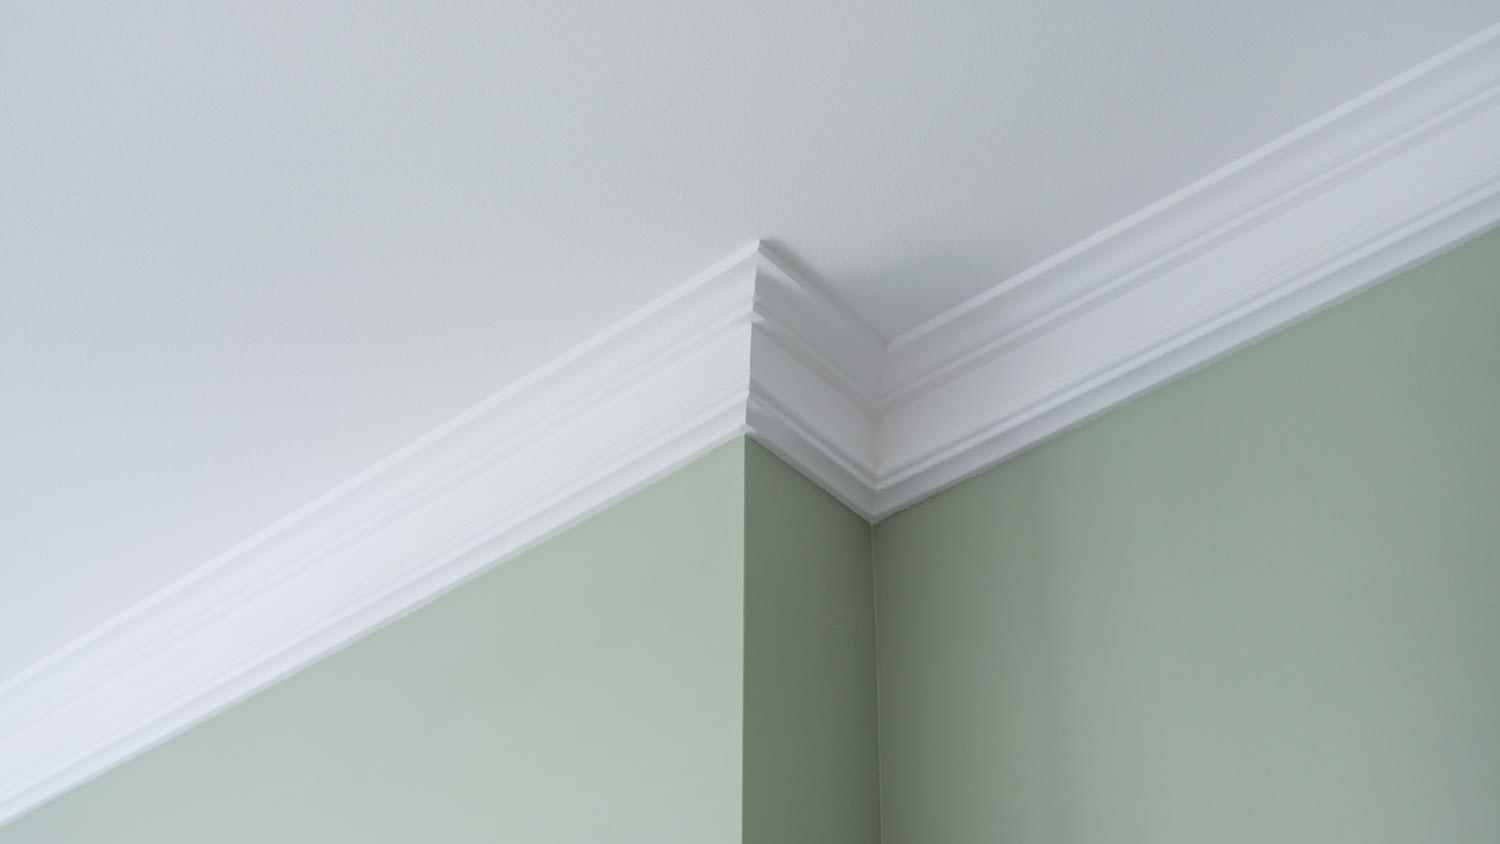
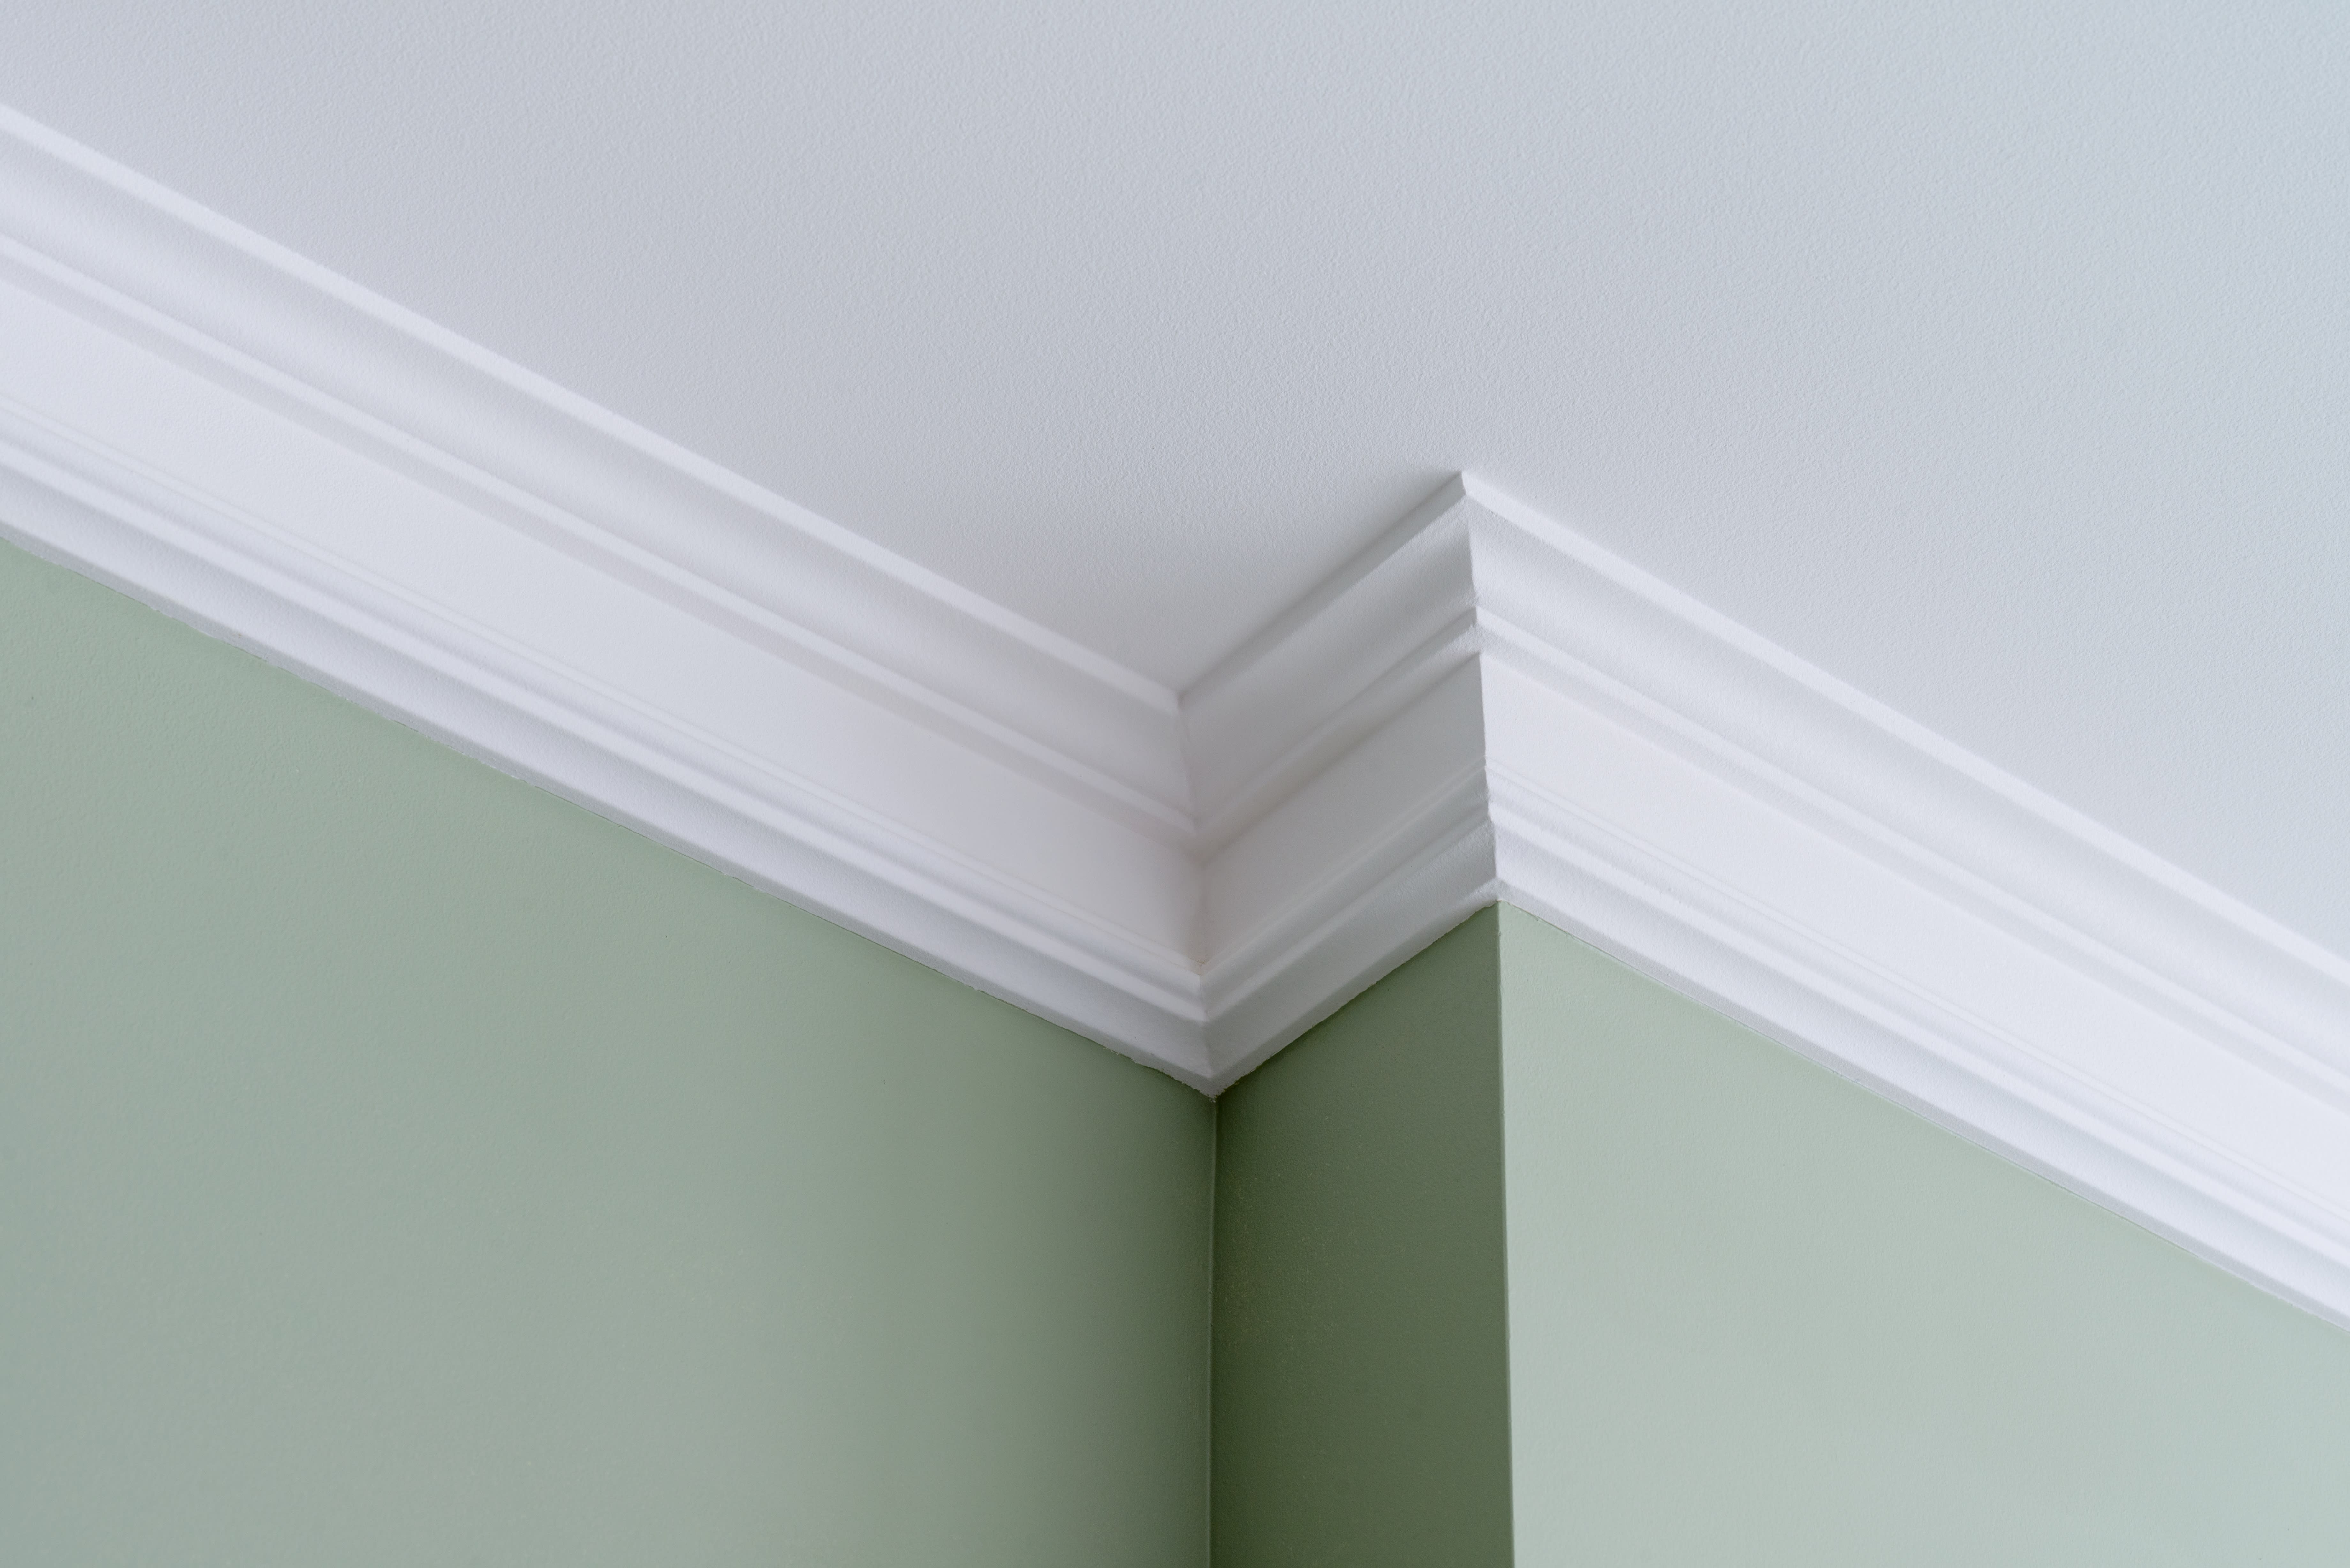
First, caulk every crack along the ceiling and wall to create a seamless edge. You’ll also want to sink the nails with a nail punch and patch the nail holes used to mount the crown molding to the corner. If you’re working with existing molding, give it a once-over to check for blemishes and holes.
Give the trim a light sand with 150- or 220-grit to create a bit of tooth for the next coat. And, as always, conduct a lead test on any paint before you start sanding if your home was built before 1978.
Older crown molding will likely be coated with an oil-based paint. You’ll need to verify its paint type so that you don’t make the grievous common painting mistake of applying latex on top of oil without priming first.

If you’re new to handling a brush or don’t feel comfortable drawing a clean line freehand, take the time to create a clean edge between the wall and ceiling with painter’s tape.
There are various easy-release tape brands available at hardware stores that you can use, but the most important painting tip when using blue tape is to press down the leading edge where you’re lapping on wet paint to make a tight seal. Also, do your best to keep as much paint on the trim—and not on the tape. Both of these tips will help eliminate bleeding and later touch-ups.
"The difference between homeowner painting and pro painting is in the paintbrush," says Bob Tschudi, Angi Expert and Raleigh, NC-based general contractor. "If you go cheap on the brush, the resulting finish will never be good. If you are a DIYer and want pro-looking results, invest in a high- end paintbrush and take very good care of it."
What color to paint your crown molding is a personal choice, but choosing the right paint sheen and type is important. A glossy finish is the usual go-to, standing out from the walls and ceiling and creating visual interest in an otherwise boring part of the room.
There are several different types of crown molding. If you’re going for a French Victorian look, pick a strikingly different color than your standard neutral paint colors. If you want to go with a more modern vibe, pick a subtly different shade than the wall or ceiling. But always use a sheen like semi-gloss or high-gloss to set off the crown molding.
That said, modern crown molding colors sometimes embrace the subtle excellence of a flat sheen and, instead, utilize a minimalist approach by letting shadows and light play across the surface. Matching, and even using the exact same paint as you’ve used for the ceiling, creates a really subdued sense of drama, particularly if you have a double crown installed. It’s also vastly easier to paint than gloss against flat because you don’t have to cut it all in with a brush.

Crown molding has multiple edges and curved surfaces that can be a challenge to paint, especially if you are working with a large, double-crown design. Starting from one corner, paint the deeper edges in sections that you can reach between ladder moves first, then go back and lay off the larger, curved surfaces before moving to the next section to complete the span.
Be careful to avoid lap marks and a shoddy-looking paint job, especially with a fast-drying product like a water-based latex paint. Keep a wet edge from corner to corner on all parts of the crown before setting up to move on to the next section.
It’s best to apply two thin coats of paint, or a primer followed by a finish coat. Thinning the paint with water or solvent will make the job flow much faster and allow for multiple coats that are smoother than one thick layer. Be sure to let the first coat fully dry before applying the second coat—this could take 2 to 4 hours for latex paint, or a full 24 hours for oil-based paint.
Remove the tape while the paint is still drying to help ensure that all your hard work doesn’t chip or peel away. You should get an oh-so-satisfying clean edge that’s free of chipping and doesn’t require later touch-ups.
"Get the most delicate painter’s tape you can," says Tschudi. "I can’t tell you how many times we’ve seen painters tear off painter’s tape after painting, only to remove layers of paint—which requires gypsum, sanding, matching, and repainting to fix. A painter can easily lose all profitability with a bad tape tear."
You may need to clean up paint drops that have splattered on the ceiling, walls, or furniture. Fresh splatters can be cleaned with a damp cloth and soapy water or a mild cleaner. If the splatters have dried, you can gently scrape or sand them or wipe them with solvents like mineral spirits or paint thinner.
Painting crown molding costs $1 to $4 per linear foot if you hire a professional painter, which comes to around $200 to $800 for 200 linear feet of molding. Of course, you’ll save money on labor costs if you DIY, paying only for supplies, which run between $30 and $80 for this job. What you pay depends on how much molding you have to cover and its overall design. Intricate designs cost more to paint than simple designs, as it takes longer to finish the job.
The type of paint you choose can also impact the price here, as higher-quality paints cost more. On the plus side, those same high-quality paints often last a long time.
If you have some experience, painting crown molding is a DIY-friendly job. It can be time-consuming, as molding is more difficult to paint than, say, a plain wall.
This leads to one major caveat. It’s easy to make mistakes when painting something as finicky as crown molding. Even worse? These mistakes add up and will become immediately noticeable. You could end up with massive caulk joints and an uneven finished product. To ensure a satisfactory result, contact a local interior painter.
Custom Paint Jobs LLC is the go-to choice for all your painting needs. They painted both the interior and exterior of my house flawlessly. Their work speaks for itself!
Beginning with the estimate, Larry and Peyton were super helpful in getting my new condo's interior re-painted. Not only was the job well done, but also done in a super timely manner as promised.
 Five Star Painting of Plain City and Powell
From average costs to expert advice, get all the answers you need to get your job done.
If your crown molding has edges or seams, you may want to caulk it. You can DIY this work or hire a pro—use this guide to learn the cost for both.
Find out how much it costs to install crown molding by type and size. Use our expert guide to figure out how much crown molding you need, how much crown molding costs near you, and whether you need to hire a pro.
Discover how much it costs to remove crown molding based on factors like its size, location in your home, material, and more.
Need crown molding installed? Learn who to hire, what it costs, and why a trim or finish carpenter is the best choice for a polished, professional look.
Learn how to choose crown molding that complements your home's style, fits your budget, and adds value with these expert tips for selecting the perfect trim.
There are a lot of crown molding materials to choose from, and you’ll need to know the benefits of each to know how to pick the best one for your needs.