

Looking to breathe new life into your space with a ceiling refresh? Learn about the cost to paint a ceiling and what factors can affect your total.
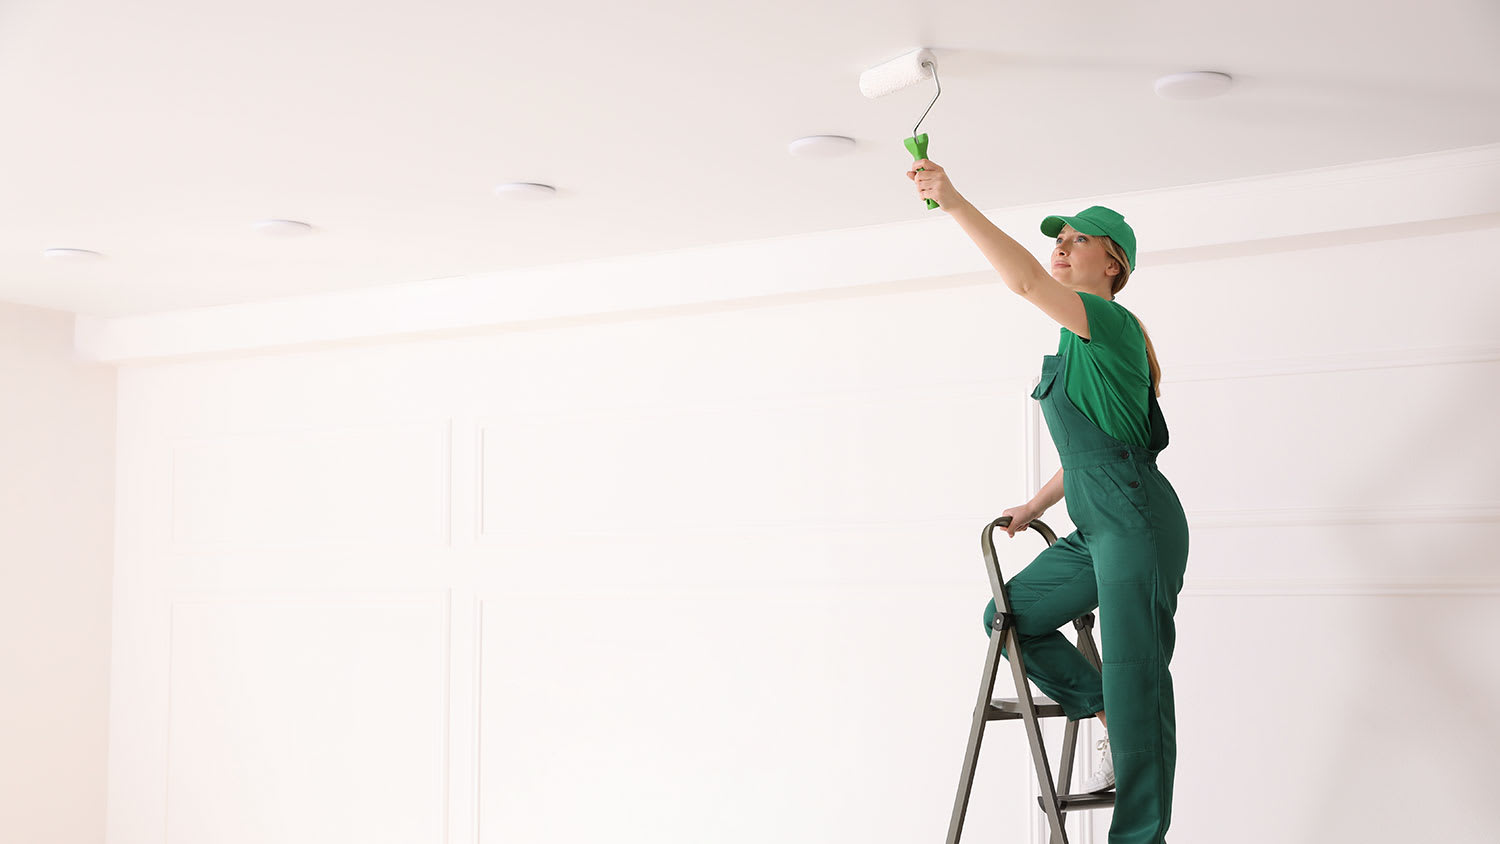
Michelangelo who? Here's how to paint your ceiling like a pro

A damaged, discolored, or water-stained ceiling can make an otherwise well-maintained room look dark or dingy. While spending a day painting your ceiling may rank pretty low on the things you want to tackle from your to-do list, giving your ceiling a refresh can make a big impact on your living space. Even better yet, depending on the size of the room, learning how to paint a water-damaged ceiling is likely a task you can complete in a weekend.
If you’d rather outsource painting or there is an ongoing issue with your ceiling—like excessively damaged drywall, water damage, or mold—you may want to hire a local painting or remediation professional. You can expect the cost to repair a ceiling with the help of a pro to range from $400 to $1,750. You’ll pay $950 to $3,100 for the cost to paint a house’s interior when hiring a pro.
Before you can start adding paint to the ceiling, you need to address whatever caused the damage in the first place. Otherwise, there’s nothing stopping your fresh paint job from being ruined in the future.
Some of the most common sources of water stains on a ceiling are leaks in an upstairs bathroom or laundry room or from your roof. You can verify if these are causing issues by checking for signs of leaking at the source. Check under your bathroom sink, around your vanity, and near the base of your toilet in the bathroom. Moisture at any of these sources may be an indication that you have a leak. If you’re unsure, call in a local plumber to take a look for you.
If you think your roof may be the issue, you can check for obvious signs of damage to your shingles or look to see if your gutters or downspouts have become clogged, causing rainwater to flow back into your home. If you’re uncomfortable getting up on a ladder to check for yourself, consider hiring a handyperson to come out and do it for you. You can expect to pay $60 to $125 per hour. If you choose to hire a contractor to do this job, you should receive a guarantee about the results through a work warranty that should last at least one year.
Before you take the steps to paint a water-damaged ceiling, you need to remove or block any water stains. If you want to try to remove the stain, use a spray bottle to mix equal parts white vinegar and water. Spray the stain until it’s moist (but not saturated). Let it sit for 15 minutes, and then use a sponge to try wiping it away.
If this mixture isn’t removing the stain, you can simply paint over it with a blocking primer. The primer should prevent the stain from bleeding through when you apply your desired paint color on the ceiling. A few different stain-blocking paint brands are available at your local hardware store. Follow the directions on the can of paint for the best results. Once everything dries and the stain is no longer visible, you can start using your desired paint color.
When it comes to tackling a painting project, choosing the right color is key. According to Angi homeowners who are completing a small painting project, 37% stick with the same or a similar color to the existing one. Of those looking to choose something different, nearly 30% opt for a lighter color compared to 18% choosing a darker shade. So, if you’re looking to paint a damaged ceiling, it may be worthwhile to stick with a similar, or at least brighter, shade than what’s currently in the room.
Now that you have your gear, it’s time to get started with the steps to paint a damaged ceiling. Should these steps be beyond what you want to do yourself, you can always hire a trusted local ceiling painter to do a stress-free job for you.
If you’re painting over water stains, you’ll want to make sure that you’ve fixed whatever caused the damage in the first place. Water stains and water damage should be assessed and repaired so that the problem doesn’t soak through a fresh coat of paint or create bigger, more costly issues down the line.
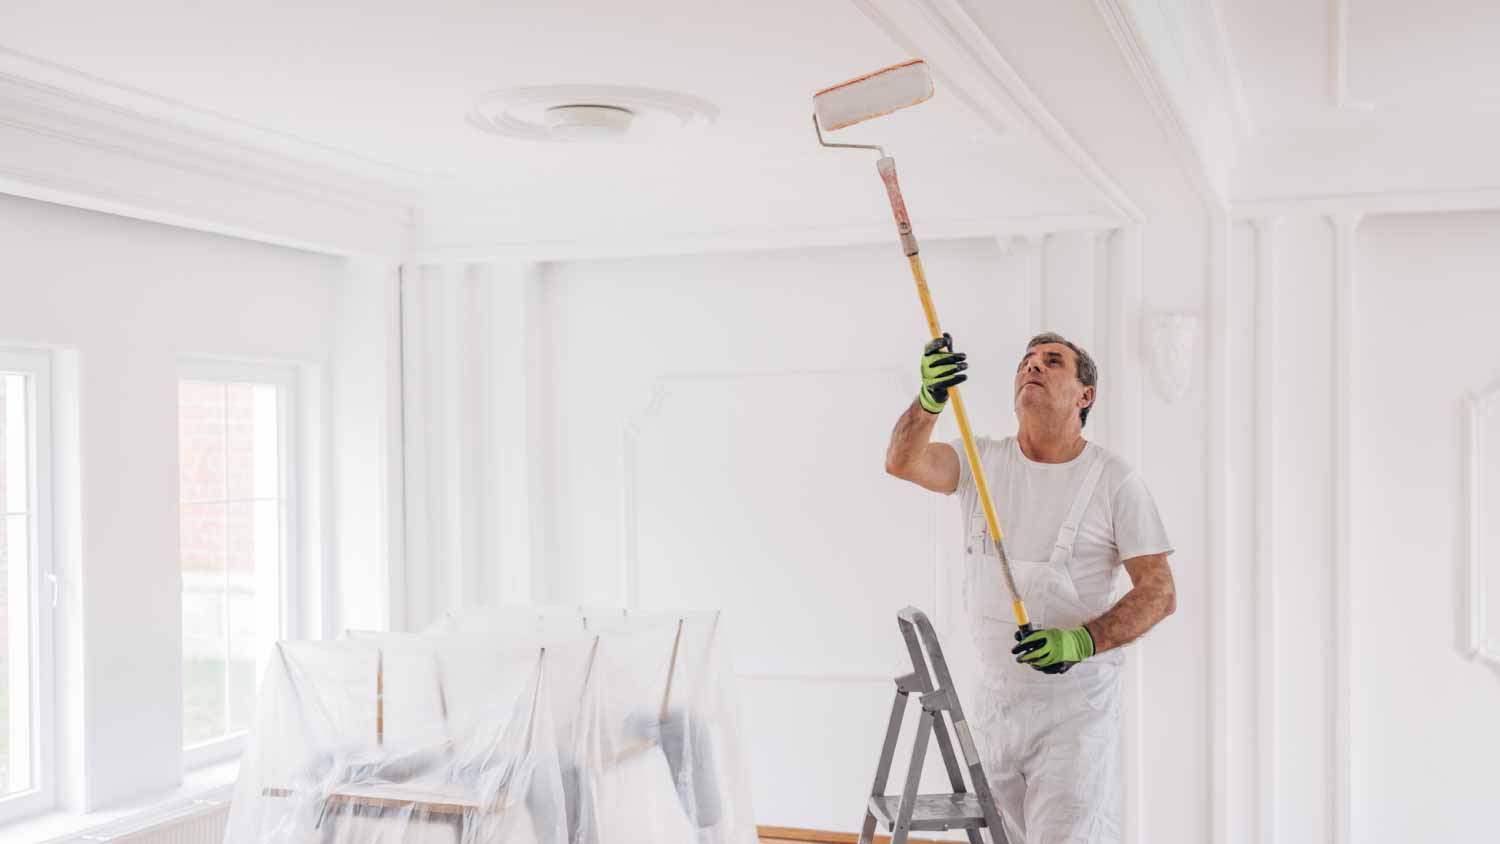
Most of what makes a professional paint job look so professional is the prep work they do before starting. Covering your flooring and furniture, cleaning up any cobwebs or dirt, and taping off any light fixtures, vents, or other areas where you don’t want to get paint will not only make your paint job look neater, but it will also make cleaning up afterward a breeze. Check off these steps to ensure your room is fully prepped to paint:
Remove furniture, wall hangings, and other decor items from the room.
Protect the floor and any remaining furniture by laying down a drop cloth.
Wear your safety goggles to protect your eyes from falling debris or paint splatters.
Wipe the ceiling and areas you’ll be taping off down with a cloth or mop to ensure both the paint and the tape will stick.
Repair damaged areas before applying paint.
Tape off ceiling fixtures, vents, and the walls.
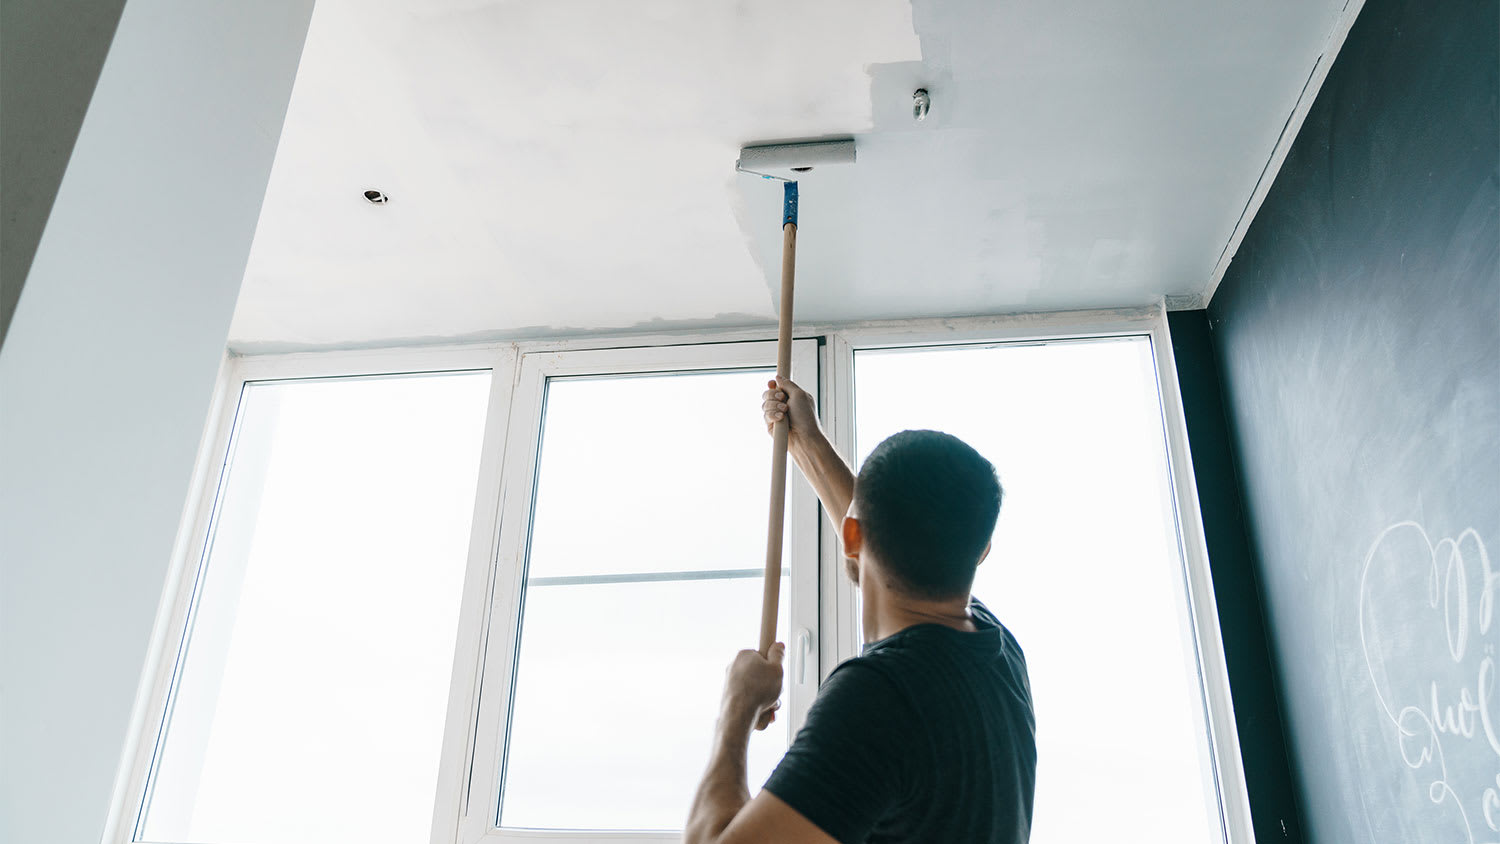
Give your ceiling a good base by applying an even coat of primer before using your paint. You can use the paintbrush to cut out corners, cover the edges of where you’ve used your painter’s tape, and around light fixtures or vents. For the best results, use an interior drywall latex primer on ceilings that are smooth or lightly textured and a high-build primer for ceilings with more texture. Here’s how to prime the ceiling like a pro:
Apply your primer in small patches and in multiple directions to ensure you’re applying your paint evenly.
If your ceiling is smooth to moderately textured, you should use a low nap roller. Higher textured ceilings are best painted with a roller that has a 1/2-inch or 3/4-inch nap.
Start in a corner and then roll the paint out so that your rolls are overlapping to prevent obvious lines.
Follow the dry time requirements listed on your can of primer.
After your primer has dried, you’ll need to repeat the process from step 3 with your paint. Unlike in the previous step, you may find yourself needing to apply more than one coat. This is especially true if you've decided to change the color of your ceiling significantly or if any water stains are showing through.
Apply your paint in small patches with the roller strokes going the same direction to ensure you’re applying your paint evenly.
Start in a corner and then roll the paint out so that your rolls are overlapping to prevent obvious lines.
Follow the dry time requirements listed on your can of paint before applying any additional coats.
One of the perks of hiring a professional is that you don’t have to do the clean-up. However, if you carefully prepped your space before starting, your clean-up may already be halfway done for you.
Wash your paintbrush, roller, and paint tray in warm soapy water and let them dry completely before storing them.
Wipe up any drips or spills from around the room.
Seal any cans of paint you plan to store for future touch-ups. You can use a mallet or hammer to gently tap the lid of the paint and secure it to prevent the paint from drying out.
Check your local municipality to determine if you need to do anything special to dispose of your painting supplies. Some areas require that you drop any items with paint at a disposable center.
After the paint has dried, you can remove and throw away your painter’s tape, remove your drop cloths, and return furniture and photos to their original spaces.
Custom Paint Jobs LLC is the go-to choice for all your painting needs. They painted both the interior and exterior of my house flawlessly. Their work speaks for itself!
Beginning with the estimate, Larry and Peyton were super helpful in getting my new condo's interior re-painted. Not only was the job well done, but also done in a super timely manner as promised.
 Five Star Painting of Plain City and Powell
From average costs to expert advice, get all the answers you need to get your job done.
Looking to breathe new life into your space with a ceiling refresh? Learn about the cost to paint a ceiling and what factors can affect your total.
Your ceilings might need a little love. Find go-to tips for painting your ceiling so you can take them to a whole new level, plus what you need to get the job done.
Wondering who to hire to paint ceilings? Compare pro painters vs. handymen, learn how pros work, and make a confident choice today.
Learn how to hire a qualified ceiling painter pro. Find tips on vetting contractors, questions to ask, and what to expect from your ceiling painting project.
When painting a room, don’t overlook the ceiling. This guide takes you through all the steps of how to paint a ceiling for pro-worthy results.

Looking to touch up your ceiling paint? Here’s what you need to know.