
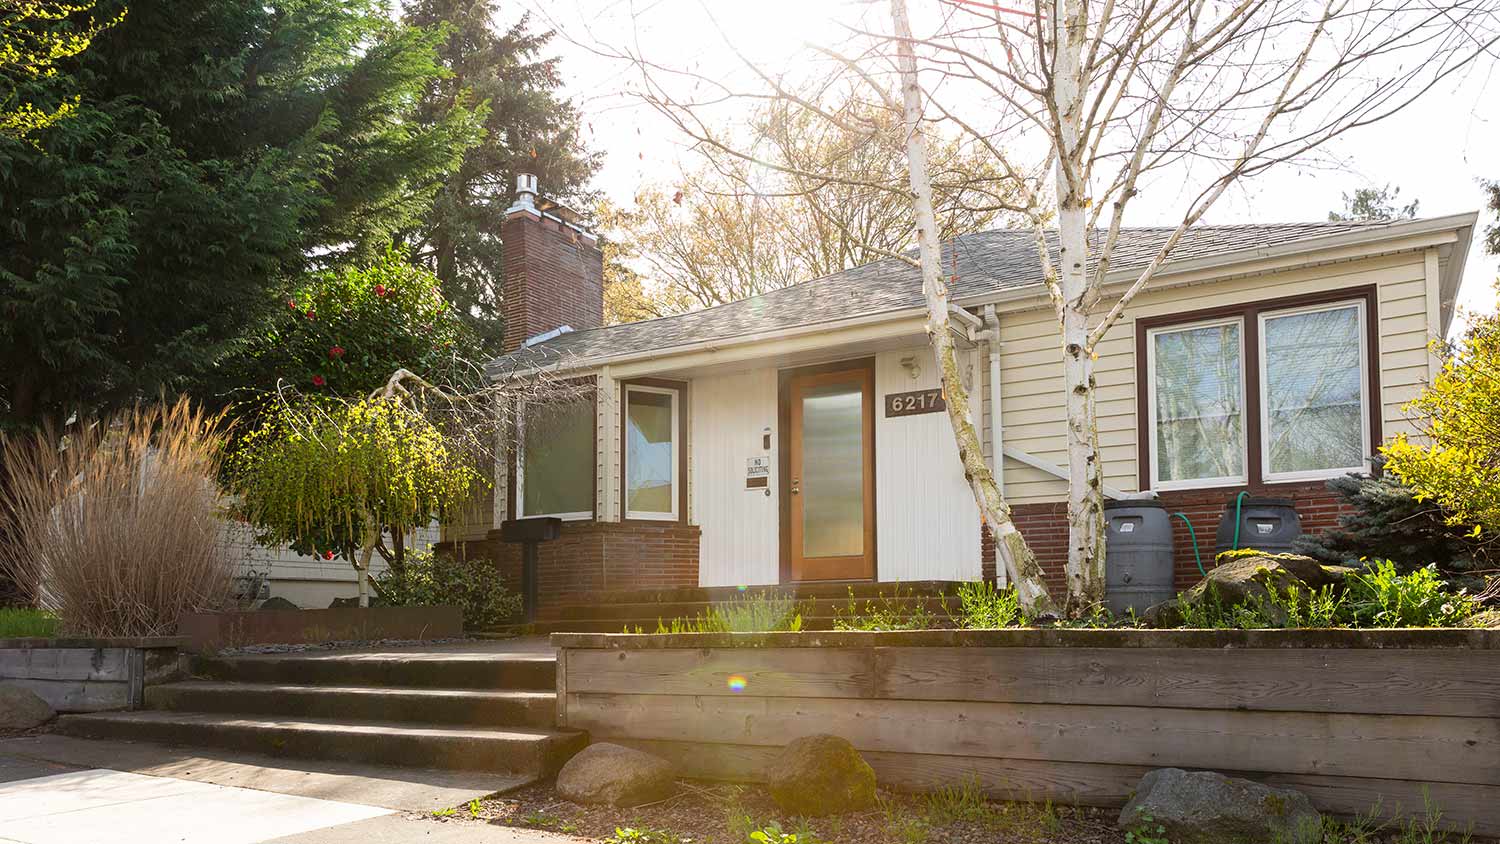
How much does it cost to demolish a house? Average prices for demolition vary based on home size, materials, and location. A partial demolition can make a project more affordable than a full house demolition. Keep reading for more.
Perk up your pipes this spring

If the weather is starting to shift to warmer temperatures, it’s the perfect time to learn how to de-winterize a house. With a few simple steps, you can defrost your home and prepare it for the spring and summer with ease. Follow this helpful de-winterizing guide to keep your home running smoothly.
These simple steps should take you no more than an hour to complete.
It’s common to unplug appliances to save on energy for long-term winterization. If a house is going to be empty for months on end, owners may also shut off breakers or take other steps to limit electricity. When returning to a house in warmer months, one of the first steps should be plugging in all the appliances and flipping breakers in the breaker box to bring all electrical circuits back online.
Now is also an excellent opportunity to check that your appliances are still working properly and that no breakers are tripping as you turn everything back on, which could indicate power problems or mismatched electrical needs on a specific circuit.
Make sure all the fixture shutoff valves are in the “off” position. Then, with pliers or a wrench, reconnect flex water supply tubes to all water-supplied appliances, like tubs, sinks, showers, toilets, water heaters, and water softeners.

Take aerators off all faucets on sinks and tubs. If you stuffed drain openings with rags or seals during winterization, unblock them. Or if you (or a winterization company) added antifreeze to floor drains, traps, and toilets, pour a gallon of water down each one to purge the solutions.
Gently and slowly open the main water supply valve halfway. With this gradual approach, you’re helping to prevent a rush to plumbing lines, which could overwhelm the system and cause leaks.
Make sure all exterior spigots open and close properly. Then turn them on and let them run for a few minutes, so they have a chance to purge sediment and air bubbles. You’ll probably hear loud gushing sounds, as trapped air escapes from the pipes. If you note low water pressure—which could signal a leak—call a local plumber for an inspection.
Turn on the water supply to your water heater, boiler, and water softener, listening to make sure water is filling your water heater. Then, address each remaining plumbing fixture one at a time. First, open a sink shutoff valve and turn on that sink’s faucet, letting the water run for a few minutes. As soon as the water runs clear and steady, shut off that faucet.
Meanwhile, repeat with each sink and toilet, letting each toilet tank fill completely. Then do the same with each tub, shower, and your remaining water-filling fixtures, With appliances, like your fridge and dishwasher, check manuals for specific refilling instructions. During this process, have rags or towels at the ready in case of drips. Check for leaks and tighten any joints.
Open your main water supply valve the rest of the way, close the exterior hose bibs, reinstall faucet aerators, and turn on the water heater once it’s full.
After you’ve turned on the primary water supply, follow the same steps for your water heater, water softener, and boiler. Follow the manufacturer’s instructions to reboot each system, typically in separate valves near pipes connecting to the water system.

In all likelihood, you turned down your thermostats to save on heating costs while you were out of town. Now’s the time to reprogram it to a comfortable temperature. Or, if spring warmth is already in full effect, program your air conditioner to keep you cool. While you’re in programming mode, don’t forget to hook up your security system.
Another step for winterizing an empty home is turning off gas and water lines. This important precaution helps prevent any accidents, fire hazards, or damaged pipes during harsh winter storms.
Turn on the main line for gas: If it’s a new house, you can usually find the valve right before the gas meter, usually located on the side of the house. Test the furnace, stove, fireplace, and any other systems that use natural gas to make sure they’re working properly.
Standing pilot lights refer to the pilot lights that must be manually lit after being turned off for long periods away. While you may not need all pilot light systems (like fireplaces) for the warmer months, you should still turn on all pilot lights to ensure they work and don’t have any noticeable problems.
Standing pilot lights are more common on furnaces and fireplaces, and less common for stoves and ovens. Check any gas appliances if you aren’t sure.
Sump pumps are basement systems designed to pump out drained water from basements, which prevents flooding and other serious issues. Sometimes sump pumps are left on in a winterized home to prevent winter flooding, and other times they are turned off along with all other appliances.
If the sump pump in a house is off, you should turn it back on and test it to ensure it’s operating correctly. Connect any disconnected drain lines. Get the sump pump working again before big winter snows melt or before heavy spring showers start.
It’s important to clean your gutters before and after winter. Once the thaw fully sets in, take time to clean out the gutters once again. Fall leaves and winter storms tend to fill them up again, and it’s important that they’re ready for spring downpours. If you have a significant problem with gutters that fill with debris, look into installing gutter guards or covers to block leaves from piling up.
If you unplugged a few appliances during your winterization process (ranging from TVs to electric stoves), go ahead and plug these devices back into your electric system. Test out each outlet to ensure it’s working properly, providing extra time for major appliances to readjust.
Since both winterizing and de-winterizing are relatively simple, you should be able to easily and quickly handle these tasks yourself. However, if you’d rather outsource these jobs, contact specialized pros for the most difficult tasks, such as a local HVAC technician for heating and cooling system concerns. An annual HVAC tune-up costs about $150, depending on your location and the type of system.
Flawless finish and exceptional service. Custom Paint Jobs LLC is the only choice for me.
Visited my home for estimate same day that I called. Painted on Saturday. Great job. Good price!
Window Depot did an amazing job on my deck. I wasnt sure what I wanted to do, but their composite decking was affordable and will last a long time. I am excited to have family over, and I am no longer embarrassed by my backyard. Jeff and the ground crew were polite, respectful, and caring for...
The guys did an outstanding job and we had a great experience with CarifaTile. I appreciated that Joe reviewed the quotes with me and set expectations prior to the install. The crews showed up as scheduled and always left the areas clean upon leaving the house. We will definitely use...
 CarifaTile
Beginning with the estimate, Larry and Peyton were super helpful in getting my new condo's interior re-painted. Not only was the job well done, but also done in a super timely manner as promised.
 Five Star Painting of Plain City and Powell
BJ Trim Carpentry rescued me in the middle of a do-it-yourself project. I found I needed more expertise than I had...and more TOOLS! BJ Trim Carpentry responded quickly and completed what I needed expertly, politely and with a little humor!
This brownstone is historical and the carpentry work is very detailed. I was very happy to secure a company in NY and living in OH to complete the request. Wood work on this brownstone has been existing since approximately 1888 and West side did a GREAT JOB. I will not be able to...
 Westside Home Improvement
We had a great experience with Mark Rodgers Construction. We were in the process of seeking out estimates for possible foundation work for our front porch. Mark came out himself to provide the estimate. Turned out that the company deals mainly with concrete, so we wouldn't be getting an...
Overall this experience was incredible! I looked on Angies List for a cleaning service because I was planning a holiday party and wanted to make sure we found a reliable, thorough and efficient cleaning service to make sure everything was perfect for the party since we had co-workers and...
From beginning to end our experience with Joe was very good. He was professional and prompt in his estimate for the job and worked hard to meet our schedule so that he could remove our old backsplash the day before our new countertops were removed and return shortly after they were removed to...
From average costs to expert advice, get all the answers you need to get your job done.
How much does it cost to demolish a house? Average prices for demolition vary based on home size, materials, and location. A partial demolition can make a project more affordable than a full house demolition. Keep reading for more.
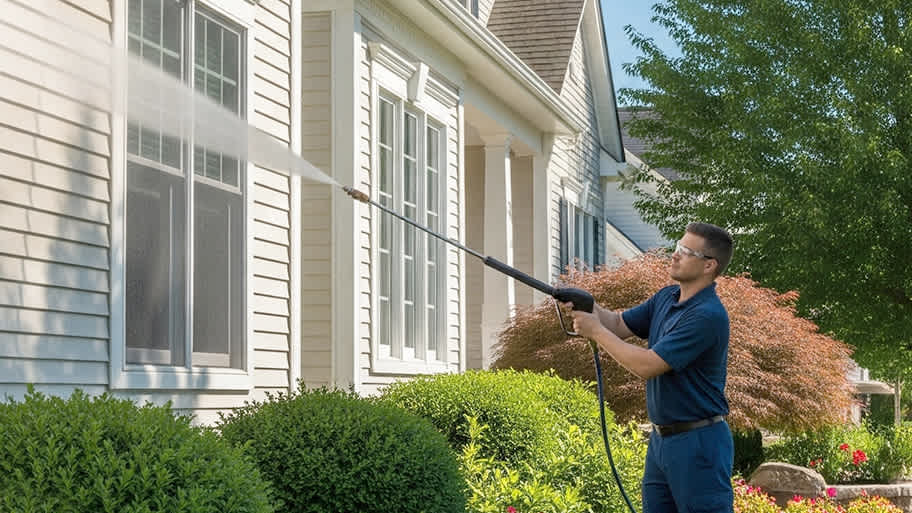
Need to breathe new life into your dirty siding and trim? Explore the cost to pressure wash a house to boost your curb appeal instantly.
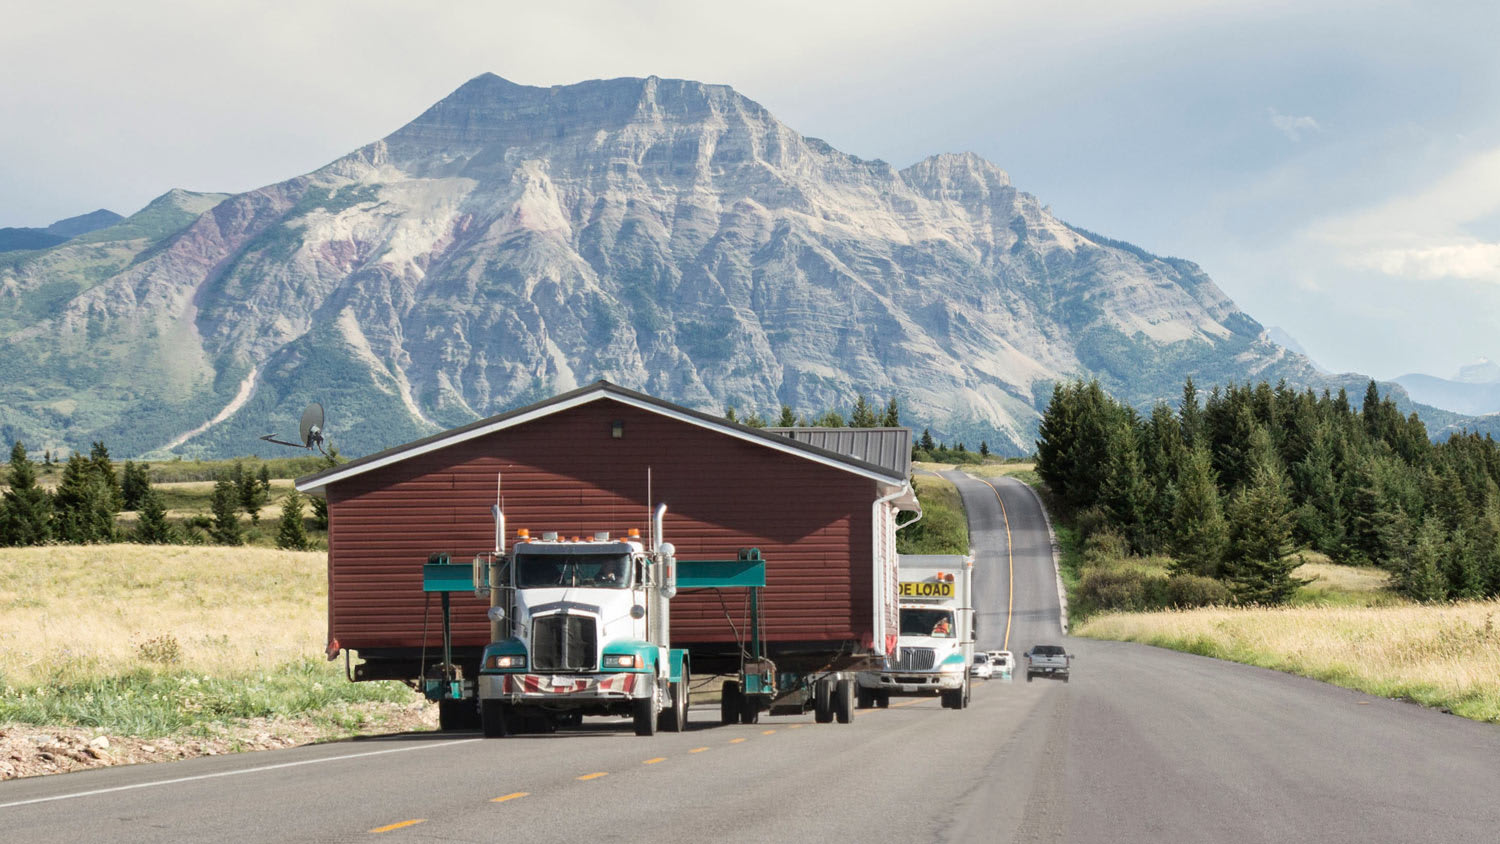
Wondering how much it costs to move your house to a new spot? Check out our helpful cost guide to learn how to budget for this major home project.

Deep cleaning a house? Find out how long the process takes—plus tips to maintain a deep clean.

Learn how to prepare for a house cleaner to ensure whoever you hire can do their job properly while you keep your home, family, and possessions safe.

Knowing how to install a whole-house dehumidifier can save money. But it’s best to hire a pro if you don’t have expertise in HVAC and electrical work.