
Door repairs cost around $250 on average but can range from $50 to $700 depending on the type of door, type of repair, materials, and project scope.
Take pride in your door by building it yourself


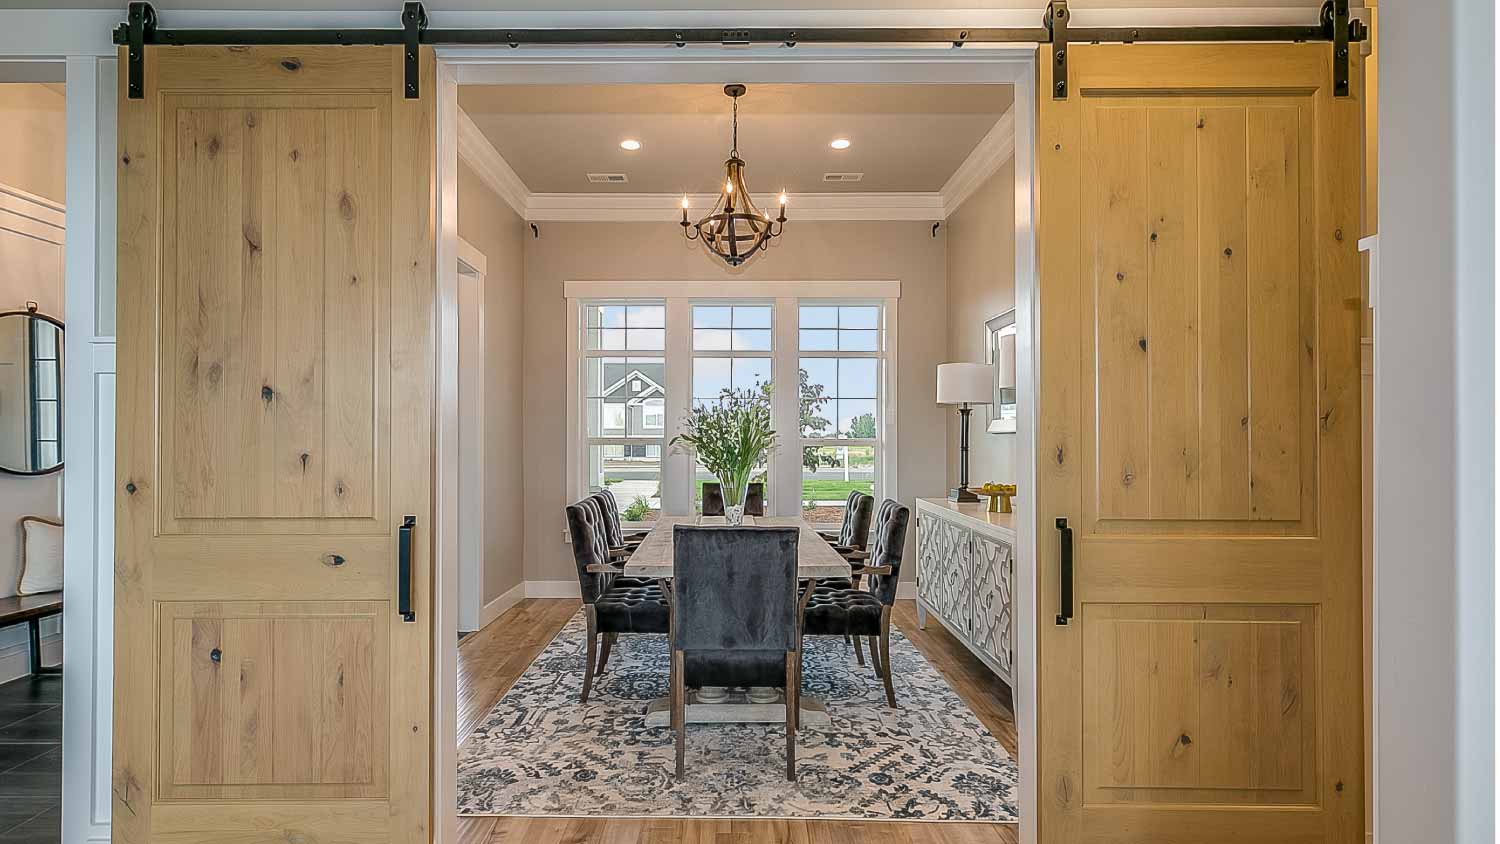
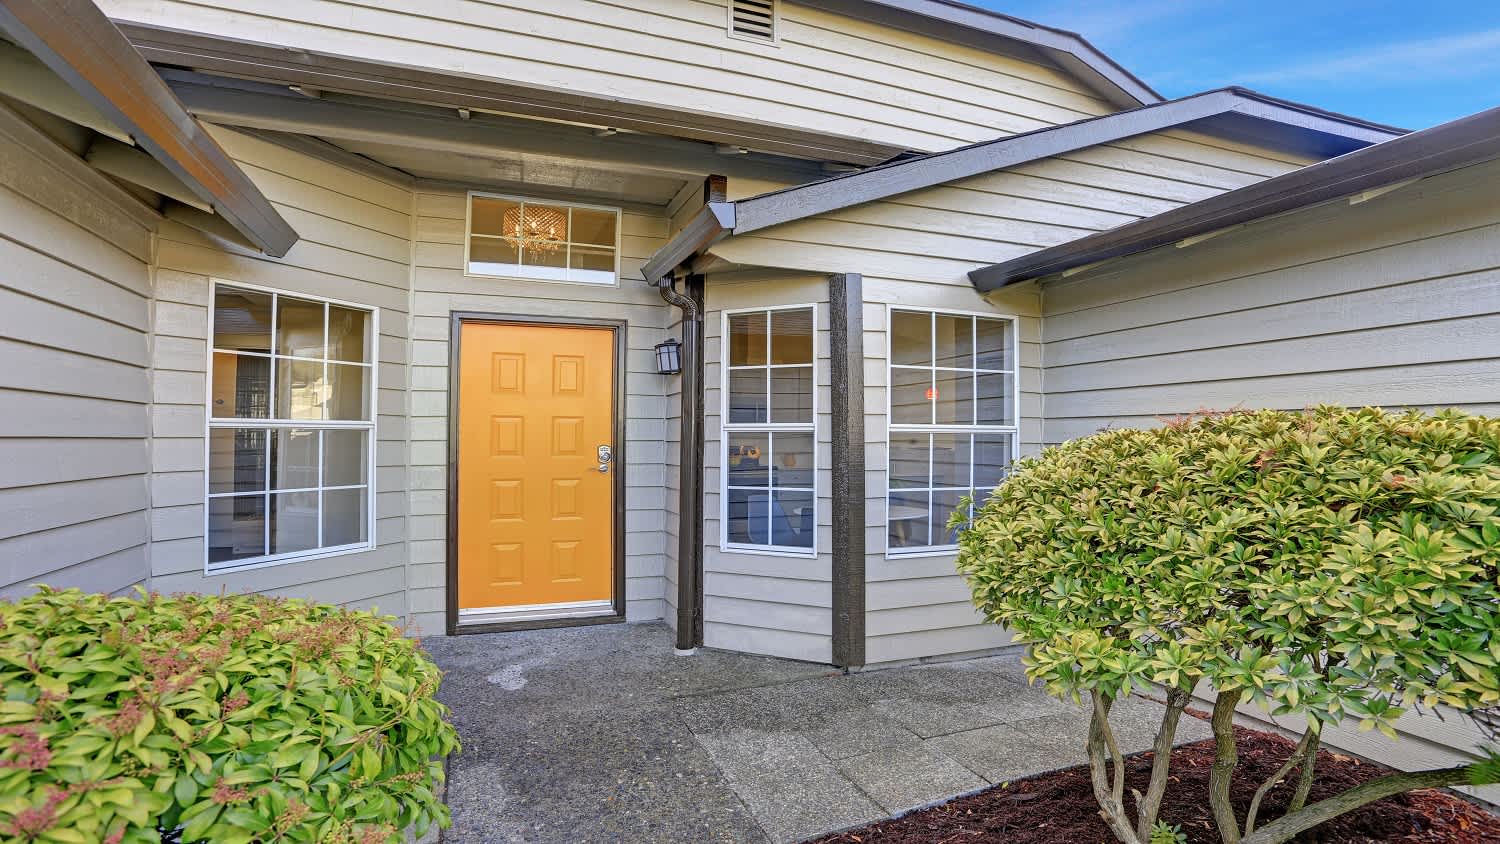
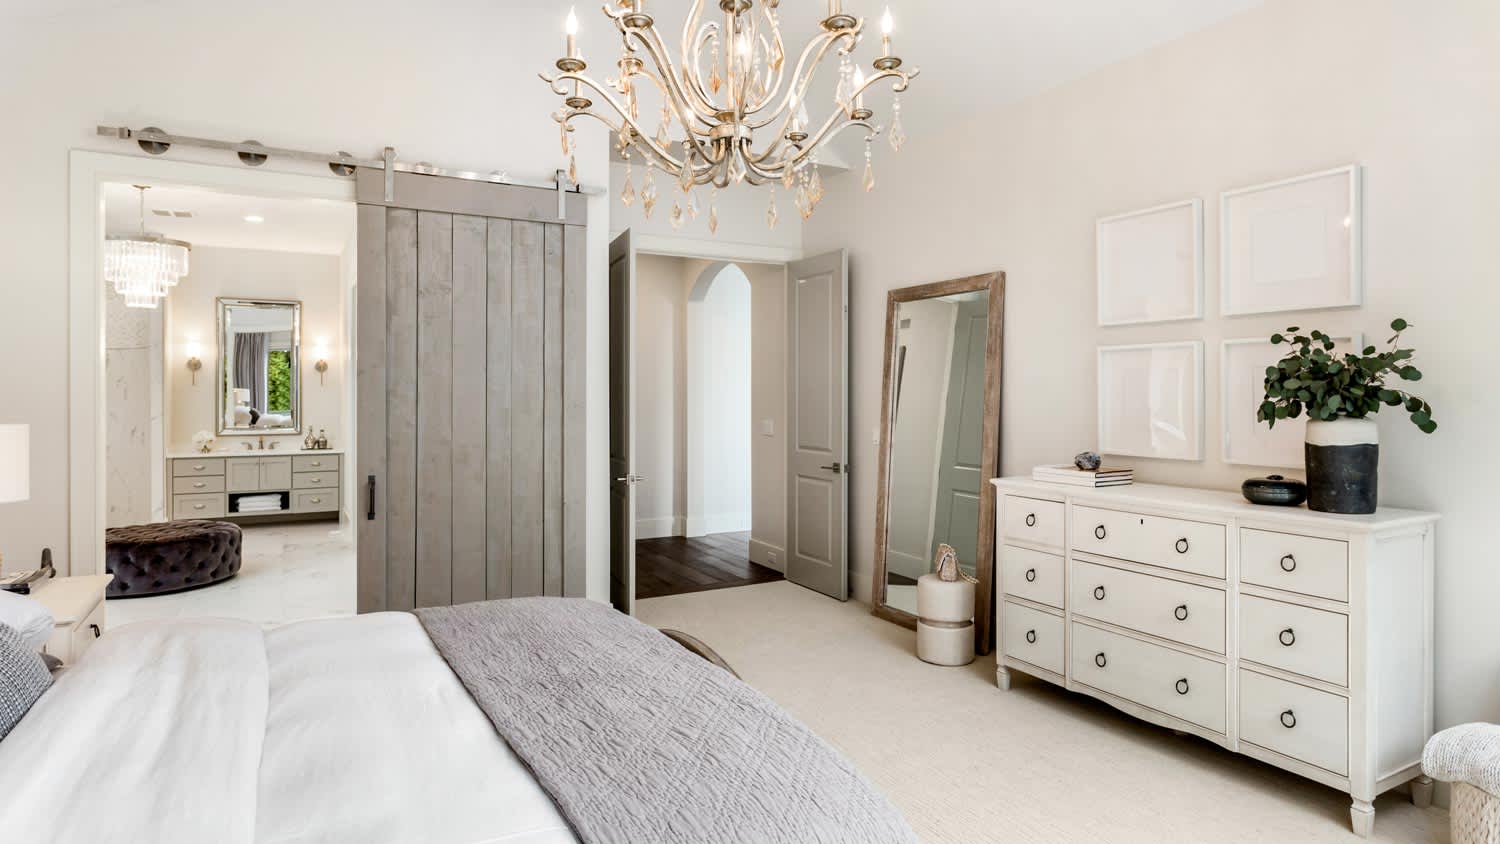
Interior doors come in a variety of types and styles, from farmhouse to French. No matter if you paint yours bright white or rustic red, doors add style and individuality to your home. If you need to replace a standard-sized door, finding a style to match those in your house can often be done easily at a home improvement store.
However, if you need to replace an irregularly-sized solid wood door, your options become more limited. Luckily, with this guide (and intermediate DIY skills), you can learn how to build a door for your home that looks professional and gives you a sense of pride every time you look at it.
“When you need a door that is not a conventional size, the prices can really climb,” says Bob Tschudi, Angi Expert Review Board member and general contractor in Raleigh, NC. “We see this a lot when we are installing sliding barn doors, and we almost always end up making the doors ourselves.”
Before getting started, it’s useful to know the parts of a door for this project.

Door panel: The part of the door that hangs from the door frame.
Frame: This is the part of a doorway that’s secured into the wall and acts as the mounting surface for the door panel. It has two vertical door jambs and a head jamb at the top.
Stiles: These are the thick vertical parts of the door panel on both sides. One stile is the hinge stile; the other is the lock stile.
Mullion: This is the vertical center divider of the door panel, located between the recessed panels of the door panel.
Panels: Not to be confused with door panels, panels are the recessed areas of a door panel.
Rails: These are the horizontal dividers between panels. Our door will consist of a bottom rail, a top rail, and a lock rail which will be located at the height of the lockset.
Lockset: This consists of the door knob, or handle, and the latch assembly.
Hinges: These are the metal components that hang the door in place and allow it to swing open and closed.
Hinge pin: A thin, cylindrical piece of metal that connects the two halves of a hinge.
Mortise: The recessed voids where the hinges and latch assembly are installed into.
If a new custom door involves structural changes or affects the home's exterior, you may need to get a permit for the installation. A professional door installer can obtain these permits prior to starting work.

To start, you need unhindered access to the door’s frame so you can measure the door opening.
Begin by unscrewing the lockset and setting it to the side if you plan on reusing it on your new door. You can leave the strike plate in place. Put something under the door to support it while you work, or have someone hold it in place while you tap out the hinge pins with a hammer and screwdriver.
Once the pins are out, pull the door out and set it aside. You can also unscrew the hinge plates from both the door and the door frame. Save them if you plan on reusing them.

If the door you’re replacing is undamaged, and fits nicely in its frame, you can simply measure the door and replicate the measurements for the new door. If you’ve tried to fix the door after being damaged, but found it needs to be replaced, you’ll need to get your measurements from the existing frame, instead.
Measure the door frame opening from one jamb to the other and subtract three-eighths of an inch. This number will be the actual width of the new door and will allow for some wiggle room for a nice fit and door expansion.
Next, measure from the floor to the top jamb and subtract 1 inch to get the total height measurement. Subtract another one-eighth to one-quarter-inch if you have carpeted floors or need extra-high clearance.
Choose 2-foot by 6-foot or 2-foot by 8-foot lumber–either will work well for this project. Replacing an older door that measures 1 ½-inches thick will not require planing. Replacing a modern door, usually 1 ⅜-inches, means you will have to plane your lumber to fit properly.
If you do need to plane your lumber, run it through a thickness planer. You can also use a hand planer or electric planer to get the door down to the proper thickness, but this can be challenging and time-consuming. Aim to reduce all of the 1 ½-inch-thick material to 1 ⅜-inch thickness if you’re replacing a modern door.
Remove any beveled edges with a jointer, power planer, or hand planer. You can also rip the beveled edges off using a table saw. Once the edges are removed, rip the pieces to their final width on the table saw.
You’ll need three longer pieces of lumber for the stiles and vertical mullion, and three shorter pieces for the horizontal mullions or rails, which you can cut using the miter saw. Typically, the bottom rail will be wider than the other rails, but this is an optional design feature.
Cut two stiles to equal the overall height of the door. Then, cut one short mullion from the leftover long piece of lumber that equals the height of the door minus the width of the top rail and bottom rail, plus one inch. If you know the layout of your door panels already, you can subdivide this mullion up to fit between the horizontal mullions and rails. Add one inch to each to allow for tenons.
The lower panels and mullions are usually taller than the top panels and mullions, so make adjustments as needed.
Finally, cut three rails from the shorter lumber to a measurement equal to the overall width of the door, minus the sum of the widths of the two stiles, plus one inch to allow for cutting tenons later.
Next, you’ll create the system that holds the door panels together. For this step, you can use a router with a guide fence, router table, or a dado blade on your table saw. Cut all of the following grooves 1/2-inch wide by 1/2-inch deep. Create a groove covering the full length of the dimension on each of these edges:
One side of each stile
All sides of each mullion
One long side and both short sides of the top and bottom rails

This project will have four recessed panels to make your door look more decorative and like it was professionally manufactured.
Using the table saw or circular saw, cut the plywood into four panels. Each panel will measure the size of the planned voids in the door panel, plus 1/2-inch on each side.
To get exact measurements, first take the width you want your door to be, subtract the width of both stiles and the center vertical mullion, and then add two inches. The 2-inch addition is to account for the ½-inch of panel that will insert into the grooves you cut in your styles and mullions.
For the height of the panel, lay out your stiles, rails, and mullions in the pattern you want. Measure the vertical space for each section you want a panel to appear. This measurement will differ based on your preferred door design and number of panels arranged vertically. Add one inch to each vertical measurement to fit into the cut grooves.
A tenon is like a peg that fits into a mortise, which is a slot the same dimensions as the tenon. Cutting tenons in your rails and horizontal mullions isn’t totally necessary, but it will help maintain alignment in your door and, ultimately, extend its life.
You’ll be cutting tenons on both ends of your top rail, bottom rail, and any vertical mullion that fits between rails and horizontal mullions. Set up your dado blade or router and router table to cut a depth of one-inch and a width of one-half-inch. The 1-inch depth cut on both sides will bring your lumber boards down to a centered thickness of one-half-inch, which will fit into the grooves in your stiles. The width will allow for the tenon to stick out one-half-inch to suit the depth of the grooves.
For a more decorative look, you can route a design in your panels and other stock. This step is technically optional, but it will drastically improve the appearance of your door.
Start by using your raised panel router bit, router, and router table to route a long, beveled edge on your panels. Be sure not to route the one-half-inch portion that will insert into the grooves in your stiles and mullions.
Next, use the decorative bit, that should be included in your raised panel router bit kit, to cut a design on the inside corners of your stiles, mullions, and rails (anywhere they will meet a panel). Be sure to mark stop points on your door before completing this step. For example, you don’t want to route the inner portion of a stile that will meet a rail or horizontal mullion. Only route out where the wood will meet a panel.
Be certain to dry-fit all of your pieces together before committing to gluing the parts. Once you’re satisfied, protect a large, flat work surface with a drop cloth and lay out your door panel parts.
Starting at one side, assemble the door panel, placing tenons, panels, mullions, and rails into each stile. Liberally apply wood glue to all mating surfaces. Continue until complete and firmly apply 3–4 clamps across the door. Wipe off any squeeze out, and let the door dry overnight.

For this step, use the measurements and locations of the existing hardware if you’re reusing it. Follow the instructions in your hinge mortising kit to create hinge mortises and a latch assembly faceplate mortise if applicable. If you’re reusing your hinges, you shouldn’t have to route out an area for the hinge plate on your door frame.
Drill holes for the lockset according to the instructions in your door hardware installation kit. Use your hole saw to drill out the hole for the door handle.

Your door build is complete. Now it’s time to give it a finish. Start by using coarse sandpaper (80-grit is ideal) to remove dried glue that squeezed out of the seams.
Move up to 150-grit sandpaper and sand all surfaces with increasingly fine grits, and an orbital or sheet sander for the large, flat portions of the door. Continue through 320-grit paper.
Use a shop vac, tack cloth, or damp rag to remove the sanding dust. Next, spray your entire door lightly with water from your spray bottle. This will raise any loose fibers in the wood that would otherwise pop up when painting or staining. Sand again using 320-grit sandpaper to knock these down once the wood is dry for a perfectly smooth finish.
Normally, now is the time to stain or paint the door. However, for this project, you can hang it first if you wish to make sure that it fits and swings easily. You may want to let it sit, unfinished, for several days to adjust to humidity levels.
“Door hanging can be time consuming and even tedious,” Tschudi says. “But it’s time well spent. If you don’t get it right the first time, you can spend a lot of time going back and adjusting, adjusting, adjusting.”
Install one half of each hinge on the door panel in the mortises, being sure to predrill each screw hole. Reinstall the other half of the hinges on the frame.
Prop the door in place and install hinge pins to hang the door, and check for even clearances between the door panel and frame.
If you need to make any adjustments, remove the trim and use shims between the door frame and the wall frame lumber, or use a planer or sander to trim the edges.
Apply your choice of paint or stain according to the product instructions, and allow it to dry before resuming normal use. You can remove the door or leave it in place for this step. You can also pay for door installation if you run into issues with hanging it yourself.
Standard-sized solid wood interior door slabs cost between $200 and $400, and are a good option for replacing modern doors of the same size and style. This DIY project’s cost will depend on the type of wood you use and its quality, but will range from $50 to $300, plus any hardware and tools you may need to purchase. For custom doors, which can reach upwards of $1,000 to have a professional make, you stand to save hundreds by DIYing this project.
However, even if you know how to build a door, you’re still looking at a lot of work, a myriad of power tools you need to have and be familiar with, and a lot of things that can go wrong. If you’re not an avid and experienced DIYer that already has the tools, we recommend contacting a door installation company near you for help.
Hiring a professional will, of course, cost more than doing the work yourself, but you’re guaranteed to get a good fit and a door that looks beautiful and lasts for many years to come.
Deirdre Sullivan contributed to this article.
Terrible experience. Walls/trim/floors/cabinets/doors all have drip marks, overspray, etc. Tiling at the fireplace had to be redone by another vendor due to incorrect and shoddy install by Profect. Contractor had his children in our house while he was on site without prior authorization or...
 Profect painting & exteriors
Jason has helped me with multiple household projects, with the most recent being new door installation. He has always showed up on time and organized and has done an incredible job! Jason is very professional and he's now my go-to for anything around my house that needs to be fixed or...
Company came to look at my garage door that was off track. They also said I needed a brace on the other garage door. They put the door back on track, and I paid to install the brace. The technician told me I needed a new garage door opener, and it would cost $1000. Red flags went off in...
 Precision Overhead Garage Door Service
On Sunday 2/26 I requested quotes via Angi from 4 refrigerator repair businesses. Northwest Appliance responded to me Monday morning (2/27) and my refrigerator was repaired by noon the same day. Great communication, they did everything they said they would. The technician had the parts on...
Excellent customer service and knowledge. I was recommend to him from my neighbour. My front door and window came in great and were installed beautifully perfectly, I m very satisfied with their excellent work, so decided to order one more big bow window for my living room. I cant wait for...
Called ahead and worked quickly to install keyless locks on vintage wooden doors.
Scott did not get appropriate access to the property prior to the scheduled inspection which required us to come back later in the day to complete it. He also, unprofessionally, knocked on a neighbor?s door in his attempts to reach someone with access. His overall report was fine though the...
Door Depot was very responsive - they came out the day after my call to assess my needs, then returned at my convenience to complete the work. They arrived early, and the work was completed in a shorter period of time than estimated. Very pleased with the results. I would definitely use them...
 Door Depot LLC
Replace garage doors: Fast response, competitive estimate, timely work done well.
Jeremiah did an awesome job cleaning 28 windows inside and out! He was fast, efficient and now I have a beautiful view again. This was a Groupon for $139 for 20 windows, but I had 28 windows/doors cleaned, so there was an extra $6 per window. Totally worth it.
 Complete Home Services
From average costs to expert advice, get all the answers you need to get your job done.
Door repairs cost around $250 on average but can range from $50 to $700 depending on the type of door, type of repair, materials, and project scope.
Sprucing up the barn or adding a rustic touch to your home? Use this guide to estimate barn door installation costs, so you can budget for your next project.
Whether you’re installing a new door or replacing an existing one, the cost of door installation varies based on location, door type, framing needs, and other factors.
Find out if installing an interior barn door is a good fit for your home—we’ve rounded up the top design features and considerations to help guide your decision.
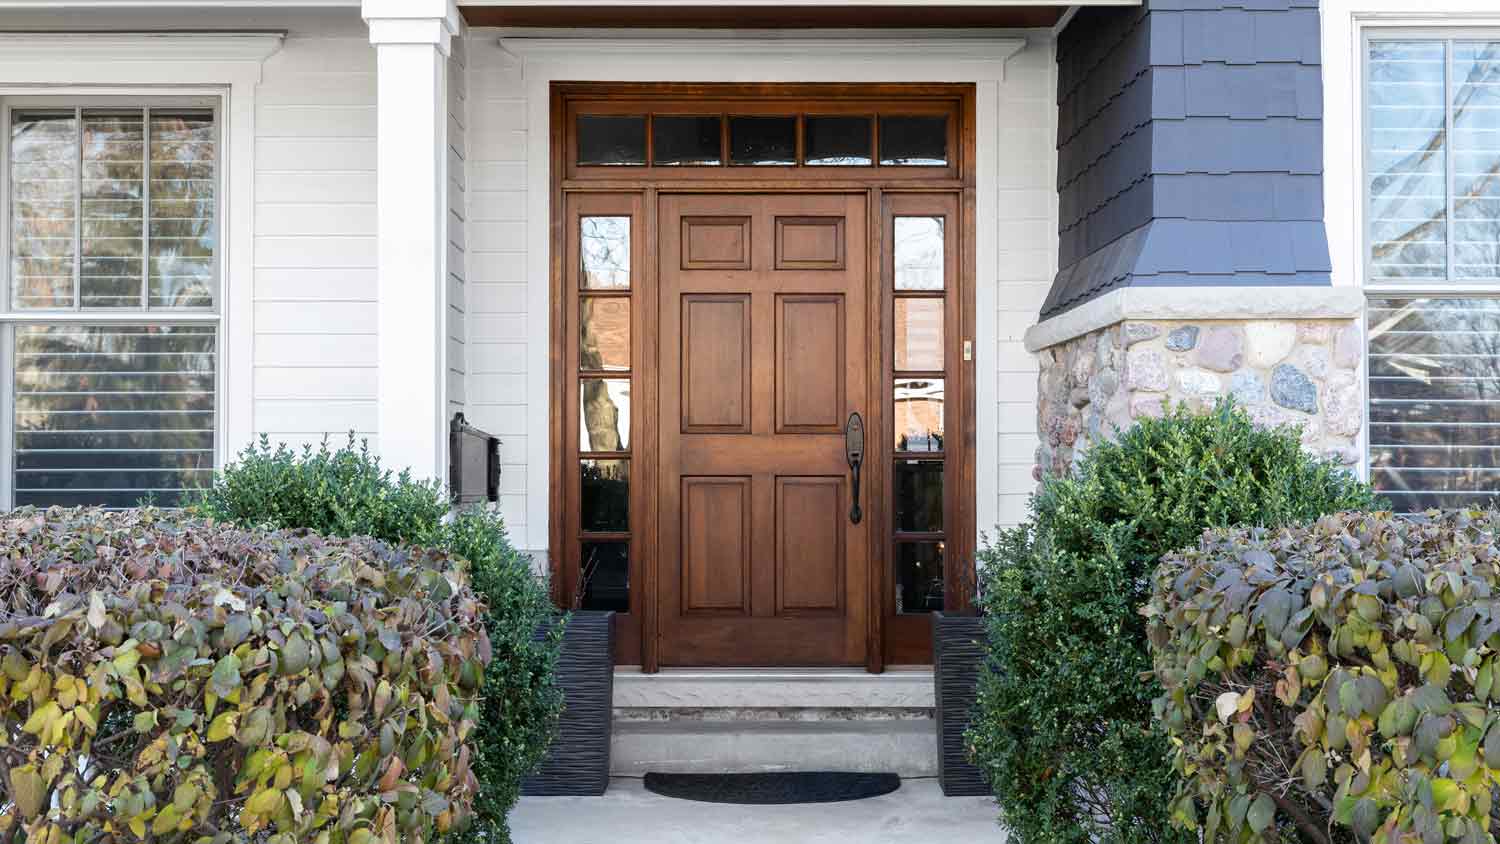
The best wood for front doors depends on factors like your climate, style, and upkeep level. Read this guide to learn more about your wooden front door options.
Before diving into home renovations, get to know both sides of the solid core vs. hollow core door dispute and why there's a time and a place for each one.