
Drywall mud bubbles are common, even when you’re experienced. Here are the main reasons why your drywall mud bubbles and how to fix it.
Less is more when it comes to drywall mudding

Drywall mudding creates smooth walls when you apply thin coats and feather your edges, which means less sanding and a cleaner finish for your project.
Shave down setting compound while it's firm to prevent tough sanding later, and use your drywall knife to smooth high spots between coats before the next layer.
Apply three to four thin coats instead of thick layers, which speeds up drying time and reduces the sanding work you'll need to complete at the end.
Hiring a local drywall professional saves you time and effort, providing expert mudding techniques and smooth finishes that can take years of practice to perfect.
Finishing drywall is an art, and many homeowners find the task difficult without extensive training and experience. However, there are plenty of tricks you can use to make the process go more smoothly and complete the job like the pros do. This guide offers 11 drywall mudding tips for your next renovation project.
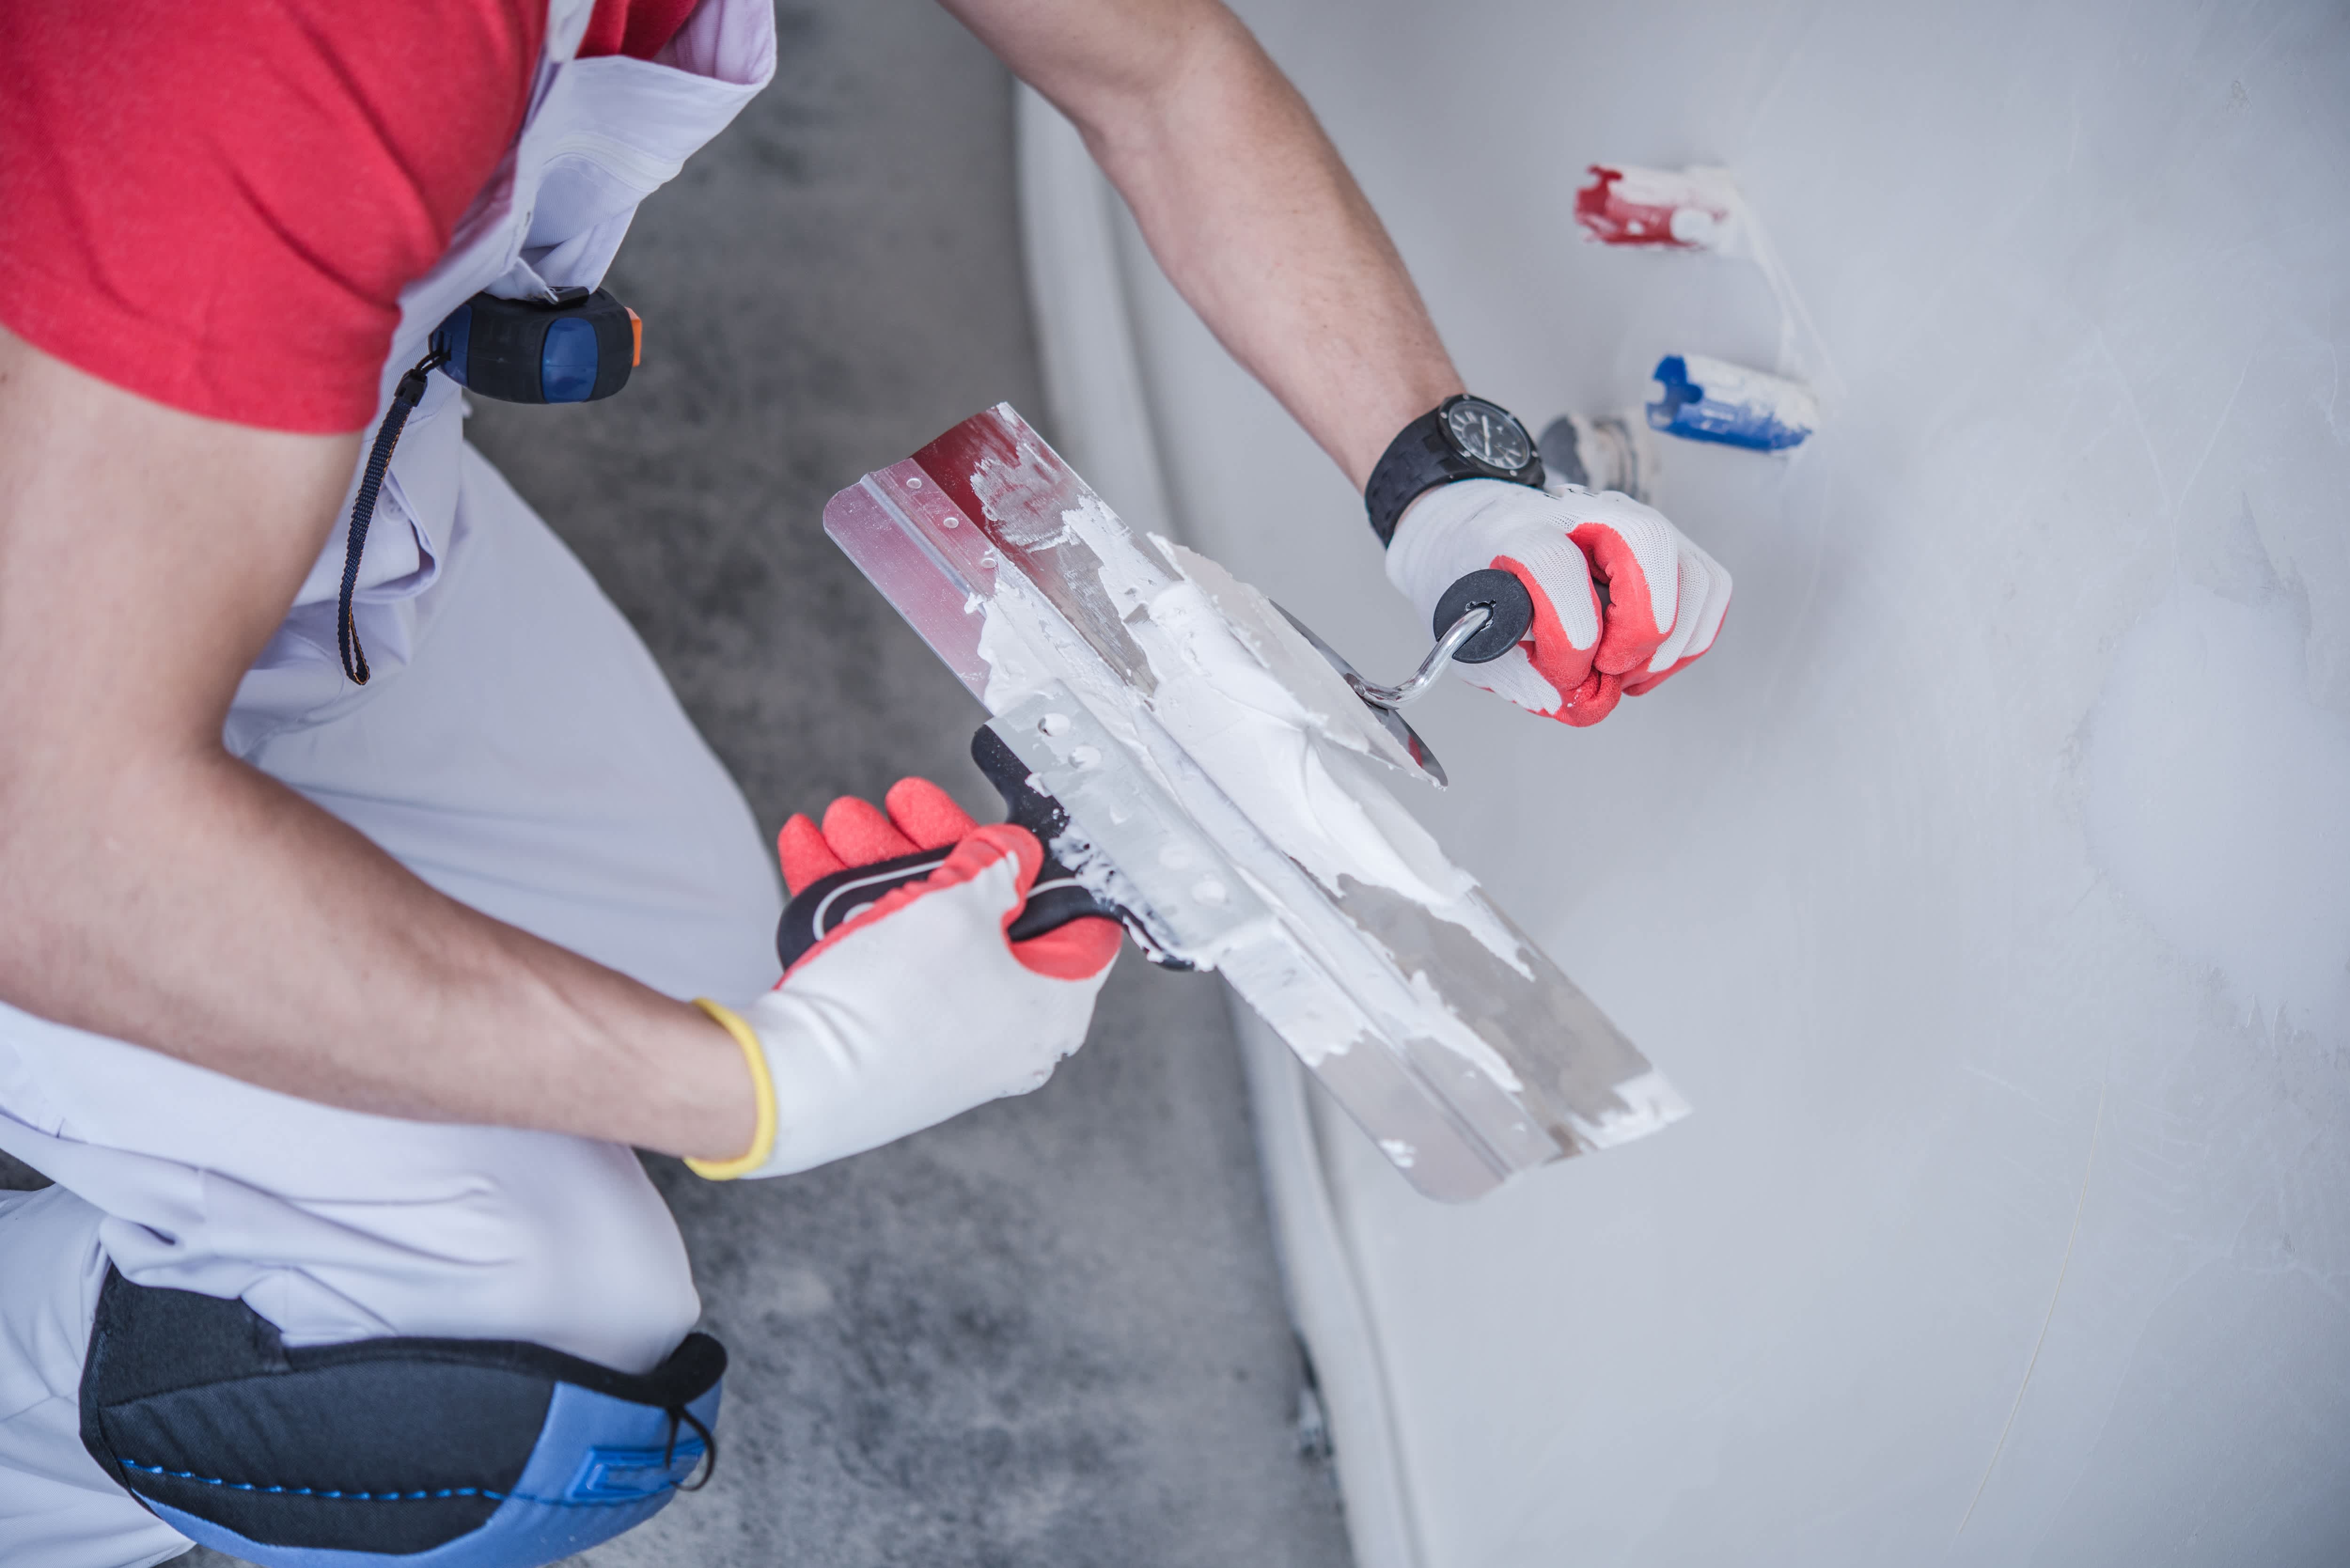
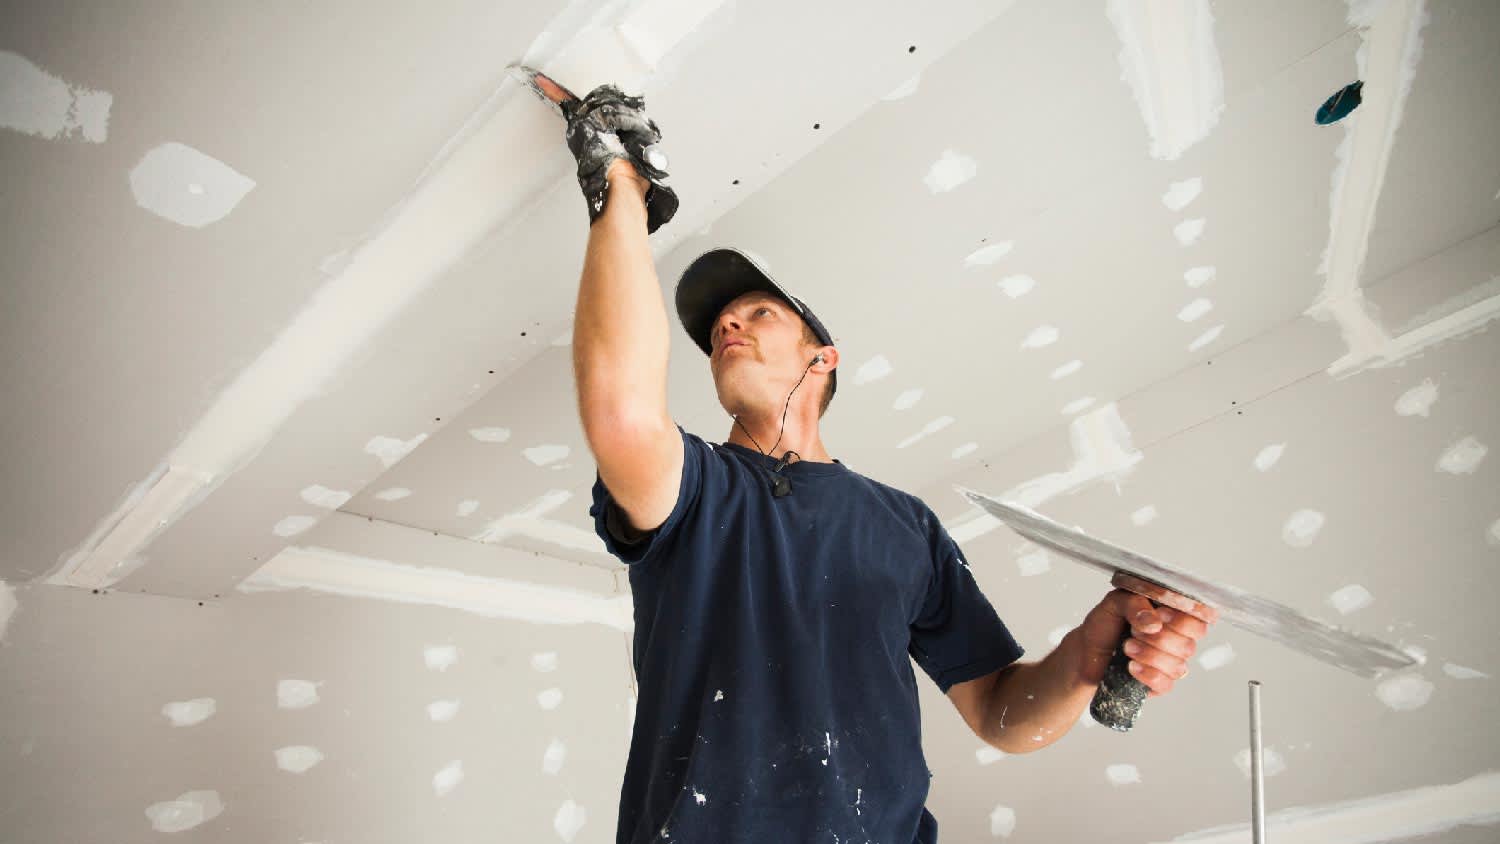
Feathering is a technique for getting rid of hard lines in drywall mud and creating a smooth surface that doesn't require as much sanding. Feathering is more difficult when using a large trowel, a square edge, or a dull knife, so get the right tools before you start.
Place more pressure on one side of your drywall knife than the other. Spread quickly, because the longer your mud sits, the harder it is to create a smooth edge, which results in more sanding.
Apply three to four coats of drywall in thin layers. The thinner and smoother your coats, the less time you’ll spend sanding drywall.
Never sand between coats of drywall. Instead, use your drywall knife to shave down high spots before applying a new coat. When feathering your edges, you’ll likely leave only a small area in the middle to sand.
Sanding should be your final step, and is only necessary to smooth out the wall, blend edges, and remove protruding ridges.
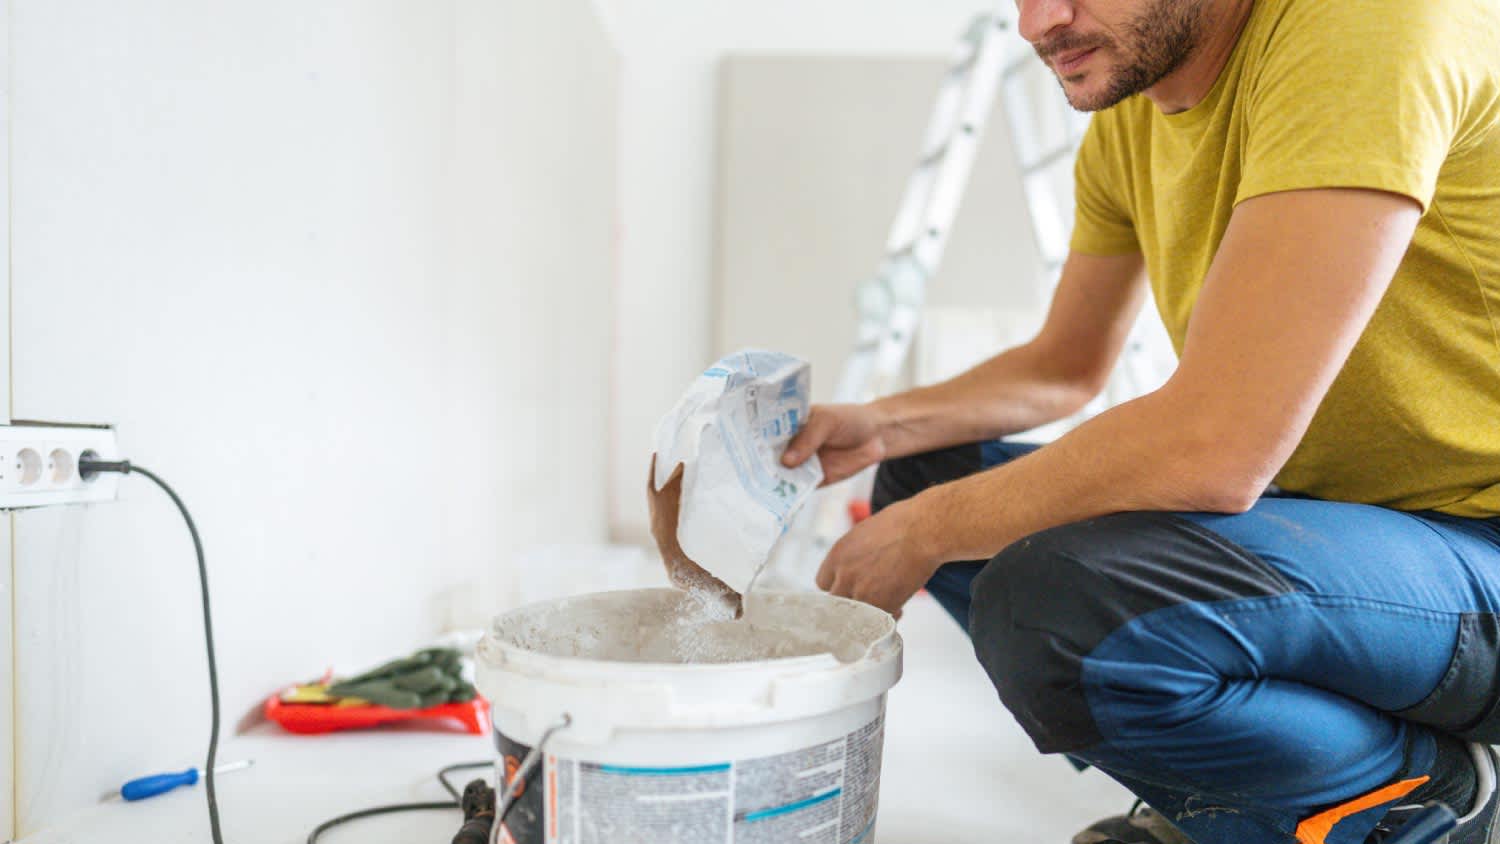
A setting compound is best for large holes, deep gaps between drywall panels, and the first coat over a corner bead. Unlike regular drywall mud, a setting compound hardens rapidly and doesn't shrink. Before it hardens, thoroughly clean your mud pan and knife to remove all setting compound. Dump your leftovers in a bucket rather than a sink to prevent clogs.

Once your setting compound is as firm as bar soap, use a taping knife to shave off any lumps or sags. Setting compound is even harder to sand than regular drywall mud, and shaving here will make it easier to sand later. When it hardens completely, you can apply a coat of regular drywall mud over it.
If you notice gaps larger than 1/8 inch around electrical boxes for outlets and switches, fill them with a setting compound.
Be sure to shut off electrical power at your breaker box before pulling out switches or outlets, and always test the neutral and hot wires with a voltage tester. This will help you avoid electrical shock and damage to your metal tools or equipment.
Slide a drywall knife over the surface of any fasteners on your drywall. If you hear a metallic click, you'll know that a screw or nail is protruding above the face of the drywall. For screws, simply twist them in with a screwdriver. For nails, use a drywall hammer to drive in a shallow dimple, which you can then fill with drywall mud.
Use the same approach when removing nails from drywall, making a dent you can fill rather than just filling the nail hole.
If you have a line of several screw holes to patch, do so with one broad stripe of joint compound. This is faster and disguises holes better than filling each hole individually.
If there are areas where the drywall paper is torn or crushed, use a utility knife to cut it away. Leaving these sections as-is will likely lead to bubbles in your finish. Once trimmed, use a spray-on stain-blocking primer to seal the tears before patching.
When drywall joints are necessary, creating them with beveled edges facing each other is ideal, since the bevels can be taped and smoothed over with mud.
Butt joints occur where two non-tapered ends of drywall sheets meet. It's difficult to hide butt joints since drywall tape applied over top protrudes above the surface of the wall. Instead, install longer drywall sheets that cover walls corner-to-corner, or hang sheets vertically in rooms with long walls.

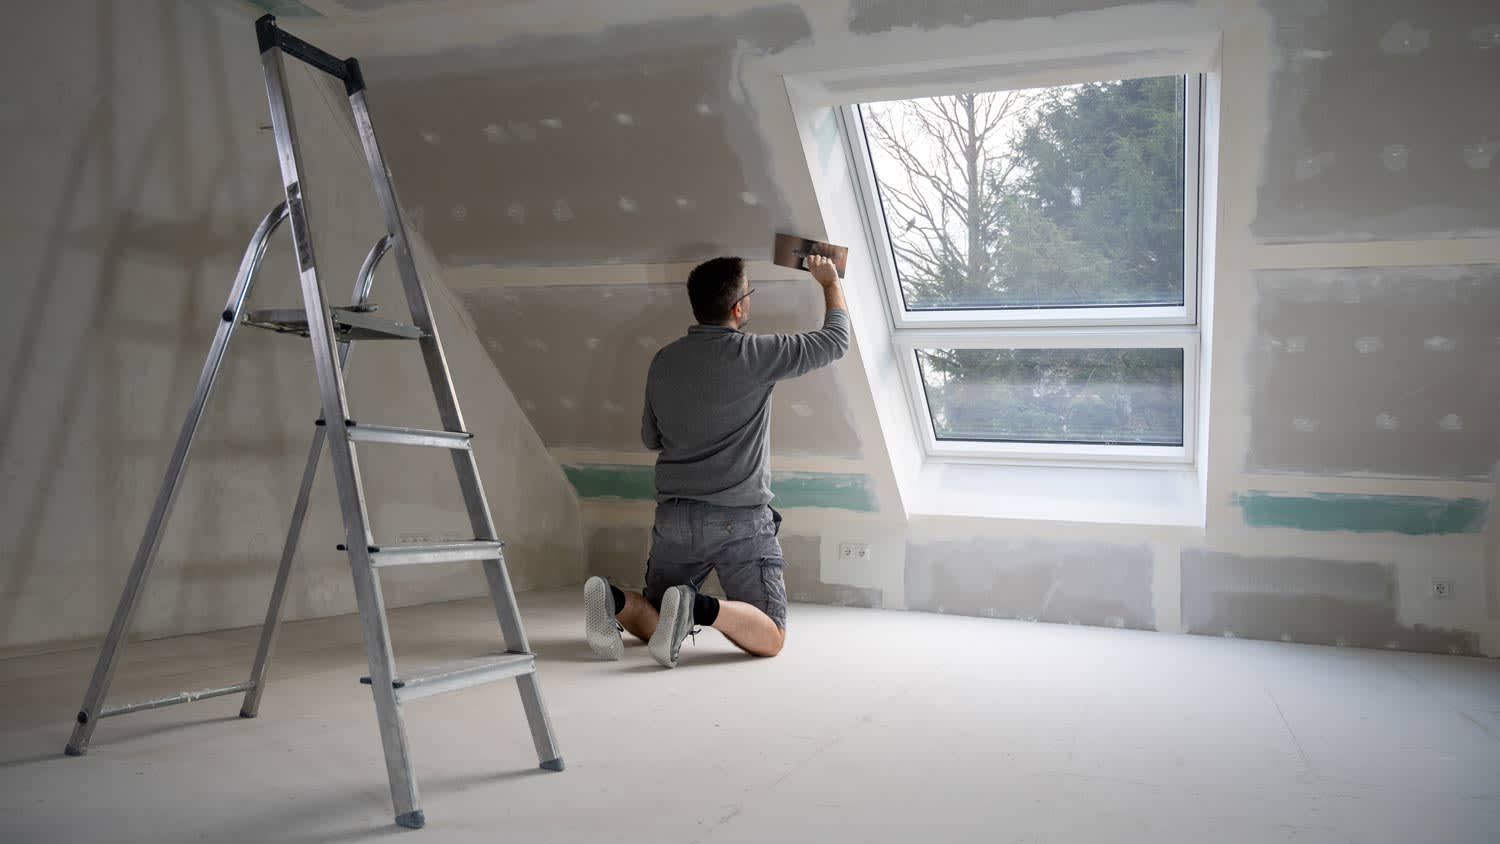
Hanging drywall isn’t easy. It can take a lot of time, and improper mudding can create very noticeable results. You can avoid the hassle by hiring drywall installers near you. These pros have the experience to finish even large rooms in just a few hours, and the cost to install drywall may be worth the time and effort saved on your part.
Cancelled appointment two hours after they were supposed to come for drywall work.
I would recommend this company to anyone! He showed up on time, was friendly, completed a very difficult repair on our dryer vent cover, was responsive, and pricing was extremely fair and competitive. I would have him back to do any of our repairs or cleanings without hesitation!
I cant stop admiring my newly painted walls. Custom Paint Jobs LLC made my house feel brand new.
Excellent experience with hiring Tether House to Mount our 77’ Samsung TV in our bedroom. Fast, friendly, and knowledgeable. Highly recommend.
Excellent customer service and knowledge. I was recommend to him from my neighbour. My front door and window came in great and were installed beautifully perfectly, I m very satisfied with their excellent work, so decided to order one more big bow window for my living room. I cant wait for...
Manuel Calvillo is the best option in the area for roofing and you won't be disappointed.
Would hire again. Wall looks great. Happy with job.
 Central Paving
Involved an extensive bathroom remodel, including removing tub & installing walk in shower, new drywall, custome tile work to ceiling, plumbing, etc. Overall, job was done on time and on budget. Nick & his team were very professional and had high attention to detail. Quality was great. Highly...
 Stamos Flooring and Remodeling LLC
We have had a great experience with Rising Height for the past five years on a number of miscellaneous renovation projects. They laid flooring for us and had a very good sub do the finish. Installed drywall for a vaulted ceiling, finished an attic/loft with new subfloor, framing and drywall,...
 Rising Height Unlimited
Mr. Lopez was super nice and professional. He repaired our drywall just as he described during the estimate phase. Our dining room wall looks great again! Thanks Mr. Lopez!
From average costs to expert advice, get all the answers you need to get your job done.
Drywall mud bubbles are common, even when you’re experienced. Here are the main reasons why your drywall mud bubbles and how to fix it.
How long does drywall mud take to dry? In most cases, you need to wait at least 24 hours before moving to the next step of your project. Read on to learn more.
When choosing between types of drywall mud, you need to consider your project and how quickly you can work. Use this guide to help you select the best drywall mud for your project.
Can drywall mud go bad? It might not “expire,” but it can grow mold or dry out. Here’s what you need to know to extend its lifespan.
Wondering how many coats of mud on drywall you need? Learn what affects the number and how to get a smooth, professional finish for any space.
Learning how to sand drywall and drywall mud requires using one of a few different techniques. Use our guide to learn more about your options.