
•
Discover basement drain installation cost, key price factors, and ways to save. Get expert tips to plan your basement drain project with confidence.
Divert water away from your home with a DIY channel drain

Your drainage trench and driveway channel drain installation starts with digging a 6-inch-deep trench for the channel and a 12-inch-deep trench for the drain pipe.
Expect to pay $2,100 to $6,700 for professional channel drain installation, while DIY materials cost $100 to $500 depending on your driveway size and project needs.
You need to check the slope carefully using a level, aiming for 1/8 to 3 inches per foot of pipe to keep water flowing properly away from your home.
Hiring a local driveway paving professional keeps excavation, concrete work, and slope calculations on track, helping you avoid costly mistakes with drainage and pavement removal.
No one likes feeling like their house is about to be washed away come every storm. Fortunately, a channel drain is a driveway drainage solution that can turn a puddling mess into a well-draining part of your home’s exterior. Roll up your sleeves and follow this guide to have your new channel drain installed in no time.
Preparing for a channel drain installation takes a little planning, so keep the following in mind as you go about gathering tools and supplies and deciding on where you’re going to install the drain system.
You can install channel drains anywhere that they can stop water from pooling in your yard or flooding out your pavement or walkways. For many homes, the best place to install channel drains may be where there's concrete or asphalt. Before you can install channel drains for this installation site, you'll need to remove the pavement. You can do this by using a circular saw for a clean, linear cut.
Follow up with a chisel and hammer to clear out any remaining rocks and pavement that you may have missed.
Before you start, you’ll also want to lay out the piping you have and cut the materials using a reciprocating saw. This will help give you a good feel for how long you want your trench to be, it’ll also save you an unexpected trip to the hardware store for missing pieces.
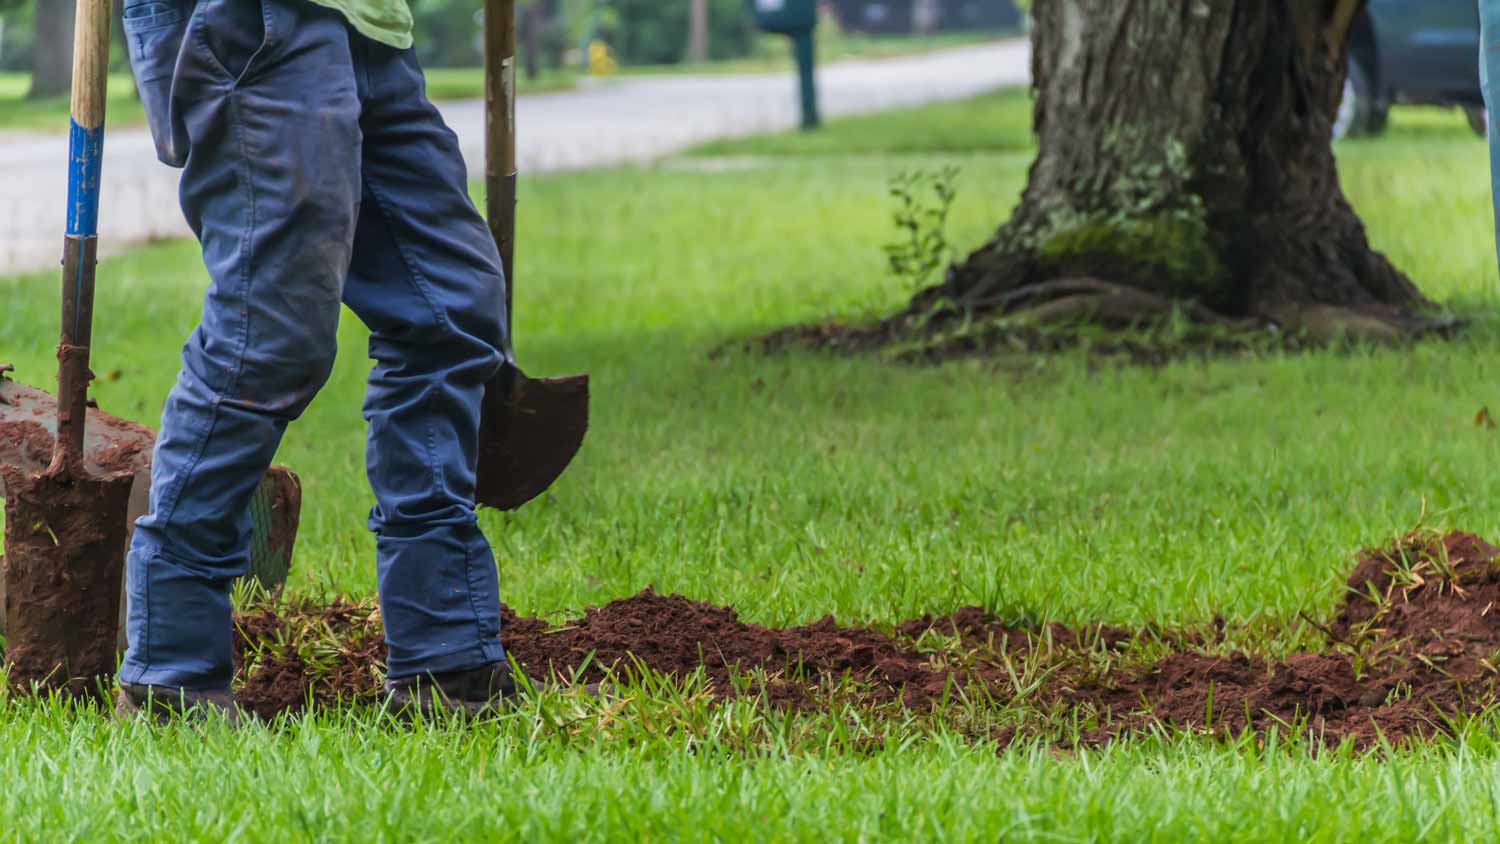
As with any excavation or digging project, you'll want to ensure that there are no utility lines underground before you start digging. Call 811, the national call-to-dig telephone line, to request markers on your property before that shovel enters the ground.

Using a shovel or small excavator, dig a trench that covers the length of the channel drain and the drain pipe. The trench should be around 6 inches deep for the channel drain to give you enough space for laying the channel drain. The drain pipe will need to be around 12 inches deep. You’ll also want around 4 inches of space surrounding the channel for pouring concrete.
Place any dirt into a wheelbarrow to make it easier to remove and move to a new location.
Next, compact the ground using a hand tamp or mechanical compactor.
Before you call it a day, you'll want to make sure that your trench has a slope that directs water down toward the area where you're installing the drain pipe so that water correctly flows all the way through the draining system.
The most ideal slopes for drain lines fall between 1/8th to 3 inches for every foot of piping material. Just how much slope your channel drain needs depends on the grading of the landscape and the speed at which you need water to flow to prevent flooding. Use a level to check the slope and add or decrease the amount of soil to get the necessary grading.
To prevent humidity and water from building up around your channel drain, place a vapor barrier down after you've prepared the trench.
While you prepare your channel drain, you'll need to support the rebar as you install the drain. The easiest way to support your channel drain is to use bricks. Stack bricks on both ends of the trench—until your channel drain sits 1/8th to 1/4th of an inch below the top of the surrounding ground or concrete. Your drain must sit below the surface level if cars will drive over it to prevent the weight of the vehicles from cracking the drain.
With your channel drain sitting securely on top of the bricks, it's time to secure the rebar to the channel clips attached to your channel drain. Pop a piece of rebar into each of the allotted slots, and secure it by hitting the top of the rebar with a rubber mallet until it’s flush with the top of the drain clip. From here, you can leave the bricks or remove and save them for future projects.

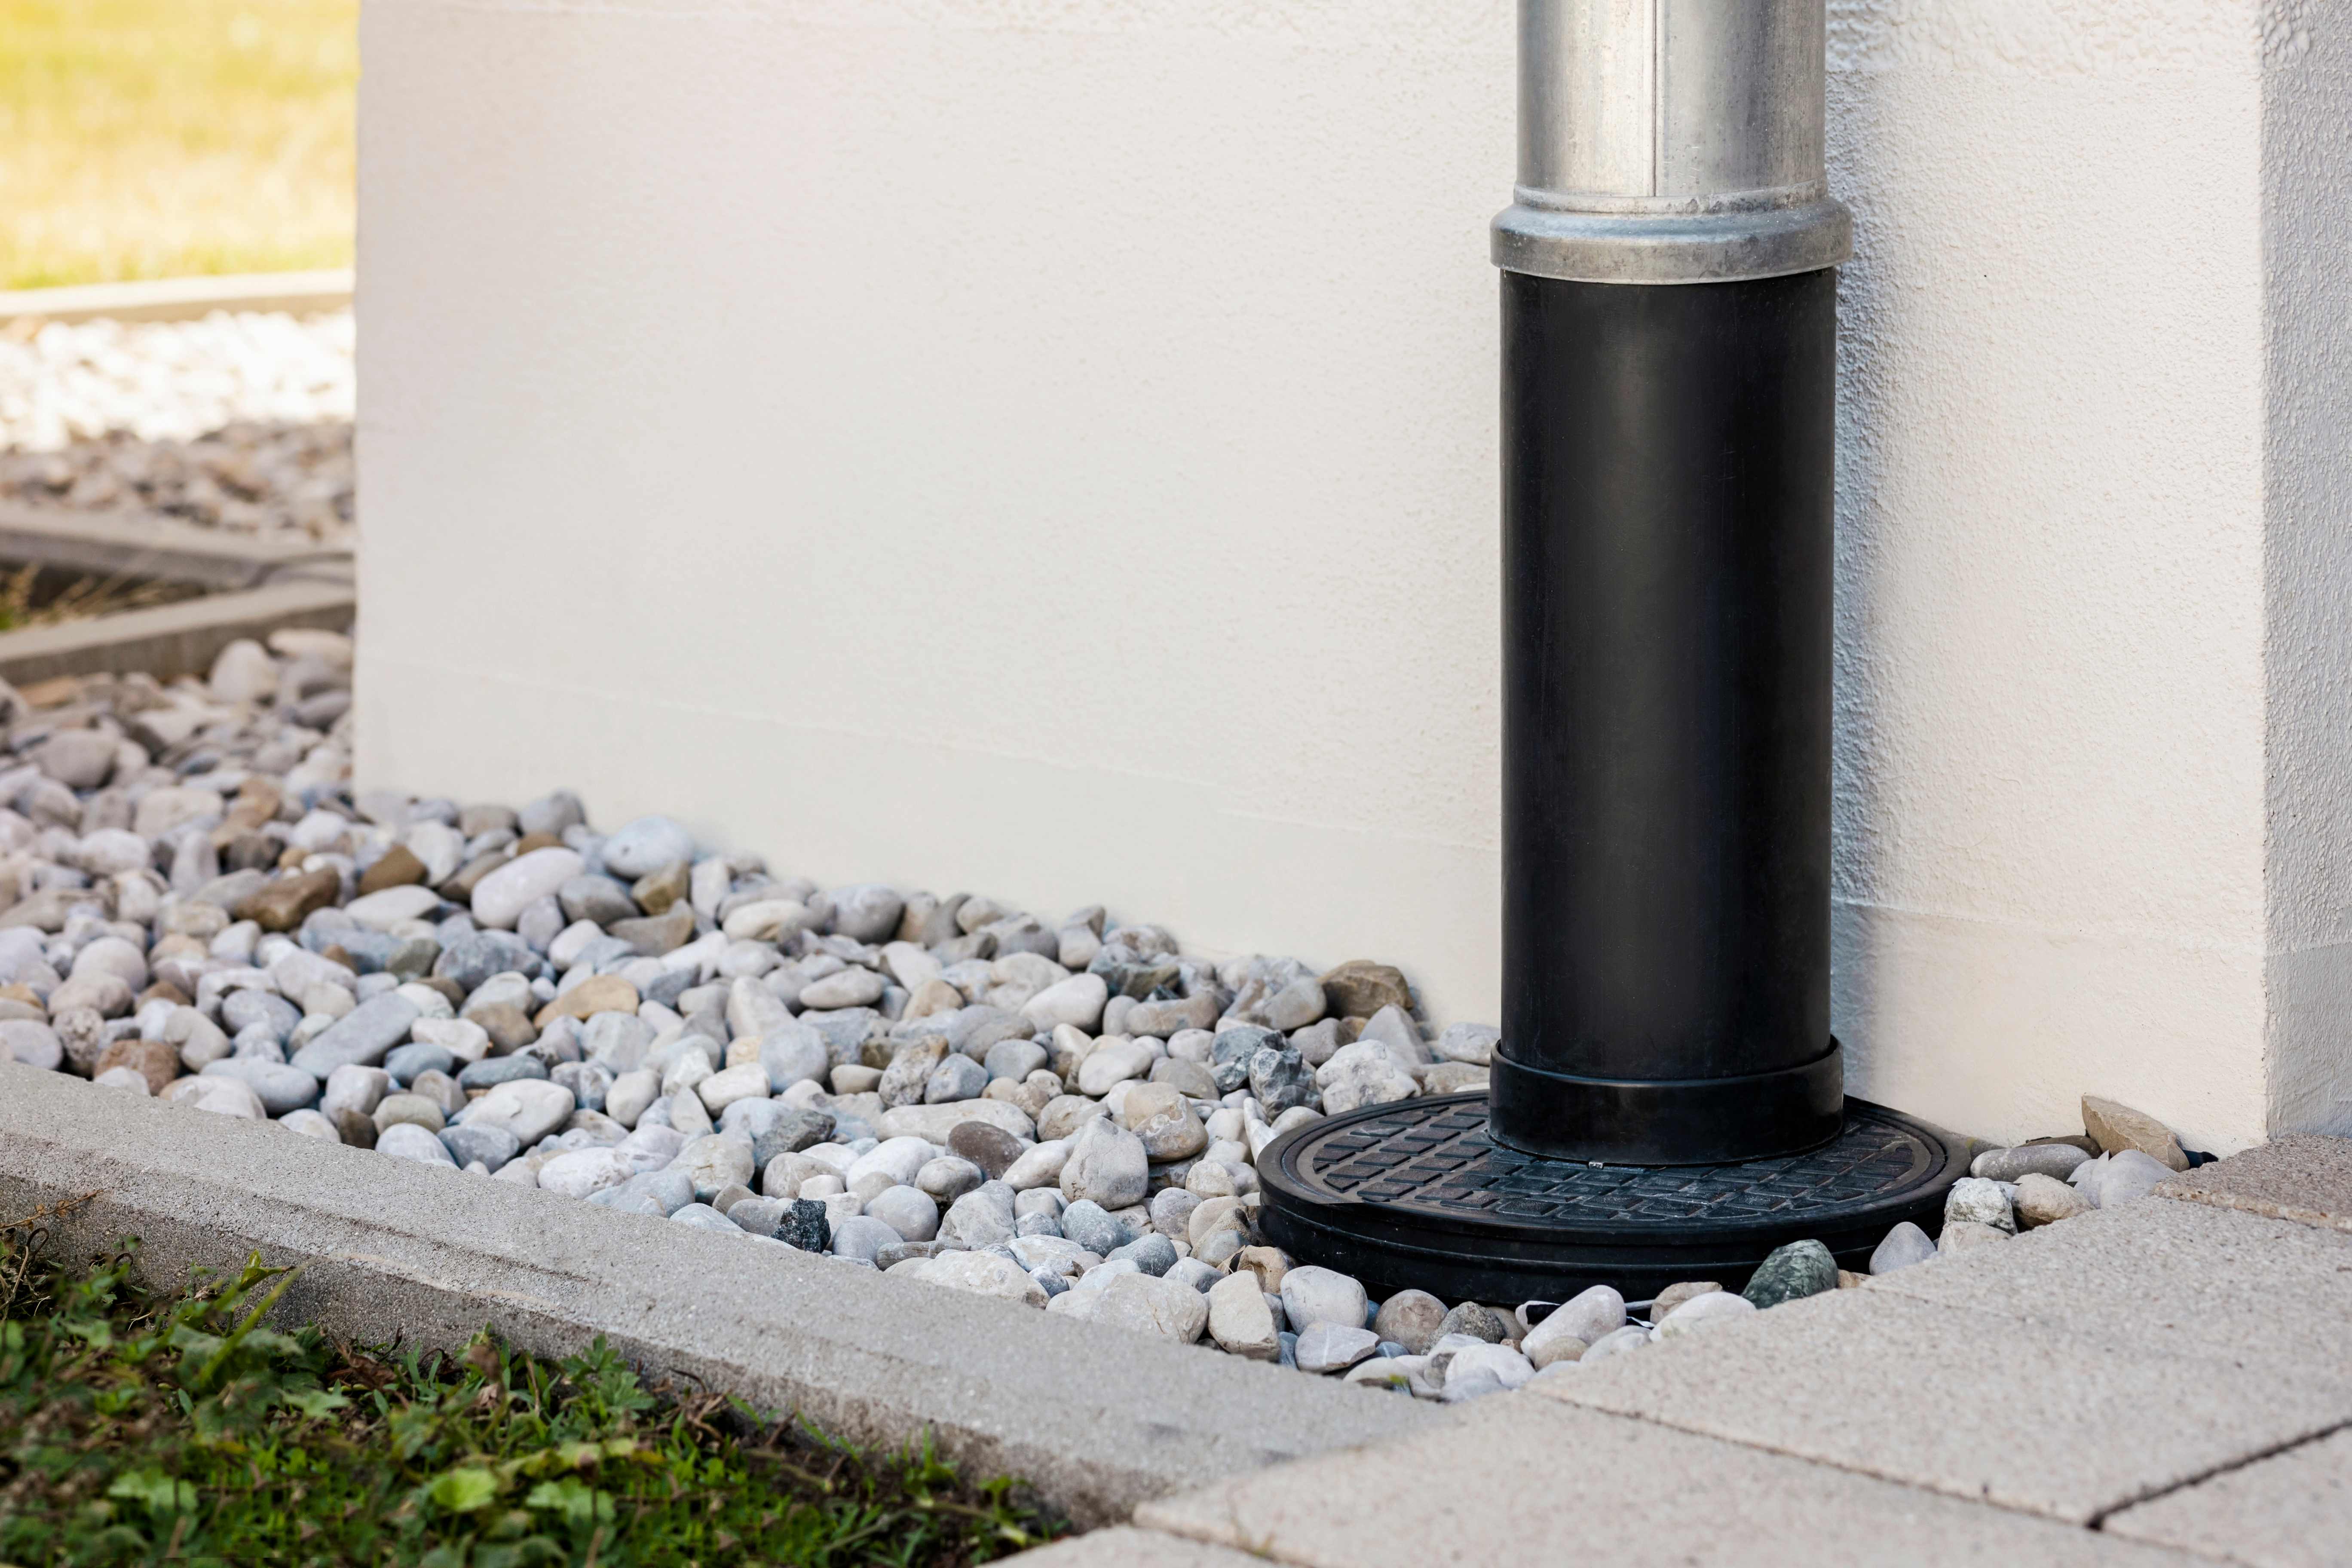
Follow the instruction manual for your specific drain pipe for connecting any parts of your drain. Your drain pipe and fittings, however, will depend on your property and how you want to redirect water away from the home. For instance, some homes use a driveway culvert for channeling water.
To attach a drain pipe and fittings, you’ll need to apply waterproof silicone around the edge of a PVC elbow and then quickly insert and press it into the outlet piece. Continue to add PVC piping and elbows as necessary, until you’ve reached the end of your desired drain system.
Once your channel drain system is completely installed, you can prepare it for the concrete. But before you start pouring concrete, cover the surface of your channel drain with masking tape to prevent concrete from falling into the slots and clogging the system.
Now it's time to mix the concrete to add to your channel drain and start pouring it into the surrounding spaces. Use a pointed trowel to smooth the concrete for a polished look. Be sure to remove the tape carefully once the concrete sets.
The drain pipe does not typically need concrete, as it tends to go into the yard. So for this step, use a shovel to remove soil from the wheelbarrow you filled during the excavation process.

The aftermath of an excavation site can leave your yard looking more like a construction zone than a residential lawn with former curb appeal. Add some fresh compost and grass seed to your yard to have your prized lawn up and running again in no time.
DIYing your channel drain installation could save you $1,000s, making it a cost-effective decision. Most channel drains only cost around $45 to $100 for every 6 feet of material, but all of the additional supplies can quickly rack the total amount for this project up into the $200 ballpark. Still, if you hire a pro for your channel drain installation, the average cost to install a drainage system is between $2,100 and $6,700.
At the same time, digging a trench, sawing many pieces of PVC for a custom fit, and getting the correct slope for your drain can prove to be labor-intensive and challenging if you’ve never done a project like this before. In this case, you may wish to work with a local driveway paving company to save you the trial and error of doing it yourself.
Archie did a good job cleaning up the driveway before he laid down the sealer. It looks good. He was gracious and even helped me bring up my groceries. His rate was comparable to another company who came out to give me a quote and he talked to me personally rather than just text me a quote...
Wonderful. I am going to have them remove and replace my driveway in the spring.
 All Star Paving and Sealing
Working with Peter and his crew was a breeze. They were exceptionally polite and did a neat job to repair and seal our driveway. I will definitely talk to them first for additional work.
 Central Paving
The preformed a really good job the staff is incredible never been so happy with my home, A brand new driveway is like a face lift!!
We recently had our office sidewalk repaired and CT Concrete did an "Outstanding" job. They were quick, friendly and the job is "flawless". I would highly recommend CT Concrete for any of your concrete/sidewalk needs.
Called Mark on a Thursday morning. Not really knowing if he could help me or not. I was having driveway, flooding issues due to a clogged channel drain and I was trying to figure out what direction to take. Heavy rains had come on Monday and again on Thursday leading to flooding in my garage...
It went really well! The concrete looks, they even did some patch work on my buildings parking lot. That was such a plus! <br />
 AmeriCoat Asphalt & Concrete
Jand J has provided services for clients of mine for 15 years or maybe longer. They are always honest with their recommendations, providing good advice to my clients and competitive pricing. All three of the structural engineers whom I have dealt with in recent years have Jand J on their...
We first had Mark fix the back patio and liked his work so much we had him make a brick patio on the side of the house. When we decided to change our concrete walkway to brick, we wanted Mark to do the job because his prices were fair and he did such good work on t he other two projects.
 Mark Monnette Masonry
Mr. Lewis was extraordinarily responsive. At the time we realized that the concrete could not be repaired, we had intended to put our house on the market. We were anxious to get the work complete so that we wouldn't delay marketing the house. Mr. Lewis promptly returned our calls, provided...
From average costs to expert advice, get all the answers you need to get your job done.
Discover basement drain installation cost, key price factors, and ways to save. Get expert tips to plan your basement drain project with confidence.
A French drain costs around $9,250 to install, but several factors will determine the final price you pay. Learn the cost to install French drains in this guide.

Follow this guide to learn how to install a kitchen sink drain, from shutting off the water supply to lowering the drain outlet and connecting the P-trap.
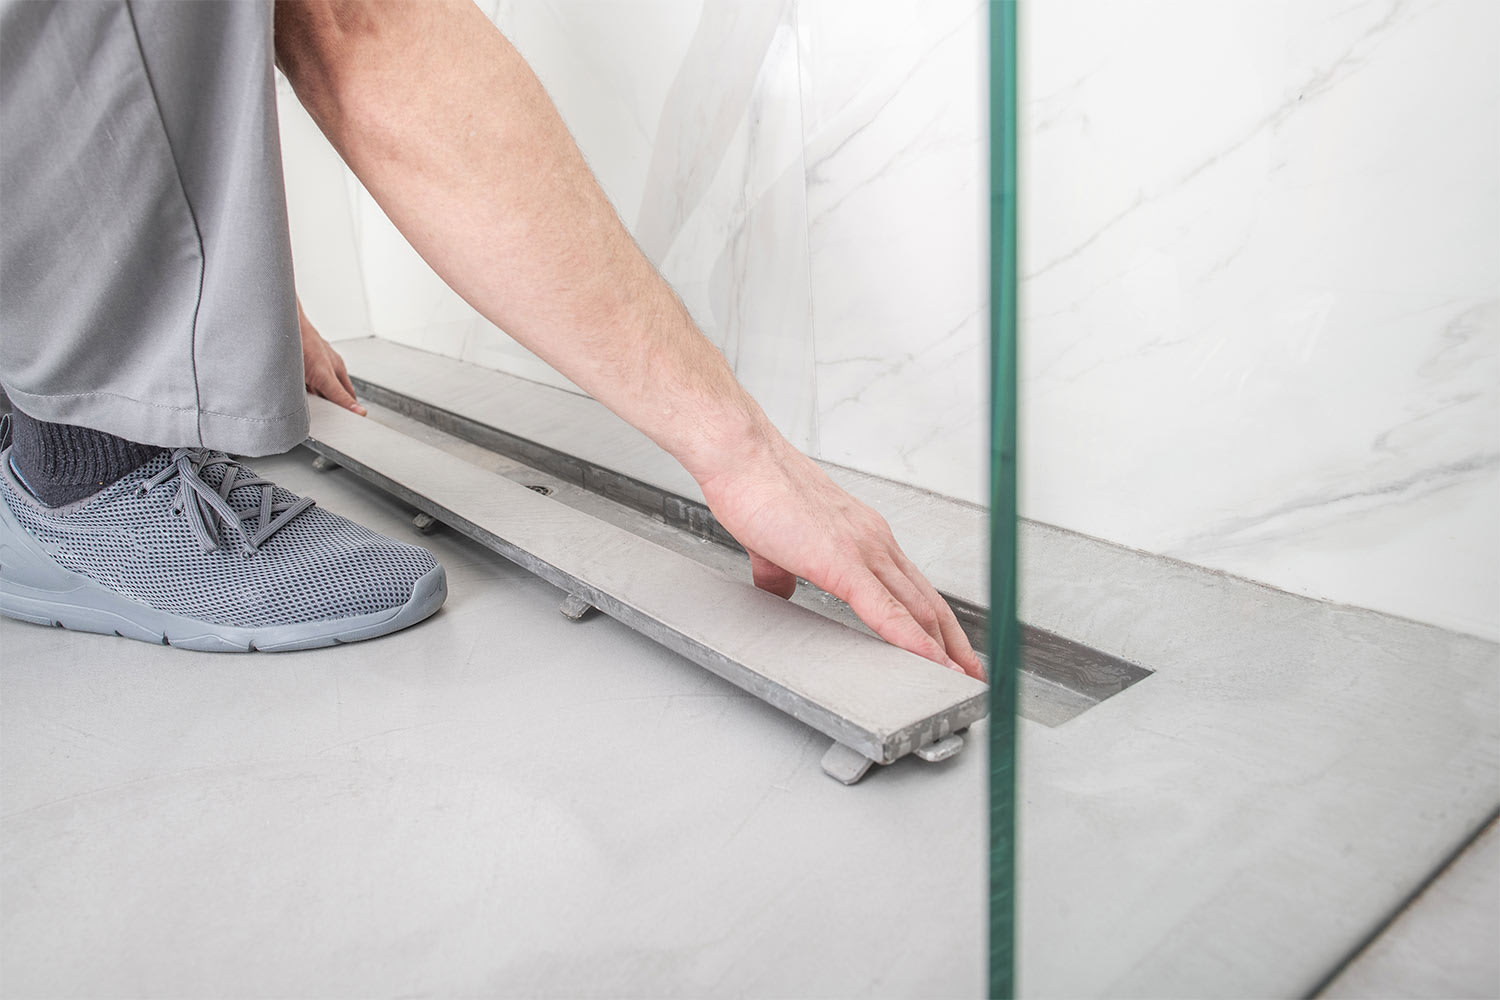
Linear shower drains offer several stylistic options for your bathroom, but they can come at a cost. Keep reading to learn about linear shower drain pros and cons.
Proper drainage is key to avoiding flooding in your lawn and garden. Check out these 13 unique yard drainage ideas to keep your lawn healthy.
Who installs trench drains? A local excavation company is best for the job, but a landscaper or plumber can also get it done. Here's how.