
Painting your gutters can give your home the fresh finishing touch it needs to look its best. This guide walks you through the cost to paint gutters.
Save some money while boosting your curb appeal


Adding a fresh coat of paint to your home is a great way to boost your home’s curb appeal. It’s also a fairly simple and straightforward project that many handy homeowners can take on themselves. Use this guide to learn how to paint your home’s exterior from start to finish.
Prepping your home for exterior paint starts with making sure the weather is in your favor. Generally, you should paint your house during dry weather when temperatures are between 50 and 85 degrees Fahrenheit. You also want to make sure to choose exterior paint since it can differ from interior paint. The paint can indicate whether or not it’s for exterior use.
Before you start painting, make sure to thoroughly clean each surface. Using a pressure washer is your best bet as it’s very effective at removing dirt, mildew, and even old paint. After you pressure wash it, look for any damage that you might want to repair prior to painting it. You can also inspect for rough spots, which you may want to sand down for a smoother surface, which makes it easier for paint to adhere to.
After cleaning and repairing the surface, let it dry, then use a paint scraper to remove any remaining loose or chipped paint to ensure a smooth surface.
Now that your surfaces are prepped and ready to go, take some time to protect any areas that you don’t want paint on. Start by using drop cloths to protect the ground and surrounding structure. Then use painter’s tape to protect windows, doors, trim, and any other smaller surfaces that you want to protect from paint splatter.
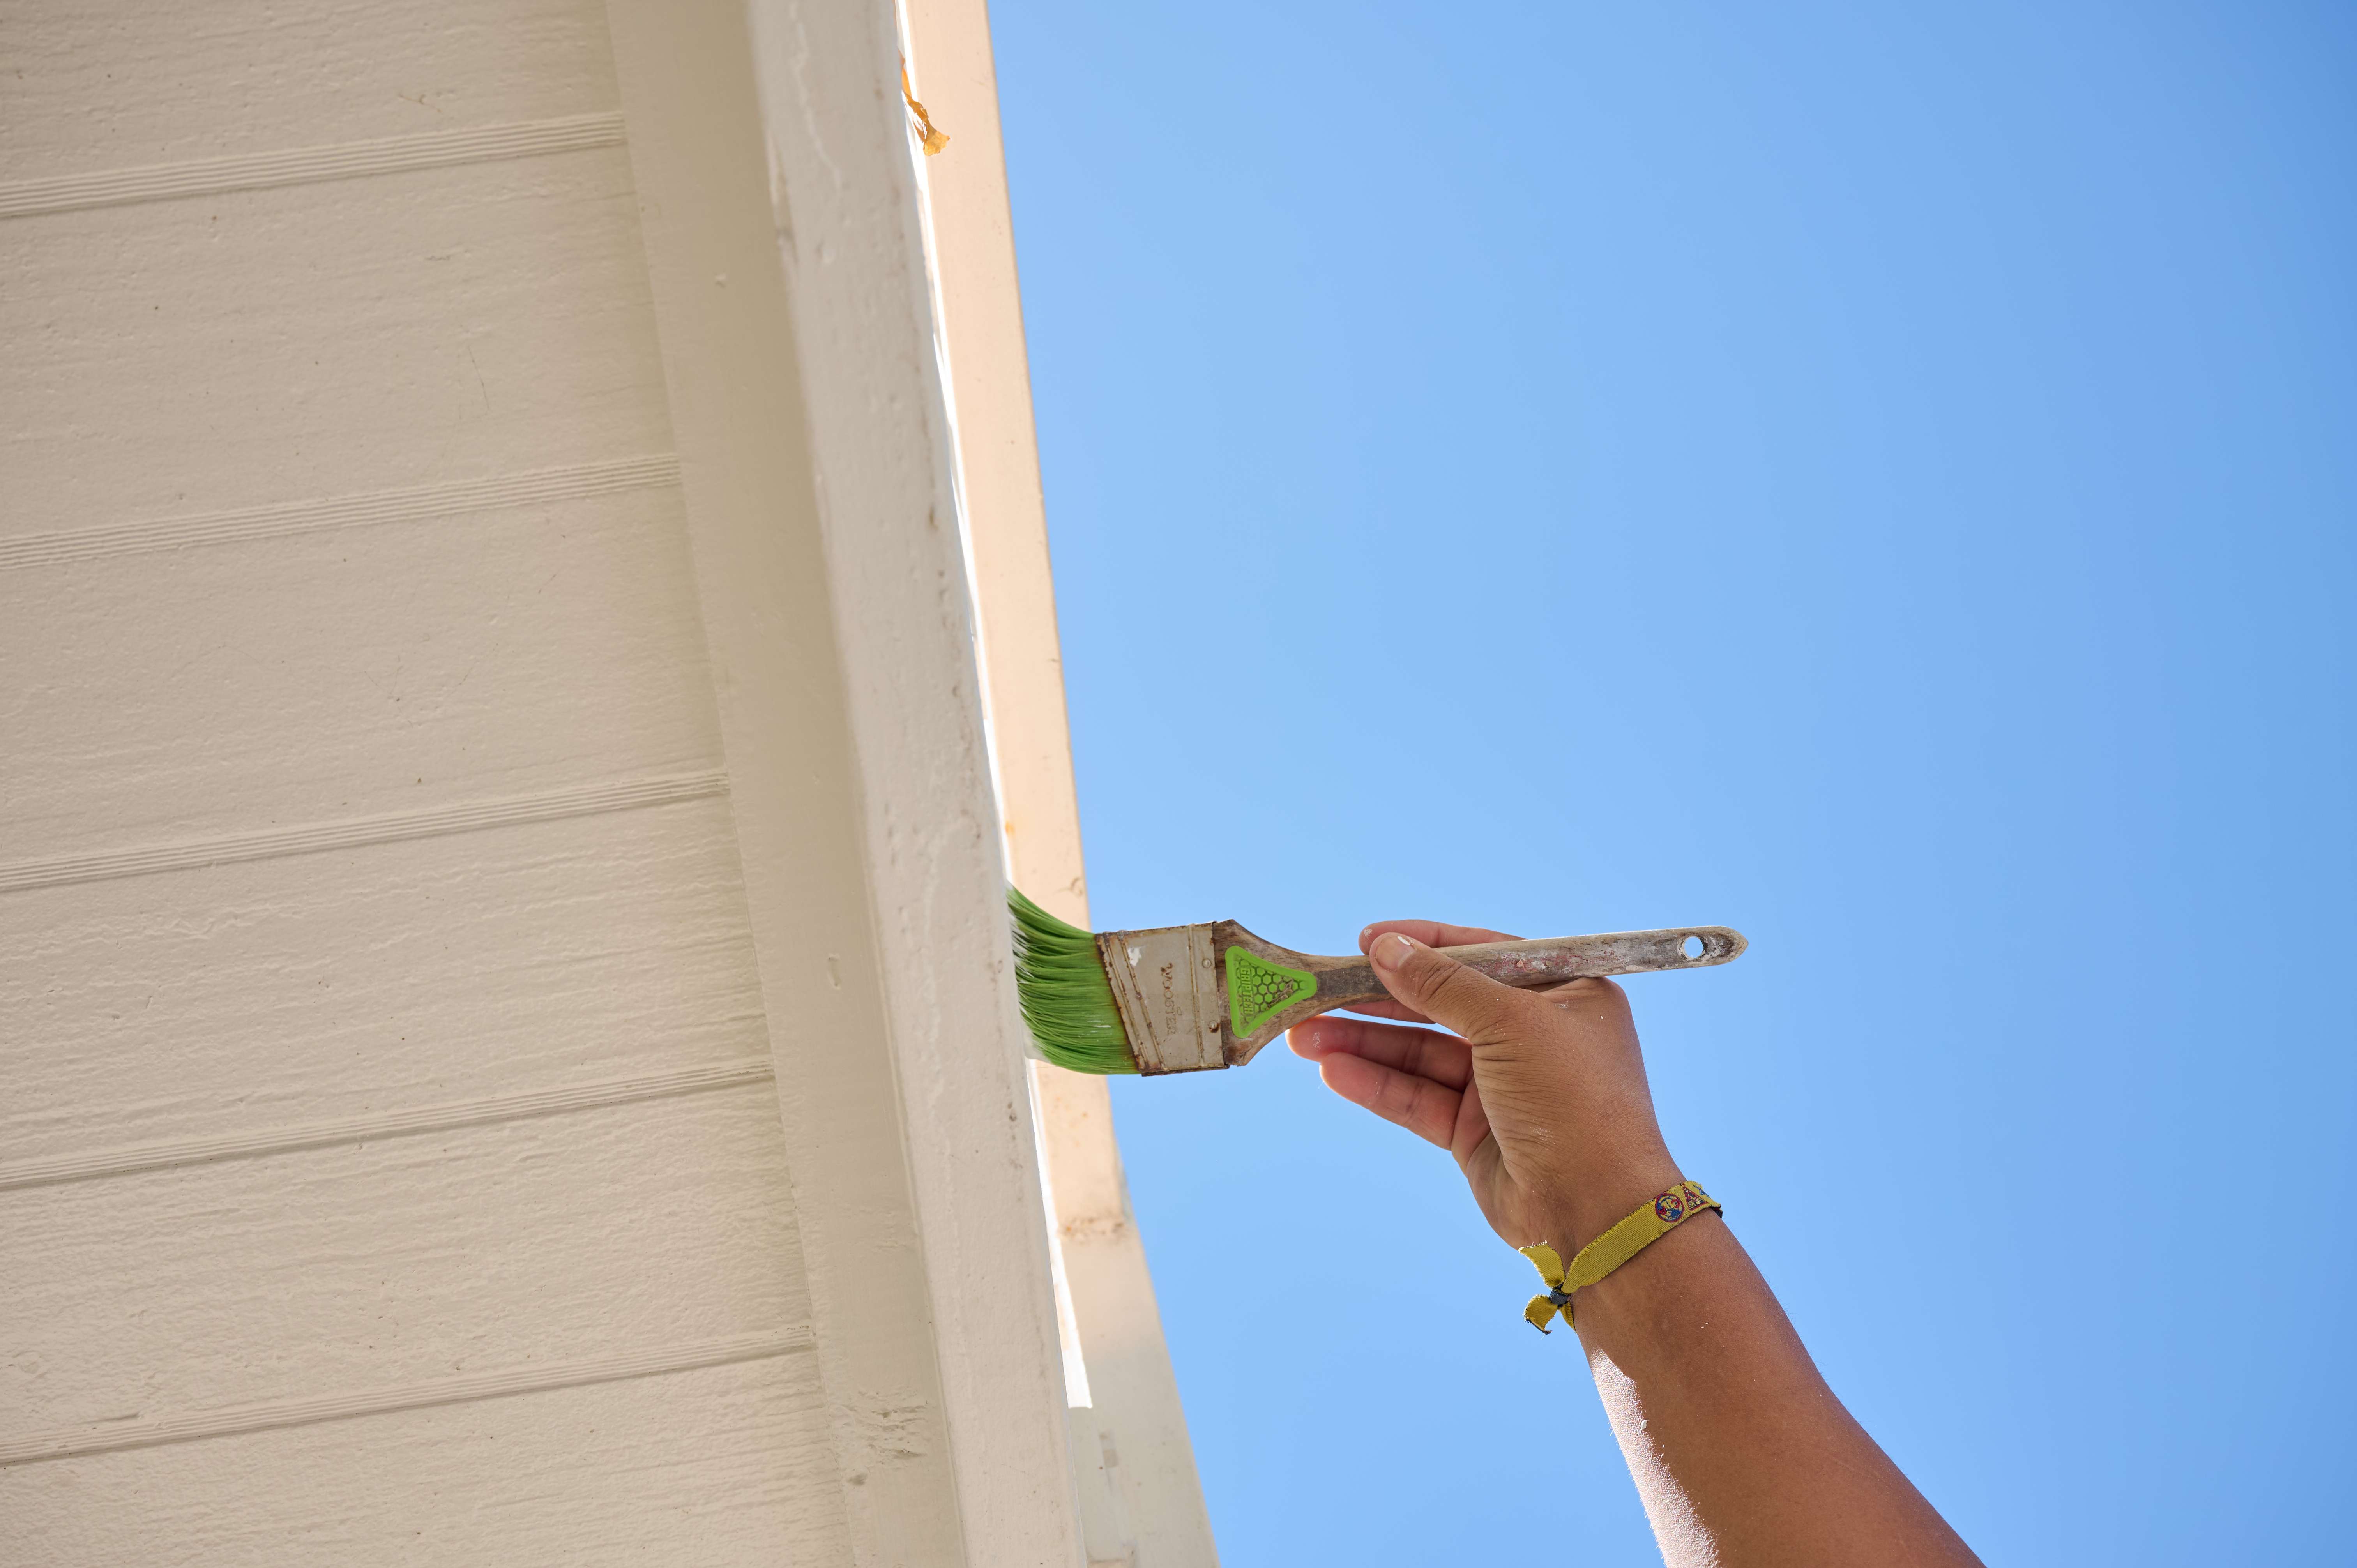
Primer will help ensure that the paint adheres to your exterior, so you’ll want to apply it prior to painting. Latex-based primers are best for wood, while oil-based primers are better for metal. And if you’re painting over a dark color or dark stains, consider using a stain-blocking primer.
To apply it, use a brush to tackle edges and corners, then use a paint roller for larger flat surfaces. Take care not to apply too much as it can lead to drips. Just a thin, even coat is all you need. Then let the primer completely dry per the manufacturer’s instructions before proceeding to the next step.
Grab a paint tray and pour some exterior paint into it. Then take a paintbrush and begin applying paint to edges and other small areas using long, even strokes. Be careful not to overload the brush with paint as that can lead to drips.

After finishing the edges with a brush, grab a paint roller or sprayer to apply paint to the rest of the exterior. Apply the paint in thin, even layers to avoid drips, and overlap the strokes slightly to help blend the paint. Let the paint completely dry before proceeding to the next step. The paint should indicate the appropriate drying time.
Once the first coat is dry, apply a second coat using the same methods from steps five and six, starting with the edges and a brush before moving on to the larger surfaces with a roller or sprayer. Ensure the color is evenly applied with consistent thickness and no drips. Allow the second coat to completely dry per the manufacturer’s instructions.
Now that the second coat is completely dry, take some time to inspect your work for any areas you might have missed or any inconsistencies in the color. Use a paintbrush to touch up these areas—just make sure the paint is completely dry before doing so to ensure color consistency.
The cost to paint a house averages to about $3,700 if you hire a pro, but you can expect to pay anywhere from $2,200 to $7,500 to paint a two-story home depending on its size and features. If you paint the house yourself, you’ll likely pay between $500 and $1,000 for the tools and supplies, so you can save quite a bit of money by painting your house yourself.
It’s also a fairly simple and straightforward project, so it’s a great DIY option even if you don’t have a ton of experience under your belt. However, if you’re worried about your safety because your house is very tall or you’d simply prefer to save some time, you can always call a local painter to tackle this project for you.
From average costs to expert advice, get all the answers you need to get your job done.
Painting your gutters can give your home the fresh finishing touch it needs to look its best. This guide walks you through the cost to paint gutters.

The average cost to paint shutters is $350, depending on the size, number of shutters, and labor. Read this guide to learn more about shutter costs.

The cost to paint a pool deck depends on the dimensions and material, the type of paint, and whether you DIY. Read on to help determine a project budget.
Painting or staining wood surfaces can give your home an entirely different look. If you aren’t sure which way to go, use this guide to decide which one is best for your next project.

Painting your home’s exterior with spray paint is faster than using a roller and brush but requires some knowledge. Here’s how to spray paint a house exterior.

Painting your stucco home can take your curb appeal up several notches. Here’s a step-by-step guide on how to paint a stucco house, including tools and supplies.