


S&O painting
Exterior Home or Structure - Paint or StainExterior Home or Structure - Paint or Stain: LargeInterior Home or Surfaces - Paint or Stain+7 more
Serving Ballard, UT and surrounding areas

*The Angi rating for Painting companies in Ballard, UT is a rating based on verified reviews from our community of homeowners who have used these pros to meet their Painting needs.
*The HomeAdvisor rating for Painting companies in Ballard, UT is a rating based on verified reviews from our community of homeowners who have used these pros to meet their Painting needs.
Last update on October 02, 2026
Serving Ballard, UT and surrounding areas
Serving Ballard, UT and surrounding areas
In business since 2023
Free estimates
"Fabulous! Manuel did a great job. We really appreciated everything he did. Our doors look great!"
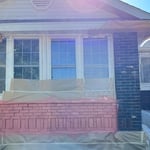
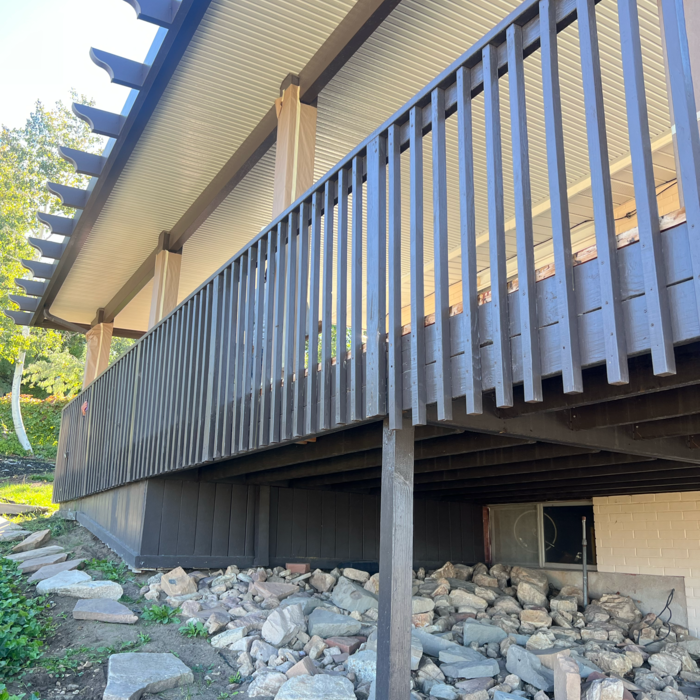
+17
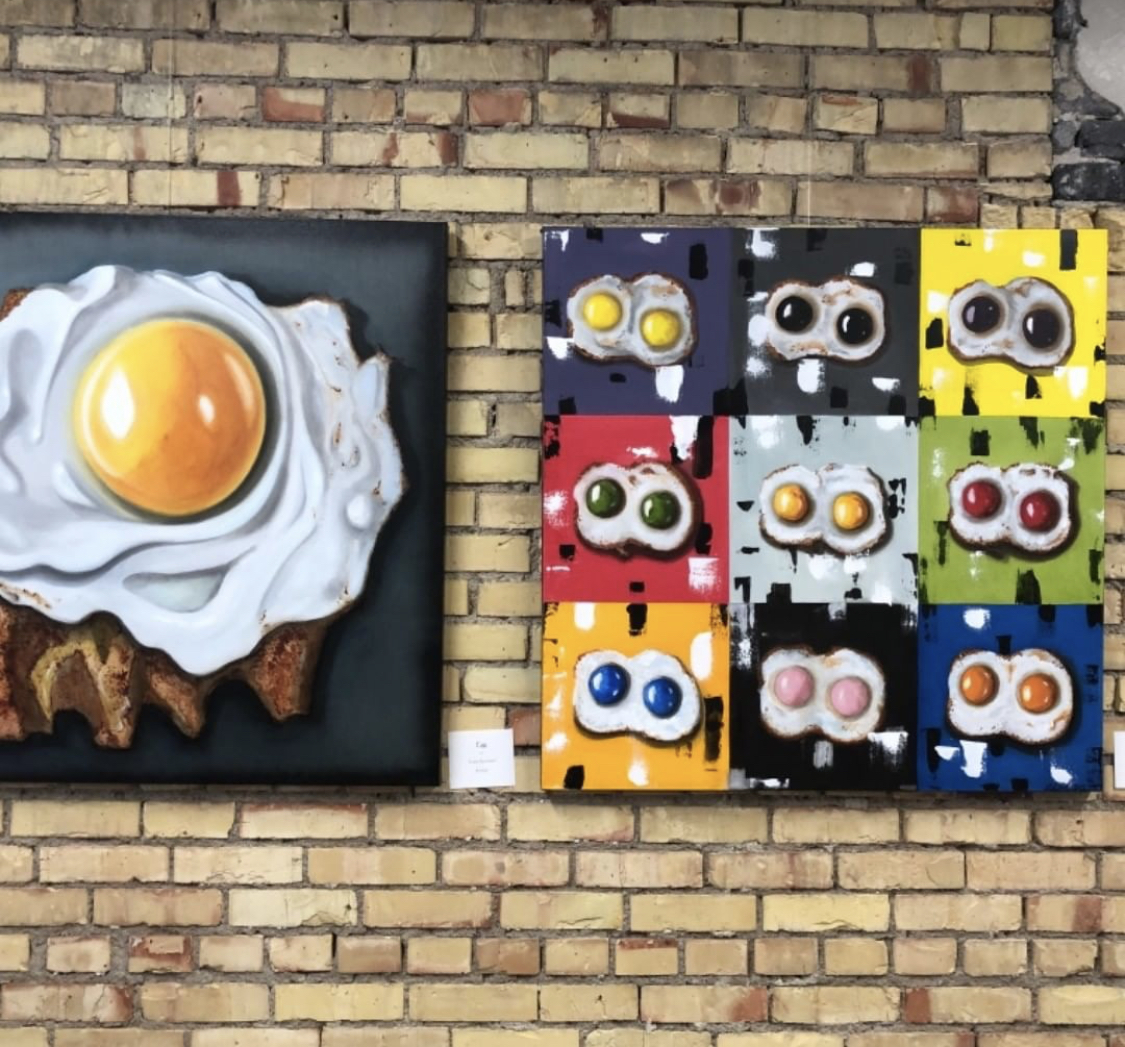
Serving Ballard, UT and surrounding areas
In business since 2021
Free estimates
Credit card accepted
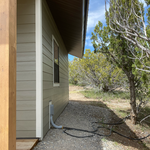
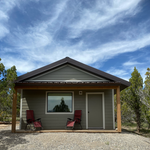
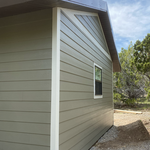
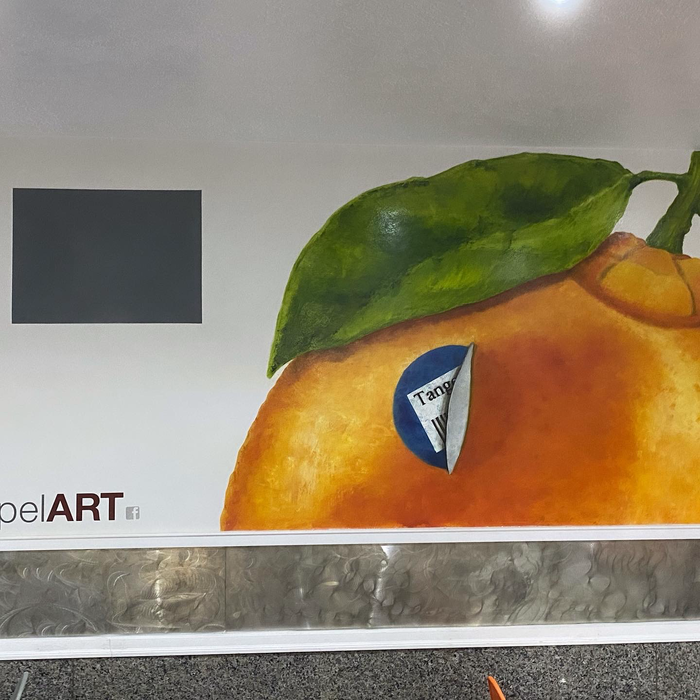
JKrompelPainting Specialises in the love and care of creating a beautiful new finish for your home or business. JKrompelPainting isn't just paint, its artwork in itself specializing in custom murals and accent design as well. \nIf your looking for everything from a simple refresher of your home walls, a new exterior change, a 1, 2, or 3 tone finish, or a beautiful new mural to liven your home. J Krompel Painting is the choice.
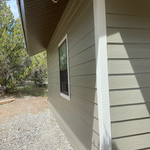
+4
Serving Ballard, UT and surrounding areas
Credit card accepted
"She was responsible. She was always on time. The quality was good."
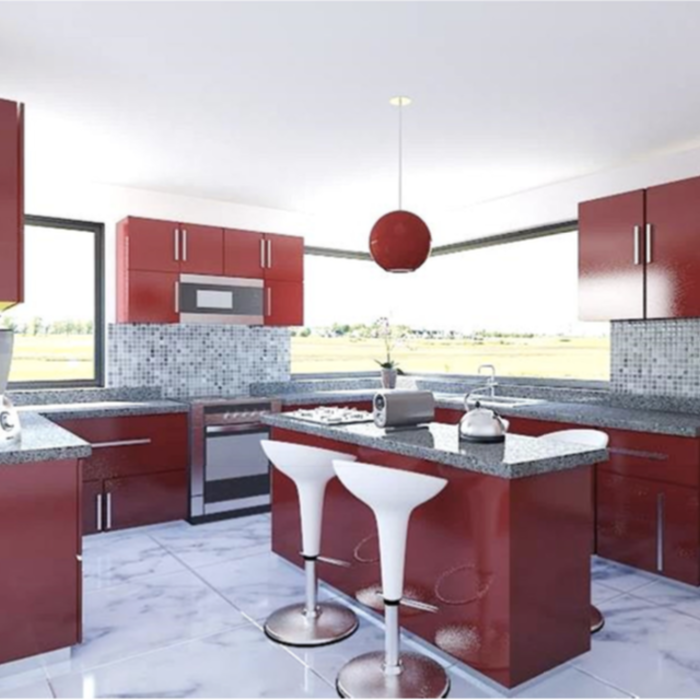
+3

Serving Ballard, UT and surrounding areas
In business since 2020
Free estimates
Credit card accepted
"Amazing, Tanya was great to work with."




+1
Serving Ballard, UT and surrounding areas
In business since 2012
Free estimates
Credit card accepted
Ernz Painting is dedicated to providing our customers with the best quality and craftsmanship. We are here to build relationships with our customers and communities. No job is too big or too small! We look forward to working with you!
Serving Ballard, UT and surrounding areas
Serving Ballard, UT and surrounding areas
Free estimates
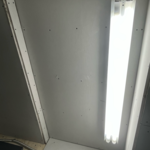
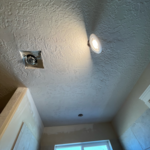
We specialize in demolition, drywall repair and installation, painting, carpentry, tapping, and general handyman work.

+6
Serving Ballard, UT and surrounding areas
In business since 1971
Credit card accepted
"He was very nice to talk with and repaired our washing machine. He even helped sweep the water out."


+2
Serving Ballard, UT and surrounding areas
In business since 1992
Free estimates
Warranties offered
"Quick, easy, and adhered to what they said they would do in cost and in time. Kenny was on it every step of the way and finished a huge project ahead of schedule."
From average costs to expert advice, get all the answers you need to get your job done.
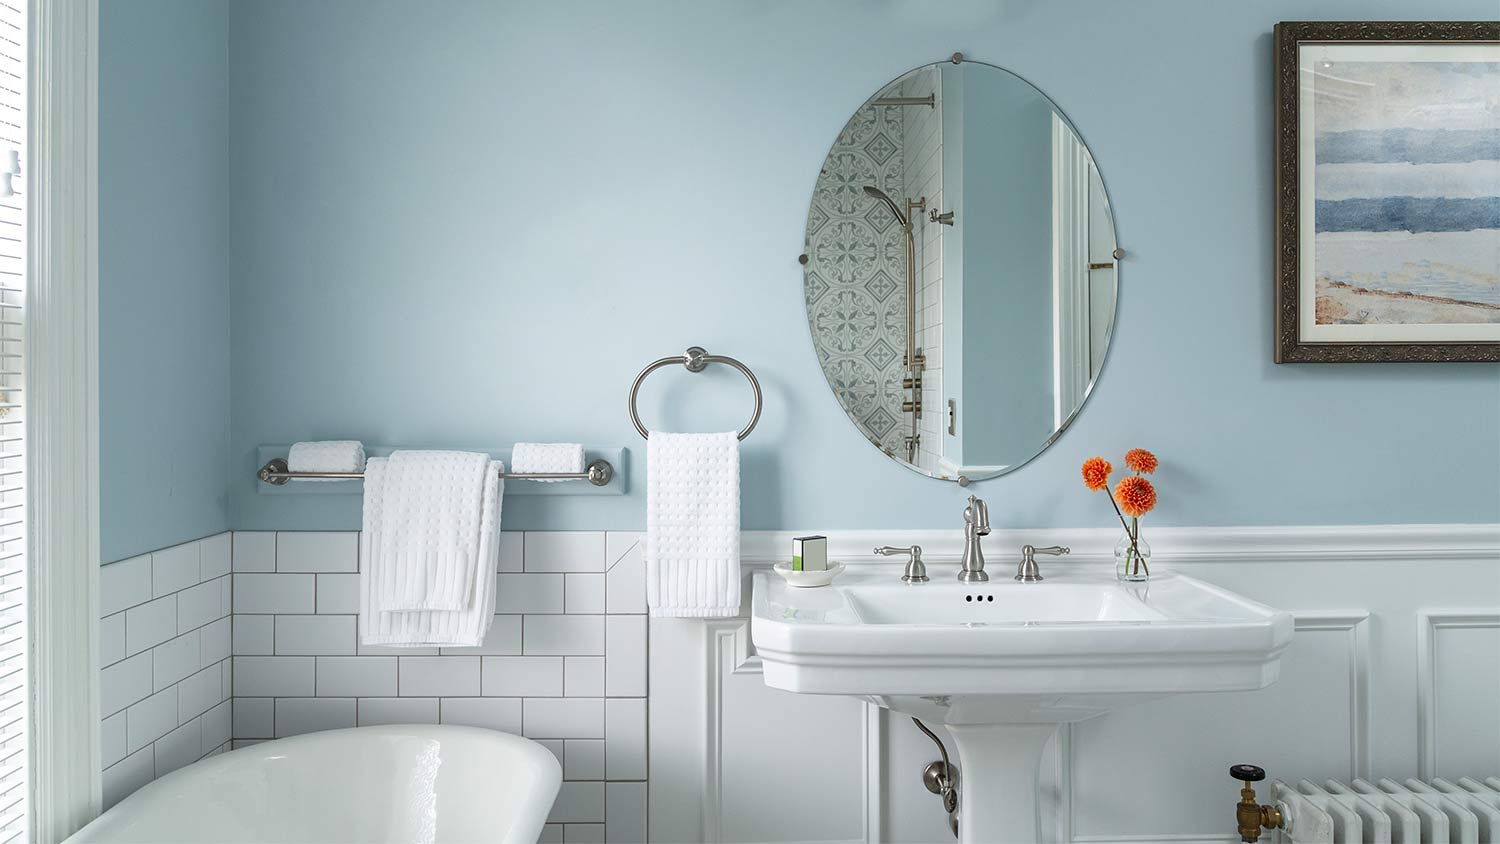
A new coat of paint can transform your bathroom and improve home value. Learn about the cost to paint a bathroom and what factors affect the total.
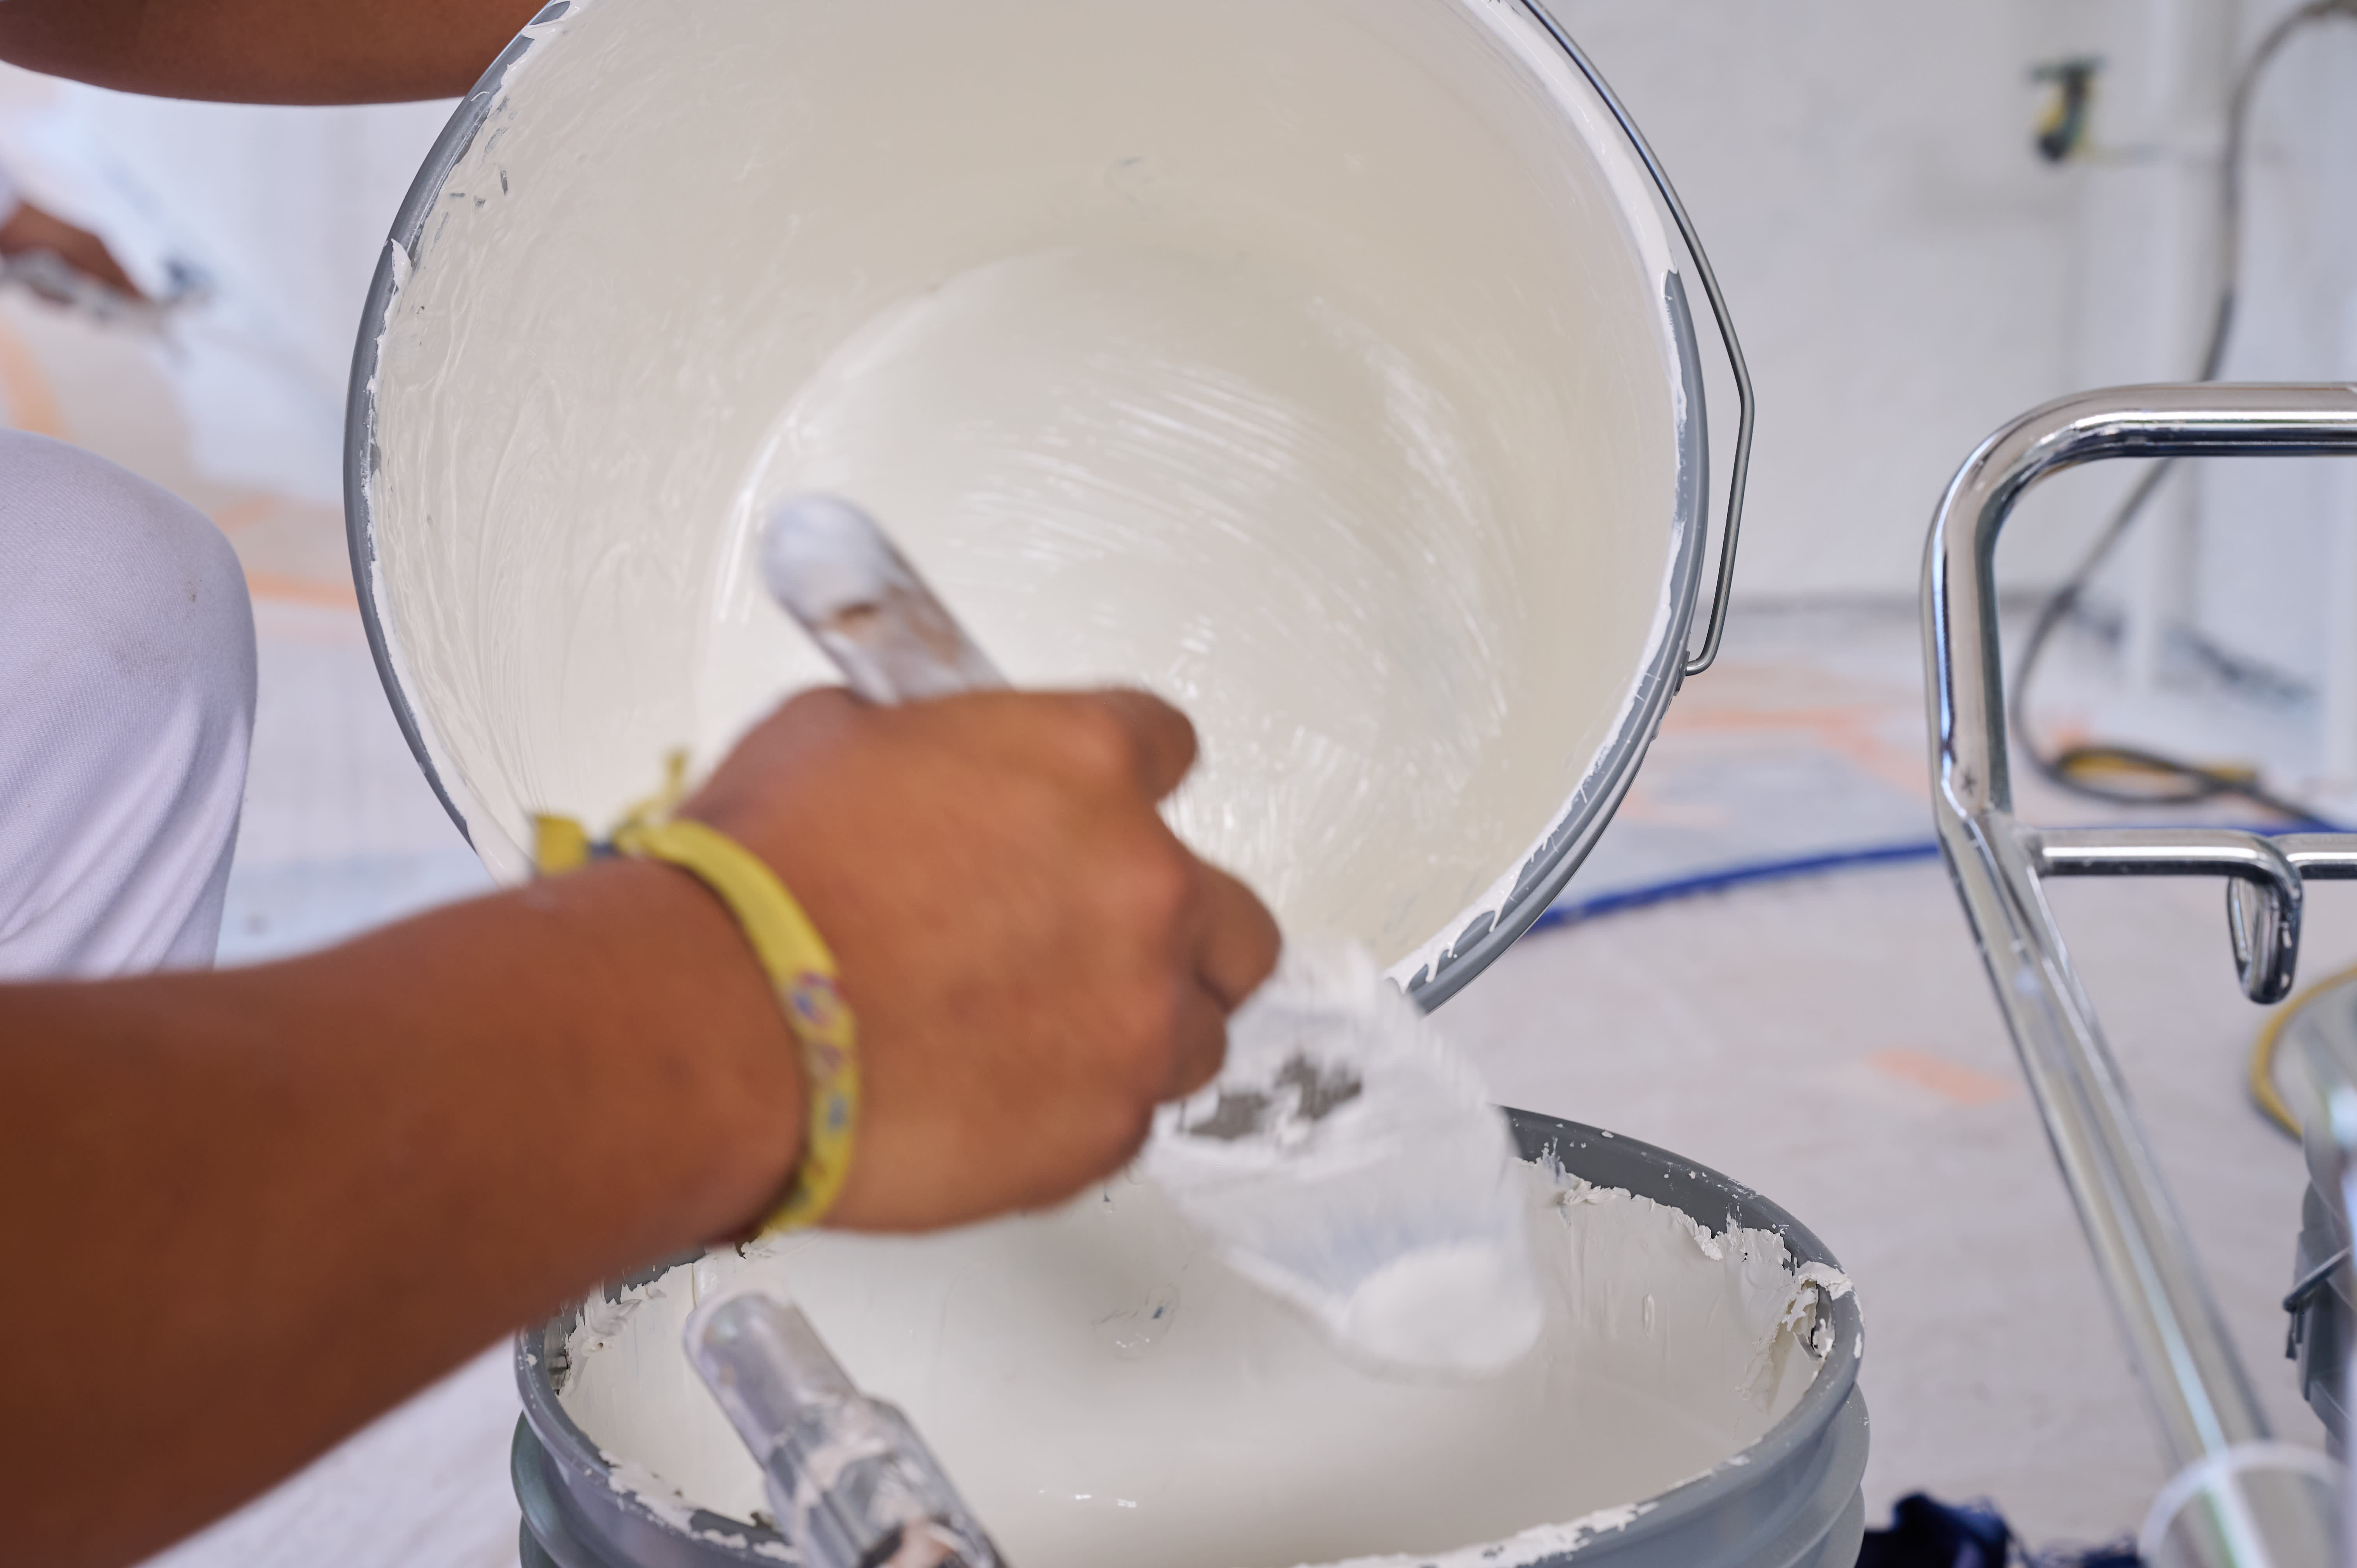
How much is a gallon of paint? Whether latex or oil-based, spray paint, primer, shellac, or lacquer, we’ll tell you what price to expect.
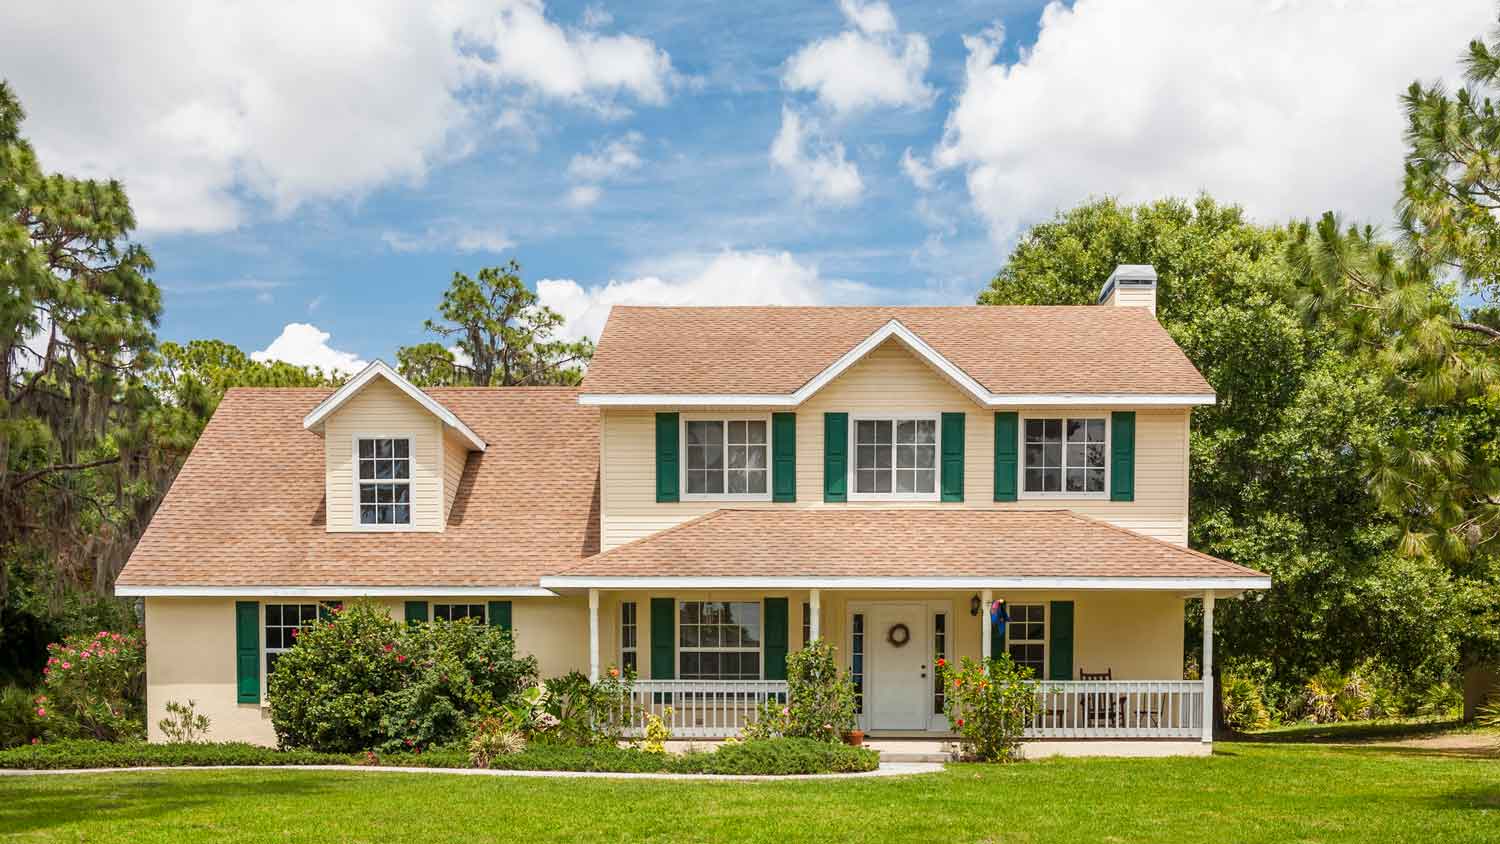
The average cost to paint shutters is $350, depending on the size, number of shutters, and labor. Read this guide to learn more about shutter costs.

Knowing what type of paint is ideal for your project will give you the best results. Learn about different types of paint and what to use them for.
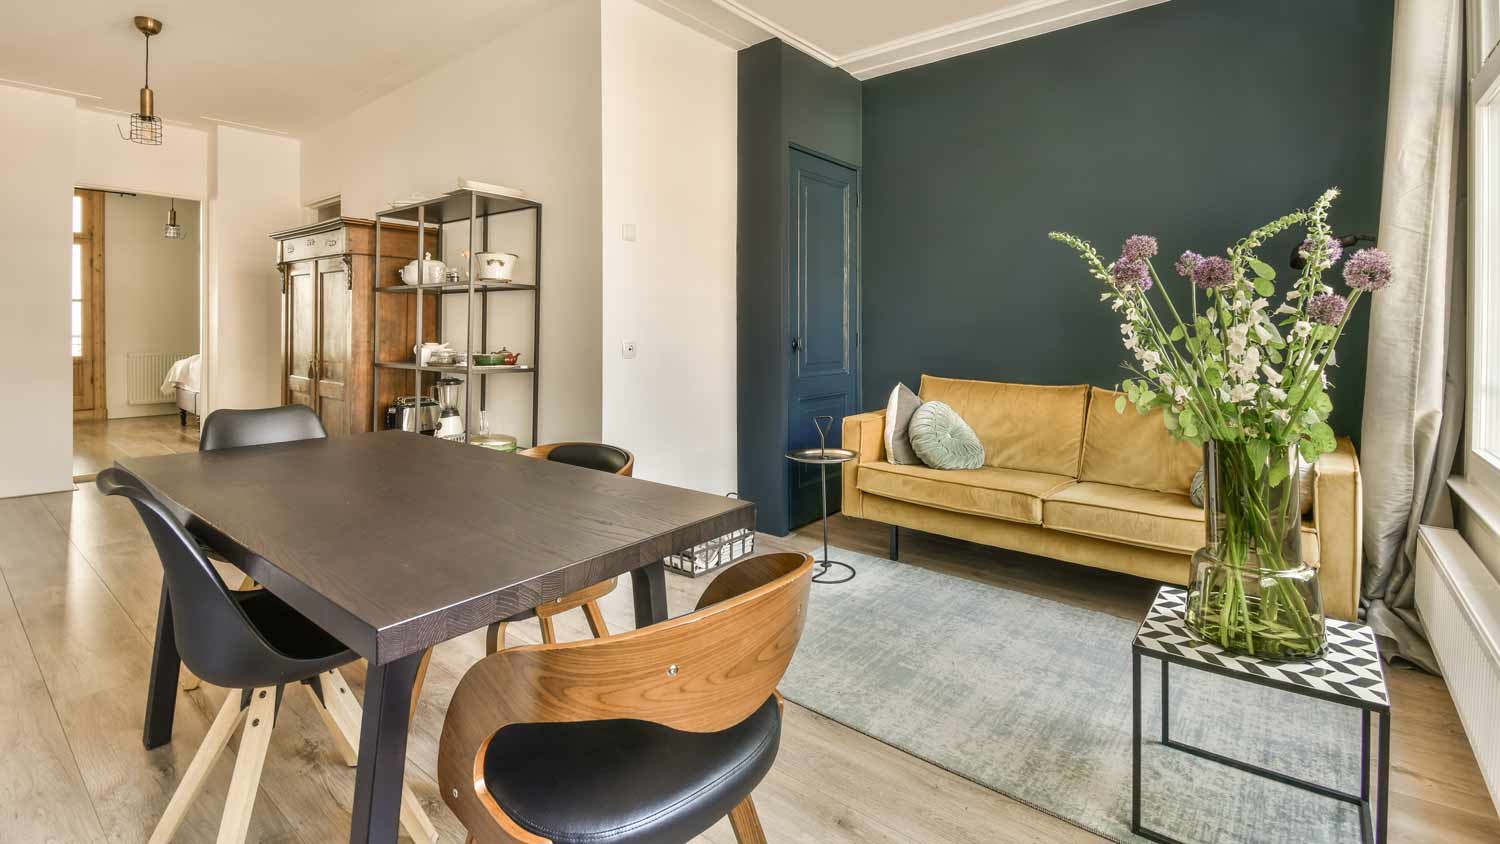
Not sure whether to use ceiling or wall paint for your upcoming paint job? Compare ceiling paint vs. wall paint with this informative guide.
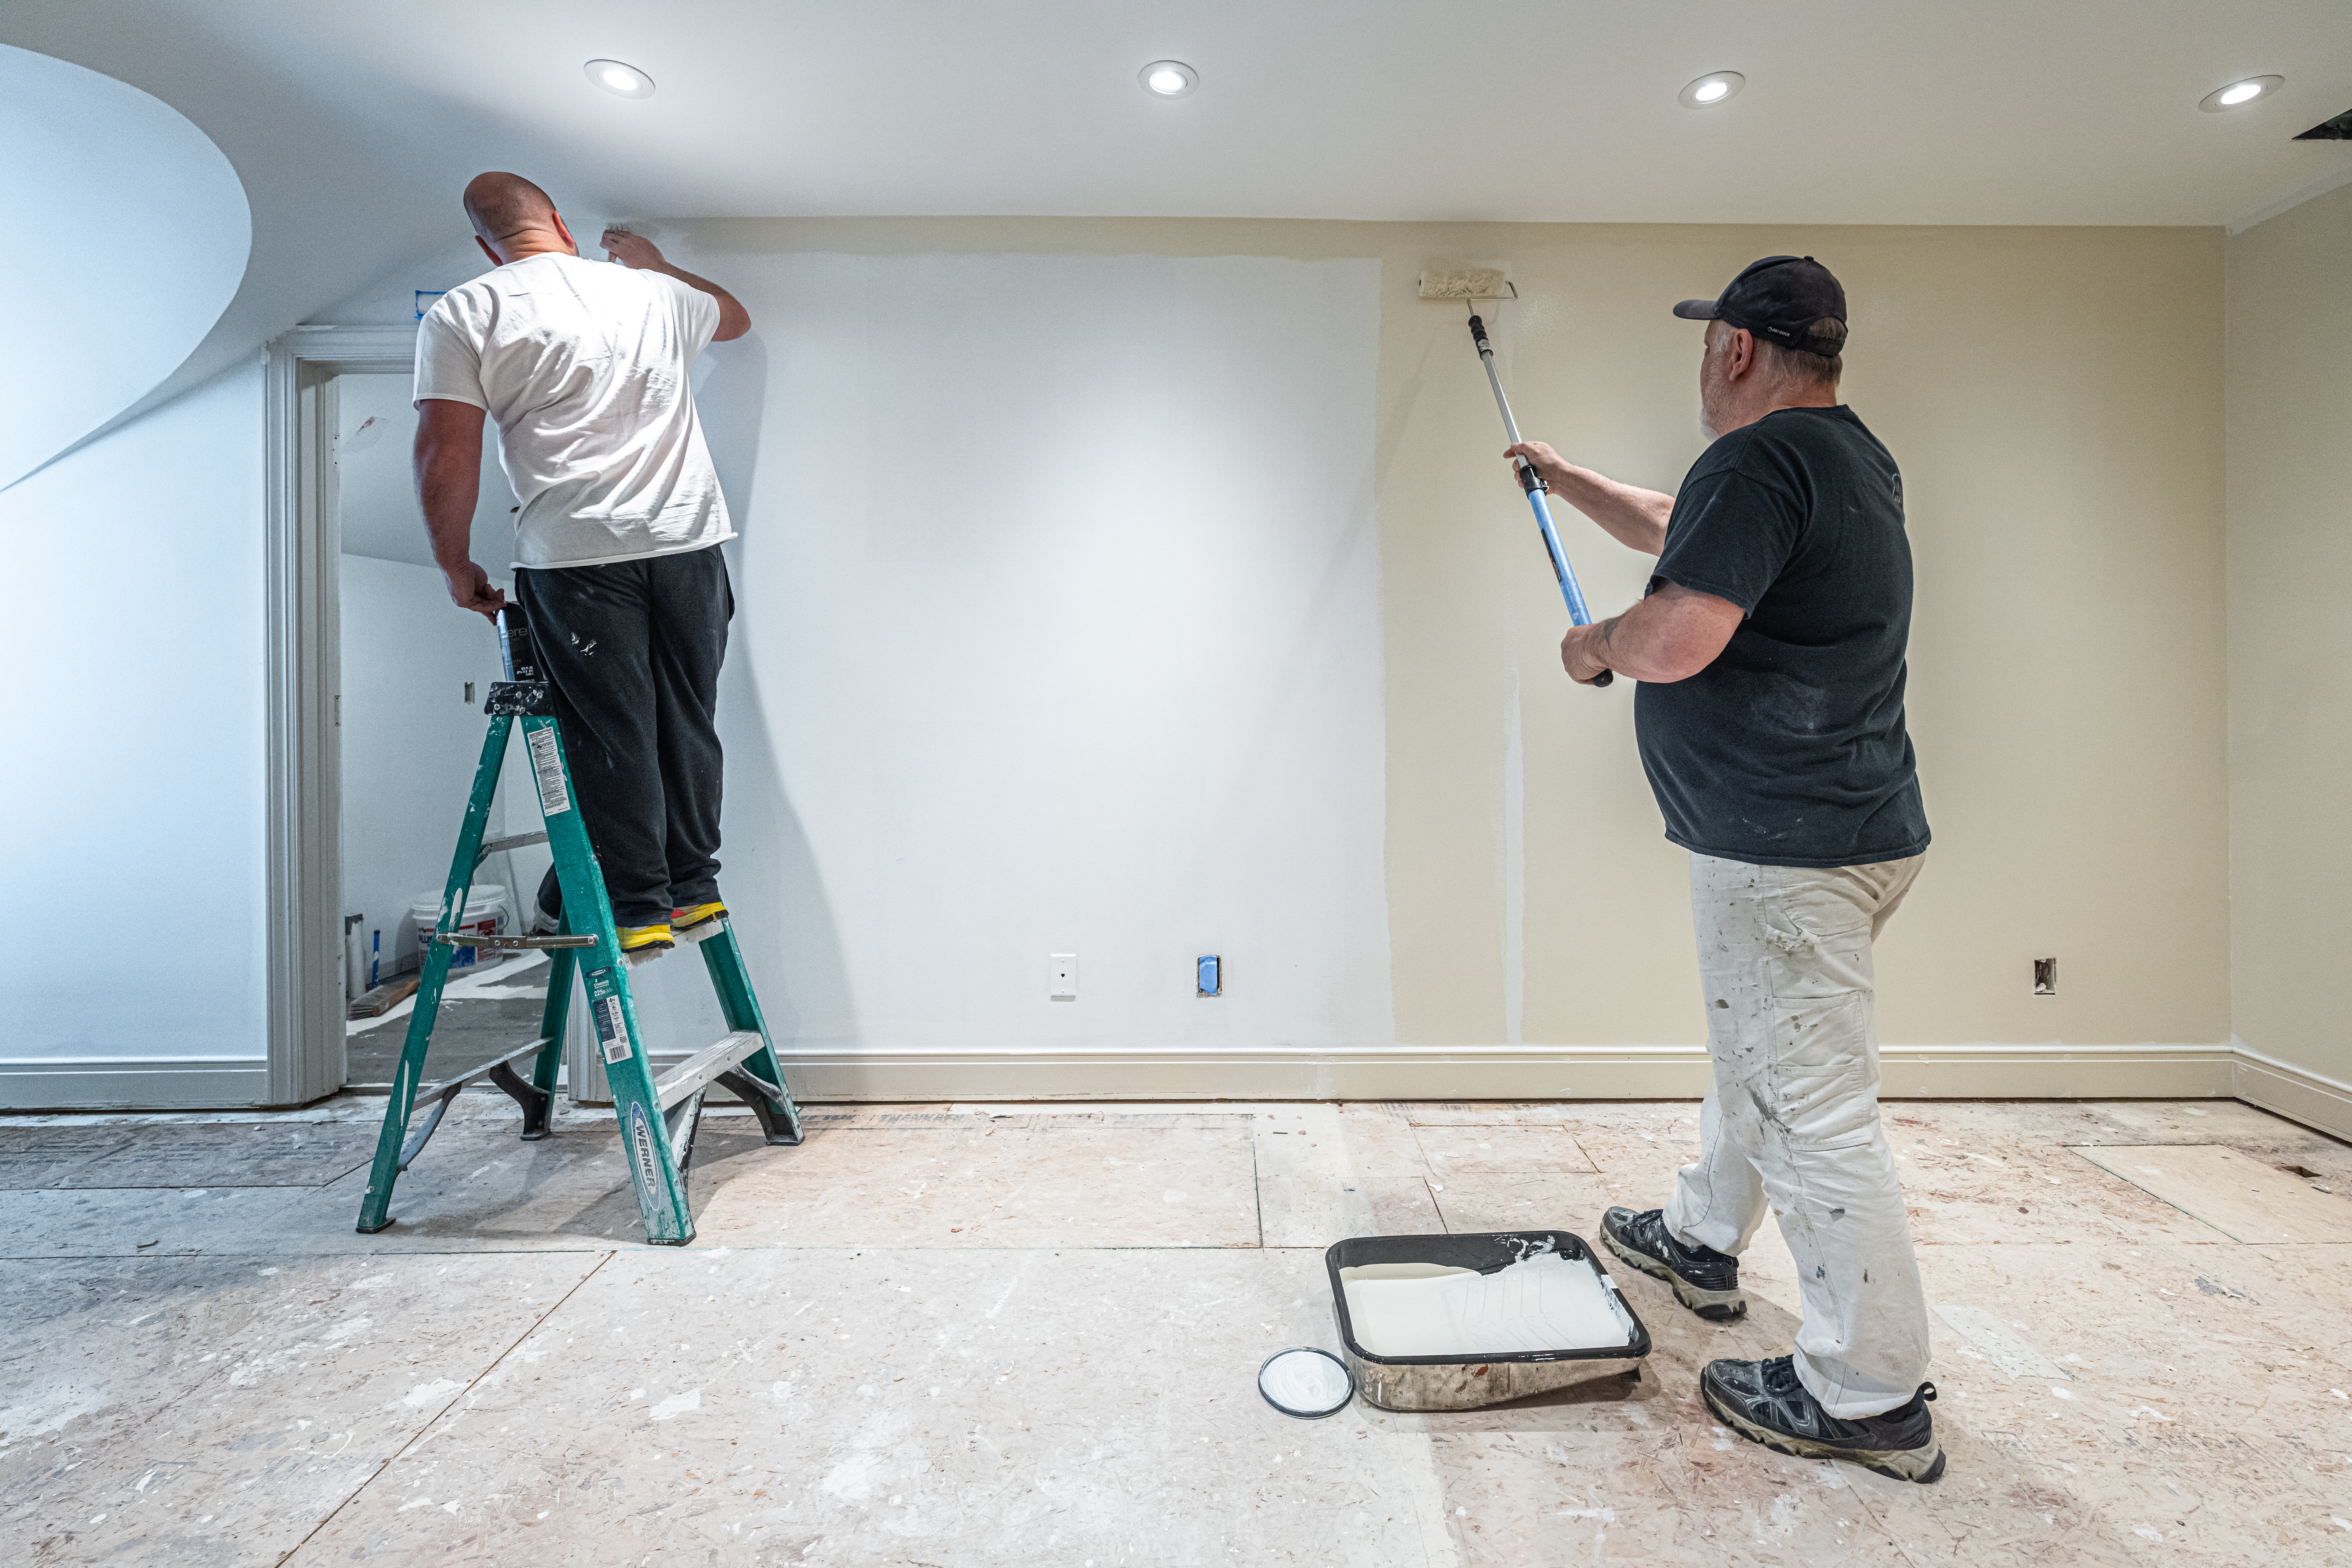
Smooth paint is the best paint. Here are some tips to help you make the paint, primer, and finish dry smoother for a picture-perfect application.