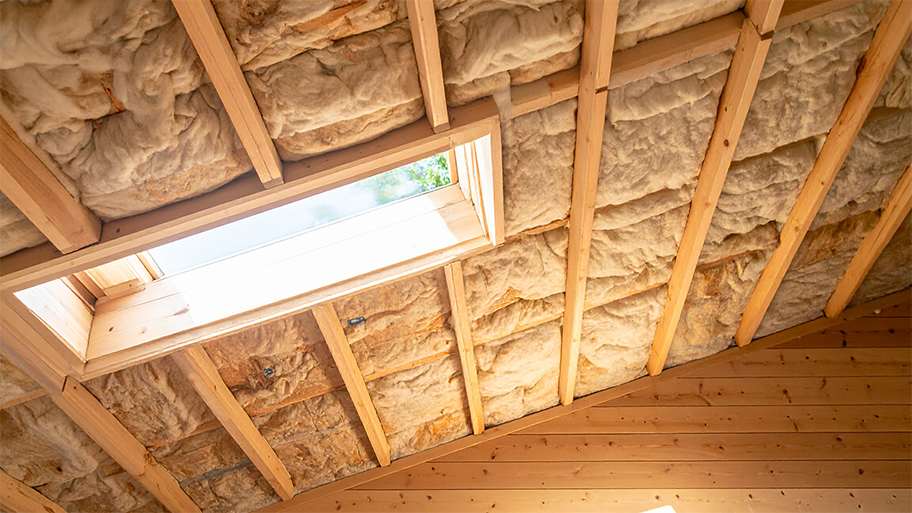
Expert insulation contractor throughout Denton County, Tarrant County, and surrounding North Texas communities—specializing in attic insulation, blown-in insulation, insulation removal, air sealing, radiant barrier installation, attic ventilation improvements, attic sanitizing,, noise reduction and pest-damaged insulation, and energy efficiency upgrades delivering comfort and lower energy bills for homes and businesses. We use W-2 employees—not subcontractors—for guaranteed workmanship through our Iron-Clad Guarantee. Every free estimate includes thermal imaging to pinpoint your needs. Trusted for honest service and local expertise. Call now for a free in-person quote on attic insulation, removal, air sealing, radiant barrier, or upgrades.
"My son recently purchased an older home that had very little attic insulation. After Rob's team finished adding fiberglass insulation the A/C turned off almost immediately and the home remained at 74 degrees even though it was over 100 that day. I was very impressed and plan to have them come inspect my attic next !"
"This family owned franchise was great, super helpful, very responsive and really went the extra mile. They added insulation to my attic and replaced two attic fans with solar powered ones. Very happy so far, but they just left so let's wait to see if it improves my electric bill!"
"Tech who showed up to do inspection was thorough. Climbed into small attic, took pictures and explained what their findings were. Other inspections (I had 2 more) just popped their heads into the entrance and too my word for what may need to be done. Scheduling with Attic Construction was simple. They showed up on time (early). They let me peak up their as they cleaned up old insulation and remove rodent droppings (biggest concern). They finished within the day as promised and cleaned up after themselves thoroughly. Our home was well protected from dings/damages as they wrapped corners of walls, stairs etc. We have noticed improvement from having only 3.5 inches of insulation to now nearly 14-15 inches. They recommended a "combo" of batt insulation (Around the entrance) and blown in for the rest of the area. This allows you to pop in there with out blown in insulation falling all over the place. They also recommended and performed rodent proofing/sealing. We were sent photos of both before and after their work. I would highly recommend this company."
"Called these guys for our first issue with our heat after moving here in Dallas. The tech Ben just in time and was knowledgeable and friendly. I'm very satisfied with the service!"
"After to job was completed the attic looked amazing. The insulation was perfectly level. I was impressed they did an excellent job cleaning up afterwards."
Plaster that sags or bulges, shows extensive deep cracks, or is crumbling from water damage or simply time may need replacement. Plaster walls can look a little “worn” for a long time before they need replacing. The only real way to know if it needs a replacement is to hire a professional to assess the condition of the plaster.
Yes, you can apply new plaster over an existing plaster surface, such as a wall or ceiling, provided the old plaster is in good condition. Before you begin, check the stability of the existing plaster. The surface must be clean, free of loose material, and have no peeling paint. It is also recommended to roughen the surface slightly to promote adhesion. For older plaster, applying a base coat like a PVA emulsion or a specific bonding agent or primer is crucial. This step makes the existing plaster less porous and ensures the new and old layers adhere properly for a smooth, long-lasting finish.
The easiest way to remove texture from walls is the soak-and-scrape method. You’ll need to spray a section of the wall with water and let the water soak in and soften the texture. Then, you need to scrape the texture off using a drywall taping knife. This method works best with unpainted walls since paint prevents water from saturating the textured joint compound.
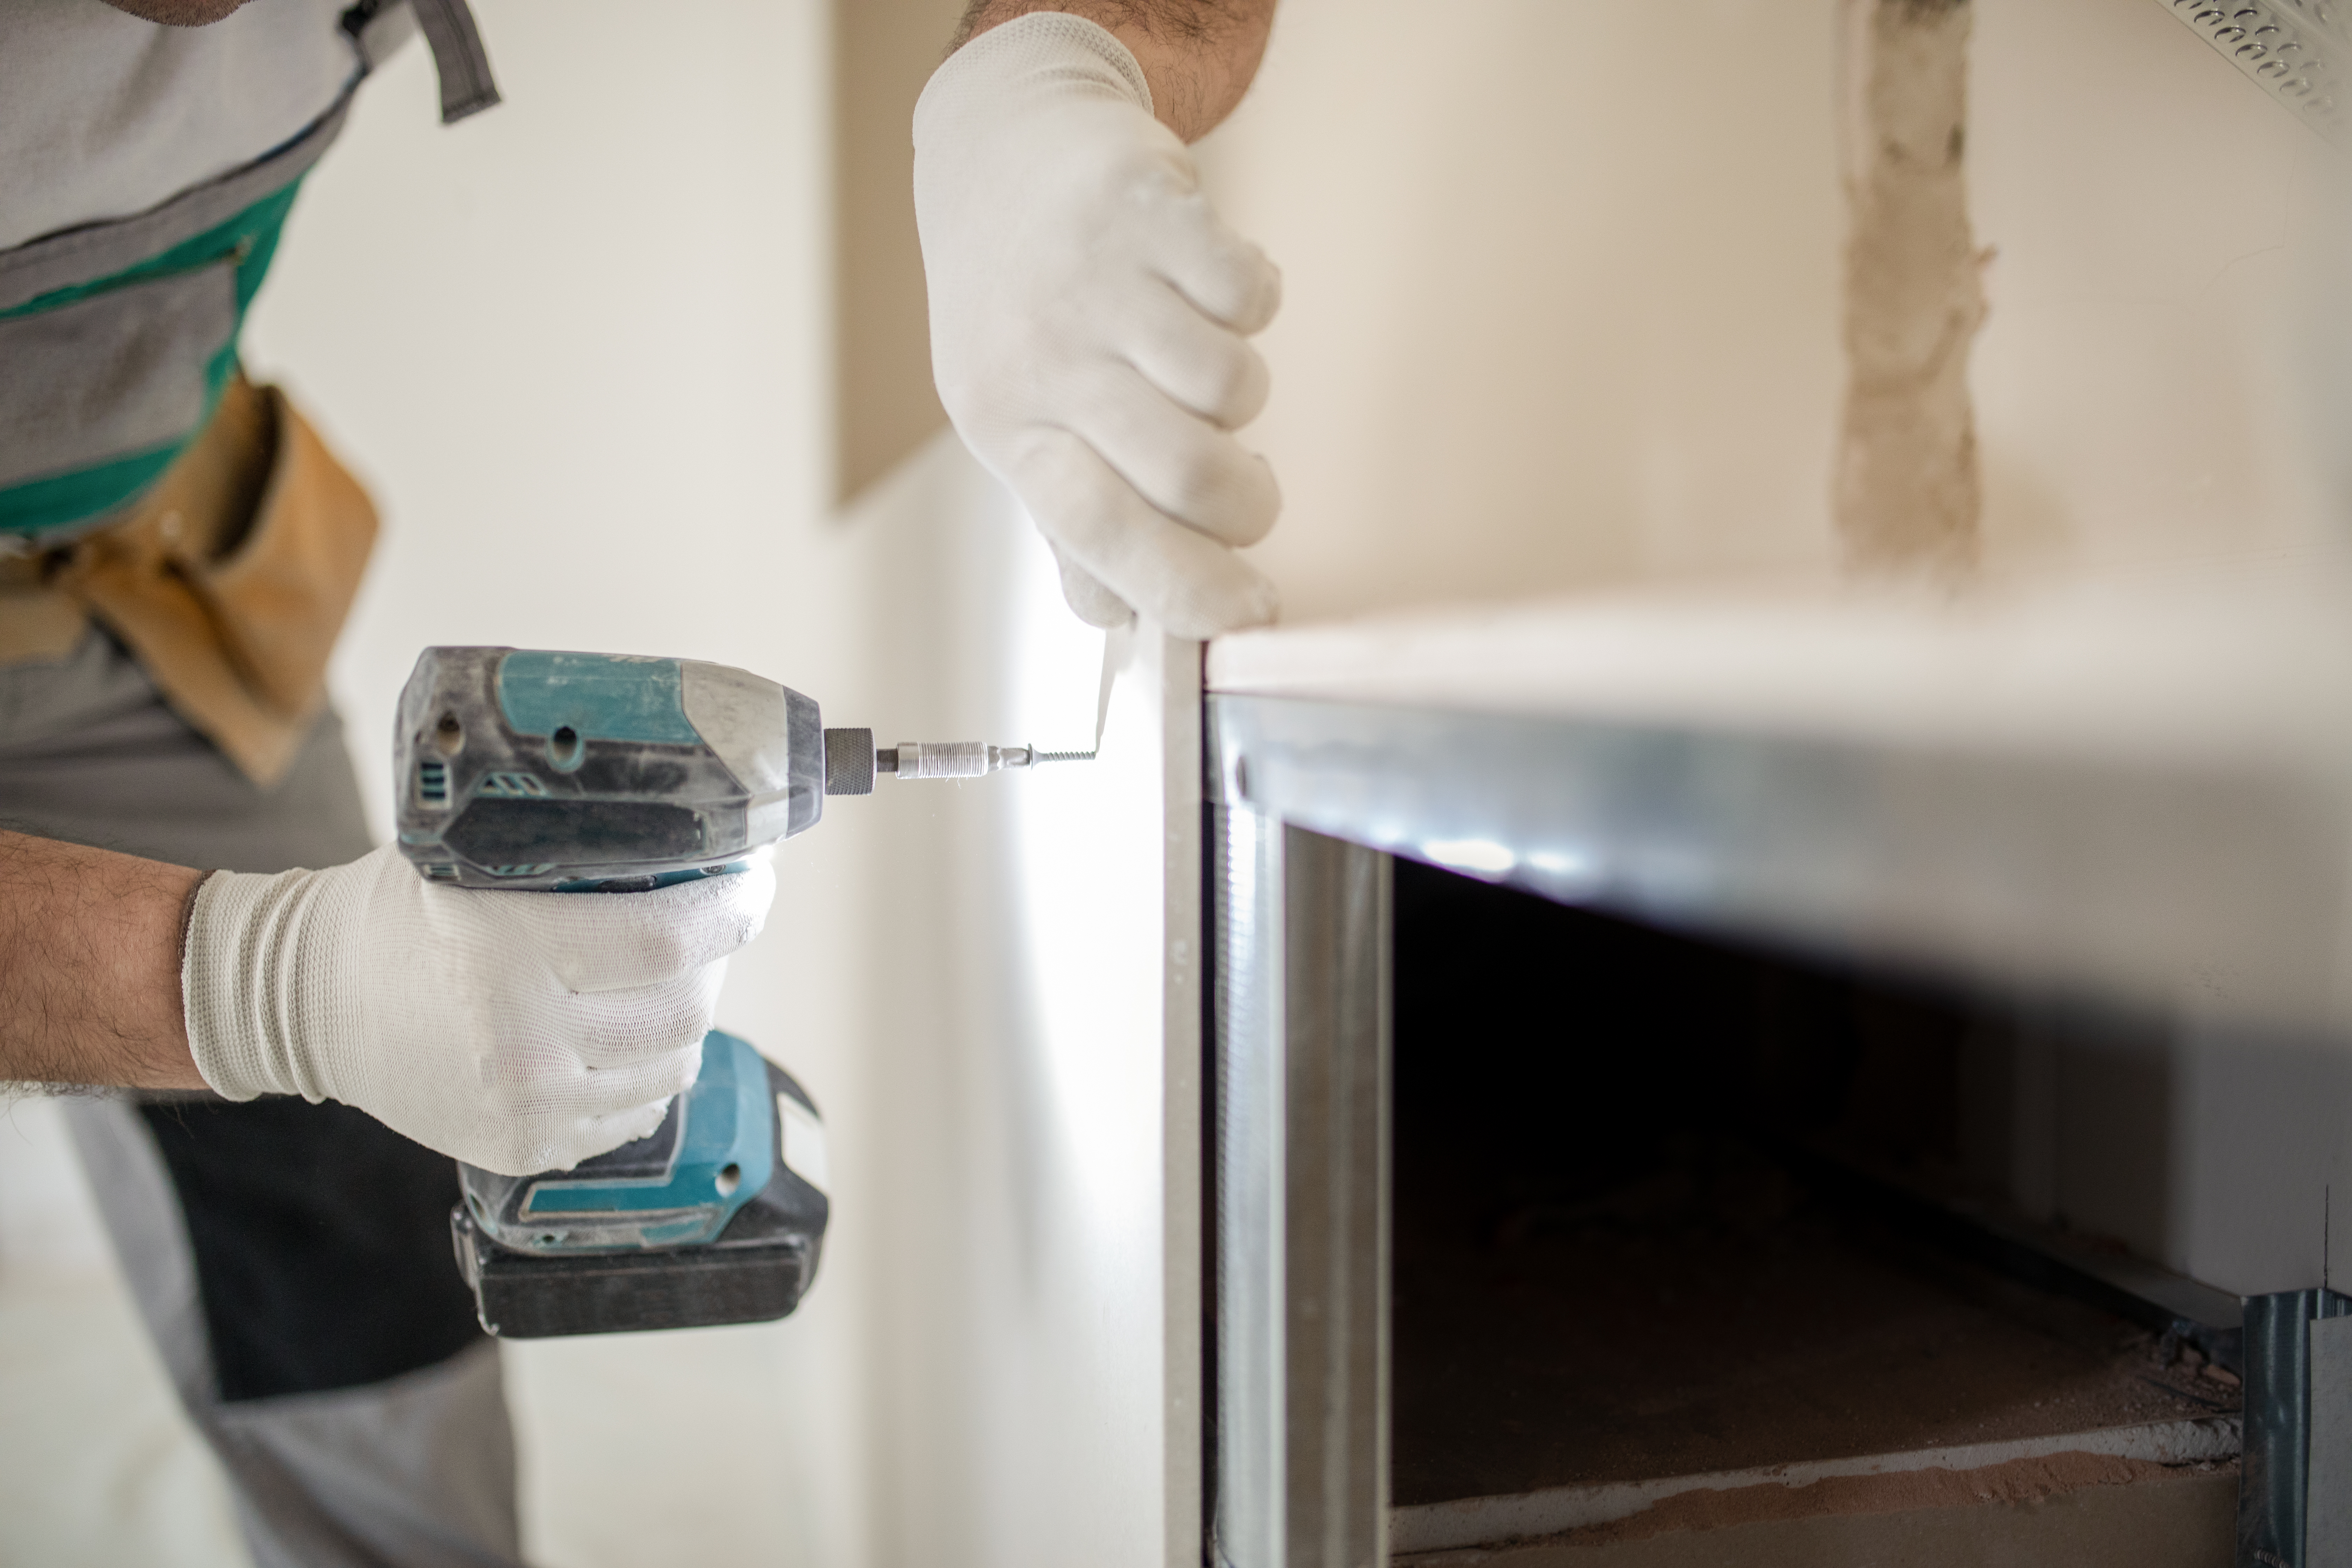
You should stagger drywall sheets to help prevent cracking. The joints between drywall sheets are the weak spots, so if you install drywall with seams aligned, you’ll create weak lines that run across the length of the wall and extend from floor to ceiling. But when you stagger drywall, the solid sections of panels will support the joints. This can prevent seams from cracking or separating due to fluctuating temperature and humidity, vibrations from movement inside the home, and gravity.
While every home has its own unique needs, ceiling drywall installation typically follows a staggered or stepped pattern to enhance structural integrity and reduce the visibility of seams. Starting from one corner, sheets are placed perpendicular to the ceiling joists, with the ends of adjacent sheets meeting along the center of the joist. The next row begins with a half sheet, ensuring joints don't align vertically. This alternating pattern, combined with proper taping and mudding, creates a seamless appearance and strengthens the ceiling structure, minimizing the risk of cracks over time.
The Watauga, TX homeowners’ guide to drywall insulation services
From average costs to expert advice, get all the answers you need to get your job done.
New insulation makes your home more comfortable and boosts energy efficiency. Use this guide to budget for insulation installation costs in Dallas, TX.
Insulating your attic can massively improve your home’s efficiency and reduce electric bills. Use this guide to find out what attic insulation will cost you in Dallas, TX.
Learning how to insulate plaster walls can help improve your home's energy efficiency. However, there are crucial cautions to consider before attempting.
Thick gaps and extra joint compound can alter the look of drywall. So, should drywall be butt up against a wall? Review this guide for seamless installation.