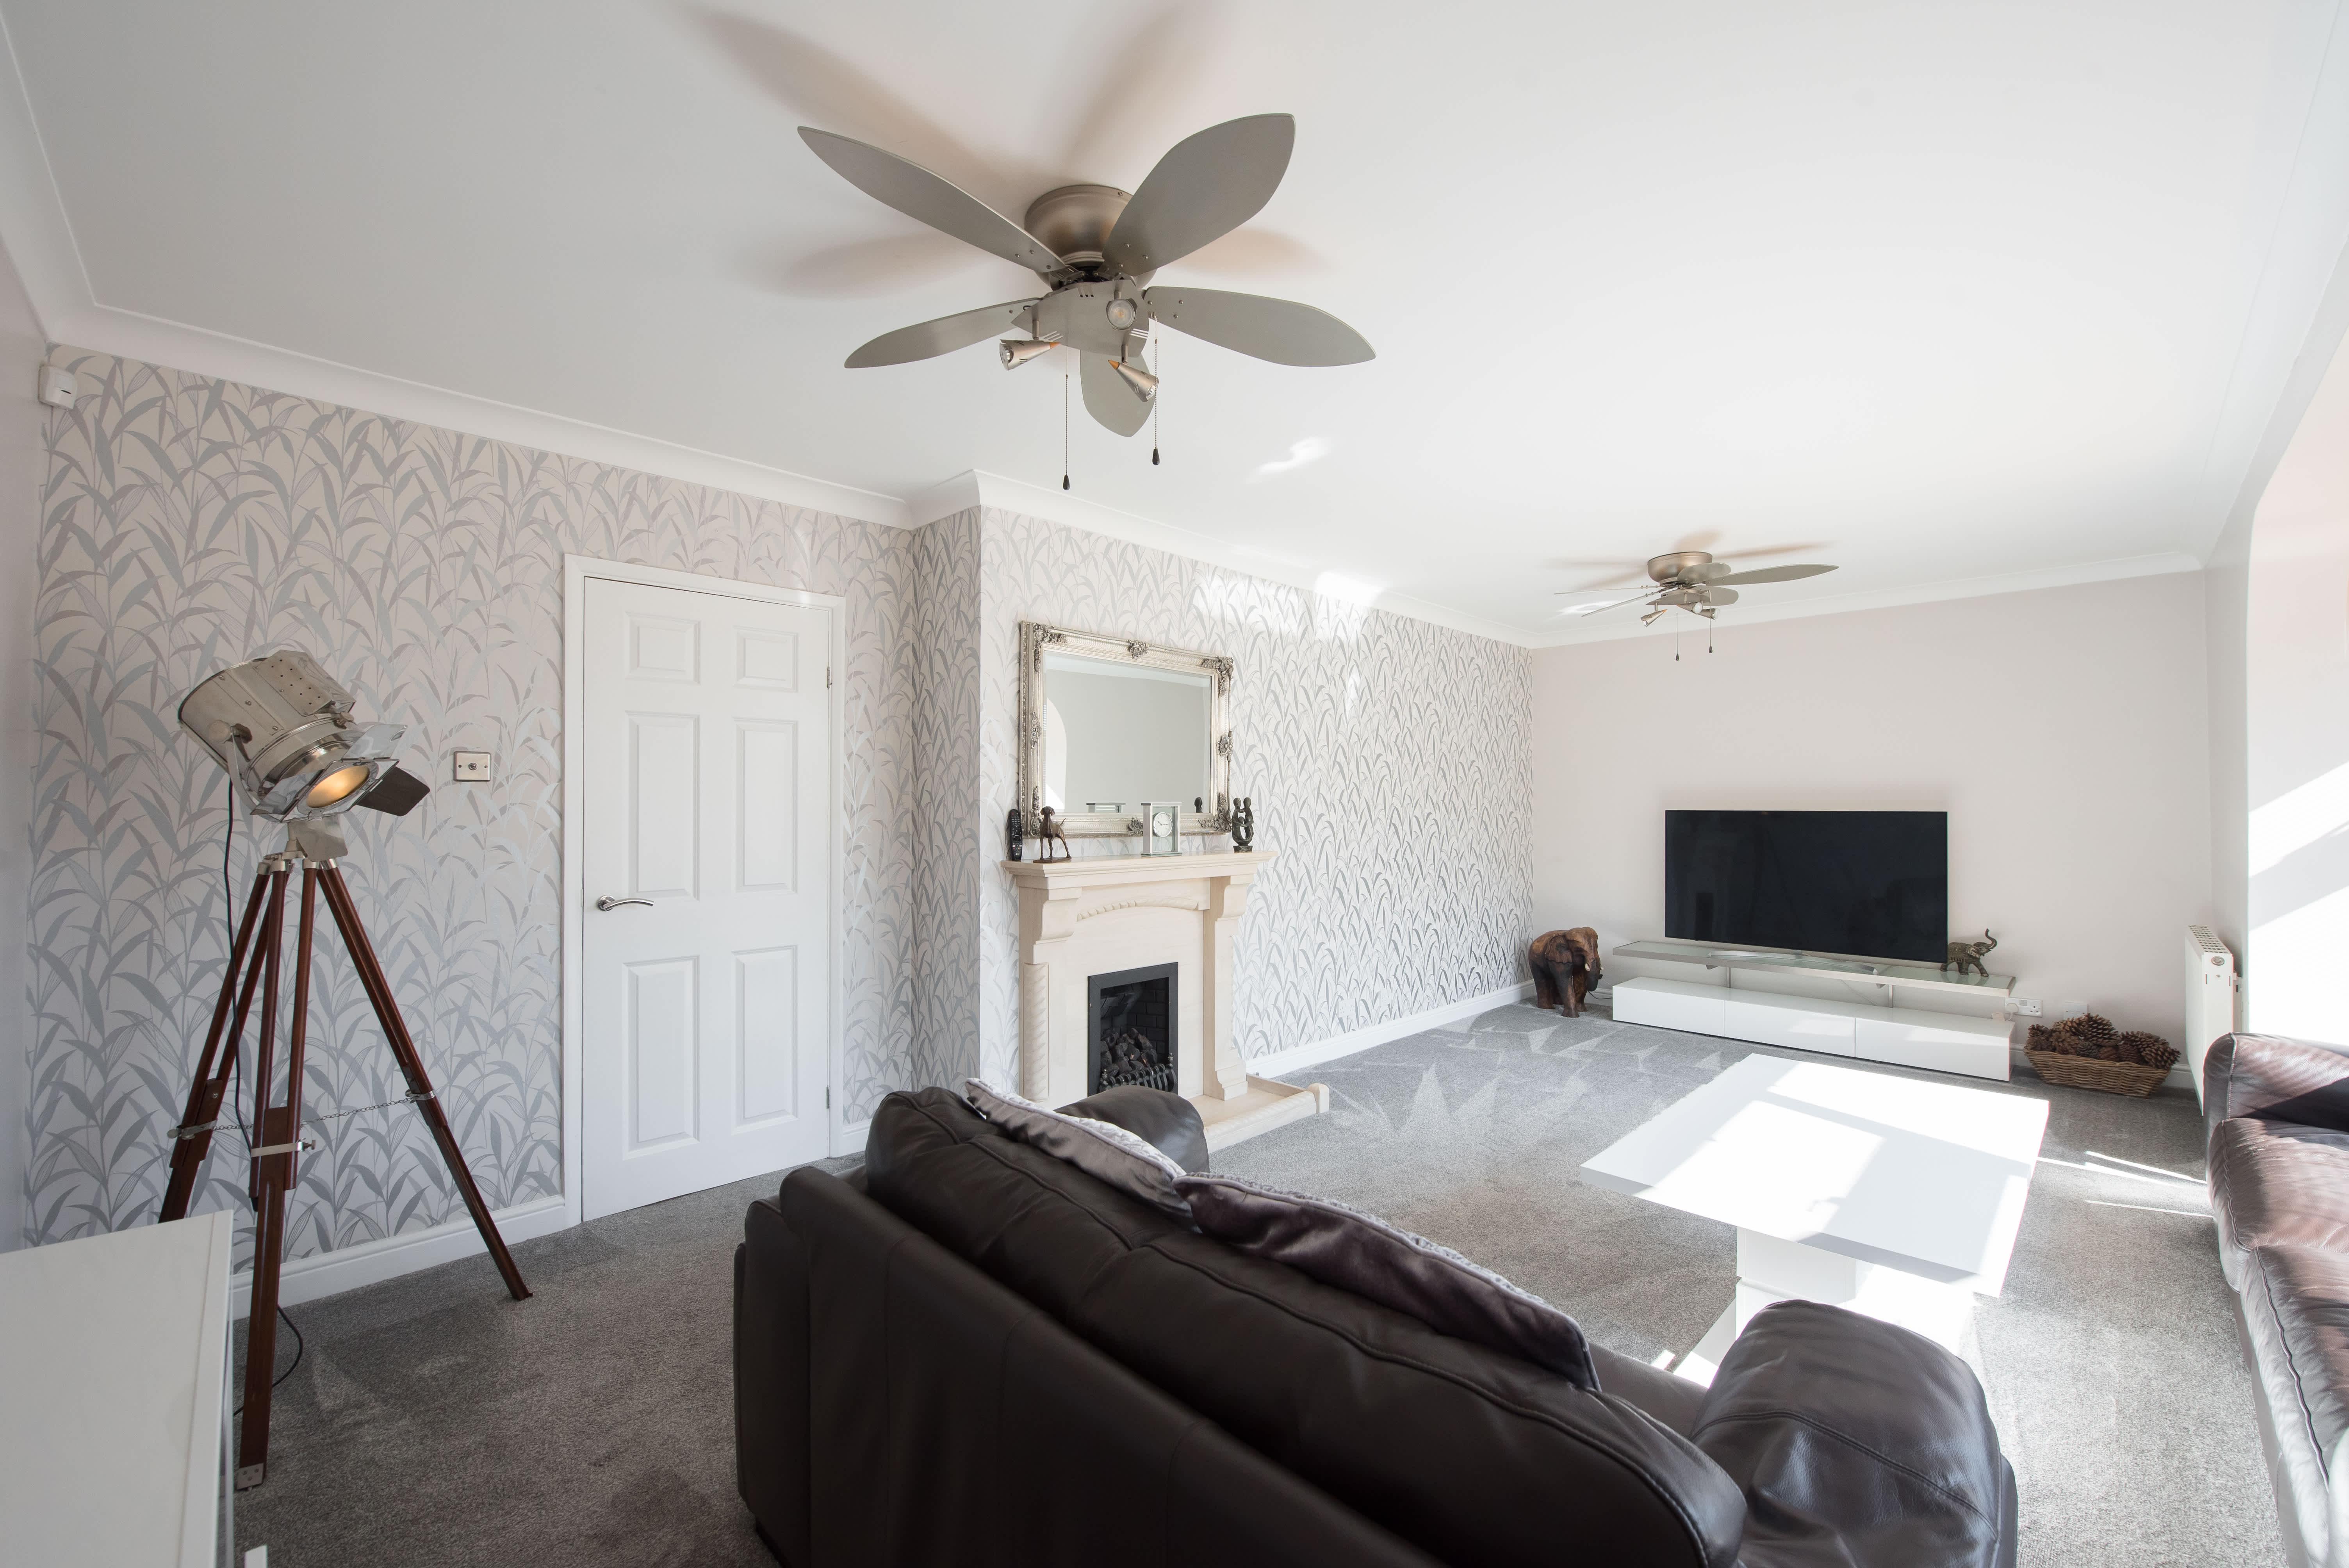








Top-rated ceiling fan pros.

Get matched with top ceiling fan pros in Byram, MS

Enter your zip and get matched with up to 5 pros

Need a pro for your ceiling fan service project in Byram, MS?

Select your specific project to find the pro for you.

TRUSTED BY BYRAM, MS HOMEOWNERS

  • Average homeowner rating star icon4.2
    Average homeowner rating
  • Verified reviews icon16
    Verified ceiling fan services reviews

Find Ceiling fan pros in Byram

Avatar for K by JR Construction
K by JR Construction
5.0(
2
)
Ceiling Fan - Install

Serving Byram, MS and surrounding areas

Approved

In business since 2010

Free estimates

Credit card accepted

"It is a wonderful team, They made another design to my kitchen now it looks happier,they are very detailed in their work. You can tell that they love and know what they are doing, they are very friendly people, I definitely recommend them"
New kitchen project
New Siding
New Siding
New Siding
New Siding

+2

4 neighbors recently requested a quote
Avatar for Darling Electric, LLC
Darling Electric, LLC
4.9(
49
)
Ceiling Fan - Install

Serving Byram, MS and surrounding areas

In business since 2017

Free estimates

Warranties offered

"He put in two bathroom vent fans after we had the ceiling repaired from steam damage. He was neat and we appreciated his expertise. Also upgraded wiring in shed and added a plug in. He responded quickly to our request and showed up when we expected him to. Will hire him again."
Response time1 day
Recommended by89%of homeowners
...
Showing 1-10 of 96
Ceiling Fans questions, answered by experts

Though possible, installing a ceiling fan yourself requires electrical knowledge and confidence working with home wiring. Following the manufacturer's instructions carefully and observing safety precautions are crucial components of a DIY installation.

If you’re removing a ceiling fan without visible screws, start by locating the fan canopy—a round cover placed above the fan blades and motor. There should be a thin ring that can be turned counterclockwise to remove the canopy and reveal the screws. After unscrewing the fan, you can disconnect the wires and remove the entire fan from the mounting hardware. For safety, make sure the fan switch is turned off before you remove the canopy. It may be easier to remove the fan blades first, too.

Yes, you can install a ceiling fan where a standard light fixture is, as the electrical wiring is often similar and may not need to be replaced. The most important step is to ensure the ceiling can support the fan's weight and motion. You will need to replace the existing light fixture's electrical box with a fan-rated electrical box, which is specifically designed to handle the extra weight and vibration. These boxes will be labeled as suitable for ceiling fan support and will indicate the maximum weight they can hold. Before you begin, also consider if you need an extension rod for a high ceiling or a special mount for an angled ceiling.

For a 12x12 room, a fan between 36" and 50" will work, as it falls in the range for spaces up to 144 square feet. These size fans provide adequate air circulation and ensure a comfortable environment without being overpowering. Even better, they come in a broad range of styles, offering aesthetics and functionality, making them suitable choices for maintaining an ideal room temperature and enhancing overall comfort.

The direction your ceiling fan spins helps create comfortable airflow in your home and can also help cut down on energy costs. 

During summer, your ceiling fan should spin counterclockwise. This will push cooler air downward in a column and help lower your room’s air temperature. In the winter, set your ceiling fan to spin clockwise and at the lowest speed setting. This will pull cool air upwards, displacing the warm air that pools towards the top of your ceiling and bringing it down towards the floor.

The Byram, MS homeowners’ guide to ceiling fan services

From average costs to expert advice, get all the answers you need to get your job done.