Doorbell Installation questions, answered by experts
The best type of insulation for your home depends on your specific needs, climate, and the area you are insulating. For new construction, structural insulated panels are a highly energy-efficient option that is easy to install during the building process. In very warm climates, reflective insulation can be a cost-effective choice. For cold climates, fiberglass is an excellent option due to its high R-value and resistance to settling over time. Spray foam works well in humid environments because of its moisture-resistant properties. For standard attics, loose-fill, spray foam, or blown-in insulation are all suitable options.
Unfaced wall insulation is easier to cut and install, making it the better choice for a DIY project. It’s also more affordable. But if it’s unfaced, you’ll likely need to add a vapor barrier to reach your desired R-value and efficiency, as it doesn’t offer any moisture barrier.
Faced insulation uses paper or foil to create a built-in barrier and doesn’t require an extra step. It’s also more fire-resistant and safe. But it’s quite a bit more expensive and a little bit harder to work with as a DIYer.
Monolithic slabs don’t require insulation, but many homeowners choose to have their contractors install insulation under the slab during construction. This can help improve home efficiency even more and keep indoor temperatures more stable. Slab foundations are more energy-efficient than uninsulated crawl spaces and basements, and insulated slab foundations are more energy-efficient than insulated crawl spaces and basements.
If you’re using faced insulation with paper, face the paper toward the inside of the room during the installation process.
A good way to remember this is that the paper should face the “warm side” as it’s the vapor barrier, meaning it should face toward where the heat will be coming from.
If you need to insulate behind finished walls, the best option will likely be to have an insulation professional install blown-in insulation. The installation requires small holes cut in your wall, after which the installer can blow loose-fill insulation into the void. After the installation, you’ll have minor drywall patching, which shouldn’t cost more than $100. Compared to ripping down the existing drywall, using a different type of insulation, and replacing and finishing the drywall, this should save you hundreds or even thousands, depending on the size of the room you’re insulating.
The Acton, MA homeowners’ guide to doorbell installation services
From average costs to expert advice, get all the answers you need to get your job done.
Whether you’re installing a new door or replacing an existing one, the cost of door installation in Boston, MA, varies based on door type, framing needs, and other factors.
Ring a bell? From replacing a wired doorbell to setting up a smart home system, learn about typical doorbell installation costs, including materials and labor.
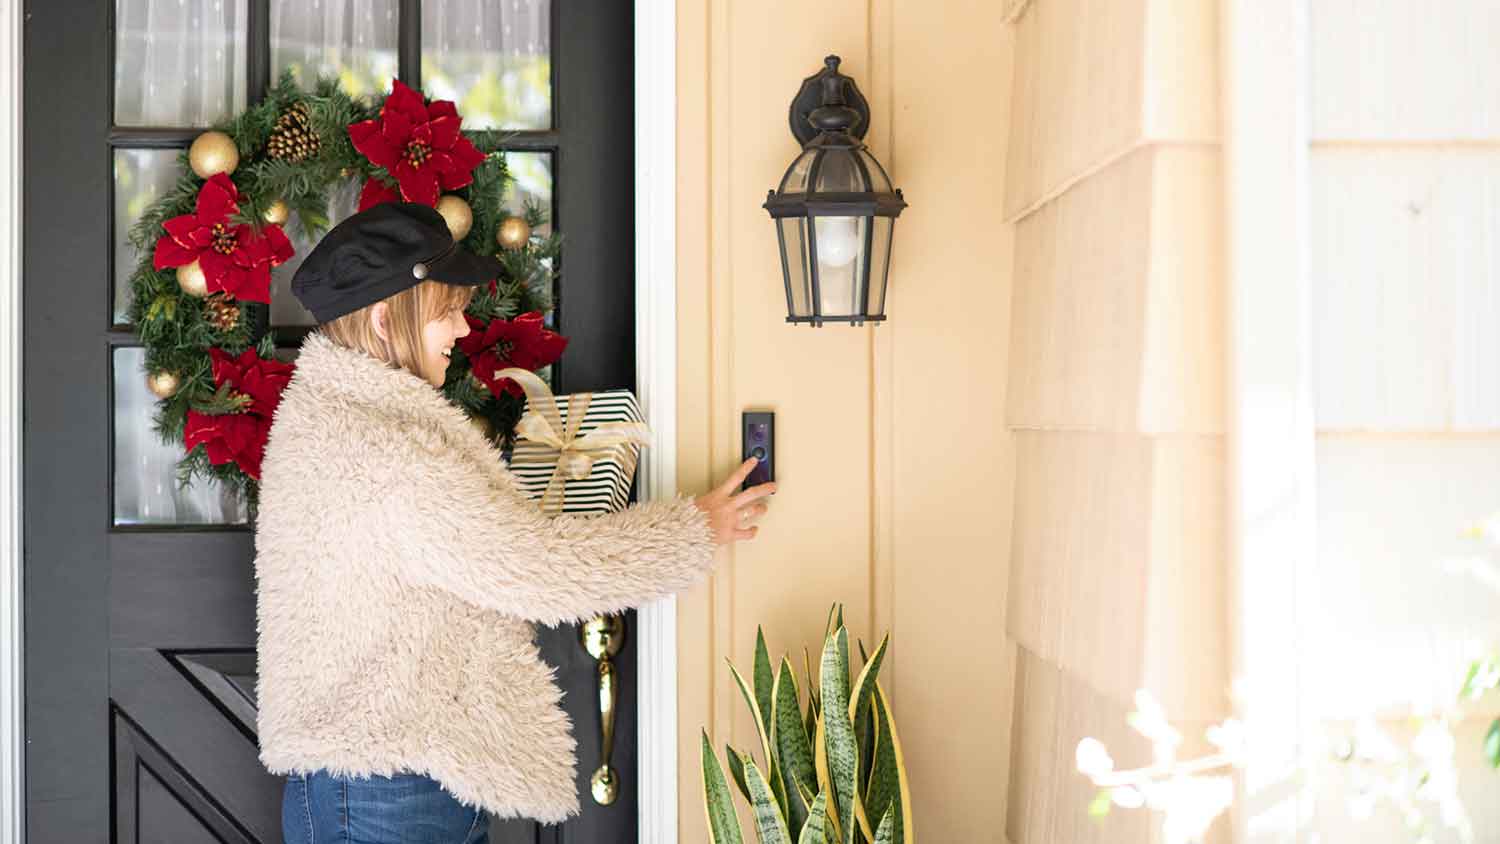
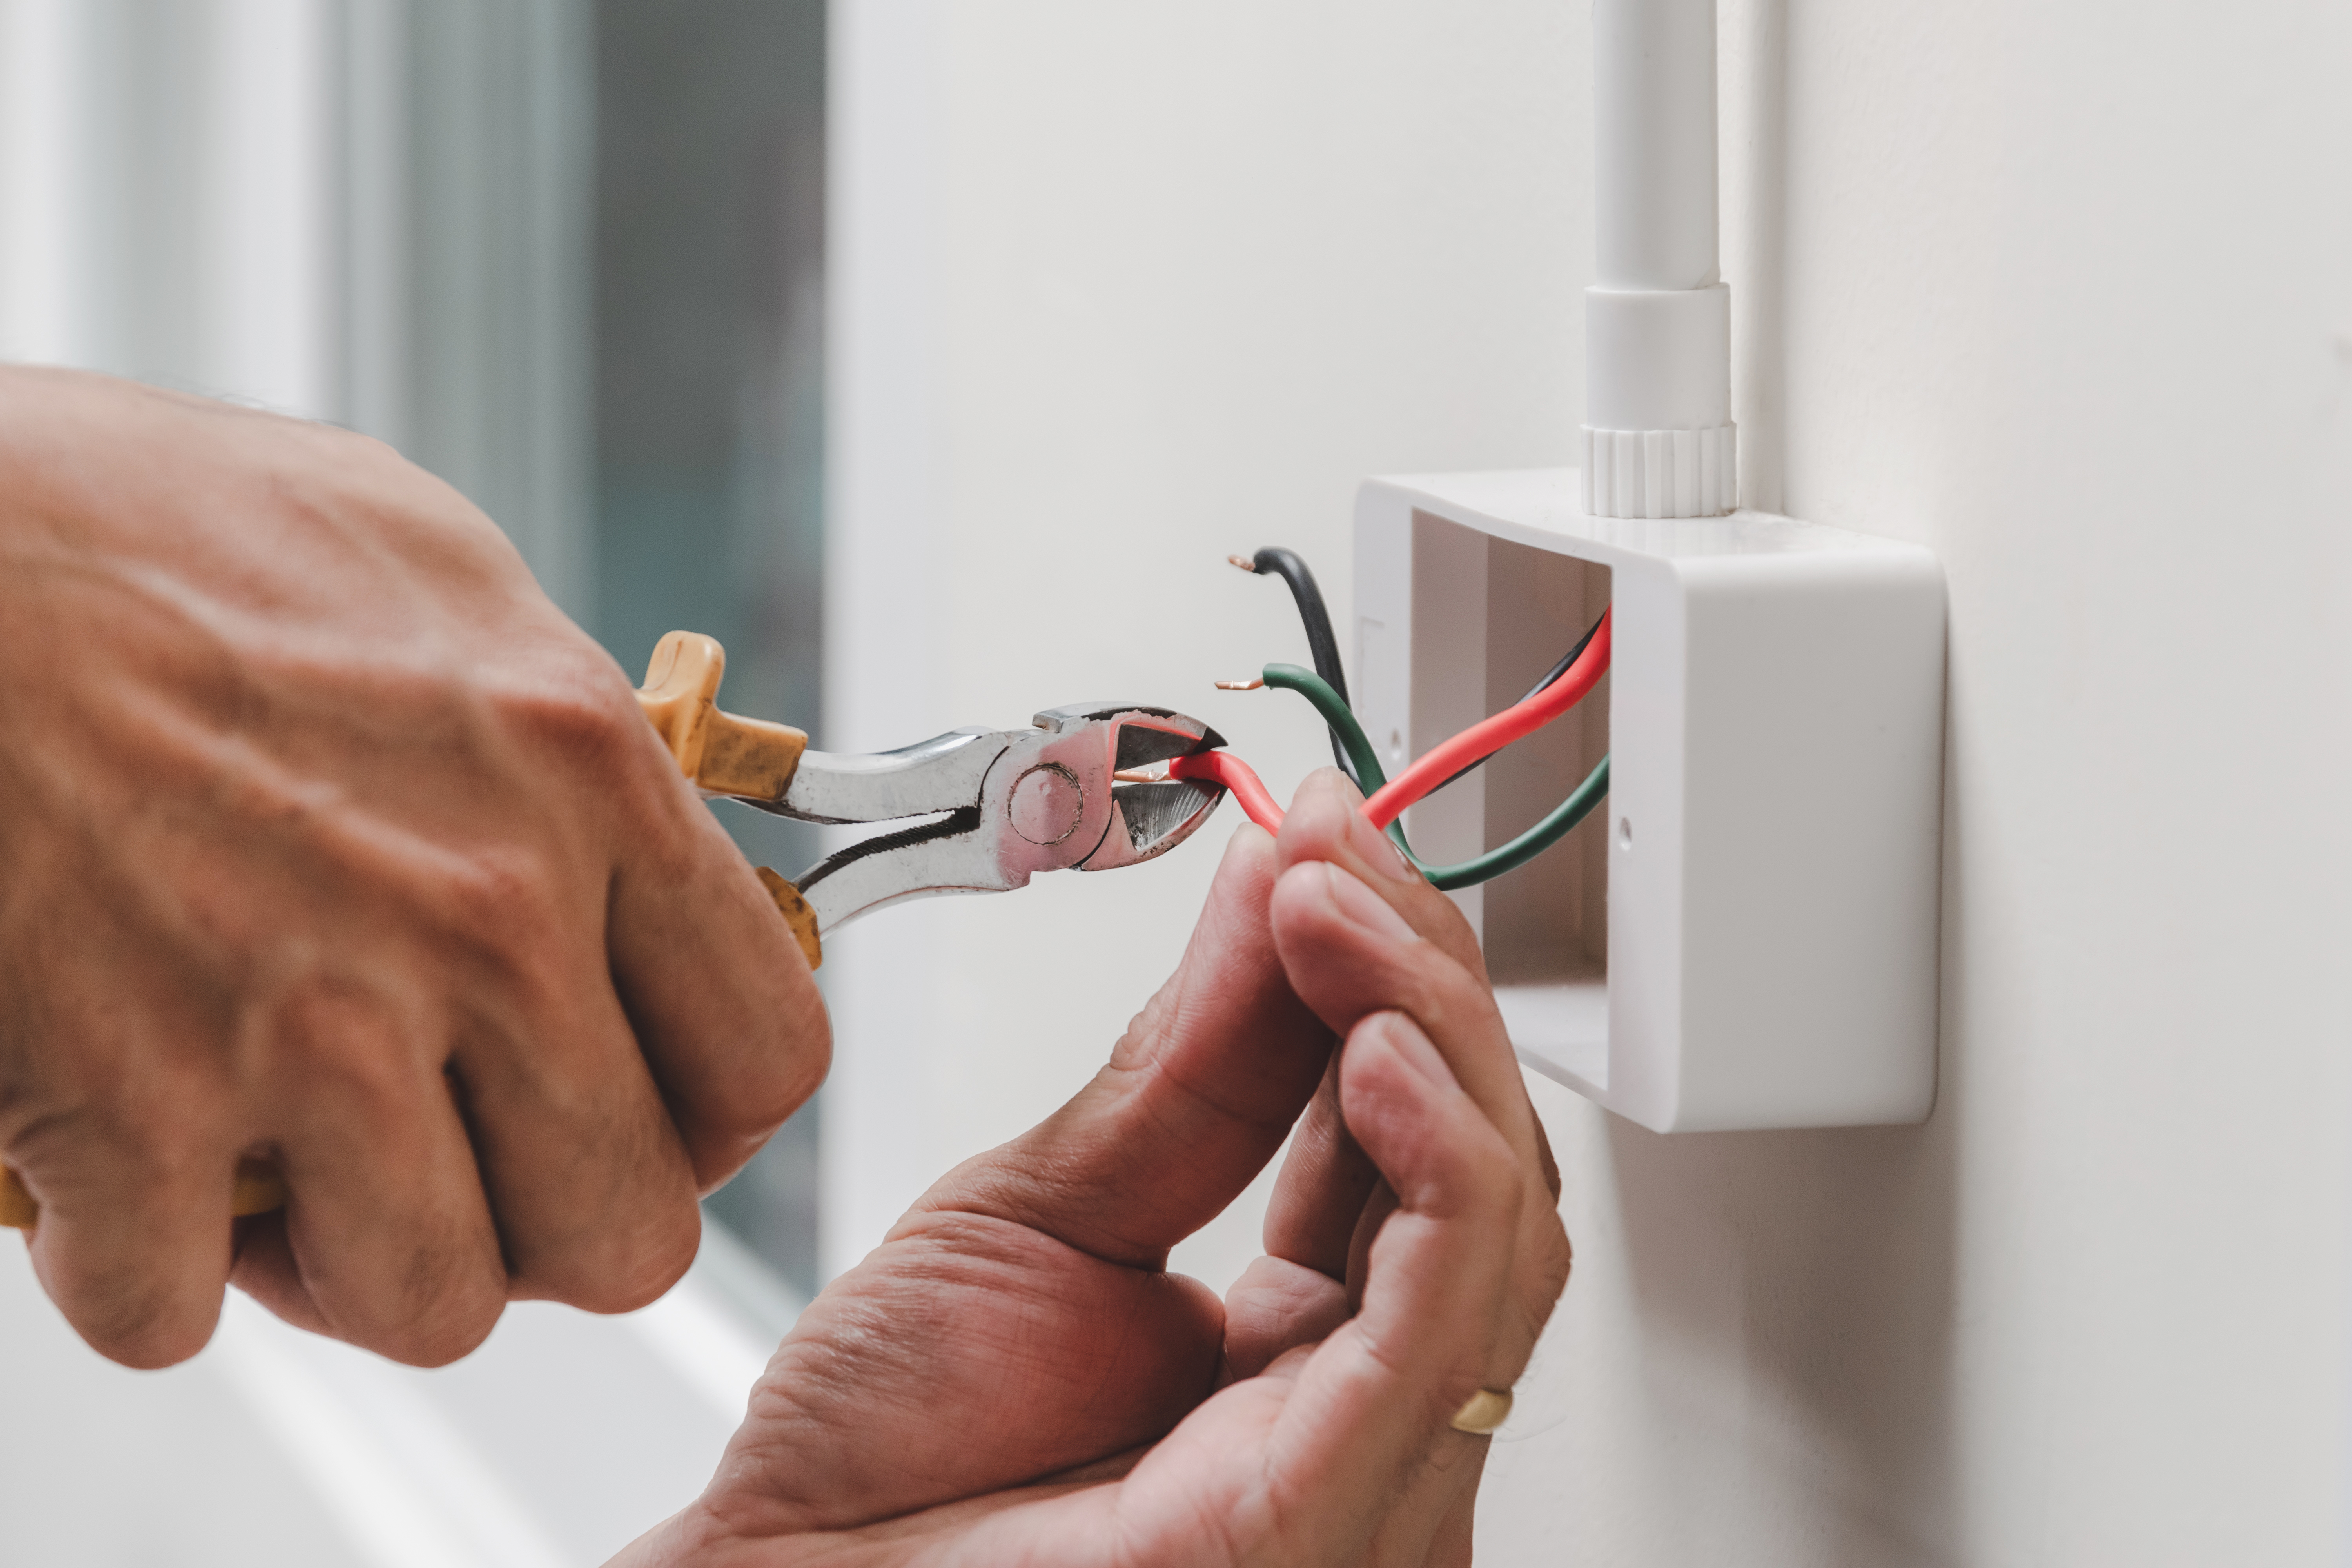
Doorbell wiring is a project you can DIY. This guide covers everything you need to know, from different types of doorbells to wiring, and how to remove an old doorbell.
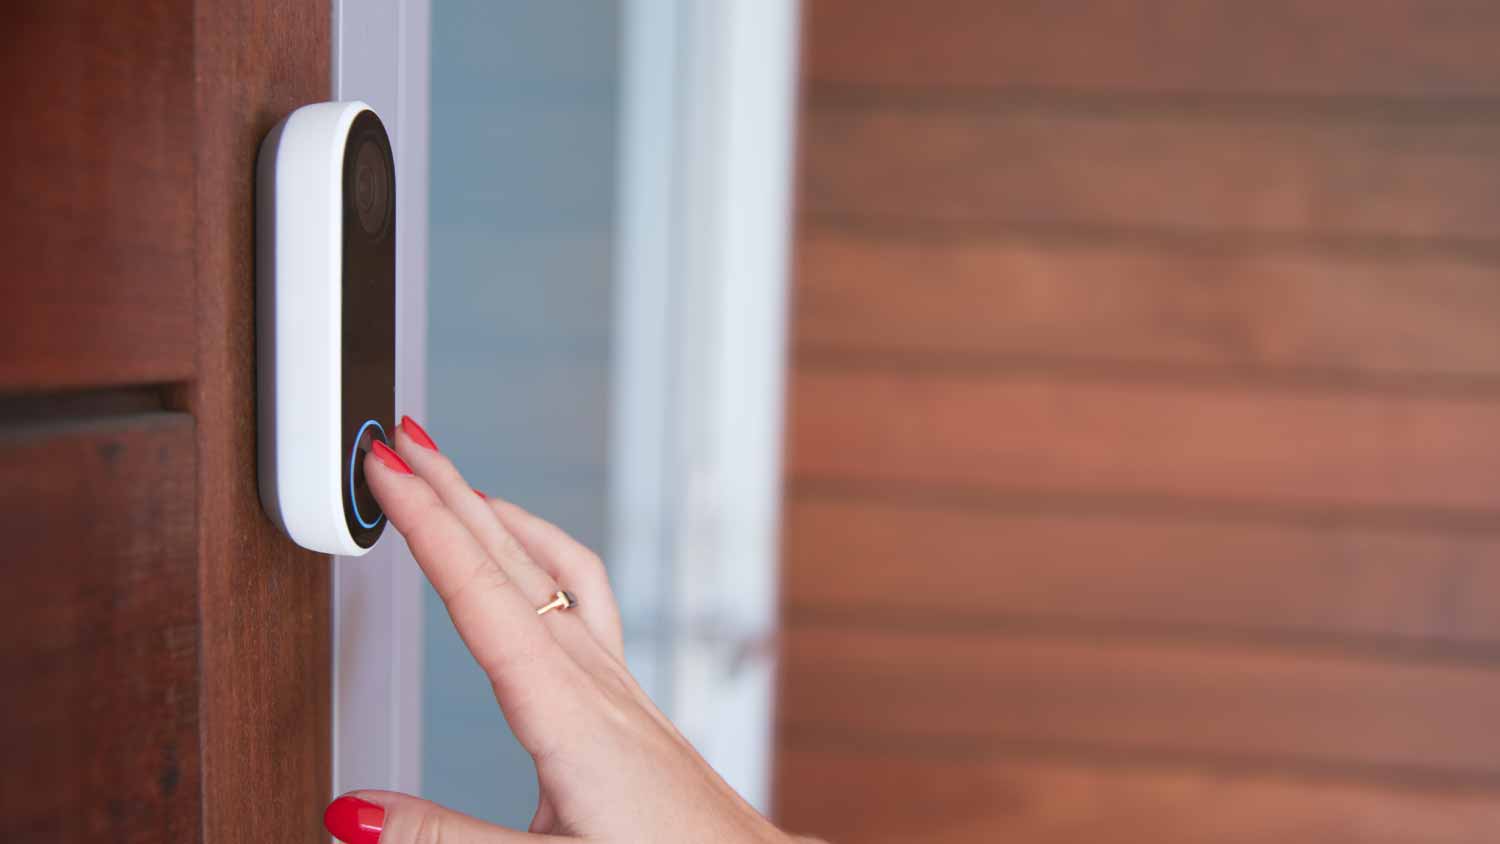
Ready to upgrade your front door and learn how to wire a doorbell? You may be able to handle this relatively simple DIY installation without an electrician.