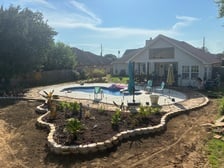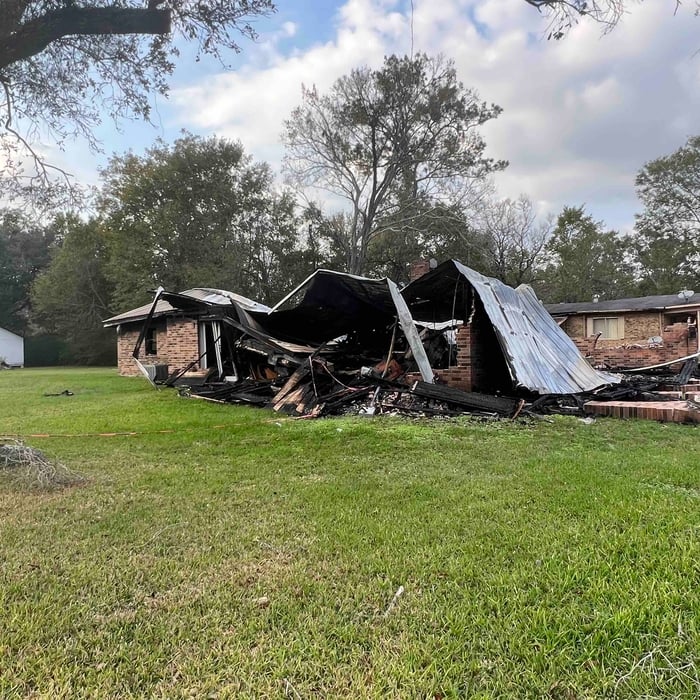





Top-rated drywall pros.

Best drywall pros near Mermentau, LA

Enter your zip and get matched with up to 5 pros

Need a pro for your drywall service project in Mermentau, LA?

Select your specific project to find the pro for you.

TRUSTED BY MERMENTAU, LA HOMEOWNERS

  • Average homeowner rating star icon4.1
    Average homeowner rating
  • Verified reviews icon10
    Verified drywall services reviews

Top-Rated Drywall pros in Mermentau - Updated Nov 2026

Avatar for Bayou Painting & Renovation Services
Bayou Painting & Renovation Services
4.8(
13
)
Drywall - Install

Serving Mermentau, LA and surrounding areas

Approved

In business since 2015

Free estimates

Offers commercial services

"Maria and Raul are very professional. My husband and I wanted remodel/update our house to sell. We told them what we wanted and they delivered; drywall, cabinet installation, paint, crown molding, flooring installation, etc. They are very knowledgable in what they do and they have great connections with other businesses. We will definitely hire them again."
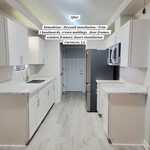
RENOVATION HOUSE FOR SALE
KITCHEN AFTER RENO.
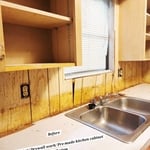
PRIOR TO DEMO PIC
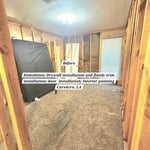
BEDROOM DEMO
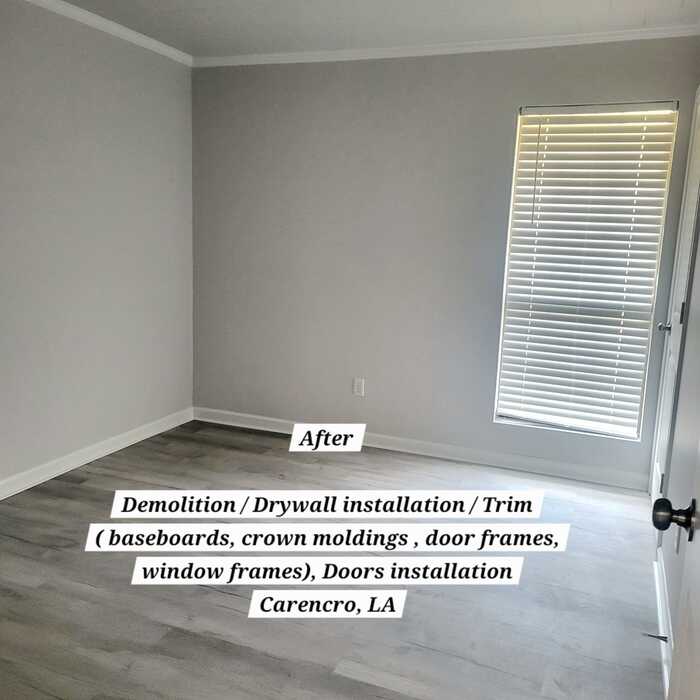
BEDROOM AFTER PICS

+4

1 neighbors recently requested a quote
Recommended by69%of homeowners
Avatar for EJ Drywall Service
EJ Drywall Service
4.5(
15
)
Drywall - InstallDrywall - Repair

Serving Mermentau, LA and surrounding areas

In business since 2021

Free estimates

"Great painting job. Even returned when the ceiling paint did not match. Mr. Joseph come back and repainted the ceiling in 2 rooms. Only complaint was they were a little messy and left paint on some of the floors."
Additional Photos
Additional Photos
Additional Photos
Additional Photos
Additional Photos

+195

Recommended by93%of homeowners
Avatar for Gator Insulation, LLC
Gator Insulation, LLC
5.0(
36
)
Drywall - RepairDrywall - Repair - For Business

Serving Mermentau, LA and surrounding areas

In business since 2013

Free estimates

Emergency services offered

"Dustin answered the phone quickly. He was very responsive about understanding the problem and offering solutions for it. He is very knowledgeable about insulation, sealing spaces and A/C ducts. He was able to advise while considering budget constraints. His crew was fast, accurate and clean. I would hire him again."
Insulation Blow In
Insulation Blow In
Insulation Blow In
Duct Work
Moisture Barrier

+2

Response time1 day
Recommended by85%of homeowners
Avatar for Shankar Developers
Shankar Developers
5.0(
6
)
Drywall - InstallDrywall - Install - For BusinessDrywall - Repair+1 more

Serving Mermentau, LA and surrounding areas

In business since 2000

Free estimates

Emergency services offered

"It took a half day of work to repair the structural problem, and another two days for the tear off and refinish. Prin was very personable and onsite much more then other contractors that I have used in the past. I hope this post brings his company many more referrals. I will surely use them again!"
Recommended by100%of homeowners
...
Showing 1-10 of 113
Drywall FAQs, answered by experts

Although they have similar applications, spackle and joint compound are not the same. Their primary differences lie in their composition, consistency, and ideal use cases.

Spackle is composed of gypsum and binding agents, making it thicker than joint compound. It dries quickly and is easy to sand, which makes it ideal for small wall repair projects like filling nail holes or patching minor damage.

Joint compound, also known as drywall mud, consists of limestone and gypsum. It is primarily used for large-scale projects, such as taping and finishing the seams on newly installed drywall. It tends to shrink more than spackle and can be more difficult to spread.

While both products can be used to fill small depressions and cracks, spackle cannot replace joint compound for taping and mudding new drywall. Conversely, you can often use joint compound for small patching jobs typically done with spackle.

While every home has its own unique needs, ceiling drywall installation typically follows a staggered or stepped pattern to enhance structural integrity and reduce the visibility of seams. Starting from one corner, sheets are placed perpendicular to the ceiling joists, with the ends of adjacent sheets meeting along the center of the joist. The next row begins with a half sheet, ensuring joints don't align vertically. This alternating pattern, combined with proper taping and mudding, creates a seamless appearance and strengthens the ceiling structure, minimizing the risk of cracks over time.

All plaster walls will crack over time due to normal house settling and expansion and contraction from temperature and moisture changes. Small, thin hairline cracks are generally not serious and are mostly a cosmetic issue. However, larger or more significant cracks can indicate structural problems.

Here's how to tell the difference:

  • Cosmetic Cracks: Cracks that are 0.5 cm (0.2 inches) or thinner are typically cosmetic.

  • Structural Cracks: Cracks wider than 0.5 cm, excessive or deep cracks, multiple cracks in the same area, or cracks that span around corners can signify a structural or foundation issue. Cracks along the joints where walls meet the ceiling also warrant attention.

For cracks wider than 0.5 cm, structural repair is needed. If a crack is 2.5 cm (1 inch) or wider, or if you notice any signs of a structural problem, it is best to contact a plaster repair professional to assess the damage.

There are six levels of drywall finish, from 0 to 5, that refer to the amount of work performed during the finishing process.

Level 0: Drywall is hung with no finishing work.

Level 1: Tape is placed over the seams between drywall sheets.

Level 2: A thin layer of mud is applied over the tape and screw holes. This level is common for utility rooms or walls that will be covered.

Level 3: A full coat of mud covers the screw holes and tape, but the surface is not sanded. This is often used in garages.

Level 4: This is the most common finish for visible interior walls. It involves applying two coats of mud over seams and screw holes, with sanding between each coat, creating a smooth surface ready for flat paint.

Level 5: This is a high-end finish for luxury homes. It includes full taping, mudding, and sanding, plus a final skim coat over the entire surface before painting.

Walls should be as smooth as possible before applying peel-and-stick wallpaper. Although you technically can apply wallpaper on textured walls, the peel-and-stick variety won’t last long without a clean, smooth surface for the adhesive to stick to. If you have textured walls, consult a pro about removing the textured finish before moving forward with wallpaper.

The Mermentau, LA homeowners’ guide to drywall services

From average costs to expert advice, get all the answers you need to get your job done.