



Top-rated drywall pros.

Best drywall pros near Salina, KS

Enter your zip and get matched with up to 5 pros

Need a pro for your drywall service project in Salina, KS?

Select your specific project to find the pro for you.

Top-Rated Drywall pros in Salina - Updated Nov 2026

Kasyn Dunn Construction
New to Angi
Drywall - Install

Serving Salina, KS and surrounding areas

Approved

In business since 2018

Free estimates

Credit card accepted

We take great pride in our experience, expertise, quality and customer service, and complete customer satisfaction, from start to completion of a project. In order to understand the needs and expectations of our customers, we take great care to work and communicate with every customer in a professional manner. Our reputation is based on service, safety and quality, regardless of how large, or small the job. Call us today! provide to meet the consumer's needs. It is our mission to provide excellent work

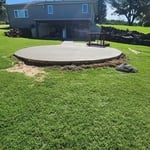
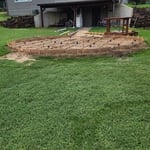
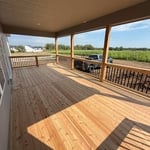
Full cedar deck
Full cedar deck
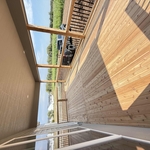
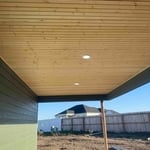
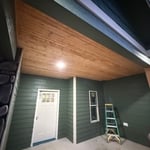
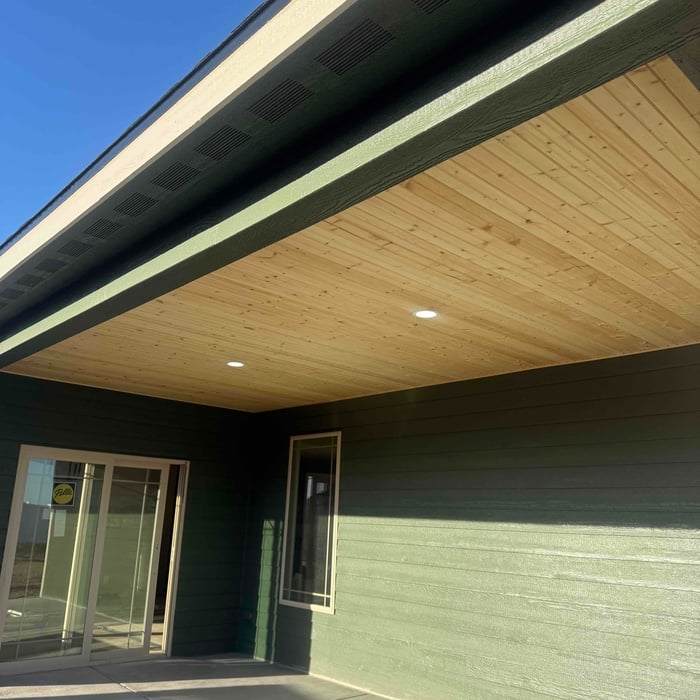
Box car siding ceiling

+6

16 neighbors recently requested a quote
...
Showing 1-10 of 63
Drywall FAQs, answered by experts

Yes, it matters which side of drywall you use. One side is smooth, and the other is rough. The smooth side should be facing outward, toward the room, while the rough side should be hidden and facing the studs and framing of the house. The smooth side will be easier to apply tape, joint compound, and, later, paint to.

Choose a drill bit that is the size of the screws of the anchors you will use. You aren’t drilling through metal or concrete—hopefully—so any standard twist, wooden or all-purpose drill bit will work fine. It’s also important to have a screwdriver capable of drilling through the drywall and into the stud. The good news is most available drills, even the older ones, can do this with no issue.

If you only have tiny holes in your drywall (for example, dents or nail marks), you probably won’t need a patch kit. Instead, you can plug the hole with a small amount of spackle. Once the spackle dries, you can sand the area and paint over it—just like you would in the steps outlined above.

If you plan on heating your garage, you must install a vapor barrier when drywalling the garage. A vapor barrier protects your garage from frost and mold that can occur through condensation. If your garage is unheated, you don't need to install a vapor barrier. The only exception is if you regularly crank the heat in your car before getting in it. In this case, you may still want to install a vapor barrier, as your car can heat your garage.

The two most common drywall thicknesses for ceilings are 1/2-inch and 5/8-inch. For most standard residential applications, 1/2-inch drywall is sufficient and widely used. It provides adequate support and is lighter and easier to handle during installation compared to thicker sheets. However, 5/8-inch drywall is often used for specific cases where additional benefits are needed. It is heavier but provides superior sound dampening and fire resistance. You should consider using 5/8-inch drywall for ceilings in commercial buildings, between a garage and a living space, or above a finished basement to meet building codes or for enhanced soundproofing.

The Salina, KS homeowners’ guide to drywall services

From average costs to expert advice, get all the answers you need to get your job done.