Over 10 years in new construction drywall and repairs. Specializing in finishing, repair, texture matching, and new drywall installation. I only believe in the best quality work and meeting customers needs without cutting any corners.
We pride our company on reliability, great communication, integrity and quality work. We are experts in flooring and tile work and will do our best to keep you as educated as we can on your particular task or project. We look forward to working with you.\n
"The work that he's done for me has been fine! I'm a General Contractor: and my (his) tile work and my floor work has been great! I recommend him all the time!"
We have a single mission: Complete Customer Satisfaction! We have consistently focused on the needs of our customers, providing personalized attention and a stress-free experience.\nYou will find us to be competitively priced with close attention to the details.\nOur reputation is based on service, safety, and quality, regardless of how large or small the job.\nWe look forward to building a lasting relationship and guarantee your satisfaction!\n
"I met Jill at our home and she took measurements and photos of our sons' room. We talked briefly about my ideas for the space. She provided several concept boards, for window treatments, furniture, and an overall "look" for the rooms. She also provided us with floor plans for each room. She brought paint colors, fabric selections, etc. Our first job with Jill was our sons' room. For the playroom, she had some pretty unique ideas that were right in line with the contemporary- but not too modern- look we wanted. She helped me with tips on doing some of the decorative painting myself, but also provided a few resources in case we wanted to hire the job out. She also helped me coordinate a subcontractor who handled a set of beautiful custom blinds. Jill tells me that in some cases she handles all the shopping, but that's part of the fun for me so she provided a list of links and stores for the items she chose. She gave a few choices for almost every item- budget and higher end. That allowed me to meet my budget while still getting some showstopper items, because we were able to save in other areas. Within a few weeks the room came together and got rave reviews after I posted the before and after photos on Facebook. And of course our visitors were amazed at the transformation. In the interim, we were redoing our guest bathroom on our own, and Jill was able to come into the project to help us choose tiles, wall colors, and vanity choices. A quick job that turned out really well considering the turn around time. A few months later we hired Jill again to rethink our living room and dining room. We were on a much more limited budget for both rooms but wanted to see what she could come up with considering some challenges in both the shape of the rooms and that I wanted to integrate some antique pieces we already owned. She came up with a brilliant look that blended our older pieces with a contemporary and clean look and we came in well under budget. Working with Jill was a lot of fun and we expect to continue to work with her to refine the look of our home. When I was considering hiring an interior designer I was worried about my low budget and lack of experience hiring someone to make these kind of choices for me. But it turned out to be the best decision we've ever made for our home because she allowed us to transform each area well under budget and much more quickly than we ever could have done on our own (well, we would have taken forever to make a decision on every item!). My favorite rooms in the house are the ones she's worked on with us. I just feel so happy that we found Jill Seidner."
leader in providing our customers with the highest quality service in an honest, efficient, and professional way. Our pledge is to create successful relationships with our customers, employees and community by building trust, treating every project with the utmost integrity and exceeding expectations. We look forward to working with you!\n
We are a locally owned and operated company that values honesty and integrity and treats your home as if it were our own. We offer a variety of stone and tile services that are customizable to each individual project. We specialize in ceramic, porcelain, and a variety of natural stone tile installation. We pride ourselves on the quality of our work as well as our commitment to outstanding results. We look forward to building lasting relationships and guarantee your satisfaction!
Yes. You can tile over tile if the old tile is in good shape, but this will also create a thicker floor. As a result, you may have to remove and readjust baseboards and other room trimmings and potentially even raise door heights to work with the higher floors. In most projects, it’s best to remove the old tile before installing a new tile floor.
The lifespan of bathroom tile can be 50 years or more, depending on proper installation and regular maintenance. A well-done tile job, whether it's a new installation or a retiling project, can last for many decades. To lengthen the life of your tile, it's best to have it installed by a professional and to perform regular maintenance. This includes routine cleaning, resealing, and regrouting as needed. With proper care, you can expect your tile to last 10 years or more before needing major repairs or retiling, especially in high-traffic areas where tiles can wear out more quickly.
DIY is possible for small projects. Professional services ensure precision and long-lasting results.
Tiling can be DIY with the right tools and skills, but challenges like ensuring evenness and appropriate adhesion often warrant professional handling.
Porcelain and ceramic tiles are made from clay, but porcelain tiles are fired in a kiln at a higher temperature. This makes them more durable, but it also means porcelain is more expensive than ceramic at $3 to $5 more per square foot.
Even with the higher price point, many people choose porcelain over ceramic because there are more color and design options.
The Columbus, KS homeowners’ guide to ceramic tile services
From average costs to expert advice, get all the answers you need to get your job done.
Whether it’s on your floor, walls, or shower, ceramic tile can add style to your space. So, how much does ceramic tile installation cost? Let’s break it down.
Tile varies dramatically in price, but there’s something for every budget. This guide will help you plan for tile installation costs, no matter the project.
Ceramic tile as a flooring option boasts a long list of advantages over other surfaces. However, there are also some key drawbacks worth considering. We’ve rounded up both the pros and the cons of ceramic tile into a helpful list.
You don’t always need a pro for ceramic tile installation. Follow these seven simple steps to transform the floor of any room in your home into the perfect space.
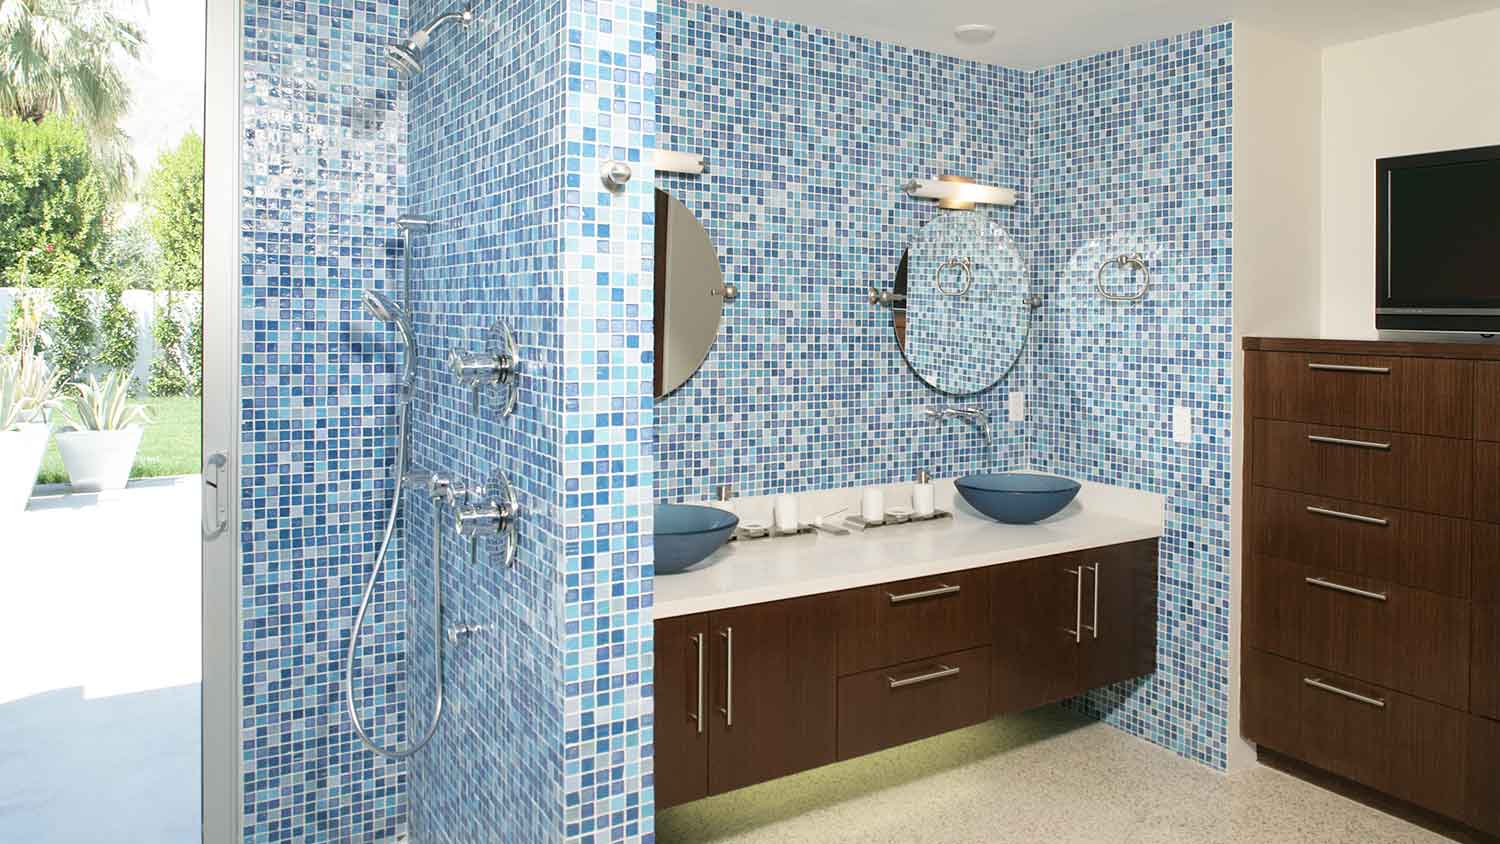
You can use mosaic tiles throughout your home, whether you’re interested in mosaic flooring or a mosaic tile shower. Keep reading to learn what is mosaic tile and more.
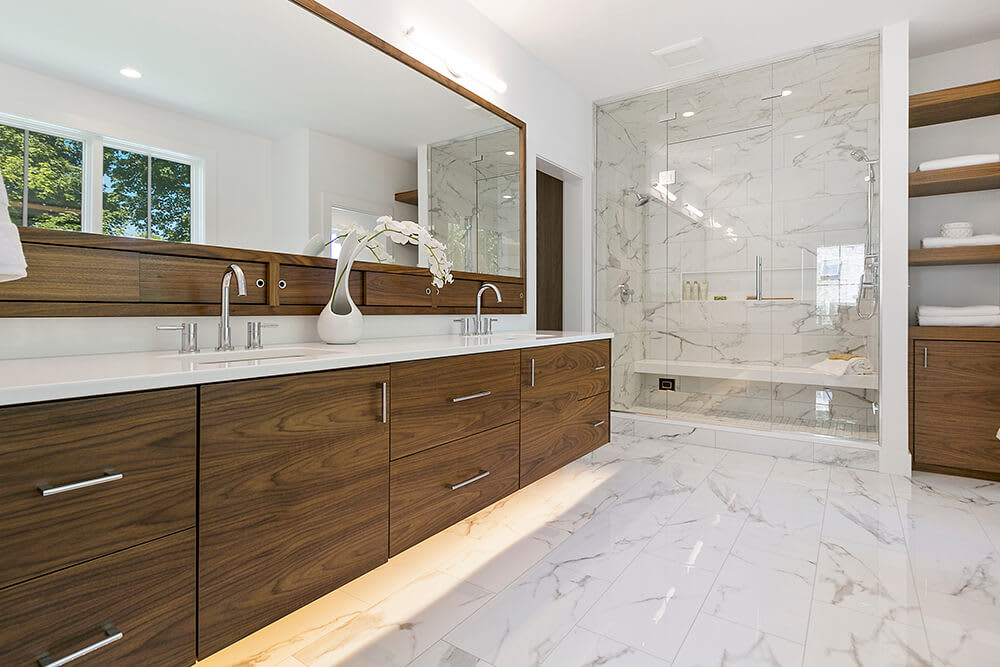
Looking for new bathroom tile to freshen up your space? Use this guide to find the best tile for your bathroom floor for appearance, longevity, and durability.