







Top-rated garbage disposal installation pros.

Get matched with top garbage disposal installation pros in Timnath, CO

Enter your zip and get matched with up to 5 pros

Need a pro for your garbage disposal repair project in Timnath, CO?

Select your specific project to find the pro for you.

TRUSTED BY TIMNATH, CO HOMEOWNERS

  • Average homeowner rating star icon4.5
    Average homeowner rating
  • Verified reviews icon2.2k+
    Verified garbage disposal installation services reviews

Find Garbage disposal installation pros in Timnath

Avatar for NoCo Drain Cleaning and Plumbing
NoCo Drain Cleaning and Plumbing
5.0(
9
)

Serving Timnath, CO and surrounding areas

In business since 2024

Free estimates

Emergency services offered

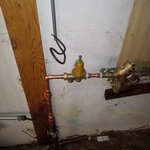
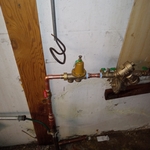
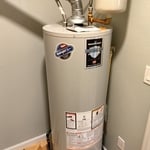
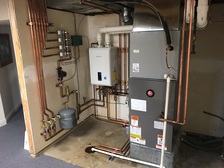
"The entire day went seamless. They arrived on time, were polite and professional, thoroughly answered all of my questions, did an excellent job with the installation of the water heater, thermal expansion tank, and moved/replaced the prv. They also did an excellent job of cleaning up the area after they were done. I would absolutely hire them again and recommend them to friends and family."
Additional Photos
Additional Photos
Additional Photos
Additional Photos
Additional Photos

+11

Recommended by100%of homeowners
NorthWoods Handyman
4.8(
25
)

Serving Timnath, CO and surrounding areas

In business since 2009

Free estimates

"After calling Ron he arrived quickly to give us an estimate. He removed the Trex decking to replace rotting 2x10's. After the work was professionally completed the Trex was reinstalled. They arrived promptly every morning and did the work quickly. The deck looks great and the final bill was less than the estimate. We will refer Ron to our neighbors and use him again if we need work done.
"
Recommended by91%of homeowners
Avatar for Omni Services
Omni Services
4.0(
104
)

Serving Timnath, CO and surrounding areas

In business since 2006

Free estimates

Credit card accepted

"The bonus room, above the garage, was the coldest place in the house in winter, and the hottest in summer.   Air was coming in through the trim/baseboard, and the sub-floor itself was very cold in winter.  The goal Omni Services (OS) and I agreed to was to provide a year-round comfortable space.  As a consumer, I wanted the room to be "air tight" but OS could not guarantee that.
In preparation for the bonus room work, I removed the trim, carpet and pad for later re-use, and cut out (as best I could) some agreed-on 4x8 and 4x12 sections of the existing drywall, so we could see what was going on inside the walls and ceiling.  The scope-of-work document had Omni Services (OS) removing the sub-floor as well, to check out the insulation beneath it, but ultimately OS didn't deem that necessary, as they found a different way to add insulation. [So in hindsight I removed the carpet and pad unnecessarily.]
OS determined:
  a. the ceiling insulation was wrong for the space (R30 was crammed in, R19 should have been used)
  b. the roof above the bonus room (2x8 boards between the ceiling and the roof) had insufficient  ventilation
  c. there was insufficient insulation in the garage attic (adjacent to the bonus room) that was a continuation of the roof above the bonus room
 
What OS did for the ceiling:
  a. removed the R30 from most of the ceiling
  b. installed "proper vent"  (a way for air to flow between the lower and upper parts of the roof) where the R30 had been
  c. replaced the R30 (that was removed) with R19
  d. added some exterior ventilation (around the gutters and in the garage attic) to allow more air into the "proper vent"
  NOTE:  I had a roofing company install ridge-cap ventilation above the bonus room; OS's work was pointless without that
 
What OS did for the garage attic adjacent to the bonus room:
  a. install foam board insulation over the sloping area (continuation of the bonus room roof, into the attic)
  b. spray in more insulation
What OS did for the sub-floor:
  a. accessed the underside of the sub-floor from either the garage attic or the limited space between the bonus room walls and the ceiling (which continued downward into the garage attic)
  b. sprayed in more insulation
THE BAD: Once the drywall was replaced, taped, etc., and before the trim was put back on, there was still significant airflow into the room, where the drywall met the sub-floor.  I had not expected this, nor had OS.  I "fixed" this by using a combination of low-expanding foam from a can, leftover fiberglass insulation, and drywall mud.  Air was also coming in from the drywall holes cut for the electrical boxes, but styrofoam covers fixed that.
What OS did for the main attic stairs (accessible from the bonus room):
  a. manufactured a cover using leftover foam board and other materials
  b. installed the cover above the pull-down attic stairs
  c.  sprayed in more insulation in the attic, in the area around the new cover
What OS did for the doors:
After I removed the trim from the French doors, OS replaced one of the doors, which had warped.  I painted the door, then OS reinstalled the trim.
BOTTOM LINE:  We do not yet know whether the bonus-room goal was met.   We won't know until we have a string of really hot days, and another string of really cold days.


"
Recommended by81%of homeowners
Avatar for CAAR PLUMBING LLC
CAAR PLUMBING LLC
5.0(
8
)

Serving Timnath, CO and surrounding areas

In business since 2024

Free estimates

Credit card accepted

"Extremely helpful, efficient, and had quick service! Great pricing for the work I needed done. Would hire again for future and definitely am going to recommend to my friends and family."
Recommended by100%of homeowners
Avatar for Buzz Bees Plumbing & Repair LLC
Buzz Bees Plumbing & Repair LLC
4.9(
10
)

Serving Timnath, CO and surrounding areas

In business since 2012

Free estimates

Credit card accepted

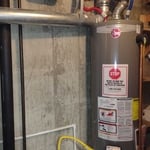
"My old water heater went out yesterday and of course leaked water all over. I shut it off and stopped the leaking. Called early this morning looking for someone to install a new one. Jim was actually sent over by another plumber who could not get to my job right away. Jim showed up, looked at the job, we talked about the options and he gave me a bid. Let to get the new water heater. We back in about thirty minutes. He had to make some changes to the water and gas lines. Added shut offs and installed new one. Took the time to explain operation and maintenance of the new one. Cleaned up the work site. Removed all debris and old water heater. I was impressed with his work and his attitude.
"
Photo 1
Recommended by90%of homeowners

Avatar for Tail End Fencing & Maintenance
Tail End Fencing & Maintenance
4.5(
25
)

Serving Timnath, CO and surrounding areas

In business since 2015

Free estimates

Emergency services offered

"Over all Tail end fencing and maintenance was VERY professional. They were on time, studious, and very fair in their pricing. I would hire them again in a heart beat, and just found out that they do snow removal, so I will be calling them next snow storm to have them start that as well."
Additional Photos
Additional Photos
Additional Photos
Additional Photos
Additional Photos

+8

Recommended by95%of homeowners

Showing 1-10 of 41
Install Garbage Disposal questions, answered by experts

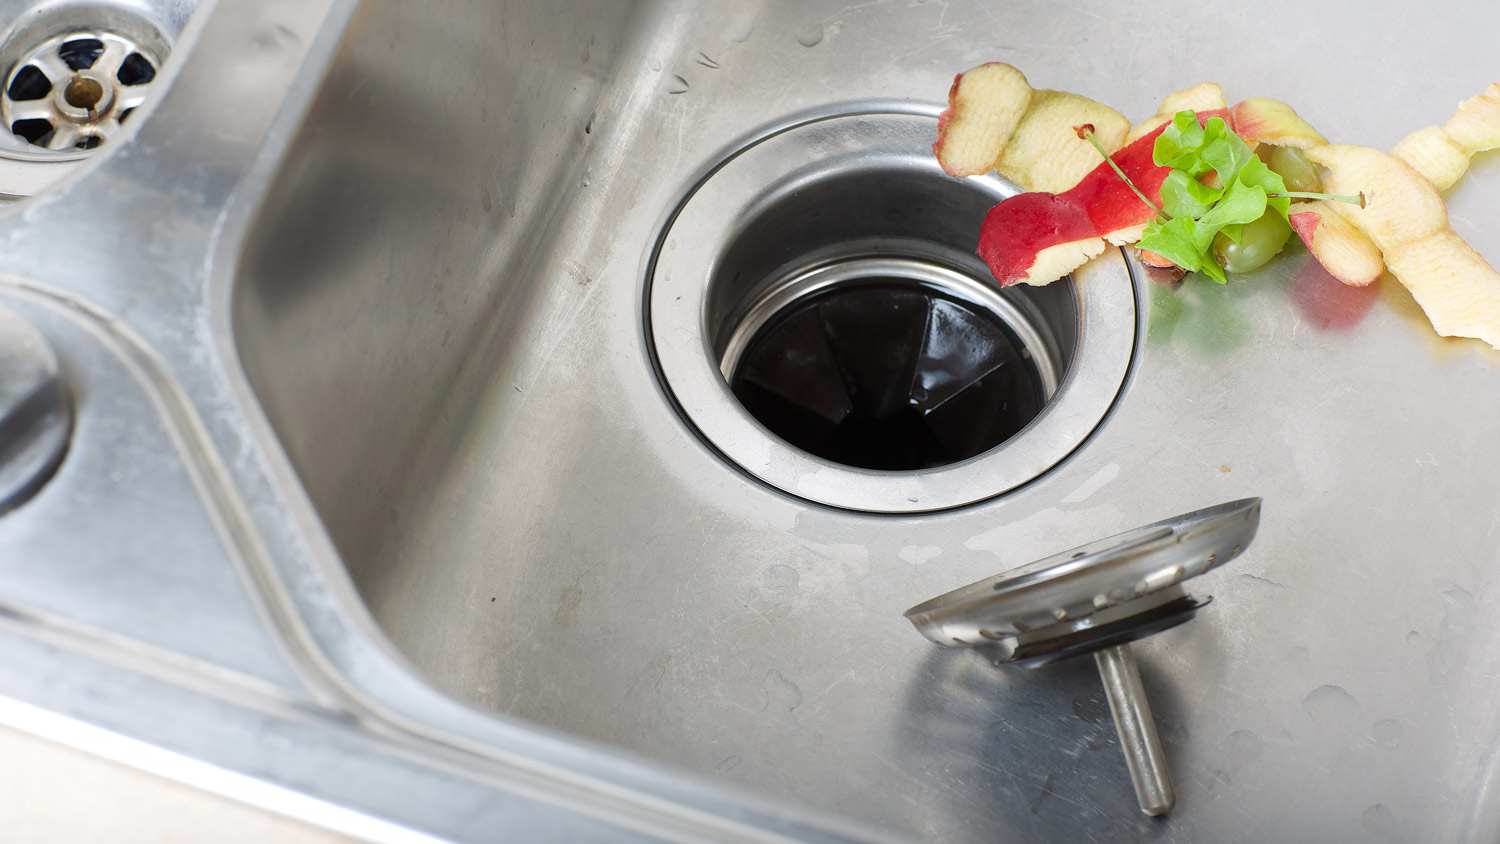
Replacing a garbage disposal costs anywhere from $150 to $950, but the average cost is somewhere around $550. There are two types of garbage disposal units, and continuous feed disposals tend to cost more than batch feed disposals. Going for an aluminum garbage disposal is also significantly cheaper than choosing a stainless steel garbage disposal. You'll also need to factor in the horsepower of the motor, labor, and the removal and disposal of your old unit.

The main issue with garbage disposals is clogging. This can mean a clogging of the pipes that expel the food along with water, or a clogging of the mechanical parts themselves. The problem lies in the solution because you can’t easily see clogs if they’re inside the system, and reaching in to dislodge stuck items is a risky proposal. Call a pro and ask what they would do, but if you can’t see the clog easily, and running the unit won’t free it, you need to let a professional handle the fix. 

As with many appliances, proper maintenance is key to maximizing your garbage disposal’s life span. If everyone in your household is on board with proper care and maintenance, like running water while operating the disposal, you should get plenty of years out of your unit. Avoid putting the wrong food items down the disposal, including pasta, rice, bread, and more.

Never put glass in the garbage disposal. It can damage your disposal or eject shards of glass out of the disposal and cause injury. If you get broken glass in your garbage disposal, turn it off and cut the power from the breaker, use a tool like pliers or tongs to remove the glass, and use a wet-dry vacuum to remove the remaining glass pieces. If you can’t access the disposal safely, call a garbage disposal repair pro.
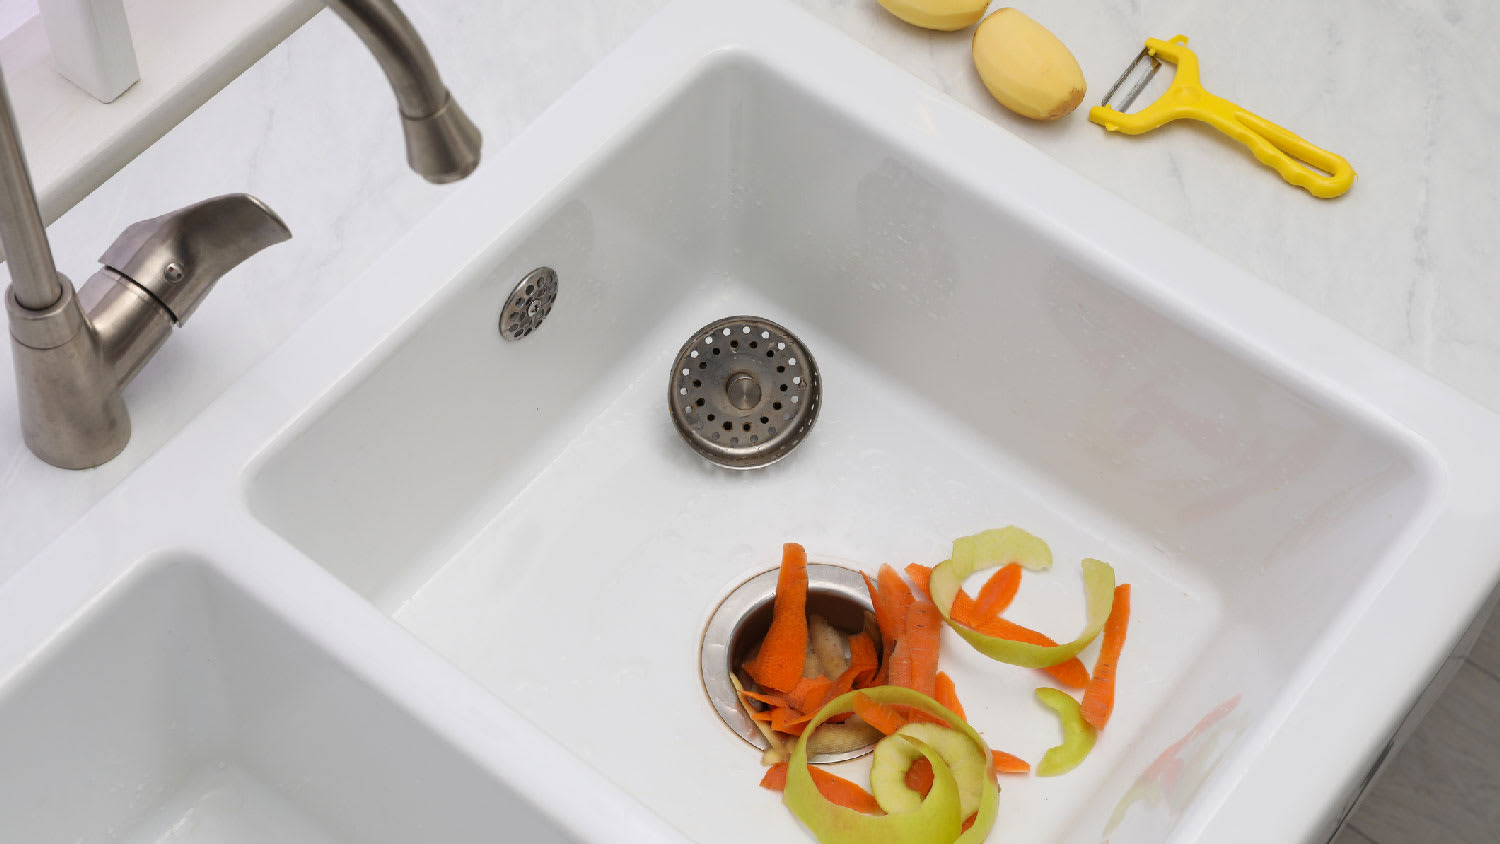
While the drain connection for a garbage disposal is nearly universal and fits standard sink drain holes of 3 1/2 to 4 inches, the size of the disposal unit itself is not. You must have enough space in the cabinet underneath your sink to accommodate the disposal's housing. A larger model may not fit in a compact cabinet or if the existing plumbing is arranged in an unusual way. Before buying a new garbage disposal, measure the available space under your sink. If you are replacing an old unit, it's often easiest to choose a new model of a similar size.

The Timnath, CO homeowners’ guide to garbage disposal installation services

From average costs to expert advice, get all the answers you need to get your job done.