







"Install was easy. Up front cost was pretty low with Angie's List coupon. Monthly price is a little high compared to competing companies. Response time with alarms is excellent. I was advised to use glass break alarms within 10 ft of my first floor windows, which we installed correctly. I asked prior to installation if having one in the kitchen would cause false alarms due to dishes clanging, etc. I was told the glass break alarms are configured to a precise frequency that alarms with breaking glass. So, not a "no", but not really an answer. Well, every time we cook dinner, wash dishes or empty the dish washer, the kitchen glass break alarm gives a warning which would sound the alarm if it was set. This has caused us a number of false alarms while we've been away due to shifting bowls or plates in our drying rack. For the first several we've had to pay our police department $120 to check the house, and I was only notified after the first alarm that there was a cheaper option for a security company to drive by to check for a break in."
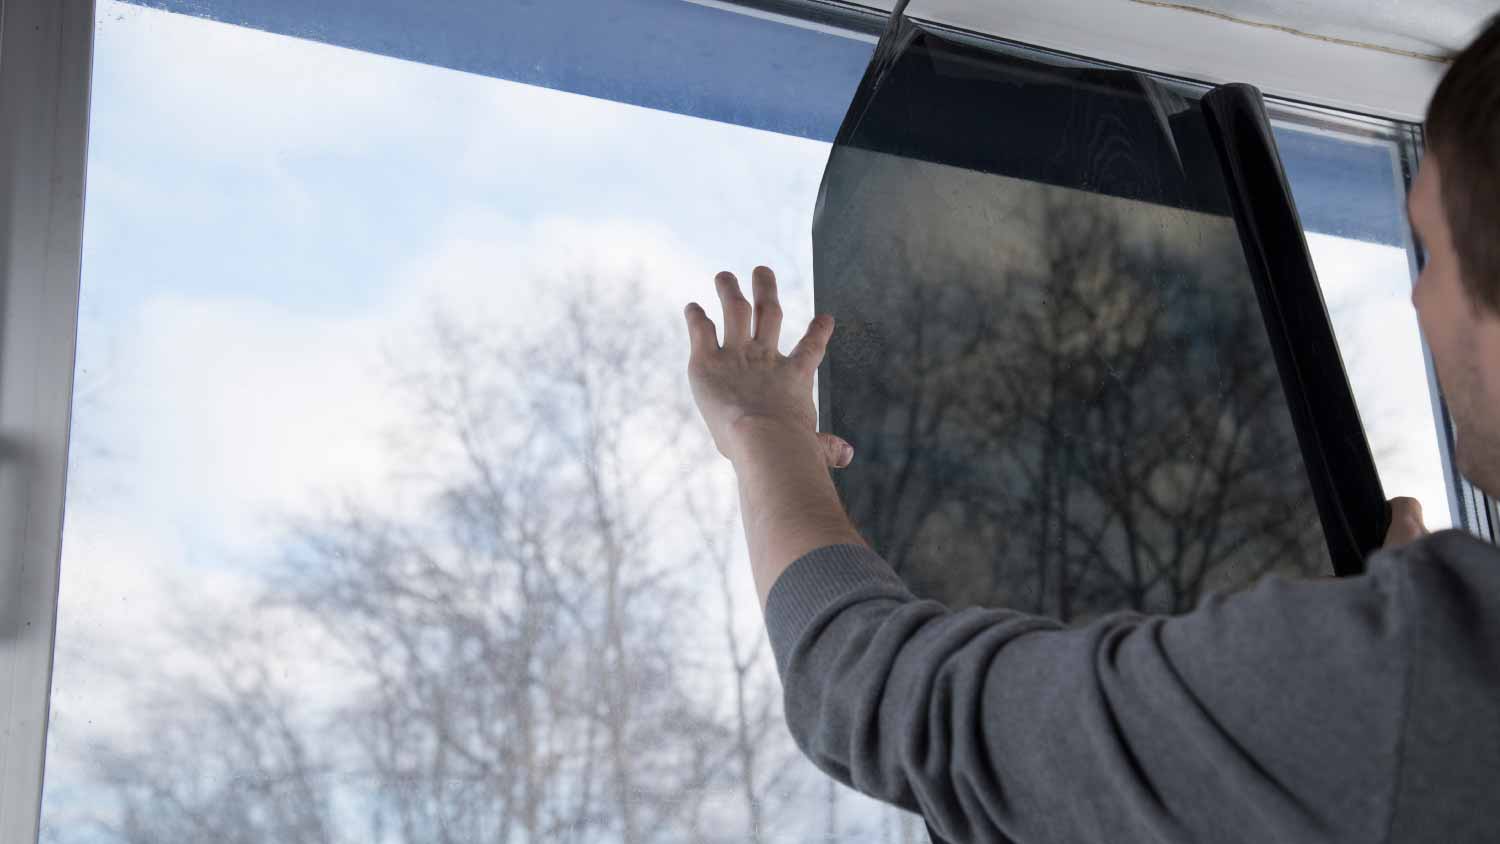
Applying window security film yourself is possible, but we don’t recommend it. This task is simple in theory, but getting the product to sit on your windows evenly and without bubbles underneath is challenging for DIYers who lack the necessary experience and tools. You might save money on labor by applying it yourself, but you might also end up with a film that doesn’t look appealing, prompting you to start over and spend the money on a professional installation anyway. Plus, most window film manufacturers will void your warranty if you install the product yourself.
The most popular treatment for a skylight is skylight shades. There are five primary types: manual, motorized, blackout, cellular//honeycomb, and Venetian. Motorized skylight shades are the most convenient, especially for skylights that are higher up, but manual shades are the most cost-effective treatments. Cellular/honeycomb shades are a perfect option for anyone who wants energy efficiency and an attractive look.
The most popular way to remove home window tint is by using a hairdryer. Most people already have one in their home, but if you don’t, you can buy one for as little as $15. All you need to do is turn the hairdryer to its hottest and highest setting and run it over the window tint for a few minutes. Then, you can easily peel it away. You may need some goo remover for any leftover adhesive, but this DIY could be free for many people.
The lifespan of window tinting depends on several factors, but a high-quality, professionally applied tint can last anywhere from 5 to 25 years, with premium tints lasting at least 15 to 20 years. Key factors influencing longevity include the quality of the film, the professionalism of the installation, and the type of window. Some companies offer lifetime warranties, while others may only provide a one-year warranty or none at all, so it's wise to verify this with your service provider. To prolong the film's life, clean it gently with a microfiber towel and mild cleaning solutions. Avoid harsh, abrasive, alcohol-based, or ammonia-based cleaners, as well as sharp tools or scrubbers, which can damage the surface.
Yes, you can remove window tint from house windows. You can either use heat to loosen the film before peeling or scrape it away with a blade. You’ll also use a solution to wipe away any adhesive that still clings to the window.
The Portola, CA homeowners’ guide to window tinting services
From average costs to expert advice, get all the answers you need to get your job done.
Can I tint my house windows? Home window tinting is a small upgrade that can yield major benefits. Here’s everything you need to know before taking the plunge.