
Restoring water damage can be a complicated process. Use these 12 water damage restoration tips to do the job right.
Water damage is no match for your baseboard replacing skills

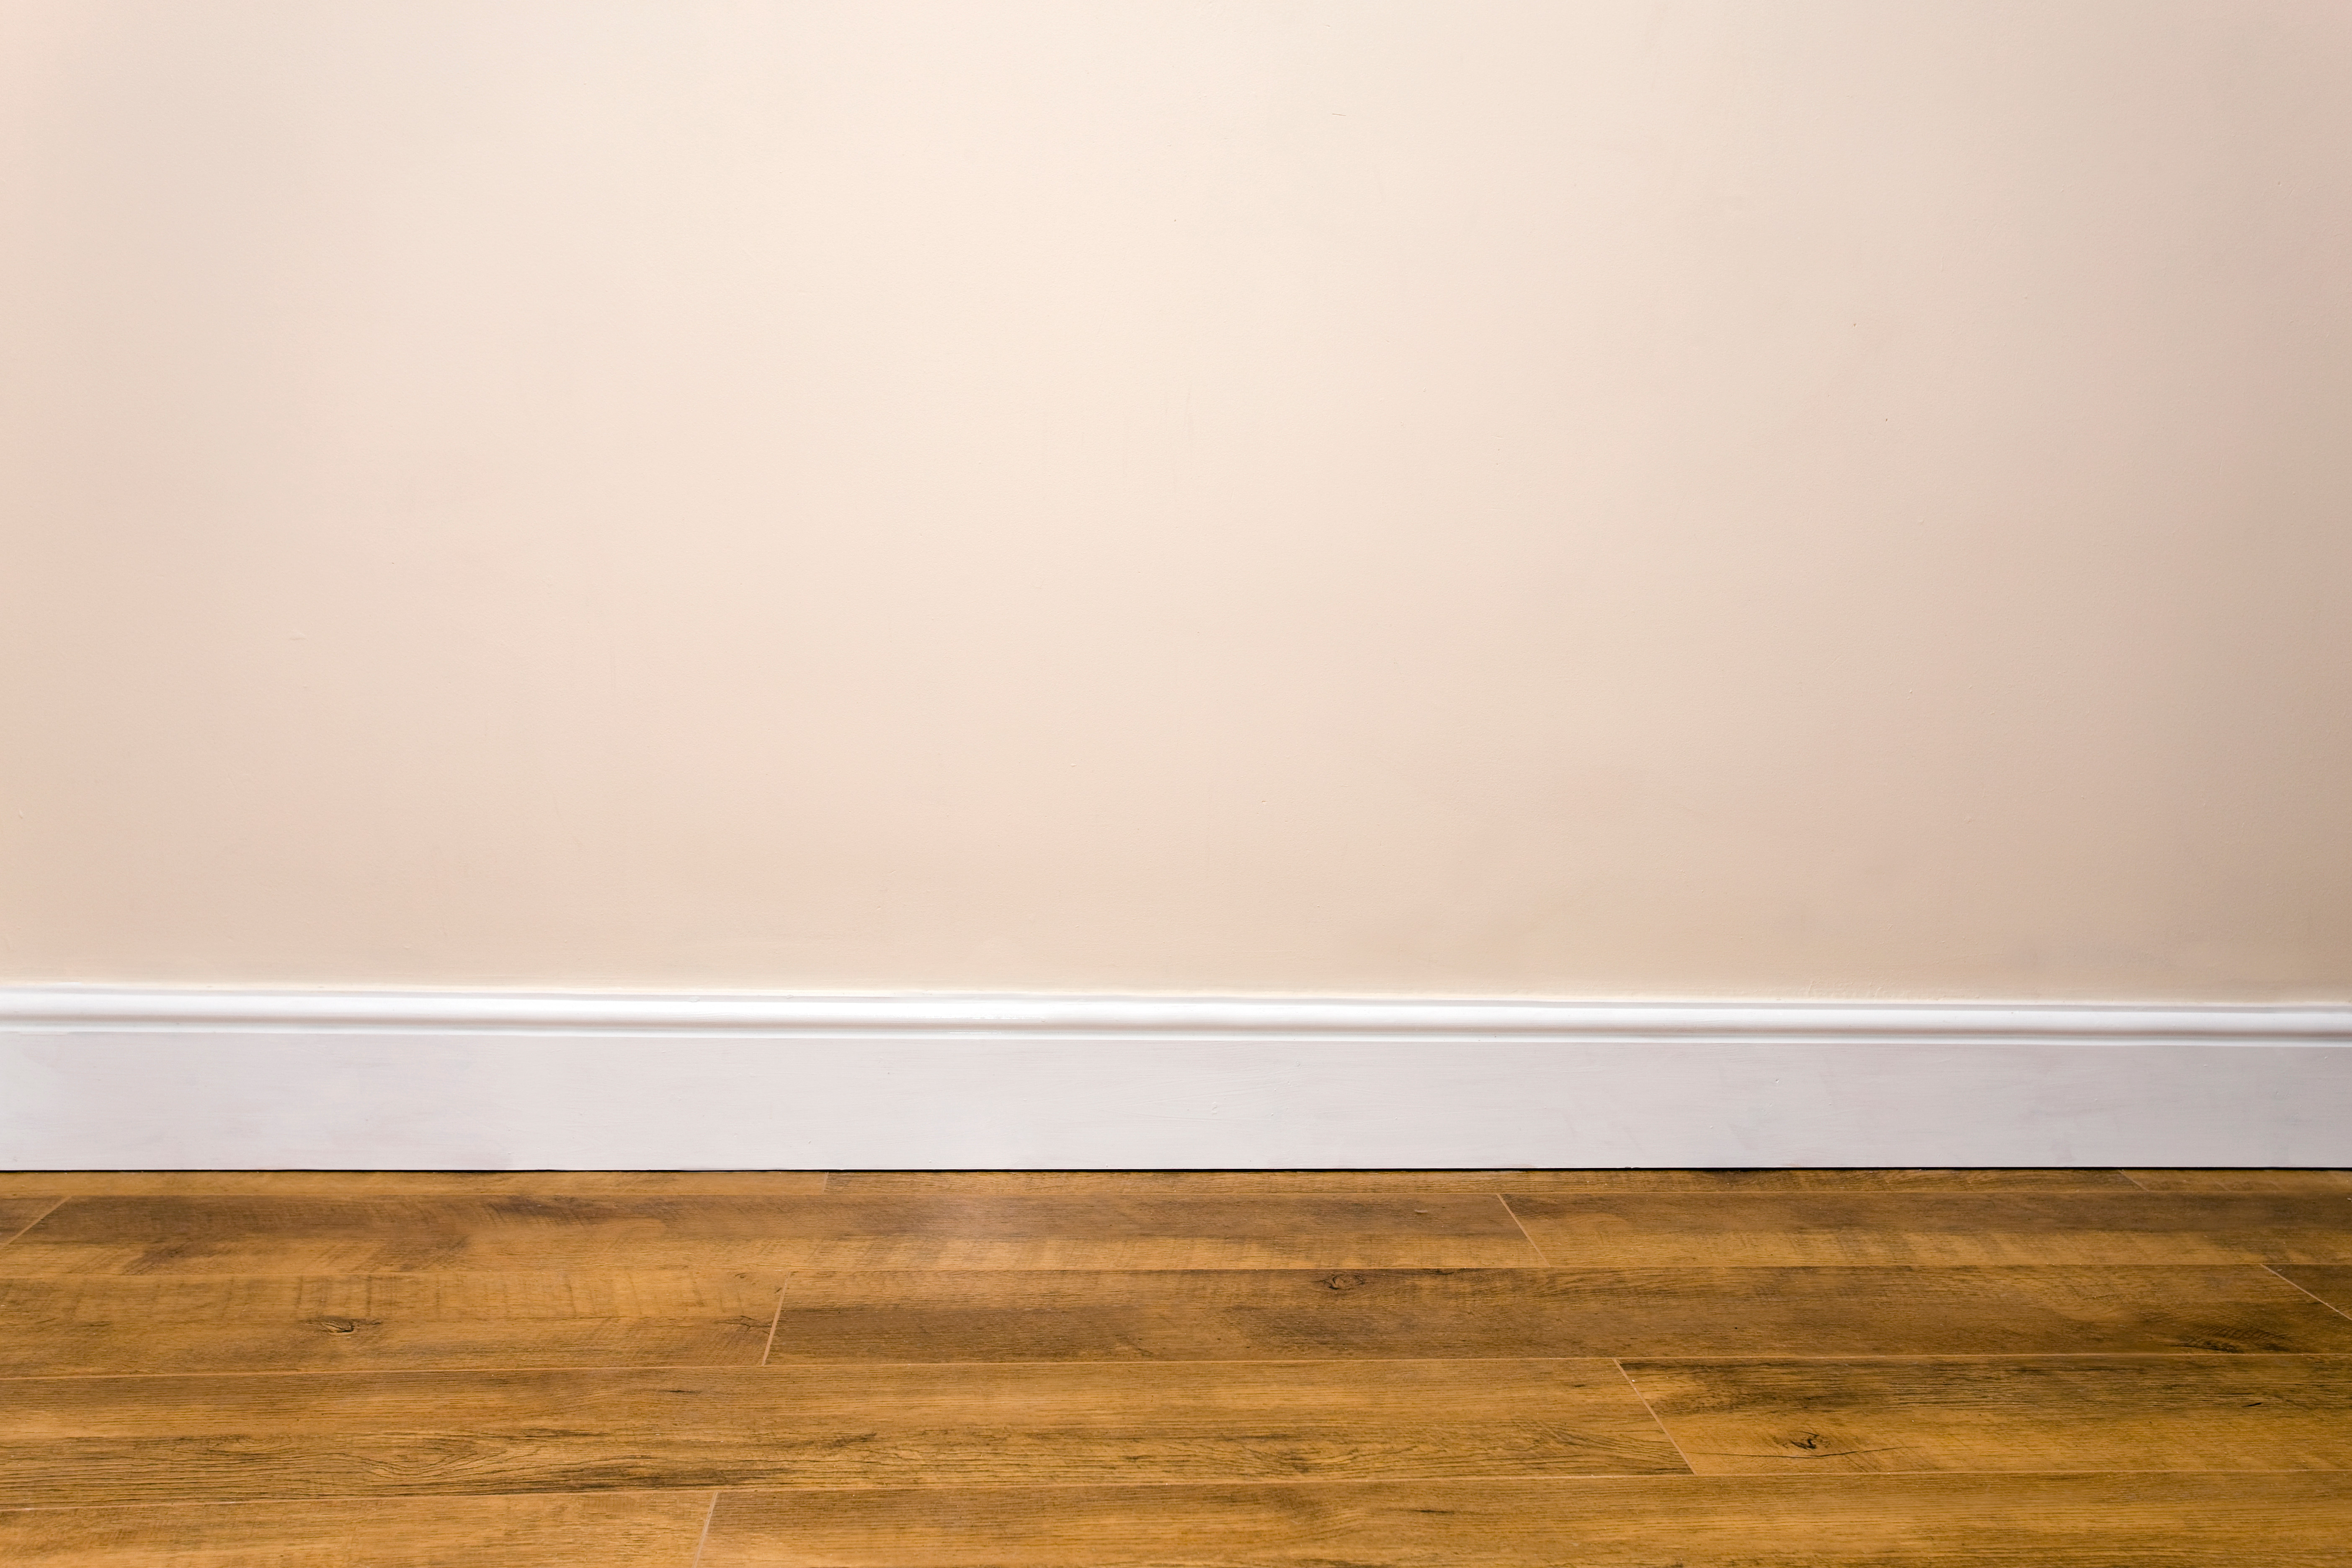
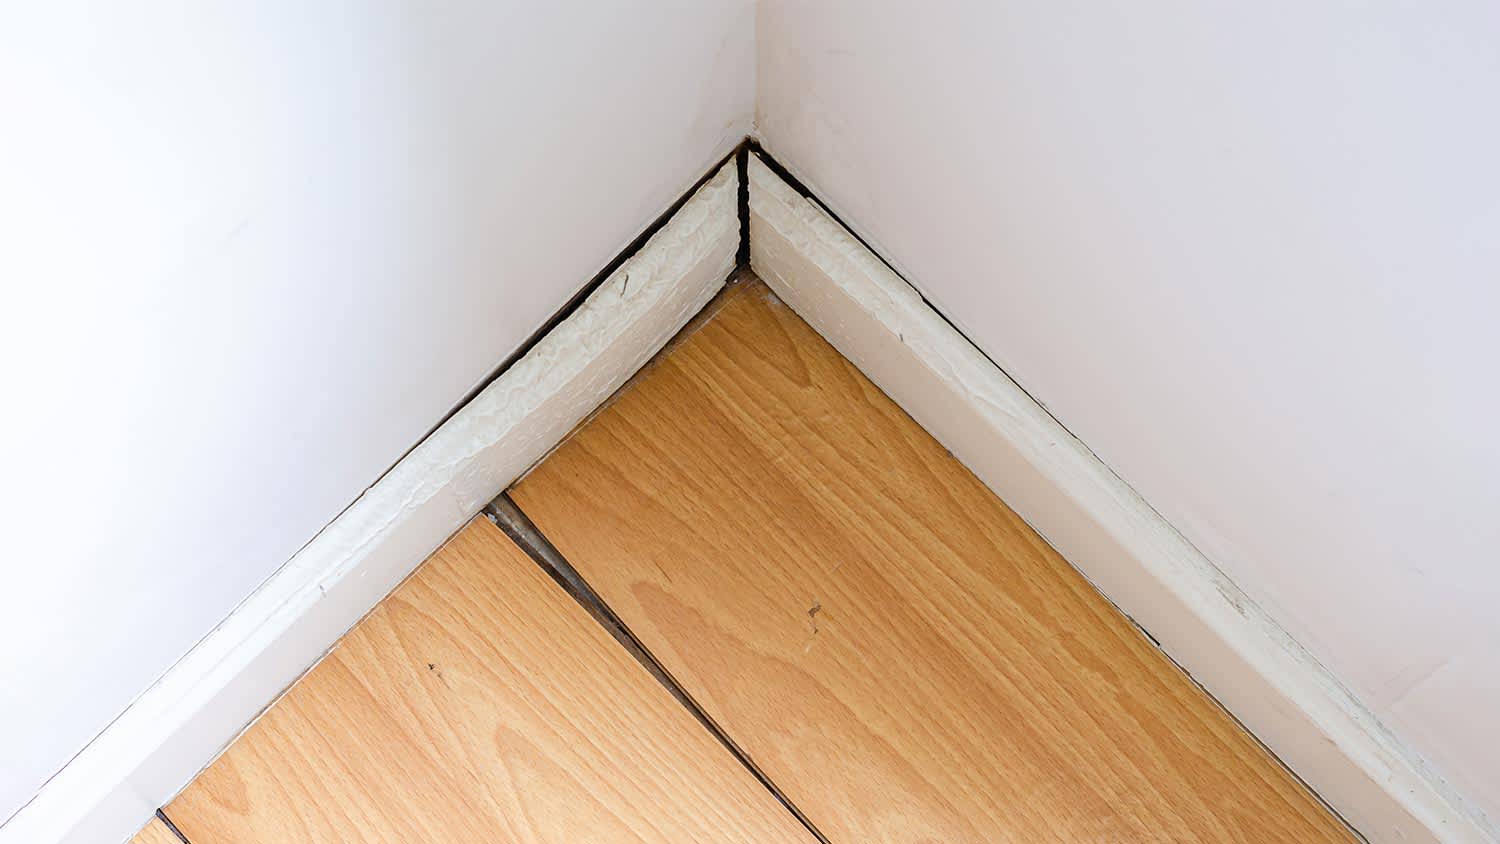
After minor flooding in your home, you may be left with warped, swollen, discolored, or deteriorating water-damaged baseboards. Fortunately, replacing them is a straightforward process you can tackle as a DIY project in an afternoon. Learn how to fix water-damaged baseboards with our step-by-step guide.
When water damage is discovered, turn off the power and disconnect all electronic devices from any affected area.


First, you’ll need to remove the damaged baseboard. Use a utility knife to cut through the old caulk between the baseboard and wall. Then, using a putty knife, gently pry the old baseboard away from the wall. Most baseboards are affixed to the wall using finish nails, but some may be glued or adhered, so use caution to avoid damaging the wall.
Next, ensure the wall behind the damaged baseboard is dry and undamaged. If any moisture remains, allow the area to fully dry before moving to the next step. Mold can grow quickly—it only takes one to two days for mold to start to grow, so you want to avoid trapping moisture behind the new baseboard. If the wall behind the baseboard is damaged, repair the water-damaged wall plaster or drywall before installing the new baseboard.
Once you’re sure the wall is fully dry, measure and cut a new length of baseboard. Measure with a measuring tape several times before making your cuts with a backsaw or miter saw. Don’t forget to account for any angles that may be cut into baseboard corners.
Place several small dots of caulk along the back of the baseboard. Drill pilot holes through the baseboard, and then use finish nails and a hammer to attach the baseboard to the wall. Caulk corner seams are where the baseboard meets the wall with paintable caulk, and the caulk is let dry according to the manufacturer’s instructions.
Once the caulk is dry, prime and paint the baseboard to match the existing baseboards. Allow for drying time between coats for the best finish.
Avoid these mistakes homeowners make when fixing water-damaged baseboards:
Not finding and fixing the source of the water damage
Ignoring signs of mold growth
Not allowing the wall to fully dry before replacing baseboards
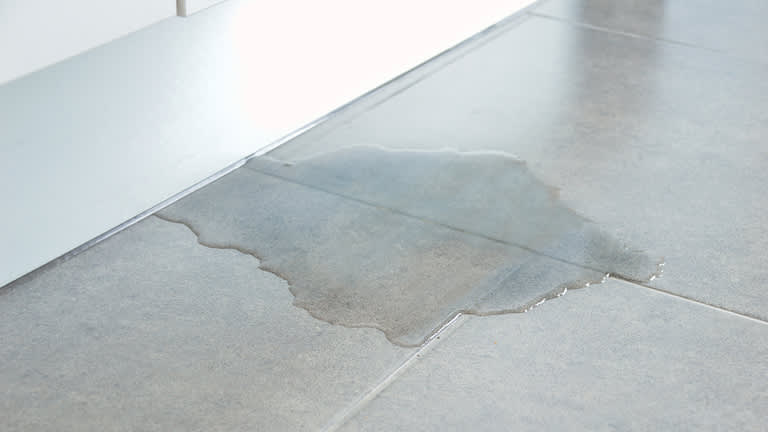
Flooring is the surface most commonly affected by water damage, accounting for about 25% of repair visits, followed closely by walls and windows. Since baseboards are the meeting point between your floor and walls, they’re especially susceptible to water issues. Ceilings and roofs are also typical locations to find water damage.
If you’ve had significant flooding or notice signs of water damage to your floors, walls, or ceilings, contact a local water damage restoration pro to return your home to its original condition. Hiring a water damage restoration company will ensure all damage is identified and repaired and can prevent future problems caused by water damage. Water damage restoration costs will depend on the severity of the damage, the size of the damaged area, and what materials and items need to be repaired or replaced.
Positive experience. As previously stated, the replacement/repair could not be completed (no fault of the plumbing tech) b/c misinformation was rec?d by property management maintenance. Thanks to the plumbing tech for your efforts. Appreciate you!
 The Waterworks
Carpet repair done well. Scheduling was easy. Showed up on time.
As usual with ECO, tech Jordan was outstanding, very professional, very knowledgeable, and very thorough with repairs made to tankless water heaters. Very highly recommend ECO!!!
 Eco Plumbers, Electricians, and HVAC Technicians
I would recommend this company to anyone! He showed up on time, was friendly, completed a very difficult repair on our dryer vent cover, was responsive, and pricing was extremely fair and competitive. I would have him back to do any of our repairs or cleanings without hesitation!
Everything from initial contact to completion was absolutely top notch. We contacted the business during off hours to leave a message, and the owner still reached out to feel out the issue within minutes. We were scheduled and repaired within 48 hours. I cannot say enough about the...
 Supreme brick & chimney
Ace Fireplace Services came to the rescue for my chimney repair. They were quick to pinpoint the issue and worked their magic to fix it. My chimney is now in excellent shape, and I'm a satisfied customer.
 Ace Fireplace Services
On Sunday 2/26 I requested quotes via Angi from 4 refrigerator repair businesses. Northwest Appliance responded to me Monday morning (2/27) and my refrigerator was repaired by noon the same day. Great communication, they did everything they said they would. The technician had the parts on...
When we had the winter freeze, I called Quantum Waterworks Waterline & Drain Cleaning Services and within 1 hour I received an e-mail and he sent someone out the next day and he was on time, he was nice and did the job quickly and cleaned up after himself. We had a leak in our kitchen from...
On time, clean and finished fast. Windows seem sturdy and the finish is good. Caulking was done with no smudges. Would recommend.
Did a great job replacing the ice maker and water regulator on my refrigerator. He was quick and thorough, very friendly and professional. If I needed a heart transplant I'd want him to do it!!!
From average costs to expert advice, get all the answers you need to get your job done.
Restoring water damage can be a complicated process. Use these 12 water damage restoration tips to do the job right.
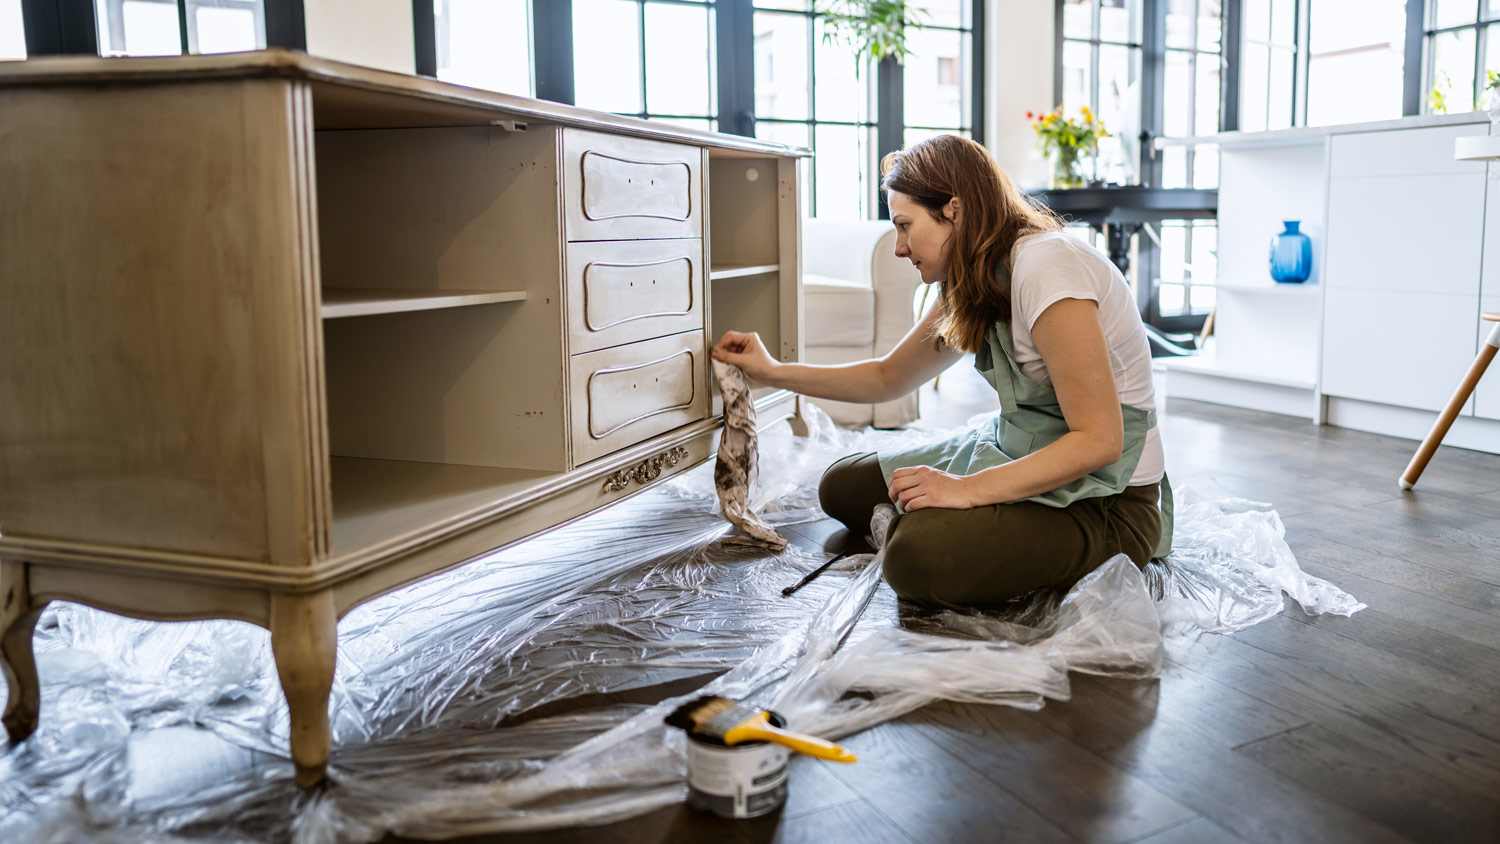
Follow this simple guide to fix water-damaged wood furniture. You don’t always have to buy new ones.
Most homeowners don’t know how to deal with water damage. Use this guide to take the proper steps to minimize damage and keep your family and home safe.
Baseboards see a lot of traffic and are susceptible to dents, dings, and water damage. Learn how to repair damaged baseboards to keep your trim looking good as new.
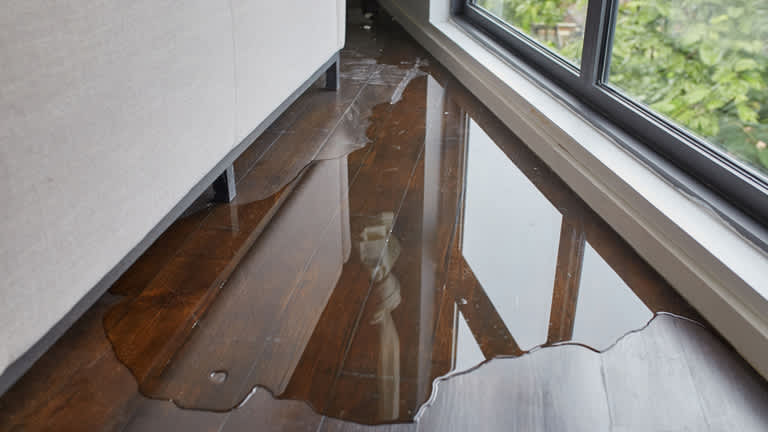
Water-damaged flooring is a headache, but signs of water damage under the floor can spell disaster. Learn how to identify an issue before it gets out of hand.
Worried about water-damaged flooring? Learn the signs of water damage, how to clean it up, and what to do if cleaning doesn’t work.