

When your window AC isn’t cutting it, but central AC is too expensive, installing a new ductless mini-split AC may be the cooling solution you’re looking for. Find out what a mini-split costs and how to hire the right pros to get the job done.
Cool dreams start with having a plan for every breezy step

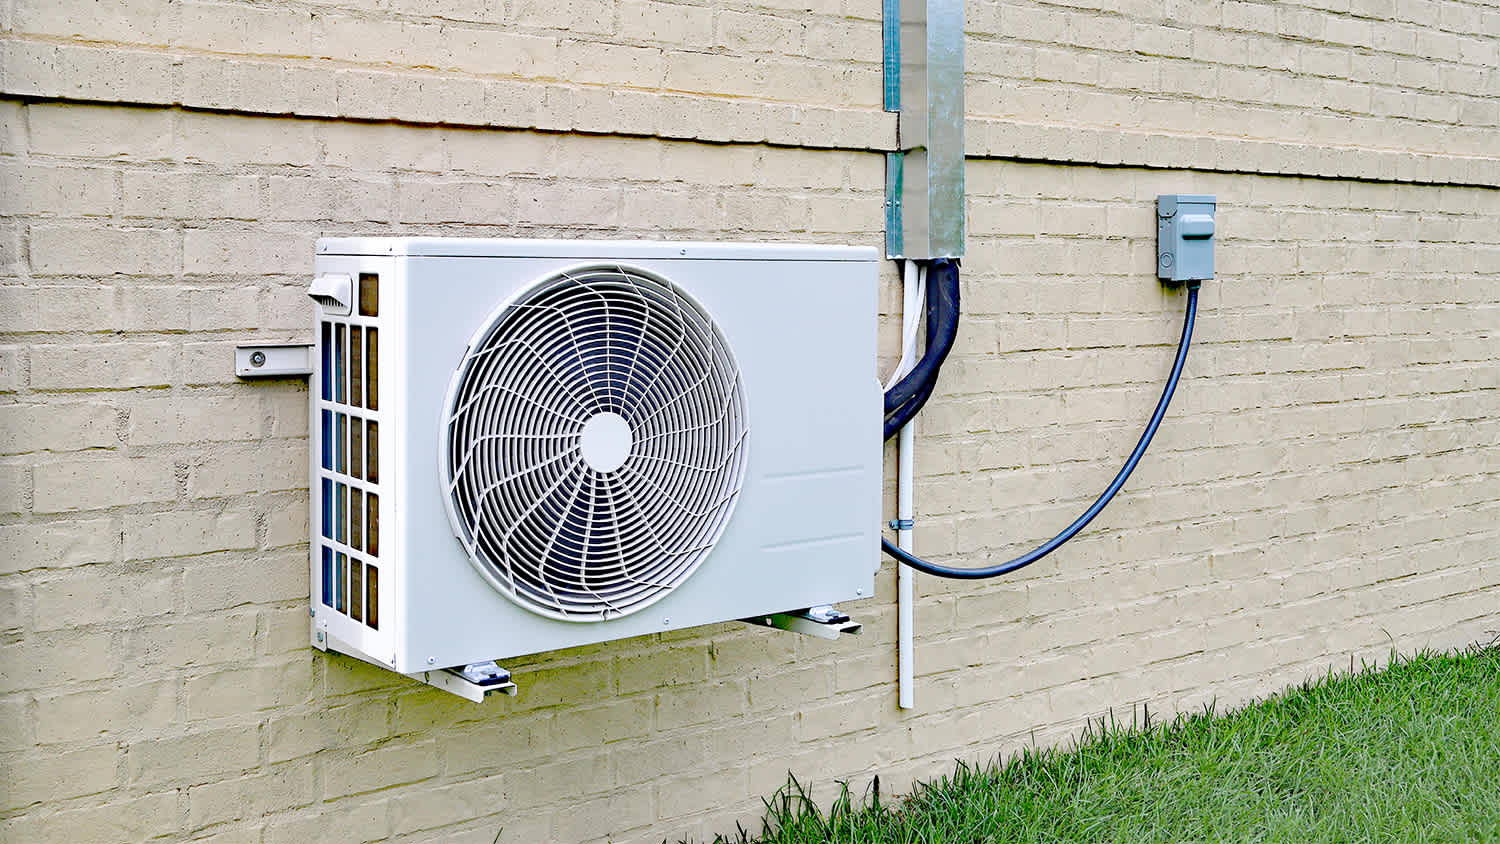
Split AC fitting involves mounting the indoor unit at least six feet high on an exterior wall, ensuring proper clearance for airflow around your system.
Professional installation costs range from $2,000 to $14,500, with the national average around $3,000 for a basic single-zone system in your home.
Your HVAC installation checklist should include measuring room size to match BTU capacity, checking electrical panel capacity, and planning drainage with a downward condensate line path.
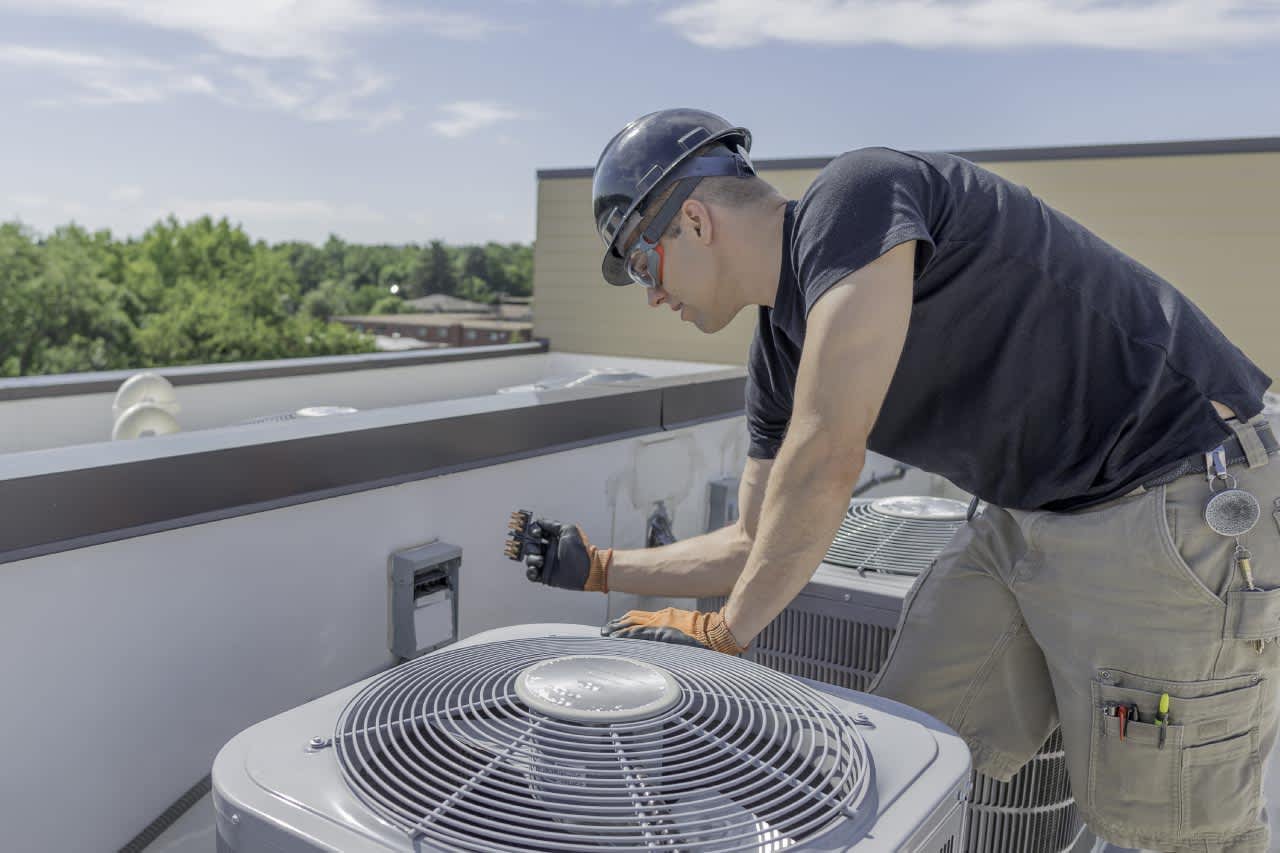
Hiring a local HVAC company provides confidence that refrigerant lines are properly vacuumed, wiring meets code, and your warranty stays valid through professional installation.
Upgrading your comfort with a split AC is a cool move, but it requires more than just grabbing a ladder and hoping for the best. Our split AC installation checklist breaks down what can feel like a ginormous project into simplified steps. From stocking your toolbox to flipping the power switch, you'll know exactly what to prep for, what to pick up at the store, and what your pro will tackle on installation day, so you can finally chill.

Let's face it, nothing kills your momentum like realizing you have to go to the hardware store mid-installation. Before starting your project, ensure you have the right tools on hand:
Drill and bits
Level
Stud finder
Pipe cutter
Vacuum pump
Torque wrench
Electrical tape
Wire strippers
Sealing foam or putty
Measuring tape
Safety glasses and gloves
Sturdy ladder
Each part of a split AC has a job. Understanding what they are and what they do is extremely important for DIY installations. If you’re not sure how it works, hire a pro instead.
Indoor air handler circulates cool air
Outdoor condenser houses the compressor and coil
Refrigerant lines move coolant between units
Drain hose carries condensation outside
Electrical cable links indoor and outdoor power
Mounting plate secures unit to wall studs
Line set cover protects tubing and wiring
Remote or thermostat controls the temperature
Ensure that the unit you buy is a good match for your needs and your abode:
Compare single-zone vs. multi-zone systems based on room count
Review energy efficiency ratings (SEER) to save long-term costs
Match voltage requirements with your household power supply
Check the included line length to see if you’ll need extensions
Confirm warranty coverage for both parts and the compressor
Review noise ratings for quiet operation in bedrooms or offices
Verify heating capability if you want year-round comfort
For those wondering how to install a mini-split system, the following will help you plan for a successful installation that works best for your home.
Measure room size to match BTU capacity with square footage
Check the electrical panel to confirm it can handle the added load
Plan drainage with a downward path for the condensate line
Consider sun exposure—south-facing rooms heat faster
Note ceiling height—tall spaces need extra cooling
Evaluate insulation—drafty rooms need more cooling power
Review furniture layout to keep airflow clear and unobstructed
Where you place the indoor and outdoor units determines both performance and longevity. Use this list to plan the placement:
Mount the indoor unit at least 6 feet above the floor
Leave clearance of 6–12 inches on sides and top
Avoid heat sources like ovens or direct sunlight
Keep airflow clear of shelves, curtains, or furniture
Choose the exterior wall for easier line routing
Place the outdoor unit with 12 inches of side clearance
Raise the condenser off the ground to prevent water damage
Position the condenser away from the bedrooms for less noise
We don’t recommend DIYing this part. Here’s how the pros install a split AC unit:
Attach the plate to the wall studs
Drill hole with downward slope for lines
Feed tubing, drain, and wires through the opening
Connect copper lines with flare fittings
Seal opening with foam or putty
Mount the indoor unit and check the level
Position the condenser on the pad or bracket
Connect lines and insulate joints
Wire connections per manufacturer diagram
Vacuum lines to remove air and moisture
Release refrigerant and check for leaks
Power on and test the cooling cycle

Professional installation isn't cheap, but it spares homeowners a significant headache. Across the country, mini-split AC costs hover between $2,000 and $14,500.
The wide range is determined by the number of zones you want to cool. A single room with one air handler falls at the lower end, while a multi-zone system with four or five units can quickly climb toward the top. The national average is around $3,000, covering a basic, single-zone system installed by a licensed contractor.
Factors that can raise your total include:
Running new electrical circuits from your panel
Building supports or concrete pads for outdoor units
Handling tricky installations in attics or multi-story homes
For a seasoned DIYer with solid contracting skills, undertaking the project yourself could save a substantial amount of money. Your main costs are the unit, tools, and supplies. However, there is a tradeoff: You'll spend a weekend sweating through the installation, and mistakes can be costly if refrigerant leaks or electrical issues arise.
Hiring a local HVAC specialist costs more up front, but it will boost your confidence knowing that the job's done right. They handle permits, properly vacuum the lines, and ensure safe wiring. Plus, most manufacturers require pro installation to maintain the warranty's validity. While DIY might save money on installation day, hiring a professional pays off in the long run with system lifespan and reliability.
I normally do not leave reviews, but my experience with Worthington Air was extremely frustrating and disappointing. About 30 days ago, I had a consultation done for an HVAC replacement and was quoted approximately $15,079. Based on that quote, I applied for financing through their company...
Great company! Price was competitive, technician showed up on time and completed the job (exterior electric Radon fan replacement) quickly. Would hire them again.
Raven and crew does absolutely fantastic job. They are very professional if any concerns were to occur with any of her work she always took responsibility and finished out with a great job. I have worked with her business for a year and have always been satisfied. Very trusted business and...
I would recommend this company to anyone! He showed up on time, was friendly, completed a very difficult repair on our dryer vent cover, was responsive, and pricing was extremely fair and competitive. I would have him back to do any of our repairs or cleanings without hesitation!
Ace Fireplace Services' chimney sweep service is truly exceptional. They used advanced technology to ensure a thorough cleaning process, and my chimney has never looked better. I highly recommend their services.
 Ace Fireplace Services
The technician was very professional and friendly. He answered all my questions and was very thorough. He left the fireplace area very clean . He inspected from the roof and advised me as to other work that might need to be done. There was no pressure there. I was very satisfied with the...
 Supreme brick & chimney
Excellent experience with hiring Tether House to Mount our 77’ Samsung TV in our bedroom. Fast, friendly, and knowledgeable. Highly recommend.
On time, clean and finished fast. Windows seem sturdy and the finish is good. Caulking was done with no smudges. Would recommend.
Great job...edging and pre clean up went well with a great job with seal coat. Friendly, efficient and professional.
 All Star Paving and Sealing
Good workers and they do a good job.
From average costs to expert advice, get all the answers you need to get your job done.
When your window AC isn’t cutting it, but central AC is too expensive, installing a new ductless mini-split AC may be the cooling solution you’re looking for. Find out what a mini-split costs and how to hire the right pros to get the job done.
Did your HVAC pro recently tell you that you may need a new disconnect? If so, start budgeting for the cost to install an AC disconnect here.
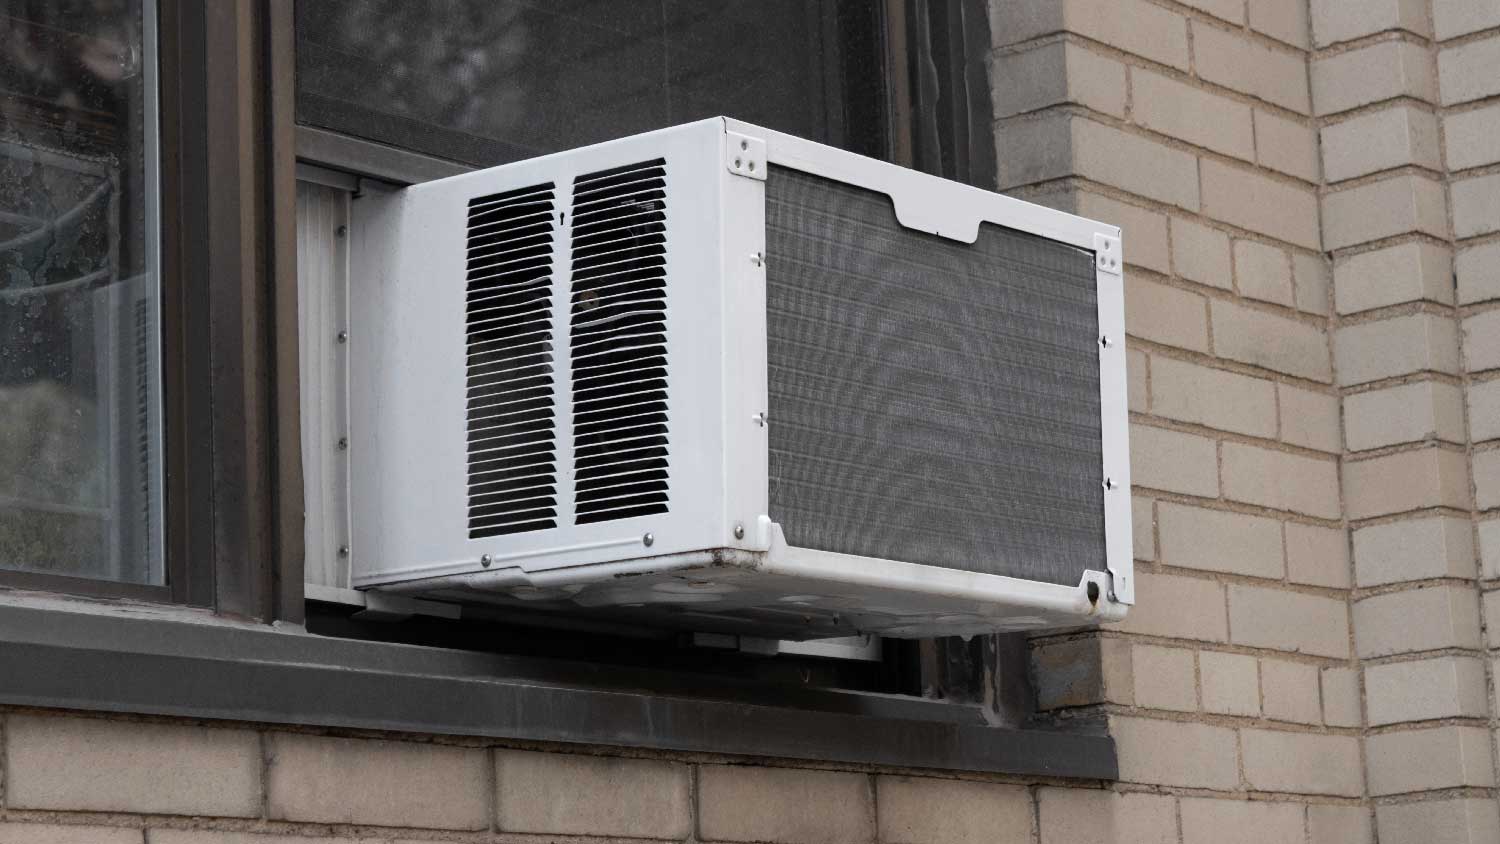
Discover the true window AC unit installation cost to learn about labor, permits, and ways to save on your window AC project.

Learn the difference between mini split AC vs. central air. For example, central air has air ducts, but a ductless mini split AC cools without them.

If you are wondering if you can buy your AC unit, this guide will help you decide what model to purchase for your cooling needs.
Adding a ductless mini split can be the right choice for a home addition or small space. Review these ductless mini split questions to prep for talking with a pro.