
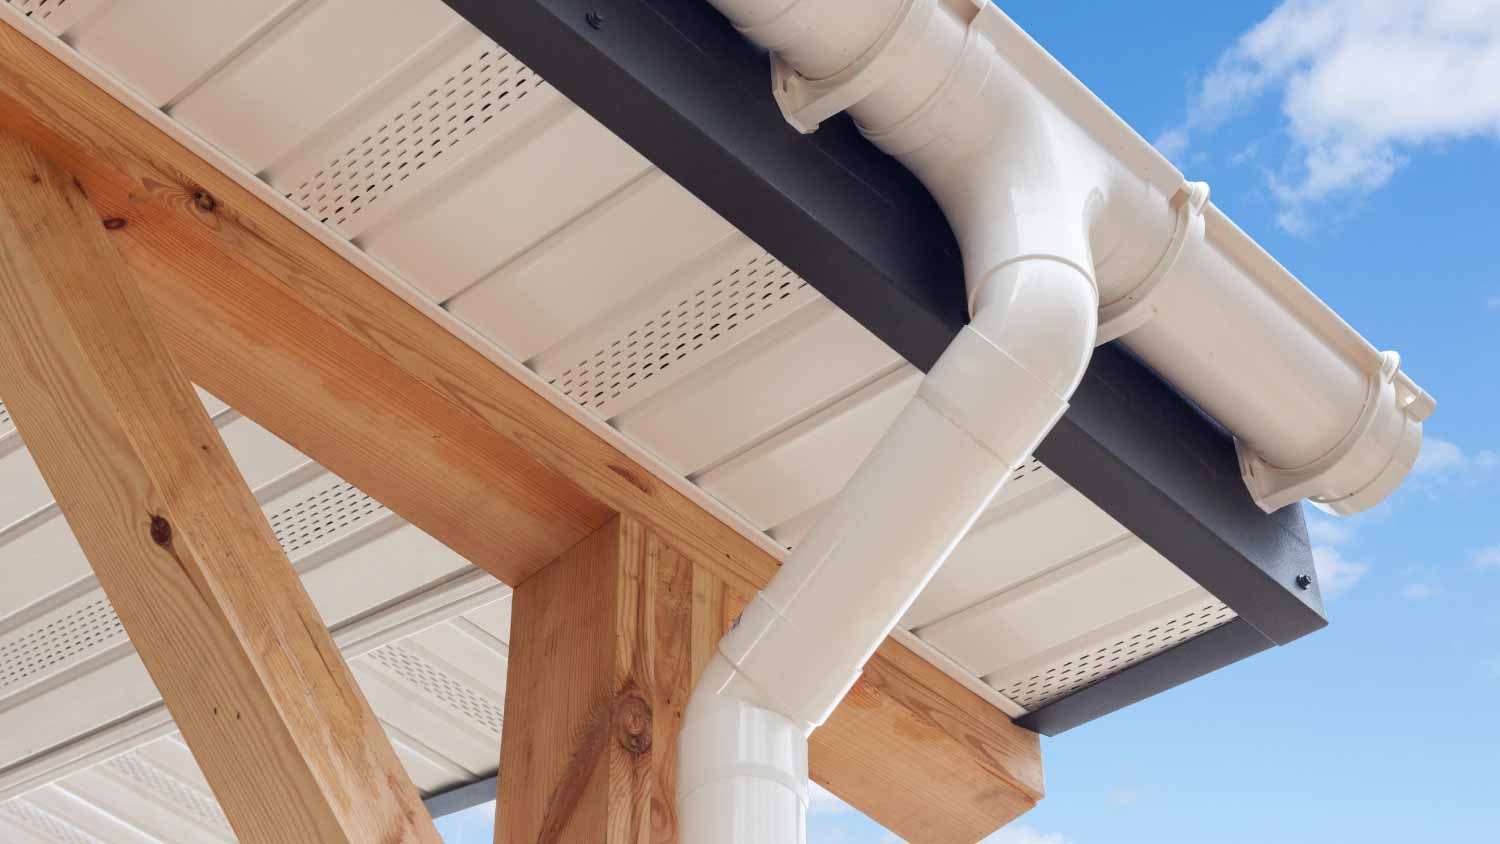
The cost to install vinyl soffit on your home depends on several factors, including the soffit length, condition, and the working height.
Everything you need to know about roofing nails all in one place

Roof nails come in three main types: smooth shank for basic installations, ring shank for extra grip, and square cap for underlayment work.
Expect to pay $5,900 to $12,900 for roof replacement, and choosing the right roofing nails helps protect your investment from premature repairs.
Your nail length depends on shingle thickness and roof layers, with standard asphalt shingles requiring 1-inch nails and additional layers needing longer sizes.
Hiring a local roofing professional ensures proper nail selection and installation, helping your roof stay secure through wind, rain, and changing weather conditions.
While nails may seem like a small part of your roof, they’re actually a big deal because they hold together the whole operation. And for roofing nails to stay securely in place and give your home a fully functional, protective cover, they need to be properly sized.
Selecting the right type of roofing nails requires examining the thickness of other materials on your roof—the decking and shingles. Here’s an overview of how these parts influence nail selection, what can happen when your roof has wrong-size nails, and what you can do about it.
There are three different types of roofing nails that you’ll encounter. Each has their own purpose, and the one you use should depend on your roofing material, your overall budget, and the part of the roof you’re nailing down.

When you think of the standard nail, you’re probably thinking of a smooth shank. These nails are exactly what they sound like—they have a smooth shank (the part of the nail you hammer into your roof material). They’re the most basic and inexpensive type of nail, but sturdy nonetheless.
Ring shank nails are like smooth shanks, but the shank has grooves similar to a screw. You can’t screw them into your roofing material, but the grooves add significantly more grip, which helps hold things in place.
You won’t find this type of nail on asphalt shingles. Instead, it’s used to hold down underlayment. You’ll recognize a square cap nail by its smooth or coiled shank topped with a large, square-shaped nailhead.
Roofing nails come in different metals. Some last longer than others, so the life span of your roof is important to keep in mind. Your climate also actually has a lot to do with which material performs best. If you live in a coastal area, the salt air and precipitation can prematurely corrode nails.
Galvanized steel is one of the most popular materials for nails. It’s resistant to rust and corrosion, but not as much as stainless steel. The trade off is price. This type of nail is more affordable and performs well in areas without extreme precipitation. There are two types:
Hot-dipped galvanized nails: This nail is dipped in a zinc solution, making it more durable.
Electro-galvanized nails: This nail has a thinner zinc coating created using electricity and a chemical solution.
Stainless steel nails come at a premium, which is why they’re typically only used in locations conducive to corrosion. If you live in a coastal region, with lots of precipitation and salt spray, you may want to consider stainless steel.
Copper nails have a higher price tag, but they’re one of the most durable on the market. You’ll typically use this kind of nail on a roof with an extremely long life span, like a tile or clay roof. You may also want to use it when installing copper flashing.
Aluminum nails are less common than other nail types. They’re not suitable in coastal areas (where they might get exposed to salt) or industrial applications (where they’re exposed to other chemicals). That said, roofers will sometimes use this type of nail to fix metal roofing and shingles.
The standard dimensions for roofing nails are gauge (diameter) and length. Roofing nails are usually somewhere between 1 to 2 inches long, while the gauge is often between 10 and 12. This is different from the type of nail you’d use to secure roof trusses, which typically range from 3 to 3 1/2 inches long.
Nail gauge refers to the thickness of the nail, and the higher the gauge number, the thinner the nail. Thus, the smaller the gauge size, the stronger the nail. Typically, the minimum gauge number for a roofing nail is 12.
You may also find nails labeled with the letter “d.” These nails are measured in an old system called penny length. This chart will help you identify the size of nails listed in penny length.
| Nail Length (Penny Inches) | Nail Length (Standard Inches) |
|---|---|
| 2d | 1 |
| 3d | 1 1/4 |
| 4d | 1 1/2 |
| 5d | 1 3/4 |
| 6d | 2 |
While a roofing nail needs to be long enough to penetrate the roofing deck, it is possible for it to be too long. A nail that is 3-inches (or longer) could poke through the decking and protrude through the attic ceiling. If a roofing nail is too long, it could lead to issues with leaks, or even pose a safety hazard to people in the attic.
A nail that’s too short can pose an equally serious issue. If penetration isn’t deep enough, high winds can seriously damage your roof. Your roofing materials could come loose with an updraft and pose a safety hazard.

The number of roofing nails you’ll need per square depends on the material and the part of the roof you’re working on. For example, you’ll use fewer nails on roofing with large shingles because the shingles cover a larger area and you won’t need to use as many. For roof decking or sheathing, you’ll need to add nails wherever the decking makes direct contact with a truss, and you should space nails 8 inches apart.
How many nails per shingle depends on the manufacturer. Most manufacturers recommend using four to six nails per shingle, with more on the first row than the rest of the roof. It also depends on local building codes. All in all, most homeowners use around 350 roofing nails per square.
To find the best type of roofing nail for the project, you’ll need to consider a number of factors—from the thickness of your materials to the layer of your roof. If you don’t know where to start, check the manufacturer’s instructions and your local building codes. Otherwise, these steps can help.
The type of roof is one of the largest factors when choosing the right type of roofing nail. Depending on the materials, you may need different nails for the shingles, sheathing, and flashing. Sometimes, you can use the same nails for the whole project. Here are some things to consider.
If you’re nailing asphalt shingles to sheathing, the type of sheathing will help determine the length. The thicker the sheathing, the larger the nail (though most of the time you’ll use nails between 1 and 1 1/4 inches in length).
Wood shakes have some nuances. They’re porous and absorb moisture, so you’ll want to use a nail made from a corrosion-resistant material, especially if you live in an area with a lot of precipitation. Wood shake is also typically thicker than standard shingles and not a uniform thickness. Make sure to default to the manufacturer’s instructions, but most shakes use nails between 1 1/4 inches and 2 inches in length.
If you’re installing sheathing over your roof trusses, you’ll likely want some extra hold. Ring shank nails are popular, but you may need nails that are longer than you think. For example, if your decking is thicker than 1/2 inches, you may need a nail that exceeds the standard roofing nail size.
For felt or underlayment, you’ll typically use square cap nails with either a plastic or metal cap. Some manufacturers (particularly of metal roofing) will recommend plastic caps and 1 inch is a common length. As an alternative, most building codes allow staples.
Most of the time you can use the same nails for flashing that you use for your shingles. That said, if you have copper flashing, you’ll probably want to use copper nails.
Using the right nail size is imperative to the security and safety of your roof. Though lengths are usually dependent on the thickness of the materials you’re using, most roofing nails have a standard 3/8-inch head diameter. This larger, flat head helps hold roofing materials in place. If the head is too large, you may not be able to properly conceal it, which can lead to issues.
From sheathing to shingles, you can expect to use nails between 1 inch and 2 inches or more.
The thickest decking in modern roofing is usually a little under an inch, while most decking is roughly 3/4 of an inch thick. For most decking materials, such as solid wood, plywood, OSB (oriented strand board), and non-veneer wood, roofing nails should be around 19 mm long and penetrate the decking at least 3/4 of an inch.
If you have thicker shingles, your roofer will likely use nails that are 30 mm long. If they’re installing an additional layer of shingles (double layers), they’ll use nails that are at least 35 mm long. The type of shingle also matters. For example, fiberglass and asphalt shingles require 1-inch nails, but you'd need longer nails for wooden shingles.
If you have additional layers on your roof, as is the case with a roofing overlay, nails should be long enough to penetrate all the way through the roofing material to the roof deck or sheathing. The nail length varies depending on the material of extra roof layering, but a roofer could use a nail as long as 2-inches or more.
It’s easy to overlook the material of your nail—but it can make a big difference. For example, if you’re installing underlayment, you may need to use a nail with a plastic cap instead of a metal cap. This is common with metal roofing. While galvanized steel is standard, you may need to spring for stainless steel nails if you live in an area with salty air or lots of rain.
Most roof replacements cost between $5,900 and $12,900. You don’t want to have to prematurely repair or replace your roof because someone chose the wrong type of nail. Factor the long-term cost into your choice. A nail may cost more upfront but can stave off repairs for years to come. Speak with a local roofer if you’re unsure about which nails to use on your roof.
Lydia Schapiro contributed to this piece.
Mitchell and the crew were top tier i am so happy with my new roof
D1 Roofing delivers outstanding service from beginning to end, backed by a strong warranty and expert teams. I highly recommend them for their excellence in meeting and surpassing expectations with unmatched communication. Choosing D1 Roofing was flawless decision
This place took $25,000 for a flat roof job with a five-year warranty and never returned to fix the leaks that were caused by their work. These people are not professionals and should not be doing this type of work. They incorrectly changed the pitch of the roof, and caused more damage than...
The technician was very professional and friendly. He answered all my questions and was very thorough. He left the fireplace area very clean . He inspected from the roof and advised me as to other work that might need to be done. There was no pressure there. I was very satisfied with the...
 Supreme brick & chimney
I am really impressed with their timeliness and turnaround. Mitchell came out, and we decided to move forward with their pricing. Our roof was on within a week, and we could not be happier with their team! Amazing company, great prices and honest, dependable craftsmanship. I highly recommend...
Manuel Calvillo is the best option in the area for roofing and you won't be disappointed.
They damaged multiple items on my property, including a marble slab used as a table top, tried to hide it, and refused to pay or replace. Arrived day one without a ladder to access roof & delayed a day. Left a mess in back yard; didn't wear face masks; no show by owner to property to see damages
I've hired Gary/Cherokee Roofing for two different homes, work quality, responsiveness, and completion have been great both times. And the prices quoted were very competitive. I would definitely hire again.
Lyle did a great job removing asbestos shingles from our front porch roof. They worked together with our roofer to make sure that the new roof was able to be installed on the same day that Lyle removed the asbestos shingles.
 Lyle Environmental
Bradley Builders did a good job replacing the roof on our front porch. They color-matched the existing shingles on the rest of the house and installed a metal ridge roll since we live in a historical neighborhood. They did the job while we were out of town. When we got back, everything was...
 Bradley Builders, Inc.
From average costs to expert advice, get all the answers you need to get your job done.
The cost to install vinyl soffit on your home depends on several factors, including the soffit length, condition, and the working height.
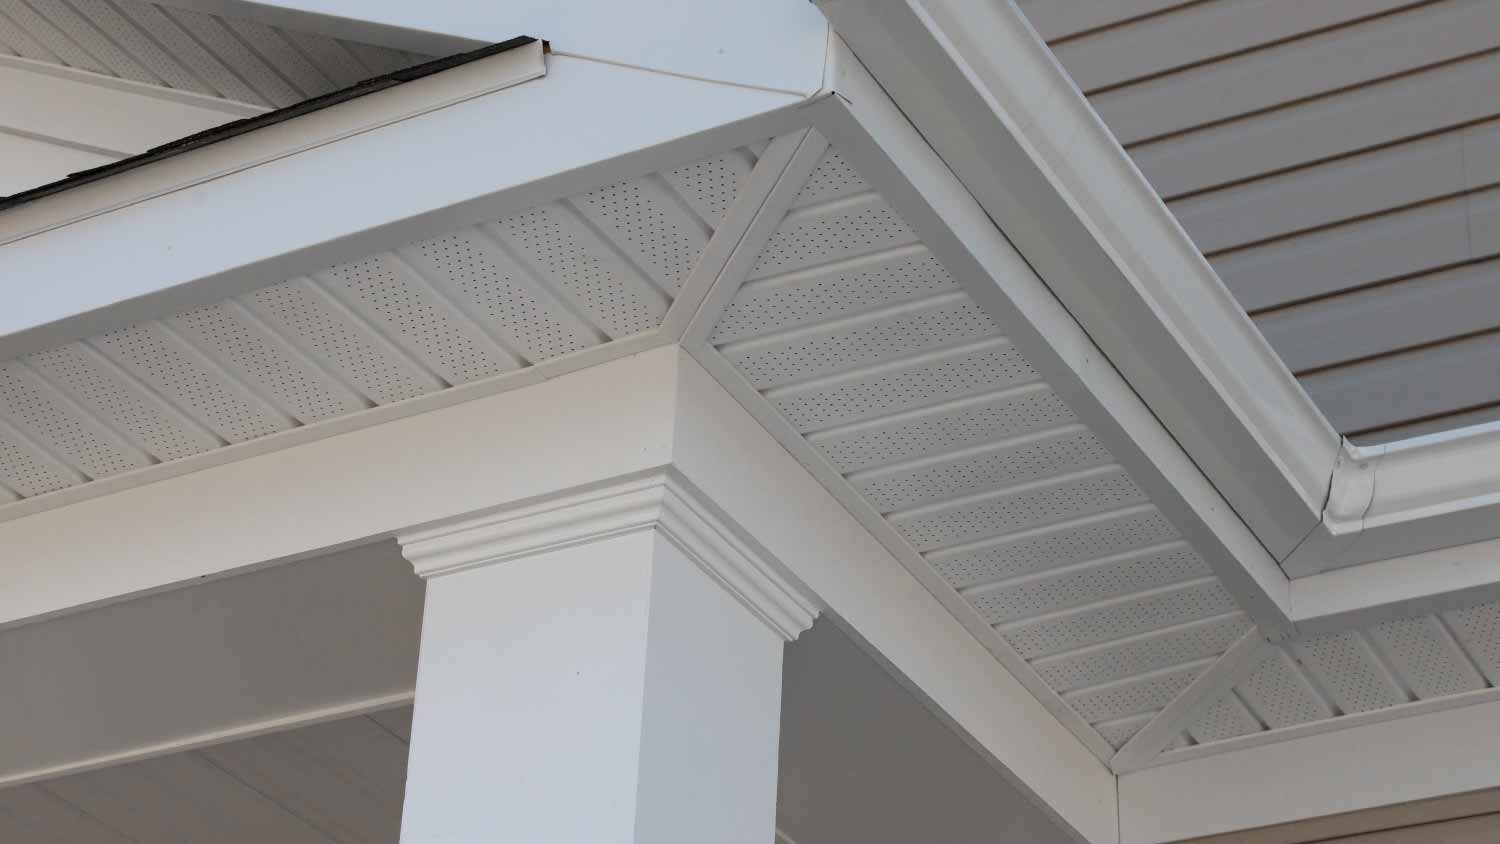
Soffit replacement costs depend on multiple factors, like length, accessibility, and material. Learn about the cost factors to budget more accurately.
Looking to boost your home’s curb appeal and protect it from water and rodents? Learn about the cost to install aluminum soffits and what affects pricing.
Roofers need a lot of equipment to repair roofs effectively. Here’s everything a roofer uses to show you why hiring professionals is the way to go!

Your home’s soffits protect your eaves and rafters from damage. Learn the difference between vinyl and aluminum soffit and which is best for your home.

Can you replace the soffit without removing fascia? Read on to find out the answer to this common roof replacement question.