

•
Discover the cost to install a ceiling fan, including labor, materials, and tips to save. Learn what impacts your price and how to budget for your project.
Feel empowered to power your fan

When it comes to replacing or fitting a new switch-operated ceiling fan, the idea of wiring it may seem a little unnerving. But with a little prep work and an understanding of your electrical wires, you’ll find that wiring a single-switch ceiling fan with or without a pull chain is almost as easy as a flip of the switch. Follow the steps in this guide to learn how to wire a switch for a ceiling fan like a pro.
Before you begin to wire a ceiling fan, it’s important to familiarize yourself with how the fan’s wiring works in relation to your house’s wiring. Most ceiling fans come with four different colored wires to connect with the colored wiring in your ceiling:
Black wire: From the house, the black wire is the hot wire that leads to the wall switch. For the fan, a black wire powers the motor.
White wire: This wire is neutral and completes the electrical circuit.
Green or copper wire: Green or copper wires mean they are grounding wires. In the fan, a green wire protects it from electrical surges.
Blue wire: A blue wire from the house usually comes from a wall switch and is not usually found in single-switch configurations. However, they are common when wiring a ceiling fan with two switches. For the fan, a blue wire is used to power the light, if there is one.
Red wire: A red wire from the house is usually an additional hot wire and is hooked up to the wall switch. In some ceiling fans with a light, a red wire may be included to carry power to the light kit.
Before dealing with any electrical fixtures—including ceiling fans—it’s important to shut off the power first. This means cutting off the electricity from the circuit breakers to your ceiling fan as well as turning off the wall switch. If there’s anyone else in the house, be sure to let them know not to touch the circuit breakers or turn the wall switch on while you’re working. Use a voltage tester as an added safety precaution.
In order to connect the wires, the coating on the wire ends will need to be stripped, if necessary. Use a wire stripper to take off around 1/2 inch of the insulation at the end of each wire.

Once the wires are prepped, you’re ready to connect. Ceiling fans operating with a switch often fall into one of the two categories listed below.
This kind of ceiling fan and light setup is ideal if you want to use the pull chain to operate the fan to cool down a room without the light on. Use the following wiring configuration:
Connect the fan’s green wire to the green or copper wire in your ceiling’s electrical box. Twist the wires together and secure them with a wiring nut.
Connect the white wires of the ceiling fan and the ceiling. Wrap electrical tape around the switch’s white wire to label that it’s a hot wire instead of a neutral wire. Secure the connection with a wiring nut.
Connect the blue wire from the fan’s light kit to the red wire in the ceiling. Secure with a wiring nut.
Connect the black wire from the fan to the black wire in the ceiling. Secure with a wiring nut.
If you prefer having your ceiling fan and light operational at the same time, controlling them from one switch is easy to do. Follow this wiring setup:
Connect the fan’s green wire to the green or copper wire in your ceiling’s electrical box. Twist the wires together and secure them with a wiring nut.
Connect the white wires of the fan and the ceiling together and fasten them with a wiring nut.
Connect the fan’s blue and black wires with the ceiling’s black wire. Twist them all together and secure them with a wiring nut.
Once all the wires are twisted together and secured with wiring nuts—if you have any unused wires, make sure they’re covered with wiring nuts too, for safety—tuck them into the electrical box in the ceiling. Then use a screwdriver to mount the fan to the ceiling fan’s mounting bracket.
With the ceiling fan mounted, you’ll want to test it to make sure it’s operating properly. Turn the power back on at the circuit breaker, turn on the wall switch operating the ceiling fan, and voila!
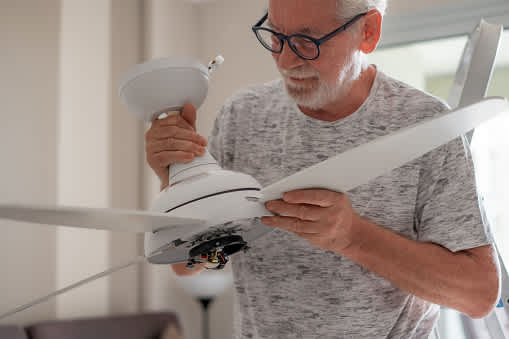
Wiring a switch for a ceiling fan is an easy DIY task that can save you money. However, if you’re uncomfortable with handling electrics or if you need to install a ceiling fan without existing wiring, your best bet is to hire a local ceiling fan professional or an electrician.
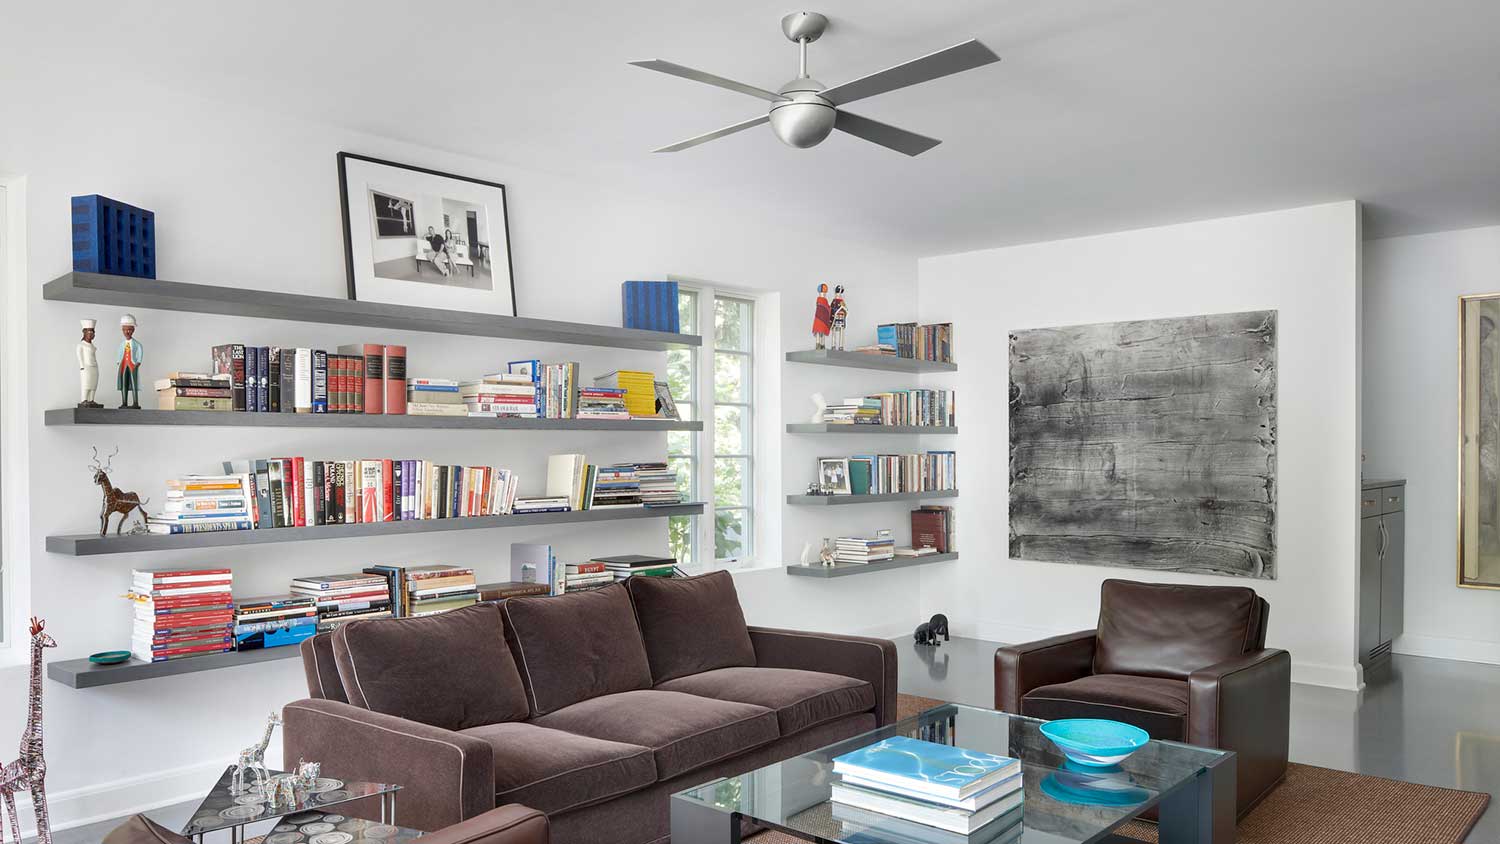
A ceiling fan installation costs anywhere from $145 to $350, depending on the type of ceiling fan you have, the complexity of the job, and the amount of ceiling fans you want installed. If you want a ceiling fan installed with no existing wiring, expect to pay up to $2,000.
Great company! Price was competitive, technician showed up on time and completed the job (exterior electric Radon fan replacement) quickly. Would hire them again.
Best decision was going with PatchMaster. Greg was wonderful / responsive & Dave did wonderful work. Got me on the schedule quick, matched my popcorn ceiling perfectly, finished the job quick, and was so kind & reasonably priced. Will absolutely be hiring again
Jeff was a consummate professional. Responsive, courteous, and focused on meeting our needs. I had a small project of installing and replacing two ceiling light fixtures. He responded to my Home Advisory inquiry within 24 hours and in a span of two weeks our light fixtures were installed. ...
Involved an extensive bathroom remodel, including removing tub & installing walk in shower, new drywall, custome tile work to ceiling, plumbing, etc. Overall, job was done on time and on budget. Nick & his team were very professional and had high attention to detail. Quality was great. Highly...
 Stamos Flooring and Remodeling LLC
Mike and his crew did a great job working through a very challenging task. The job required a full demolition of our ceiling, removing the blown in insulation and removing all the material from the site daily. It involved multiple inspections from the city and many challenges to get the...
 Rising Height Unlimited
Awesome company. Had a jacuzzi tub taken out and replaced with huge walk in shower with partial glass enclosure. Onyx to the ceiling with a decorative border, moved plumbing and installed hand held shower, new ceiling, flooring, and paint. Replaced window with glass block. Everything was done...
 Columbus Bath Design
There isn't much I can add that hasn't already been said about Rhino Painting. Outstanding service and communication from the first phone call through the end of the project, we could not be happier with this company. They painted our kitchen, living room, ceiling, starirwell and wood work,...
 Rhino Painting & Color Consulting LLC
Charlie recommended a separate fan with new lighting to clear steam from the room better. Several weeks ago I contacted Charlie via email to ask about pricing and scheduling, after one follow up he did reply with cost and said it would be about two weeks before he could do the work. I replied...
 Settle Muter Electric
Scott was awesome! This job was not an easy one, especially the relocation of the cable in the Great Room. I had called several other companies on Angie's list only to be turned away due to the tight timeline I was under or the anticipated difficulty of the work. <br /> Scott was realistic...
 SIGNAL DIRECT SYSTEMS
After struggling throgh attempts to fix a persistently leaky skylight, I called Bob at Skylights Plus to check it out. Given the fact that previous attempts to repair the flashing/roofing around the skylight didn't work, he recommended a full replacement. <br /> Even though the weather...
From average costs to expert advice, get all the answers you need to get your job done.
Discover the cost to install a ceiling fan, including labor, materials, and tips to save. Learn what impacts your price and how to budget for your project.
If your ceiling fan stops working due to a bad motor or broken pull chain, here’s what you can expect to pay to get it fixed.
Learn how to wire a ceiling fan with a light directly from a power source or wall switch and add a convenient remote control. Follow this step-by-step guide.
Ready to ditch the annoying wall switch that controls your ceiling fan? Follow this simple guide to adding a remote receiver to a preexisting ceiling fan.
Ready for a versatile setup for your ceiling fan? Use this quick guide to learn how to wire a ceiling fan with two switches in 11 simple steps
From power and motor issues to malfunctioning blades and remote controls, learn how to troubleshoot common problems with the humble ceiling fan.