

Looking to breathe new life into your space with a ceiling refresh? Learn about the cost to paint a ceiling and what factors can affect your total.
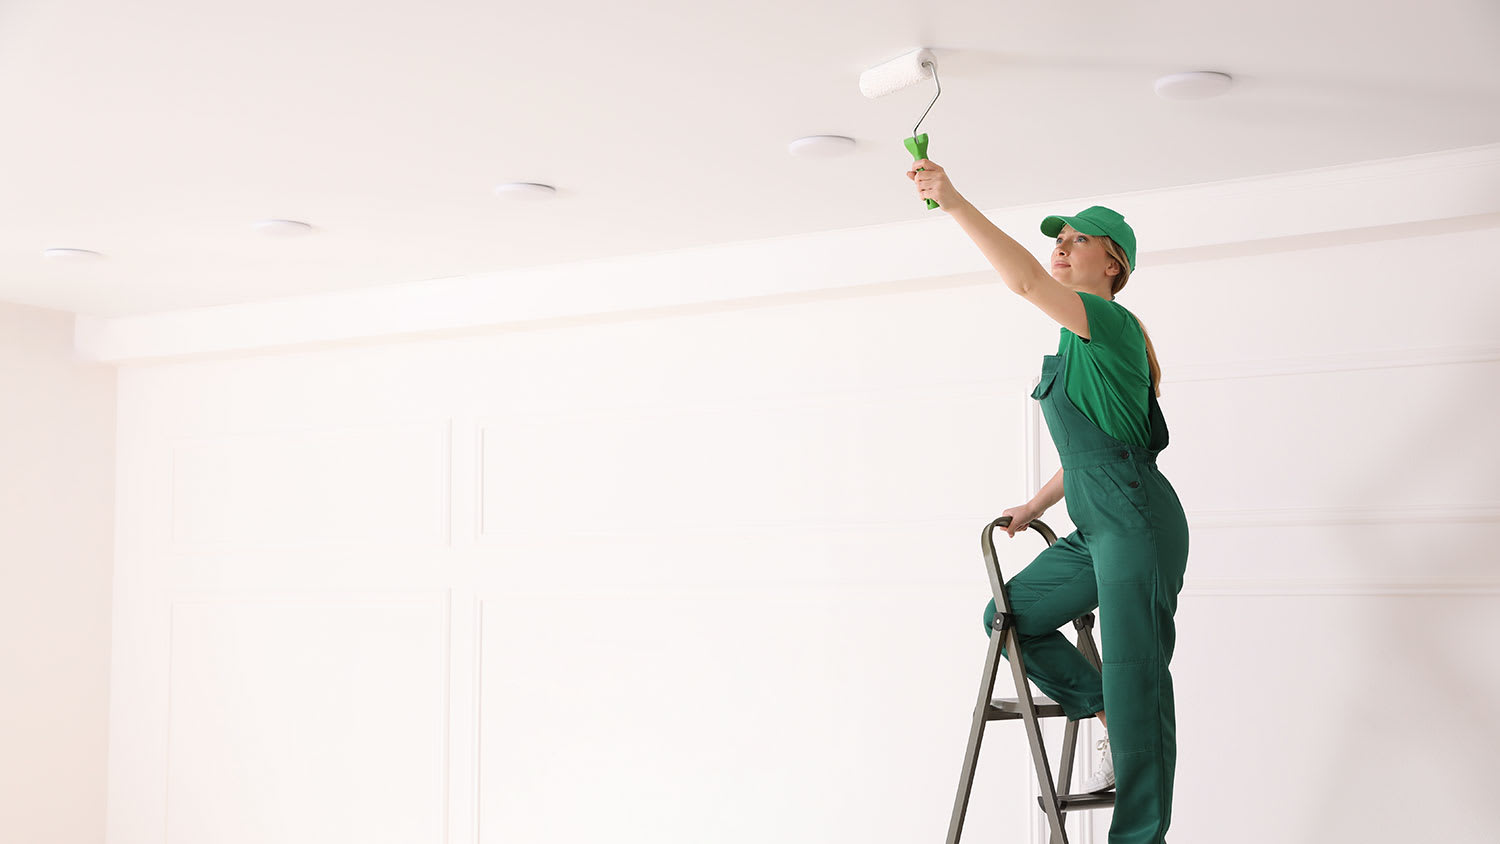
Say goodbye to drab or patchy ceiling paint

Unfortunately, ceilings with discoloration or slight damage can make a room look less aesthetically pleasing. But learning how to touch up ceiling paint can help restore your ceiling and the surrounding room to its former glory. If you have a free weekend and a DIY spirit, try following this step-by-step guide for a flawless touch-up paint job.
For the paint touch-up to look its best, you ideally want to use the same type of paint originally used. There are hundreds of shades available in each color, but many factors make it tricky to buy an exact color match, including the brand and mixing job. If you don’t have the original paint or know the exact color shade, you may be better off painting your ceiling again. Otherwise, the touch-up areas won't blend in seamlessly with the previous paint job.
If you have the original paint cans, ensure you stir them well before applying the paint. When paint sits, ingredients can settle on the bottom, and if they aren't stirred properly, it can affect the color of the paint. You should also double-check that the paint hasn’t expired—some telltale signs include a rancid smell, chunky paint, separated layers, and mold or mildew growth.

Although you may not use a ton of paint for a touch-up job, you want to prevent any damage to furniture and surfaces in the room. Remove lightweight furniture from the room and move large furniture pieces away from the splash zone. Place a drop cloth over any items left in the center of the room and on the floor to protect your floor from paint stains.
If you’re completing a touch-up job along the perimeter of the ceiling, tape it off with painter's tape to avoid unnecessary paint accidents on your walls.
Before picking up a paint tool, take the time to assess any ceiling damage that requires repairing, such as peeled paint, cracks, holes, or other imperfections. To remove peeled paint, scrape it off using a putty knife and then rub the area gently with coarse to fine #40 to #120 grit sandpaper. Brush away any dust with a damp cloth for best results.
For ceiling cracks and holes, you can fill these areas with caulk. You may need to apply caulk on areas where peeled paint was removed to ensure a clean finish. Apply the caulk to the areas and let it dry. Sand the areas down and apply a thin coat of primer over the patch job.
Applying primer over empty patches is essential to prevent it from creating a dull spot. Any touch-up areas will benefit from primer, especially if there are marks or stains on your ceiling.
Primer is a base coat that will help the paint better adhere to your ceiling, delivering the smooth finish you need. All you need is a thin layer of primer, which you can apply with a roller brush to ensure an even, consistent layer.

To ensure continuity in the paint job, you want to practice the same stroke method and roller brush type originally used. This practice creates a seamless blend so the touched-up areas won't stand out among the other ceiling sections.
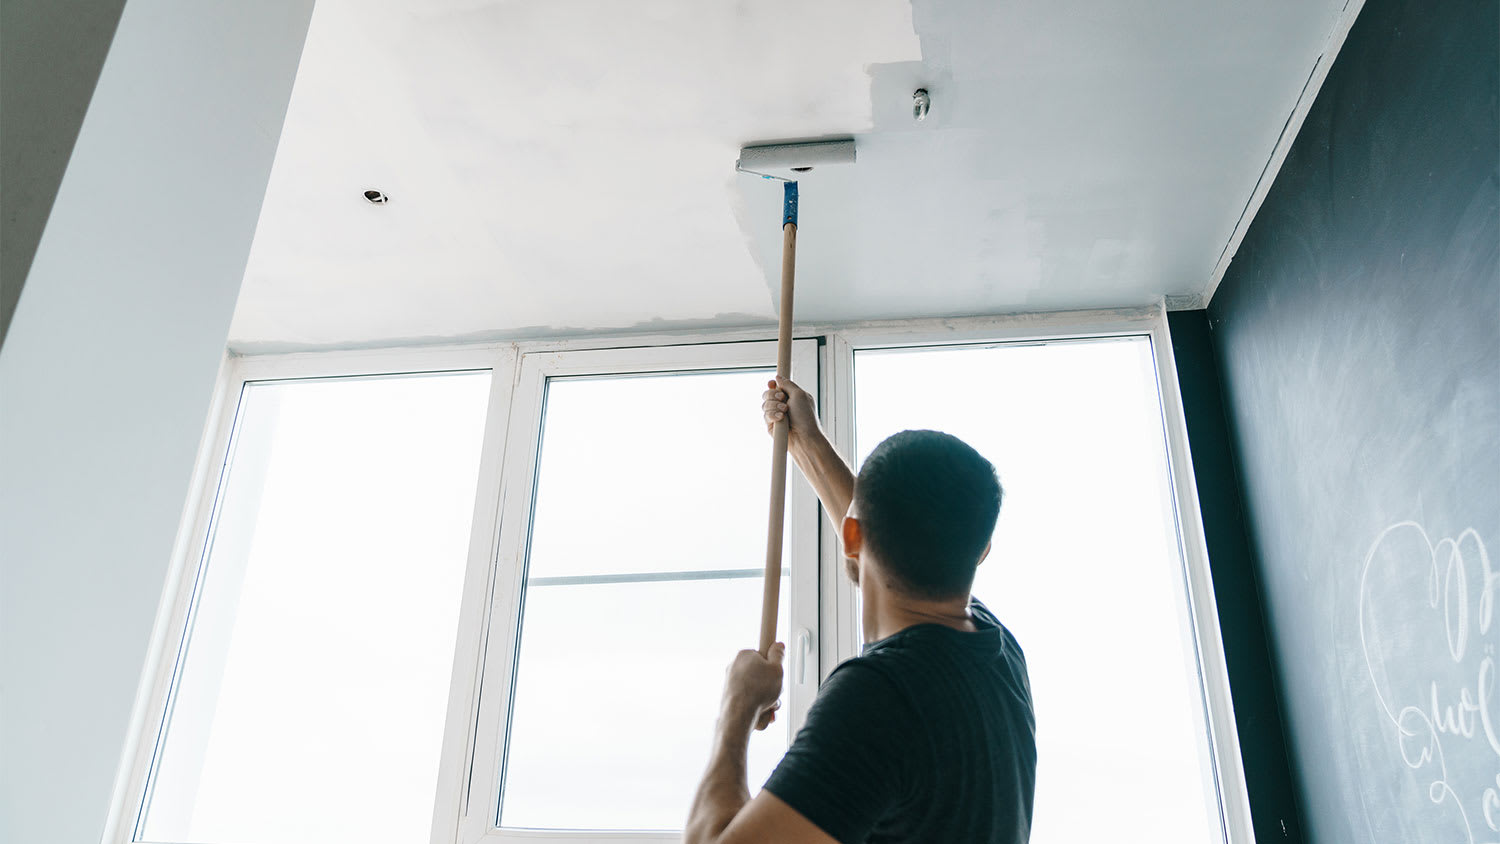
With touch-ups, less paint is best. After dipping your paint roller in the paint, wipe off any excess to ensure that you only apply a thin layer to the ceiling. Roll the brush in the center of the area and work outward for the best blend. If you’re touching up a very small area, use a paintbrush to apply thin, even strokes in the direction of the existing paint.
Allow the paint to dry for a smooth finish. Check the manufacturer’s instructions for exact dry times, but ceiling paint typically takes four hours to dry. However, if you’re painting popcorn ceilings or other textured surfaces, you’ll likely need to wait eight to 12 hours to let it dry and cure fully.

After you’ve waited the recommended amount of time for your ceiling paint to dry, take a closer look at your handiwork before putting the supplies away. Inspect the areas to determine whether they need any further touch-ups. For post-paint touch-ups, use a small paintbrush rather than a roller to add extra paint. This practice avoids applying too many paint coats to the area.
Touching up ceiling paint is a simple task that can save you money compared to hiring a professional. The cost of hiring a professional painter is $20 to $50 per hour or $1 to $2.50 per square foot. While enlisting the help of a professional painter may increase the project budget, they will ensure a color match for your ceiling, plus provide high-quality, long-lasting results. Consider hiring a local interior painter to give your ceiling the touch-up job it needs.
It costs about $50 to $100 to paint a ceiling, depending on the type of paint you buy and whether you already have painting supplies. Of course, you should consider your time as well—if you don’t want to spend a few hours doing the work yourself, it may be worth hiring a professional painter.
Custom Paint Jobs LLC is the go-to choice for all your painting needs. They painted both the interior and exterior of my house flawlessly. Their work speaks for itself!
Beginning with the estimate, Larry and Peyton were super helpful in getting my new condo's interior re-painted. Not only was the job well done, but also done in a super timely manner as promised.
 Five Star Painting of Plain City and Powell
From average costs to expert advice, get all the answers you need to get your job done.
Looking to breathe new life into your space with a ceiling refresh? Learn about the cost to paint a ceiling and what factors can affect your total.

How much do painters charge? This question can only be answered after determining the scope and size of your painting project.
Your ceilings might need a little love. Find go-to tips for painting your ceiling so you can take them to a whole new level, plus what you need to get the job done.

Ceiling more than 10 feet high and in need of a refresh? Find out how to paint high ceilings safely for a room that looks pulled together.
When painting a room, don’t overlook the ceiling. This guide takes you through all the steps of how to paint a ceiling for pro-worthy results.

When a ceiling has stains, you can follow a few steps for how to paint a water-damaged ceiling yourself—or a pro can fix the damage and paint for you, too.