

Pipe fencing is an extremely strong, durable option for containing horses and other livestock. This guide breaks down the factors that affect pipe fence cost.
Thread pipe like a plumbing pro

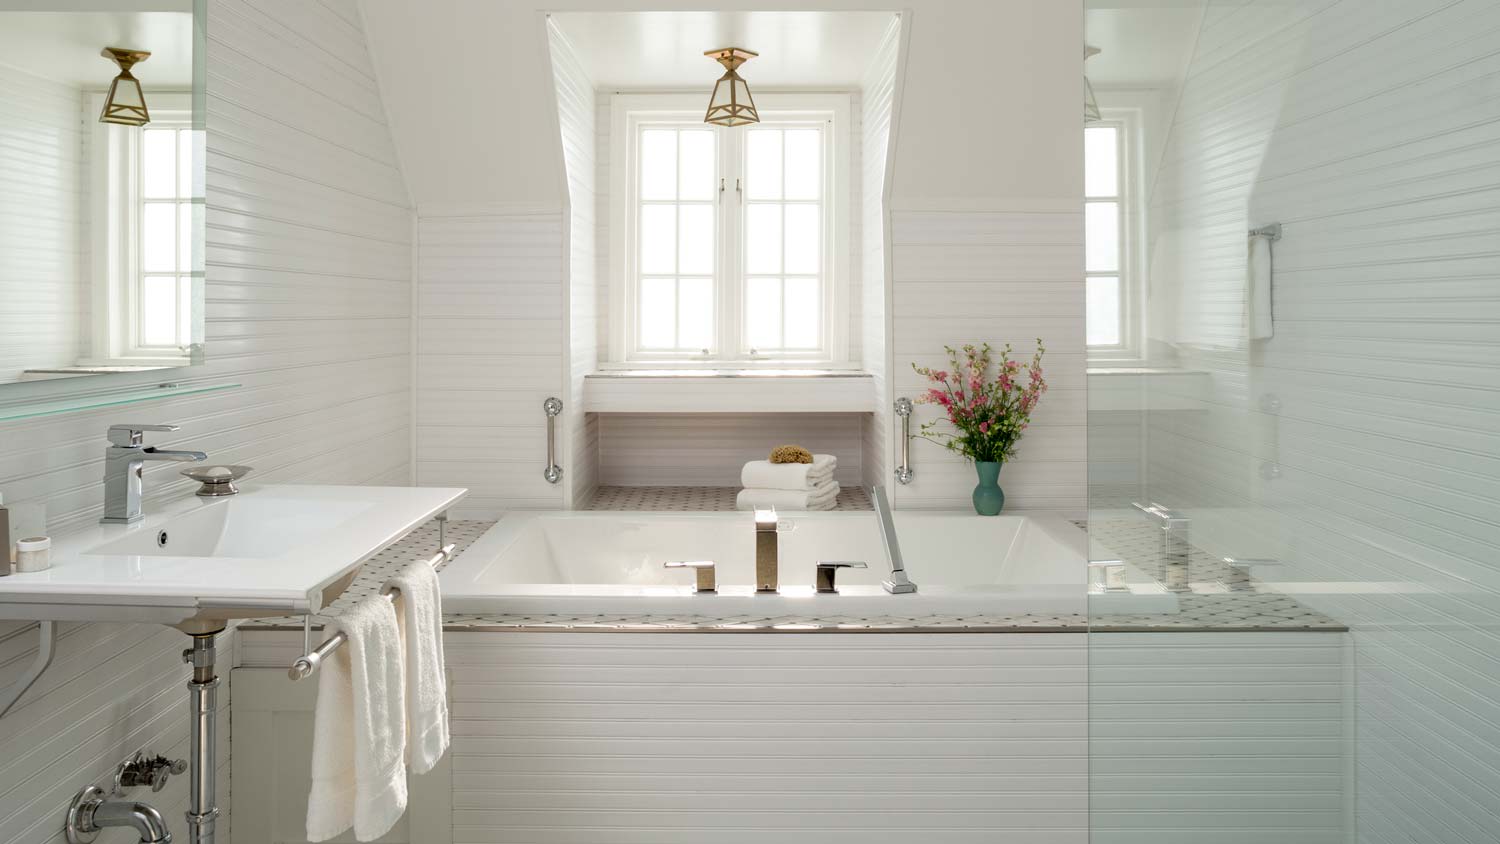
Whether installing new plumbing as part of a bathroom or kitchen remodeling job or replacing damaged plumbing pipes, there’s a good chance you’ll run into a situation where the plumbing doesn’t line up with the stock pipe lengths at your local home improvement store.
When that happens, you’ll have to cut and thread pipe. Though it may sound complicated, threading pipe isn’t really a difficult job. In fact, you can thread a pipe in minutes so long as you have the right tool for the job. Here’s how to thread pipe like a pro.
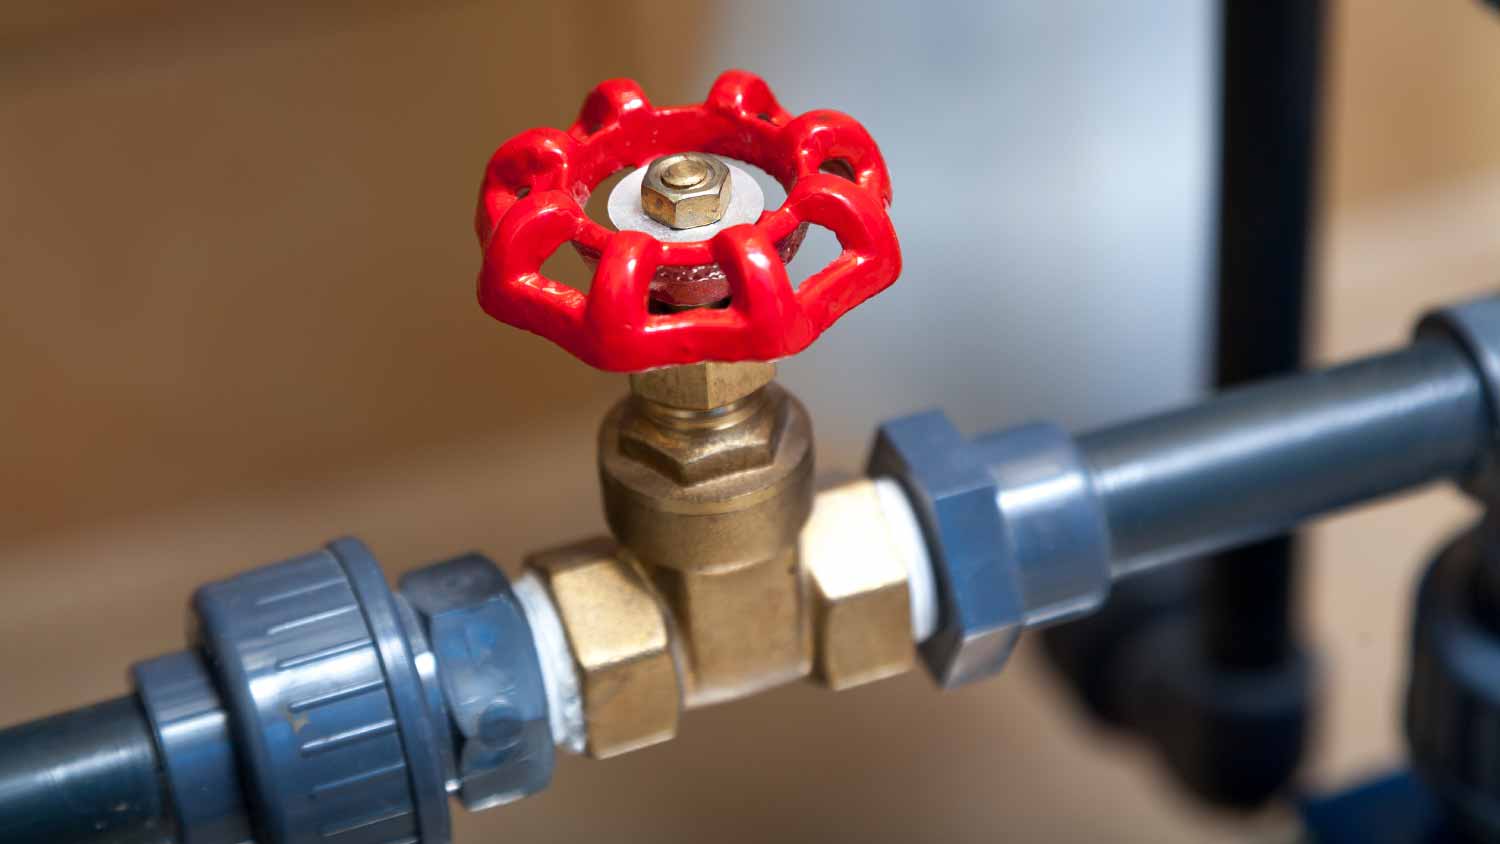
To complete this job, you’ll need to borrow or rent a ratcheting pipe threader (unless you happen to own one). This tool has a long handle that ratchets like a socket wrench. The threader holds a die head at one end, which has teeth inside it that cut into the pipe to create the threads. The die head spins as you turn, causing the teeth to cut into the metal pipe.
Ratcheting pipe threaders come in sets with different-sized die heads to suit various pipe sizes. You can purchase a die header set, but these tools are expensive. Unless you’re planning on rethreading a lot of pipes, a thriftier alternative is to rent one or hire a plumbing repair pro to take on the job.
There are a few common types of thread pipes, each with different pipe diameters. Here are the most common types of thread pipes:
American Standard Pipe (NPT)
American Standard Pipe Thread Tapered (NPTF)
British Standard Pipe Thread Parallel (BSPP)
British Standard Pipe Thread Tapered (BSPT)
After gathering the necessary supplies, including protective eyewear and work gloves, you can start. It takes quite a bit of preparation before you get to the threading itself, and you must seal the pipes when you’re done.

Threading pipe involves creating tiny cuts on the end of the pipe to create the new grooves that function as the threading. Since you’ll be shaving off small pieces of metal, there’s the potential for these metal shards to become airborne or slice into skin. With that in mind, it’s crucial that you protect yourself by wearing gloves and eyewear while threading pipe.

Open the jaws of your bench vice by turning the handle counterclockwise. Position the pipe in the vice so the end you’re planning to thread is sticking out towards you, then turn the handle clockwise to tighten in the vice. Be careful not to overtighten or you could damage the pipe.

If you’re threading a pipe, it’s likely because you need to cut it to size. If you need to resize the pipe, go ahead and make the cut now using a pipe cutter or hacksaw. After cutting, use a reamer to remove any burrs and smooth the end of the pipe, so it’s ready for rethreading.

Die heads are the attachments that go on the pipe threader that cut the new grooves into the end of the pipe. The threader should include multiple die head sizes to suit various size pipes. The measurements for the die head should be engraved on its side. If you’re not sure what diameter your pipe is, use a tape measure to measure its diameter. Make sure to measure the outside diameter to get the die head of the right size.
After you’ve selected the right size die head, slide it into the ring at the end of the ratchet’s handle. The die head should snap into place.
Apply the threading oil or lube to the end of the pipe. Don’t be stingy with the oil. Lubing the pipe liberally will help you slip the ratchet over it more easily and make it easier for the teeth to cut through the metal pipe. Place a towel or rag under your vice, as the lubricant and shavings from the pipe will create quite a mess.
Place the ratchet end over the end of the pipe, making sure the end of the pipe goes all the way into the die head. If you’re having trouble fitting the ratchet onto the pipe end, double-check you have the right size die head. You can also add lubricant to the die head.
Begin by applying pressure with your off-hand to the top of the ratchet head to get the teeth to cut into the end of the pipe. Begin ratcheting the die head so it turns counterclockwise with each turn, ensuring you keep the pressure on the ratchet head. You should feel the teeth biting into the end of the pipe as you turn the handle. If you don’t, you’re not applying enough pressure to the head. Once you feel the teeth bite into the pipe, you can release pressure.

Continue ratcheting until all the die head’s teeth are engaged with the pipe. Add lube about every four or five turns as you're ratcheting to make the process easier and to preserve the teeth in the die head.
As you thread, metal shavings from the pipe begin to accumulate around the threads. To clear them, press the button or lever near the die head to reverse the ratcheting direction, then give the handle a half turn to remove the shavings. Plumbers refer to this process as “breaking the chips.”
Change the ratchet direction back and continue cutting the threads. Once all the teeth have cut into the pipe, you’ve completed the threading process.
Press the small switch or button near the die head to reverse the direction of the ratchet. Begin ratcheting in the opposite direction by moving the handle counterclockwise and clockwise. The die head should slowly unscrew from the pipe. You can pull the ratchet free once the teeth have disengaged from the pipe. Wipe lubricant and debris out of the ratchet head before storing the tool.

After threading the pipe, seal the end to ensure a watertight connection when you put the pipe into service. First, remove any burrs from the pipe with sandpaper. To seal the pipe, you can wrap the end in Teflon tape.
Threading a pipe is a doable DIY project for most homeowners. The most complicated part is procuring the pipe threading tool required to complete this job. If you can rent, borrow, or own this tool, it makes sense to take on this job yourself.
If you don’t have access to a threading tool or feel more comfortable having someone else handle this job, you can call a local plumbing repair pro to help you out. Also, many home improvement stores can cut and thread pipe for you in a pinch.
Positive experience. As previously stated, the replacement/repair could not be completed (no fault of the plumbing tech) b/c misinformation was rec?d by property management maintenance. Thanks to the plumbing tech for your efforts. Appreciate you!
 The Waterworks
If you want to pay the most exorbitant prices possible for your job, this is the company for you. “By the job” pricing is a rip-off, at least how these people use it. Every job is plugged into a category and prices are set by category. You might have a job that takes half an hour or one that...
 Benjamin Franklin Plumbing
Cole has been handling plumbing and general contracting for our four properties over the past three years, and he’s always done a great job. Most recently, he installed a sink and countertop in our retail store where none existed before, and it turned out exactly how we needed. He’s...
 ANB Renovations LLC
Matt is a consummate professional. The work turned out to be far more difficult than expected and rather than turn the job down, Matt rose to the occasion and completed a near impossible task. I can not recommend Greene's Plumbing Service more highly. On a scale of 1-5 I would give Matt a...
Involved an extensive bathroom remodel, including removing tub & installing walk in shower, new drywall, custome tile work to ceiling, plumbing, etc. Overall, job was done on time and on budget. Nick & his team were very professional and had high attention to detail. Quality was great. Highly...
 Stamos Flooring and Remodeling LLC
Awesome company. Had a jacuzzi tub taken out and replaced with huge walk in shower with partial glass enclosure. Onyx to the ceiling with a decorative border, moved plumbing and installed hand held shower, new ceiling, flooring, and paint. Replaced window with glass block. Everything was done...
 Columbus Bath Design
The initial quoted price from a walk-through seemed high, but we discussed that the quote represented worst case scenario (re-wiring to two floors) and we were excited about the opportunity to have the work done in a timely manner with closing for fire safety reasons, etc. When the job was...
Initially, I called the Service People to have a leaking garbage disposal replaced. I had purchased a special deal through Angie's List: $79 for $200-worth of plumbing services. <br /> When I went to schedule the work, the earliest date I could get through Angie's List was after the upcoming...
This company did a very good job on the brick wall and it looks just amazing. The staff was always professional and was practically OCD on how the bricks were stacked and how they were laid. Although it took longer than expected, I am willing to sacrifice time over perfection anyday. The...
 My Handy Mate LLC Improvement & Remodeling
<p>I am so glad we called Rotor-Rooter. I was hesitant to call them because we usually prefer to give business to local providers. But when we had sewage back up in our basement on a Saturday evening, I had a hard time getting a hold of someone, not to mention the high weekend/evening rate...
From average costs to expert advice, get all the answers you need to get your job done.
Pipe fencing is an extremely strong, durable option for containing horses and other livestock. This guide breaks down the factors that affect pipe fence cost.

Pipe leak repair costs depend on the location and severity of the leak, as well as the type of pipe being replaced. Use our guide to price out repair work.
Fix leaks and install new pipes easily by getting to know a handful of important abbreviations, like what does FIP mean in plumbing and more.

Replacing or upgrading plumbing in your home? Make sure you know how to measure pipe size accurately to avoid buying the wrong materials.
Tee, cross, wye, elbow, coupling, bushing, adapter, union, and more. Know the most common 14 types of pipe fittings and what they are suited for.

Whether you’re broadening your DIY skills or are a seasoned expert, it’s important to know how to use plumber’s tape. Get the most out of your tape with these tips.