
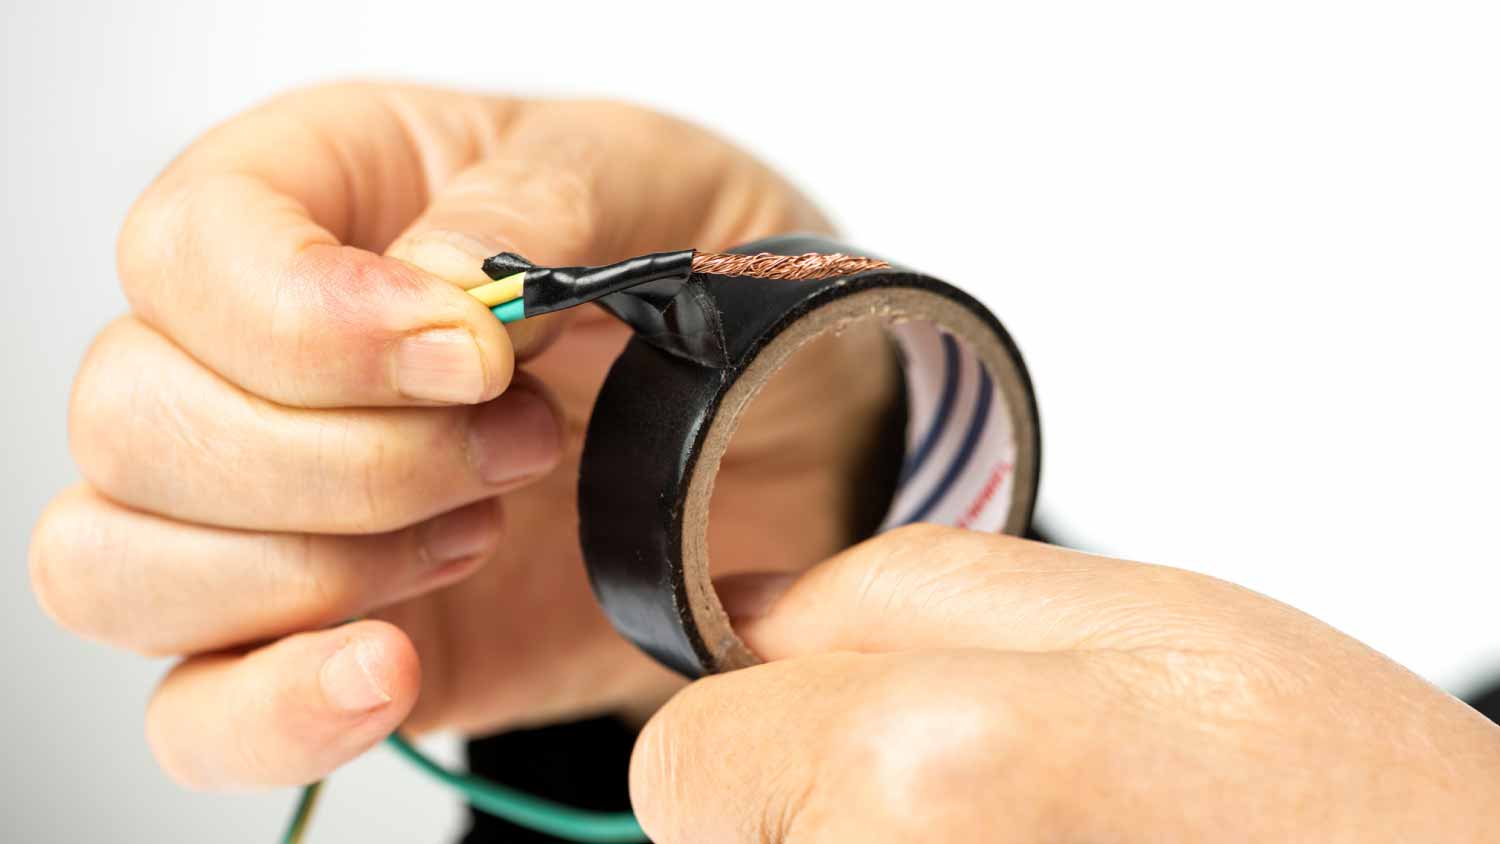
Learn the best ways to use electrical tape to safely bind wires at your home. Follow these 5 tips for top-notch project execution.
With enough plumber’s tape, anything is possible

Removing the old plumber's tape completely before applying new tape prevents leaks, as layering tape over residue creates an unreliable connection.
Clean your pipe threads with a rag and wire brush after removing old tape so the new tape adheres properly and seals tightly.
Wrap new plumber's tape clockwise around the threads in the same direction the pipe tightens to prevent the tape from unraveling during installation.
Hiring a local plumbing repair professional provides reliable help with threaded connections and proper tape application, keeping your plumbing sealed and leak-free.
A leaky pipe can be a homeowner’s worst nightmare. But in some cases, plumbing problems can actually be fixed (even just for the night while you wait for a professional) with the help of a hardware store heavy hitter: Teflon™ plumber's tape.
This mighty tape creates a watertight seal between pipe connections and can significantly reduce your chances of encountering a leak. Read on to learn the different applications for plumber’s tape, how to use plumber’s tape, and helpful tips and tricks.
Teflon™ plumber’s tape is a specialty tape made of Teflon™. It’s used on threaded pipe connections to help create a tighter, leak-proof connection between fittings.
Teflon™ is the brand name for PTFE thread seal tape—another name for plumber’s tape—that stands for polytetrafluoroethylene.
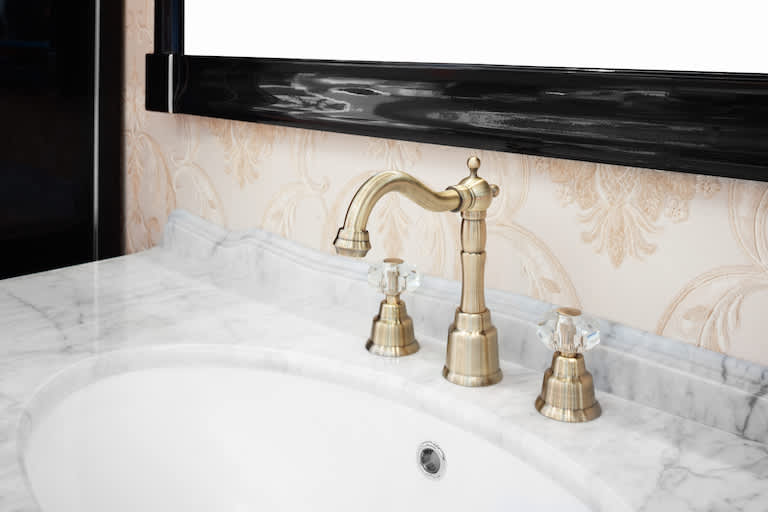
If you're wondering what Teflon™ tape is used for, it is most often used on pipe threads to create a watertight seal between pipe connections. You can use it on any threaded pipe or fitting connection—regardless of whether it carries water, gas, or air—including:
Faucets
Showerheads
Radiators
Water valves
Pipe-to-pipe connections
Pipe-to-valve connections
and more
Besides the advantage of a watertight seal, applying plumber’s tape also makes it easier to disassemble a pipe connection in the future.

Applying plumber’s tape to a pipe connection seems fairly straightforward, but following the proper procedure is essential to achieve a secure seal. If you want to avoid paying for the cost of a plumber, follow the process for how to use Teflon™ tape detailed below.
To ensure the plumber's tape fully adheres to the pipe threads, clean the threads with a clean rag. If there is any built-up debris or residue, spray the threads with an all-purpose cleaner, then wipe clean.
Clean the pipes' interior and exterior threaded connections and wait for them to dry before proceeding.
It is important to position the tape on the thread correctly before applying it. Wrap the tape around the threads in the same direction as the pipe will be turned while connecting it.
For instance, if the pipe is tightened by turning it clockwise, wrap the plumber’s tape clockwise around the threads. Doing so ensures the tape tightens as the pipe is threaded rather than unraveling.
After determining the direction to apply the tape, place the end of the plumber’s tape on the second thread from the end of the pipe. Hold the end of the tape with your thumb and the roll of tape with your other hand.
Begin to wrap the tape around the threads. Keep it tight and slightly overlap the previous piece of tape as you wrap it to ensure there are no gaps. Stop applying the tape once all the pipe threads are covered.
Pull the tape roll away from the tape on the pipe to break it off. If you have any trouble, use a pair of scissors. Press the tape down with your fingers to ensure it adheres fully to the pipe threads.
If the tape is not sticking properly or there are frayed edges, take off the tape and start the process over with new tape to make sure you get the application right.
Plumber’s tape comes in different colors to easily signal what type of pipes and connections it should be used for. Each color varies in its density and width, so it’s important to use the right type for the job.
| Color | Benefit | Used for |
|---|---|---|
| White | Single density | Standard plumbing jobs |
| Red | Triple density | Larger joints or pipes with a diameter of 1/2 to 2 in |
| Yellow | Double density | Gas lines |
| Green | Grease- and oil-free | Oxygen lines |
| Gray/silver | Prevents seizing | Stainless steel, brass, and aluminum pipes |
There are other types of tape that plumbers use, like heat tape for pipes. This tape helps prevent pipes from leaking through self-regulation.
But, generally, white plumber’s tape is the standard for most jobs.
Incorporate these tips when using Teflon™ tape on pipe connections to make sure you get it right and create a solid seal, which can avoid the cost of repiping a house.
Go the right way. Make sure to wrap the plumber’s tape onto the pipe in the same direction as the pipe tightens. This way, the tape tightens with the pipe rather than unraveling during connection.
Apply thoughtfully. Start applying the tape on the second thread closest to the end of the pipe. Placing the tape too close to the end of the pipe can block the flow of water, gas, or air that runs through the pipe.
Don’t use too much. Do not overwrap the pipe. Depending on the size of the threads, you will only need three to six wraps around the pipe for a proper application.
Positive experience. As previously stated, the replacement/repair could not be completed (no fault of the plumbing tech) b/c misinformation was rec?d by property management maintenance. Thanks to the plumbing tech for your efforts. Appreciate you!
 The Waterworks
If you want to pay the most exorbitant prices possible for your job, this is the company for you. “By the job” pricing is a rip-off, at least how these people use it. Every job is plugged into a category and prices are set by category. You might have a job that takes half an hour or one that...
 Benjamin Franklin Plumbing
Cole has been handling plumbing and general contracting for our four properties over the past three years, and he’s always done a great job. Most recently, he installed a sink and countertop in our retail store where none existed before, and it turned out exactly how we needed. He’s...
 ANB Renovations LLC
Matt is a consummate professional. The work turned out to be far more difficult than expected and rather than turn the job down, Matt rose to the occasion and completed a near impossible task. I can not recommend Greene's Plumbing Service more highly. On a scale of 1-5 I would give Matt a...
Involved an extensive bathroom remodel, including removing tub & installing walk in shower, new drywall, custome tile work to ceiling, plumbing, etc. Overall, job was done on time and on budget. Nick & his team were very professional and had high attention to detail. Quality was great. Highly...
 Stamos Flooring and Remodeling LLC
Awesome company. Had a jacuzzi tub taken out and replaced with huge walk in shower with partial glass enclosure. Onyx to the ceiling with a decorative border, moved plumbing and installed hand held shower, new ceiling, flooring, and paint. Replaced window with glass block. Everything was done...
 Columbus Bath Design
The initial quoted price from a walk-through seemed high, but we discussed that the quote represented worst case scenario (re-wiring to two floors) and we were excited about the opportunity to have the work done in a timely manner with closing for fire safety reasons, etc. When the job was...
Initially, I called the Service People to have a leaking garbage disposal replaced. I had purchased a special deal through Angie's List: $79 for $200-worth of plumbing services. <br /> When I went to schedule the work, the earliest date I could get through Angie's List was after the upcoming...
This company did a very good job on the brick wall and it looks just amazing. The staff was always professional and was practically OCD on how the bricks were stacked and how they were laid. Although it took longer than expected, I am willing to sacrifice time over perfection anyday. The...
 My Handy Mate LLC Improvement & Remodeling
<p>I am so glad we called Rotor-Rooter. I was hesitant to call them because we usually prefer to give business to local providers. But when we had sewage back up in our basement on a Saturday evening, I had a hard time getting a hold of someone, not to mention the high weekend/evening rate...
From average costs to expert advice, get all the answers you need to get your job done.
Learn the best ways to use electrical tape to safely bind wires at your home. Follow these 5 tips for top-notch project execution.
Learning how to read a tape measure properly is one of the first—and most important—steps on the road to being a great DIYer. Let's break it down.
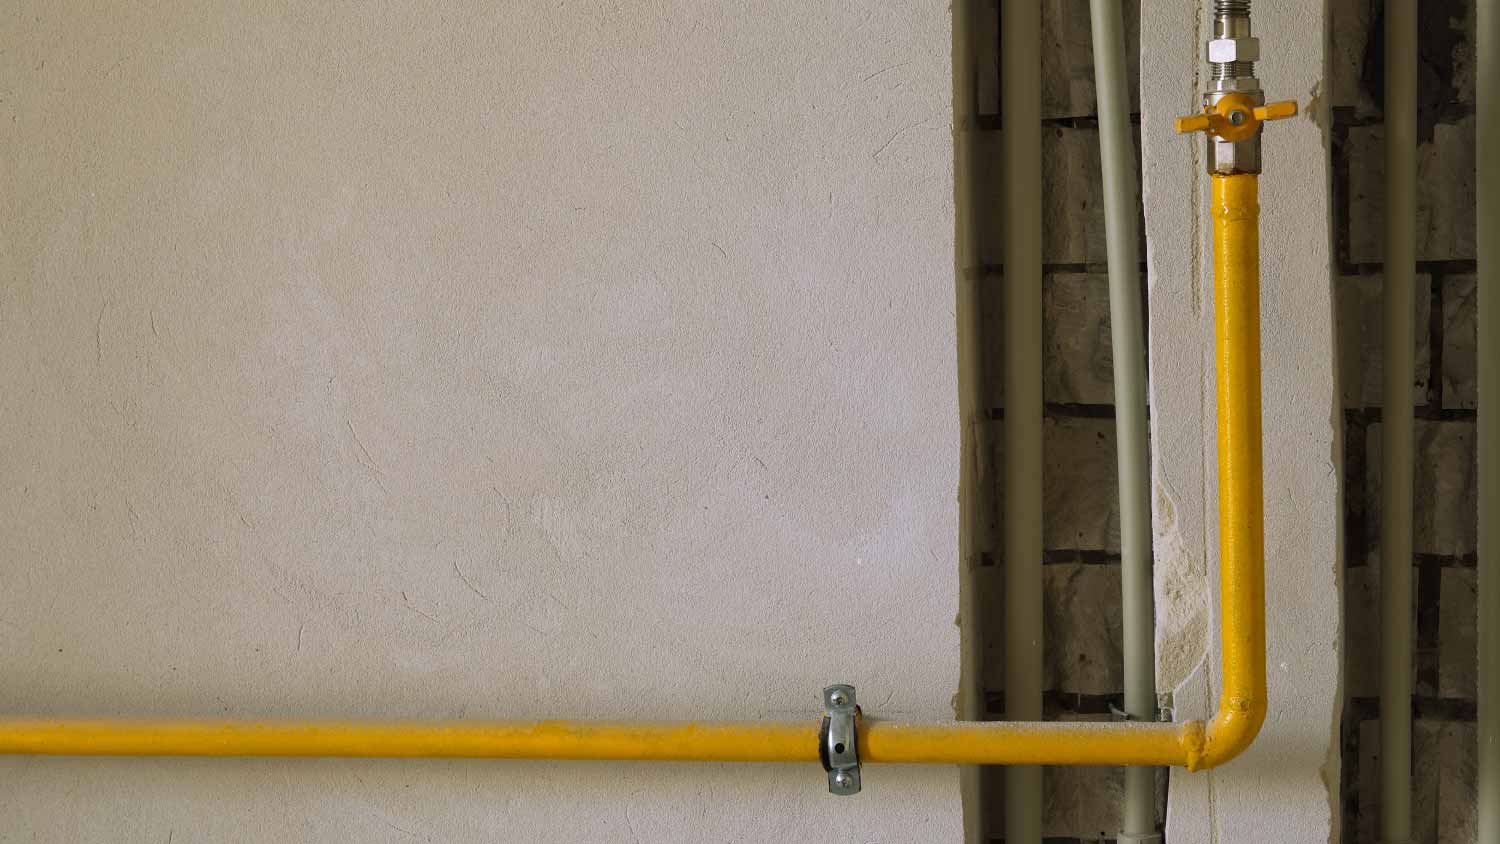
Gas line connections need special sealants. So can you use Teflon tape on gas lines? Here, we explore the safest way to seal gas fittings.
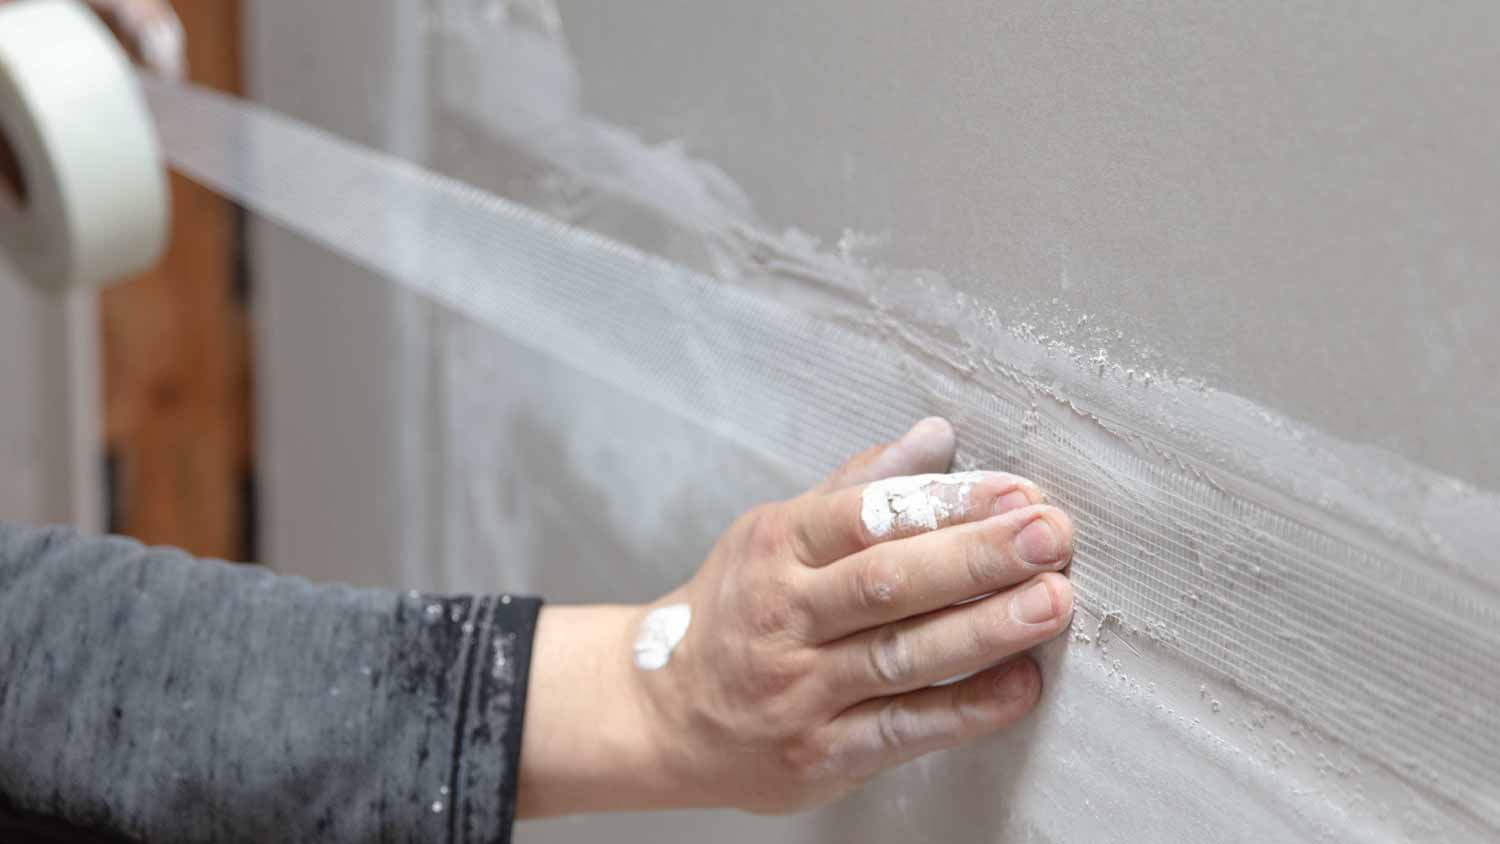
Every last detail of a home project must be considered for a quality finish, including drywall. Learn which types of drywall tape could be your best option.
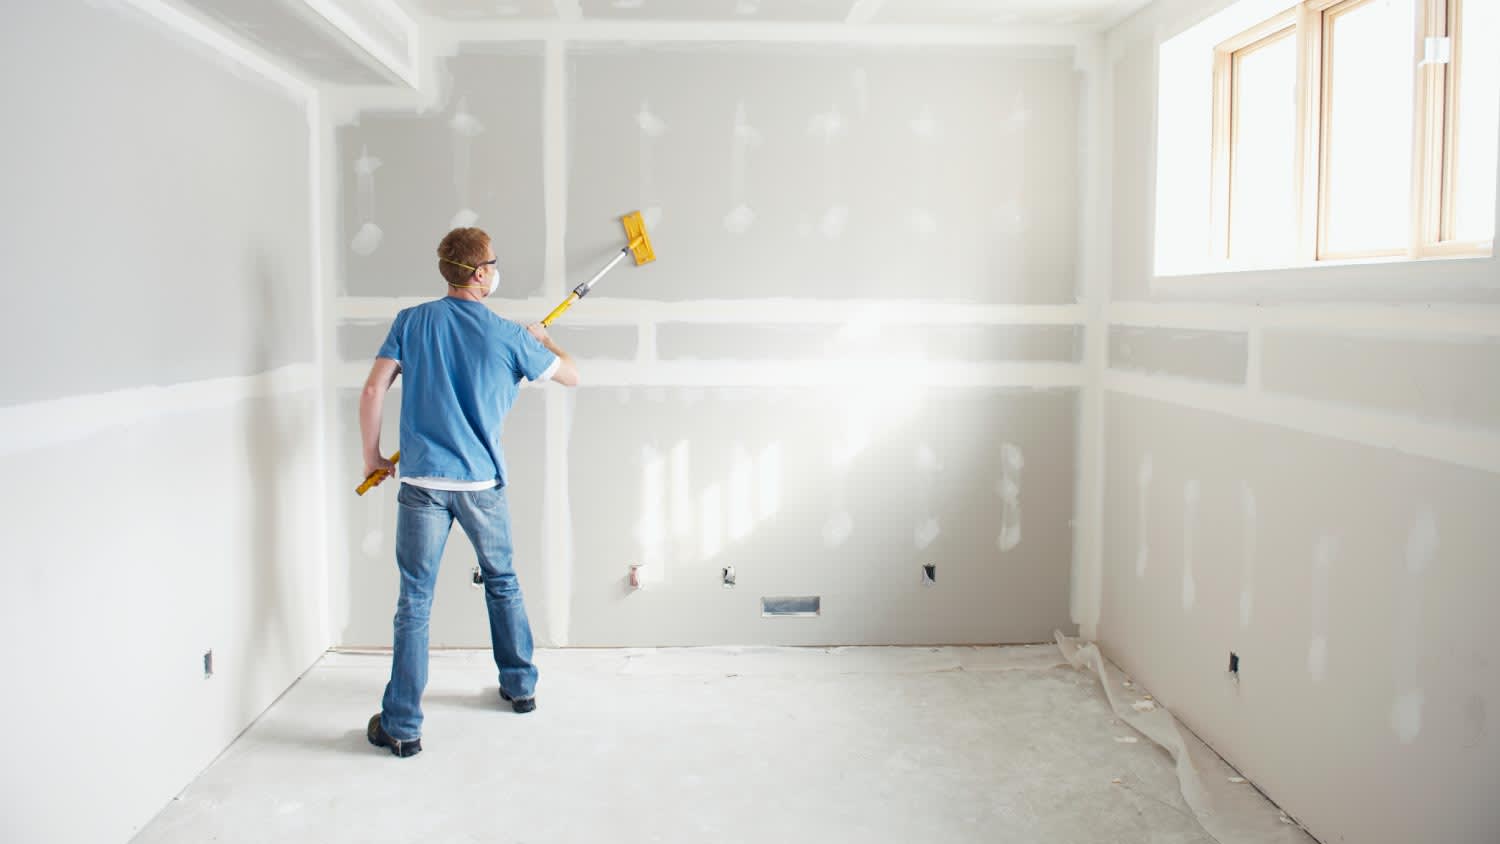
Hanging drywall is only the beginning of creating smooth walls. We’ll show you the steps required for how to tape and mud drywall as the key finishing touch.
Need to stop a plumbing leak quickly and minimize water damage in your home? Buy yourself some time with these temporary fixes for a leaking pipe.