
Notice leaks and corrosion around your chimney? You might need new flashing or some careful repairs. Here are some common chimney flashing repair costs.
Sealing this small part of your roof makes a big difference in keeping you dry

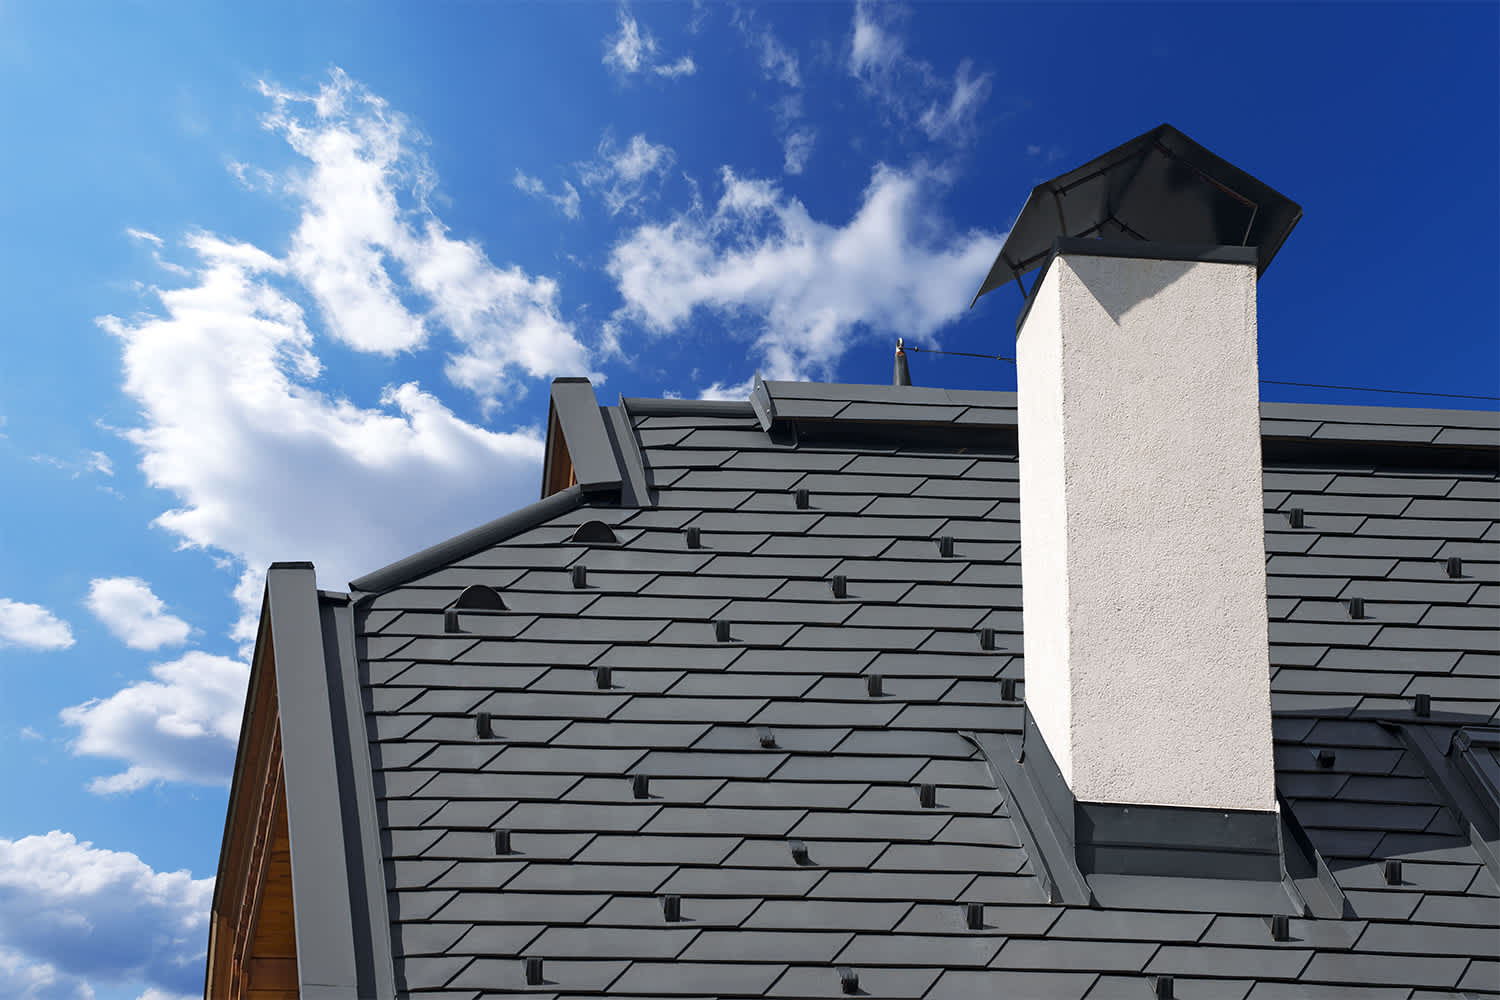
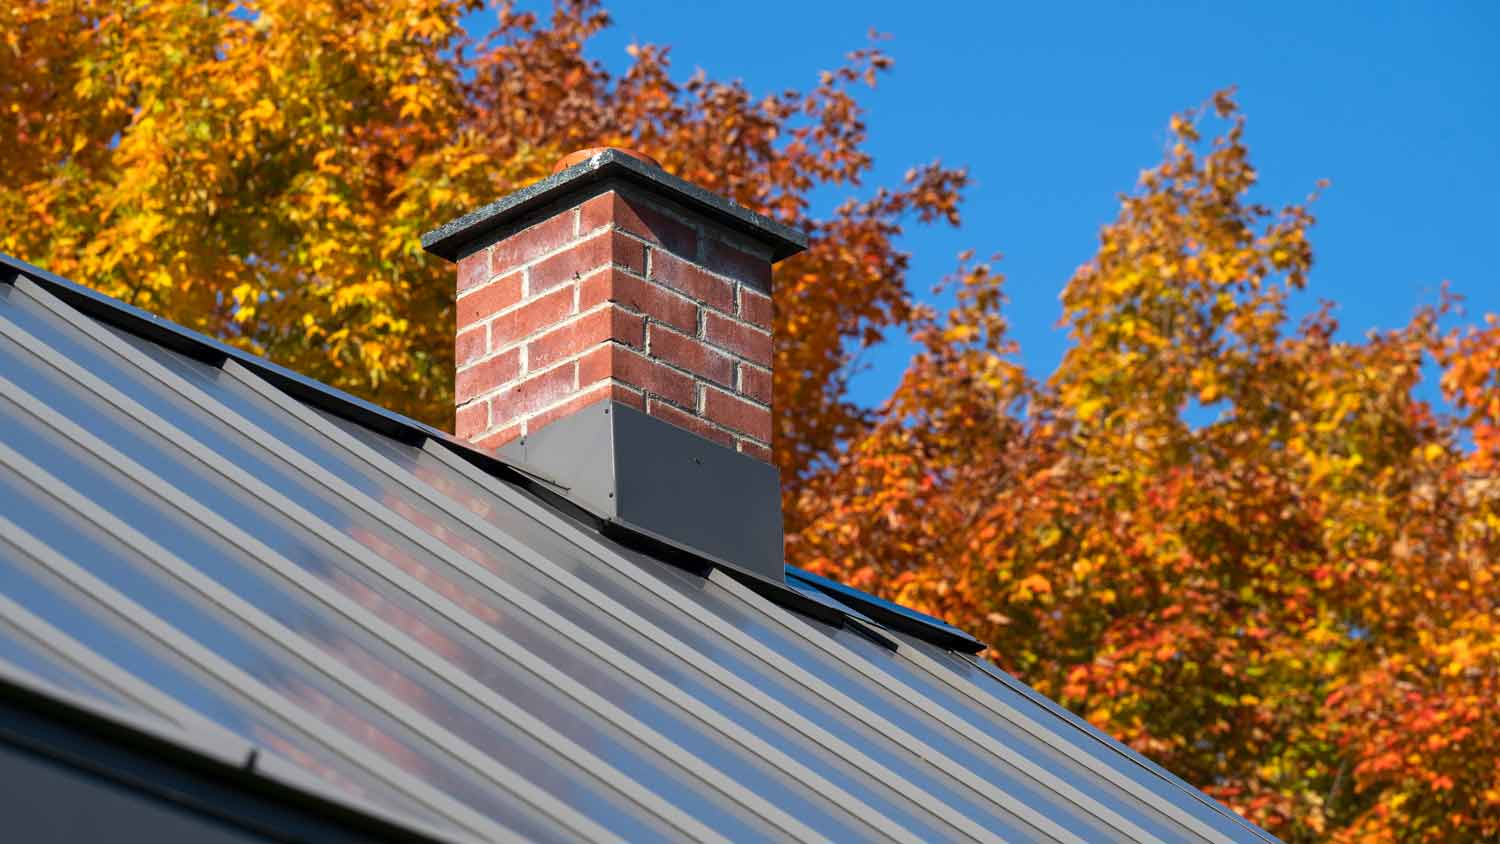
Your home's exterior is a network of materials that keep you dry and safe from water damage. Flashing refers to metal sheets installed over gaps and transitions in a roof, especially around chimney brickwork. While damaged flashing warrants full replacement, smaller issues can still lead to moisture problems. Learn how to seal chimney flashing to close gaps in your defenses.
Many types of caulk degrade quickly when exposed to heat and weather, and you can’t use just any product to seal your chimney flashing. The best caulk for chimney flashing is a high-quality, weather-resistant silicone caulk designed specifically for roofing applications. Expect to spend an average of $25 per tube, though some products cost more.

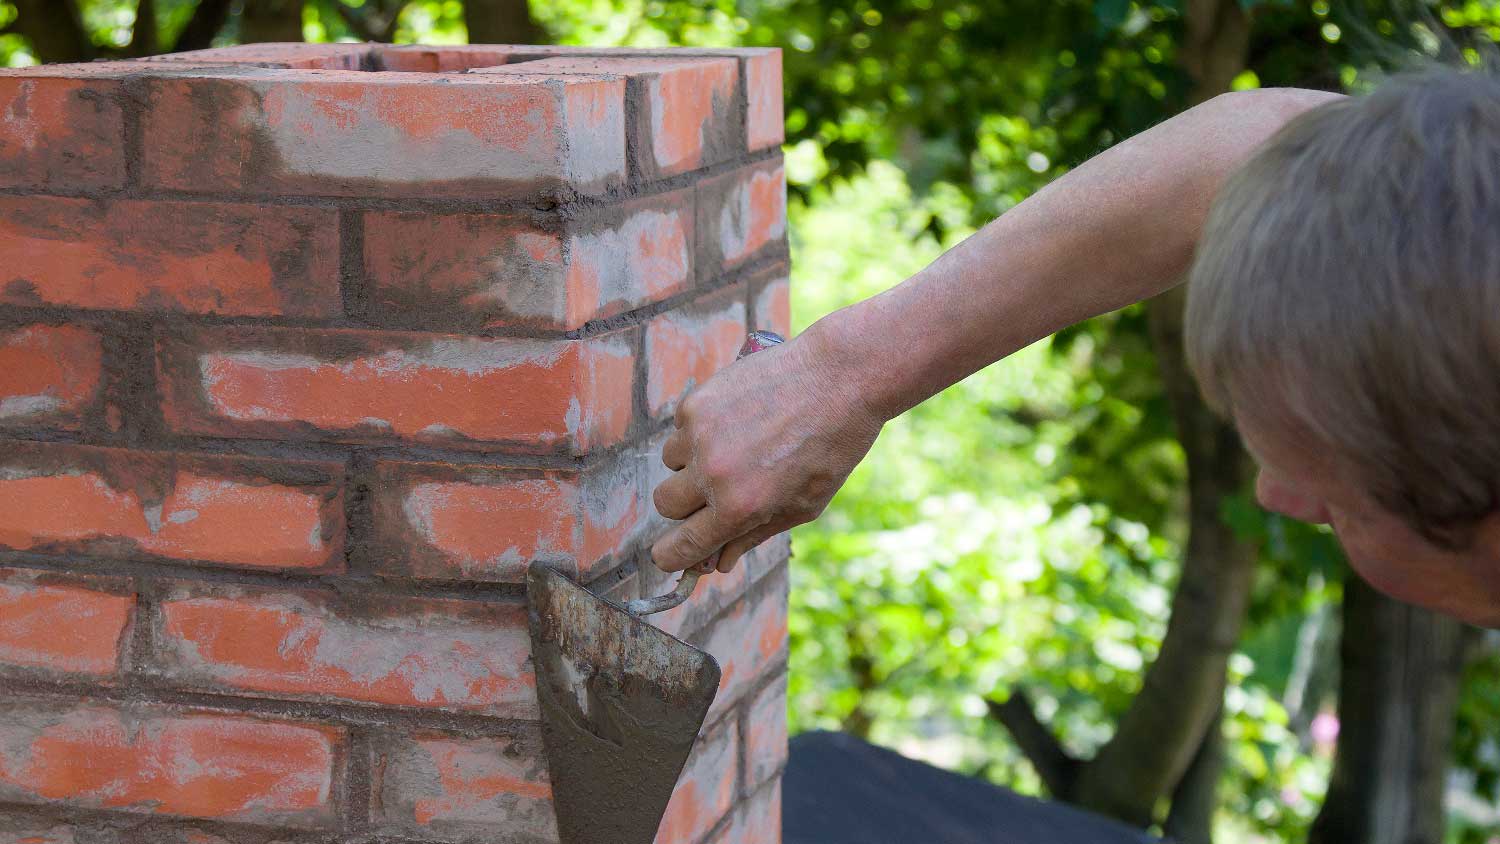
If you inspect your chimney and discover that the caulk around your flashing is wearing away, you need to reseal it. To seal the chimney flashing, remove the old caulk and clean the surface of the flashing. Then, carefully apply new weather-resistant silicone caulk along flashing edges and in mortar joints.
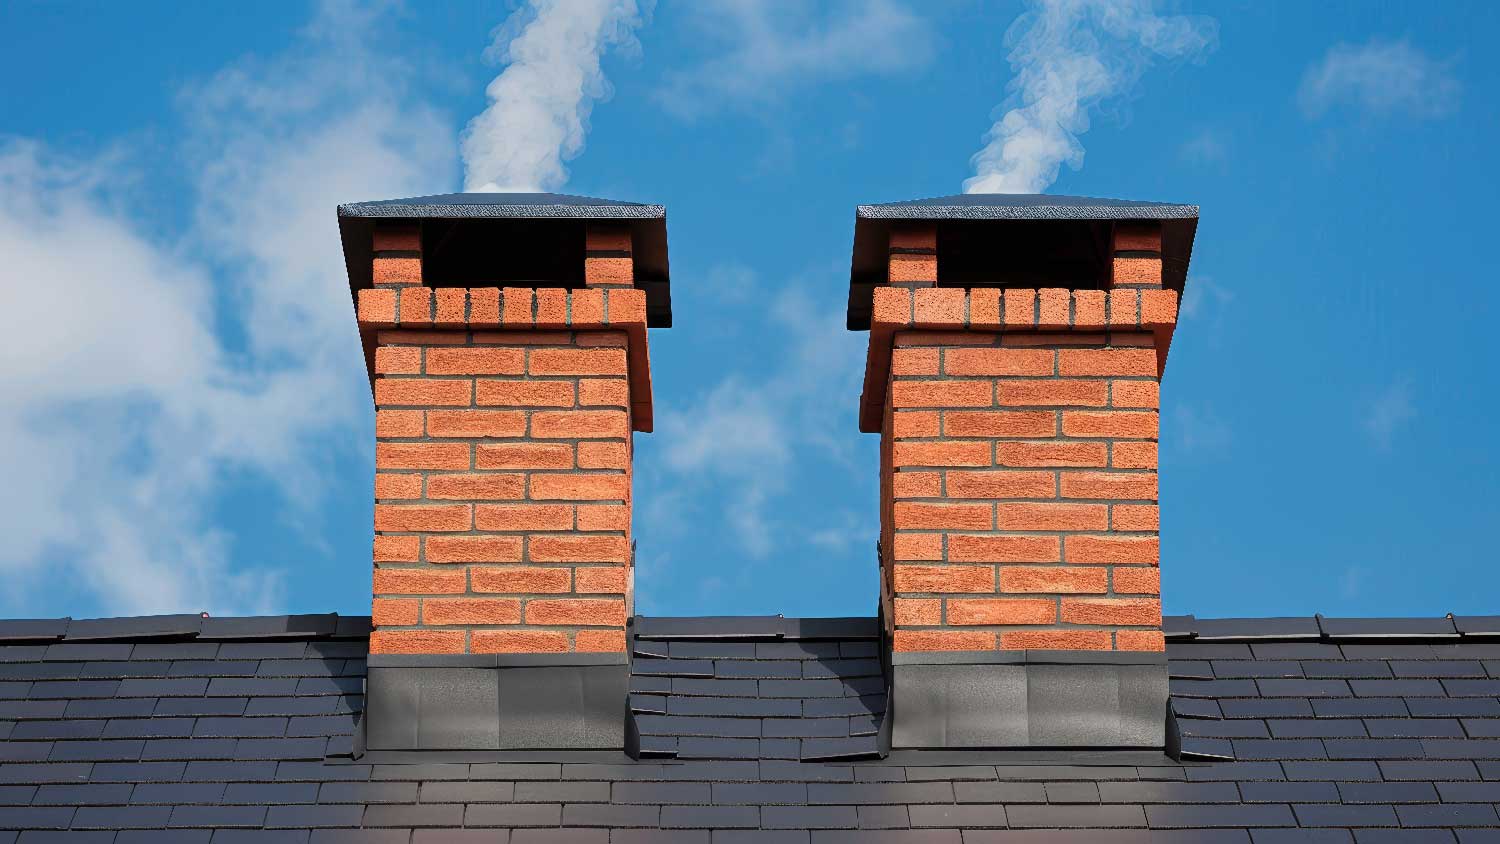
Start with a close inspection of the caulk on your chimney flashing. Telltale signs that it needs to be sealed include dry or flaking areas, visible gaps between the caulk and the brickwork, or sections where the caulk is missing completely.
If your flashing is seriously damaged, or if you discover spongy areas underneath, then simply sealing it won't suffice. Instead, you'll need to replace the chimney flashing, which is a much more complex and risky project to DIY.
Use a putty knife or scraper to remove old, dried-out caulk material. Be careful not to damage the surrounding brickwork or the flashing itself in the process, and avoid pulling the flashing away from the chimney.
Use a stiff brush to scrub the area around the flashing to remove moss, grime, dust, and other debris. Leaving debris on any surface will prevent your caulk from holding properly.
Use your caulk gun to carefully apply caulk to the following areas:
Along the top edges where the flashing meets the chimney
In mortar joints where flashing is inserted
Over nail heads
Use your putty knife or scraper to smooth the caulk into an even layer. Avoid air gaps to ensure an effective seal. Allow the caulk to dry per the manufacturer's instructions, then inspect your work and repeat as needed to correct any gaps or flaws in the seal.
Sealing chimney flashing as a DIY project is inexpensive and takes very little time. The cost to seal a chimney can be much higher if you hire a pro, since labor alone will cost $130 or more.
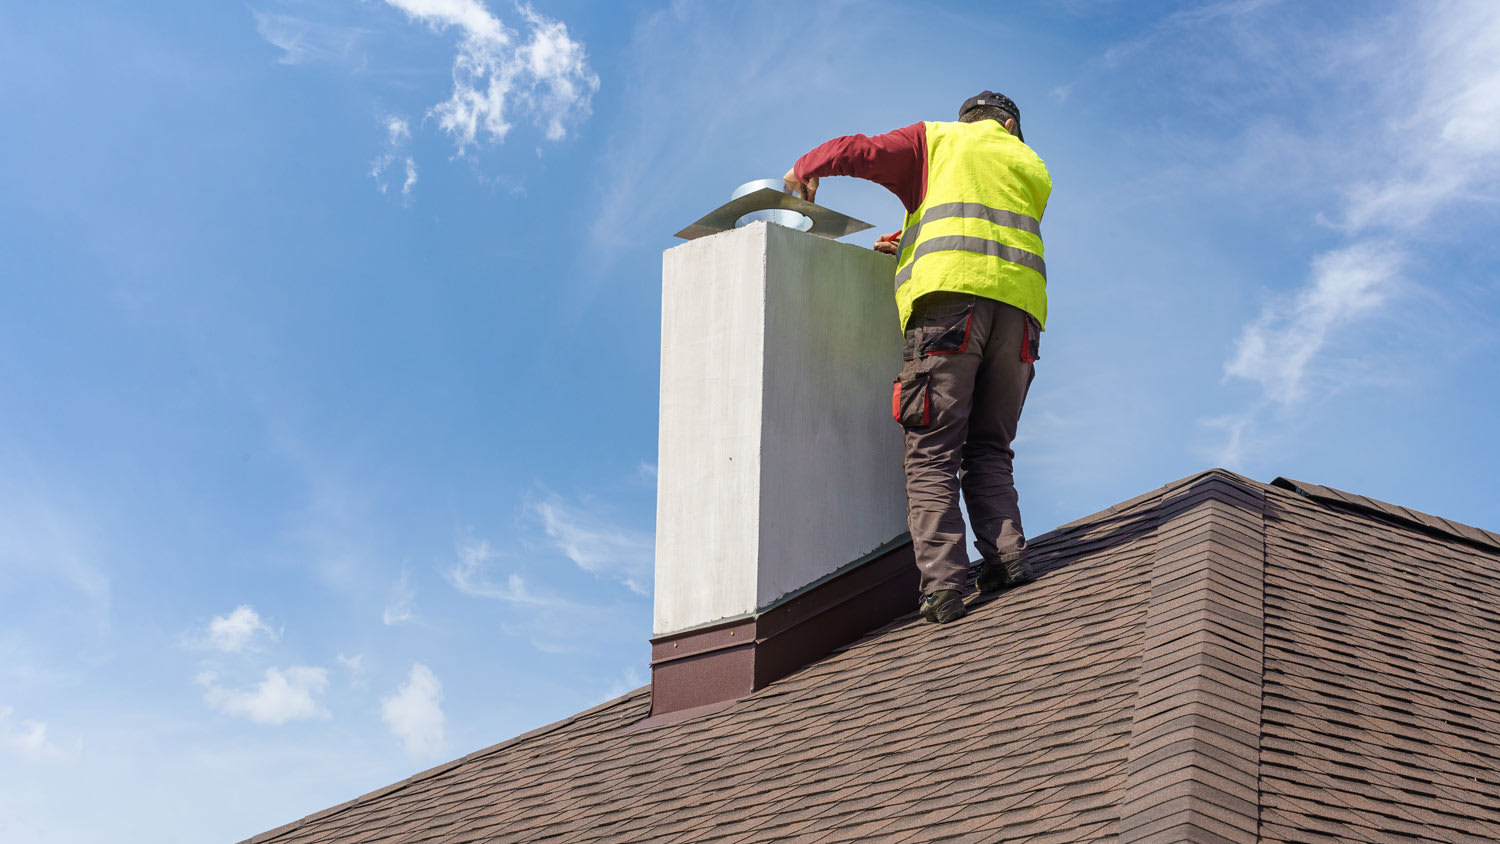
However, any project that involves working on a roof is inherently risky for homeowners. You should always have a spotter when working on a ladder or roof. Additionally, removing material from a chimney poses a risk to the masonry, which can be costly to repair.
To avoid the risk of personal injury or damage to your roof or chimney, consider hiring a local roof repair company to handle sealing your chimney flashing.
Terrible experience. Walls/trim/floors/cabinets/doors all have drip marks, overspray, etc. Tiling at the fireplace had to be redone by another vendor due to incorrect and shoddy install by Profect. Contractor had his children in our house while he was on site without prior authorization or...
 Profect painting & exteriors
Supreme Brick & Chimney did a great job with a cleaning and inspection of the fireplace! He was efficient, on time, and very pleasant. The space was kept very clean, and the fireplace was spotless when he was done. He also performed a thorough inspection, and did a great job talking us...
 Supreme brick & chimney
Ace Fireplace Services came to the rescue for my chimney repair. They were quick to pinpoint the issue and worked their magic to fix it. My chimney is now in excellent shape, and I'm a satisfied customer.
 Ace Fireplace Services
Custom Paint Jobs LLCs custom murals brought life to our childrens rooms. They love it!
Storms Mobile Welding was great to work with. They were prompt, professional and did an overall excellent job on the project. I highly recommend.
On time, clean and finished fast. Windows seem sturdy and the finish is good. Caulking was done with no smudges. Would recommend.
The team is awesome!! I can generally pick up and clean throughout the week, but they CLEAN! Windows, stair rails, microwave. All the things I can’t ever seem to get to regularly. The house looks and smells great after they leave.
Bought a half a cord of firewood from Pitzer with stacking last month. I waited to report so I could see how the wood burned. <br /> <br /> I have three pet peeves regarding landscapers, but Pitzer scored "A"s regarding all three. First, rather than having customers "leave a message" and...
 Pitzer Landscaping
We decided to update our partially finished basement, with a budget. Gerald worked with me on the lighting and chair rail selections, and produced an end product that was everything we wanted and within our budget. The work was done quickly, and he and his crew were always prompt and...
Outstanding! The granite and the installation went so well that we had the remaining slabs of the granite put into our new house. The 2ND kitchen/wet bar installation went as well as the 1ST, so we had them put granite on our master bath counter top, shower seat, ledge and kick plate for...
 LIND STONEWORKS
From average costs to expert advice, get all the answers you need to get your job done.
Notice leaks and corrosion around your chimney? You might need new flashing or some careful repairs. Here are some common chimney flashing repair costs.
Sealing your chimney is one of the most affordable ways to prevent water from penetrating the bricks. This guide breaks down the cost to seal a chimney.
Discover the average chimney tuckpointing cost, key price factors, and expert tips to help you budget and save on your next chimney repair project.
Chimney flashing helps keep water, snow, and debris out of the home, but what caulk can you use to seal it? Learn about the best caulk for chimney flashing.
You might think you know how your chimney works, but what is chimney flashing? Learn about the roofing element that keeps your fireplace dry.
When you need to hire a pro who fixes chimney flashing, look for a roof repair contractor or chimney repair person to preserve the structural integrity of your home.