

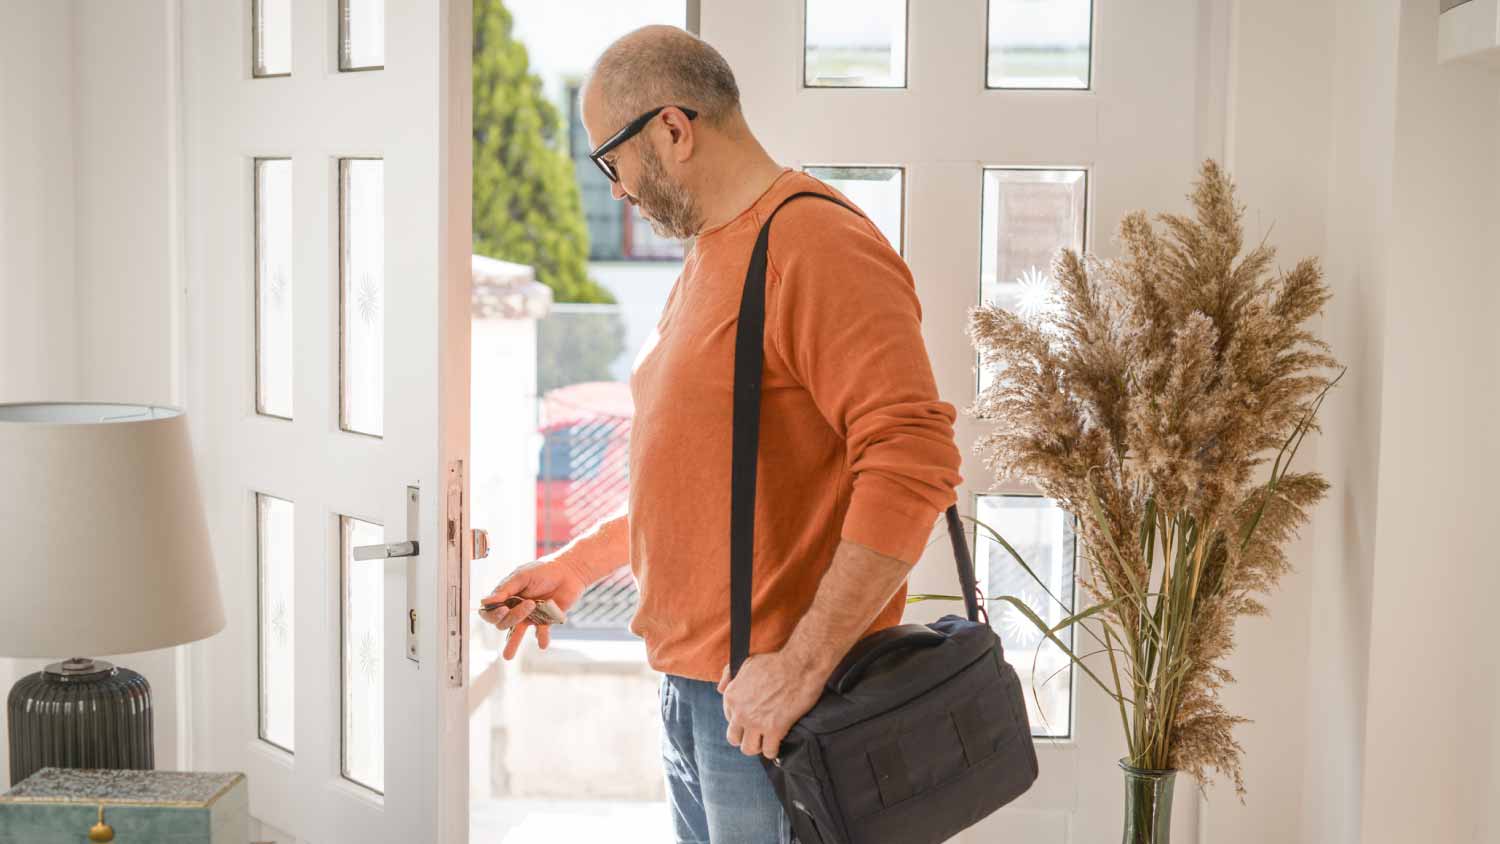
Are you looking to upgrade an old door in your home? Use this interior door installation cost guide to estimate the project's total cost and learn how to save.
With the right tools, you can handle this project in an afternoon

Swapping the swing of your door is moderately complex and requires the help of a friend—holding up a door alone is a bit unwieldy. But this home improvement project is manageable as long as your door is symmetrical and identical on both sides. It’s also much more affordable than the cost of installing a new door, especially if your tool shed is already stocked with all the DIY basics.
This guide walks you through the steps of how to reverse a door swing and put a latch on, all in just a few hours.
Before you can work on the frame, you’ll need to remove the door. Use a hammer and chisel or nail to remove the hinge pins, then carefully lift the door off the hinges. Place the door on your sawhorses (or a table, if you don’t have sawhorses) and use a screwdriver or drill to remove the hardware.
When removing all hardware, note where everything goes and how it connects. You’ll install it similarly on the other side, just upside down. So if the hinges are currently facing up, you’ll install them facing down to reverse the swing.
Use wood glue and wood scraps, dowels, or toothpicks to fill the holes left from the old hinge set. Let the filler set until dry, and then cut any excess material so it’s flush with the door. Sand until smooth.

Many parts of a door require attention when reversing a door swing.
Flip the hinges upside down and use a pencil to mark the spot for the screws. Remove the hinge and use a drill to drill pilot holes. Put the hinges back on and screw into place.
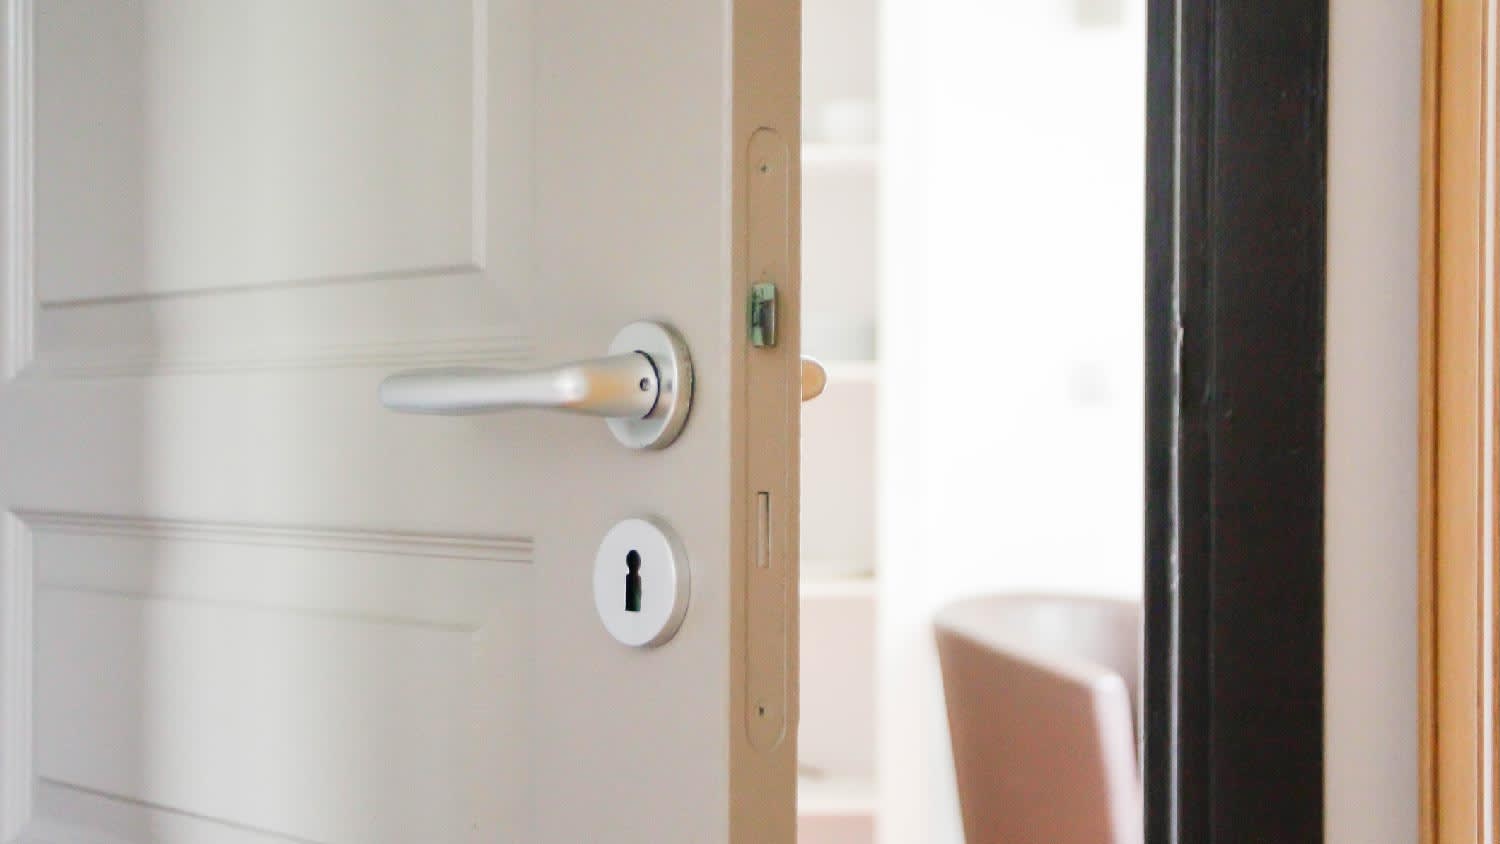
Most handles can simply be flipped so the latches match the new frame. Latches typically have a curved and a flat side, with the curved side being what pushes into the door. You’ll have to swap the hardware to let that happen. If your door has a deadbolt, you’ll also need to flip that too.
Use your screwdriver or drill to remove the hardware, flip it around, and reinstall.
If you’re swapping an exterior door, flip the weather stripping, too. If the weather stripping is faded or damaged, now is the time to replace it.
It’s time to give the doorframe some attention. This step requires a bit of patience and attention to detail, so make sure you’re locked in and ready to go.
Before you tackle spackling the old holes, use them as a guide for your new swing. Measure the distance from the top of the frame to each hinge mortise on the old hinge side, plus the depth of the hinge area, and transfer these measurements to the opposite side.
The hinge should be flush with the door frame, so you need to remove a shallow portion of the wood to allow for this. Place your hinge on the marked area of the frame and trace around it with a pencil. Use a chisel or a router to cut out this area.
Use wood scraps or even toothpicks to fill the holes left over from your old lockset and hinges. Then, use wood filler to fill the rest of the hole. Once the filler is dry, sand it down to get a smooth finish.
For a finished final product, prime and paint the area while your door and hinges are off.
Finally, it’s time to hang your door back into place. Grab a buddy and align the hinges with new mortises. Start with the middle hinge, dropping the pin into place once it’s aligned. Then, drop the other pins in and screw hinges in place. Only once all the pins are in can you and your helper rest.

Extend the deadbolt and close the door frame. Use a pencil to mark the frame where the top and the bottom deadbolt hits—this is where you’ll make a hole. Repeat the process with the latch.
Once both areas are marked, drill out the holes and use a chisel to cut out enough wood for the strike plate and deadbolt catch to sit flush with the frame. Screw them into place.
Open and shut the door a few times, paying attention to how it swings. If it’s not how you’d like it, try troubleshooting it:
If the alignment is off: Loosen the screws on the hinges and adjust the door until the fit is right. Once you’re happy with the alignment, retighten the screws.
If it won’t latch: You can adjust the latch slightly by loosening the screws and moving the strike plate. If that doesn’t help, you may need to go back to step four and try again.
If the door squeaks: Apply a lubricant spray to the hinges and moving parts. Open and shut a few times to make sure the lubricant gets into all the little nooks and crannies.
You can DIY this project, but it’s definitely not an easy task. Luckily, you likely have most of the tools needed in your tool shed already, it’s just a matter of getting a friend to help and taking your time to get the right measurements.
If you’re not confident with your DIY (or math) skills, consider hiring a local door repair company to tackle this task. This is especially a good idea if your frame needs to be repaired or replaced, as they can do it all in one fell swoop.
Terrible experience. Walls/trim/floors/cabinets/doors all have drip marks, overspray, etc. Tiling at the fireplace had to be redone by another vendor due to incorrect and shoddy install by Profect. Contractor had his children in our house while he was on site without prior authorization or...
 Profect painting & exteriors
Jason has helped me with multiple household projects, with the most recent being new door installation. He has always showed up on time and organized and has done an incredible job! Jason is very professional and he's now my go-to for anything around my house that needs to be fixed or...
Company came to look at my garage door that was off track. They also said I needed a brace on the other garage door. They put the door back on track, and I paid to install the brace. The technician told me I needed a new garage door opener, and it would cost $1000. Red flags went off in...
 Precision Overhead Garage Door Service
On Sunday 2/26 I requested quotes via Angi from 4 refrigerator repair businesses. Northwest Appliance responded to me Monday morning (2/27) and my refrigerator was repaired by noon the same day. Great communication, they did everything they said they would. The technician had the parts on...
Excellent customer service and knowledge. I was recommend to him from my neighbour. My front door and window came in great and were installed beautifully perfectly, I m very satisfied with their excellent work, so decided to order one more big bow window for my living room. I cant wait for...
Called ahead and worked quickly to install keyless locks on vintage wooden doors.
Scott did not get appropriate access to the property prior to the scheduled inspection which required us to come back later in the day to complete it. He also, unprofessionally, knocked on a neighbor?s door in his attempts to reach someone with access. His overall report was fine though the...
Door Depot was very responsive - they came out the day after my call to assess my needs, then returned at my convenience to complete the work. They arrived early, and the work was completed in a shorter period of time than estimated. Very pleased with the results. I would definitely use them...
 Door Depot LLC
Replace garage doors: Fast response, competitive estimate, timely work done well.
Jeremiah did an awesome job cleaning 28 windows inside and out! He was fast, efficient and now I have a beautiful view again. This was a Groupon for $139 for 20 windows, but I had 28 windows/doors cleaned, so there was an extra $6 per window. Totally worth it.
 Complete Home Services
From average costs to expert advice, get all the answers you need to get your job done.
Are you looking to upgrade an old door in your home? Use this interior door installation cost guide to estimate the project's total cost and learn how to save.
When replacing a door, you need to decide between a right hand vs left hand door. Learn about their differences, and which is right for your project.
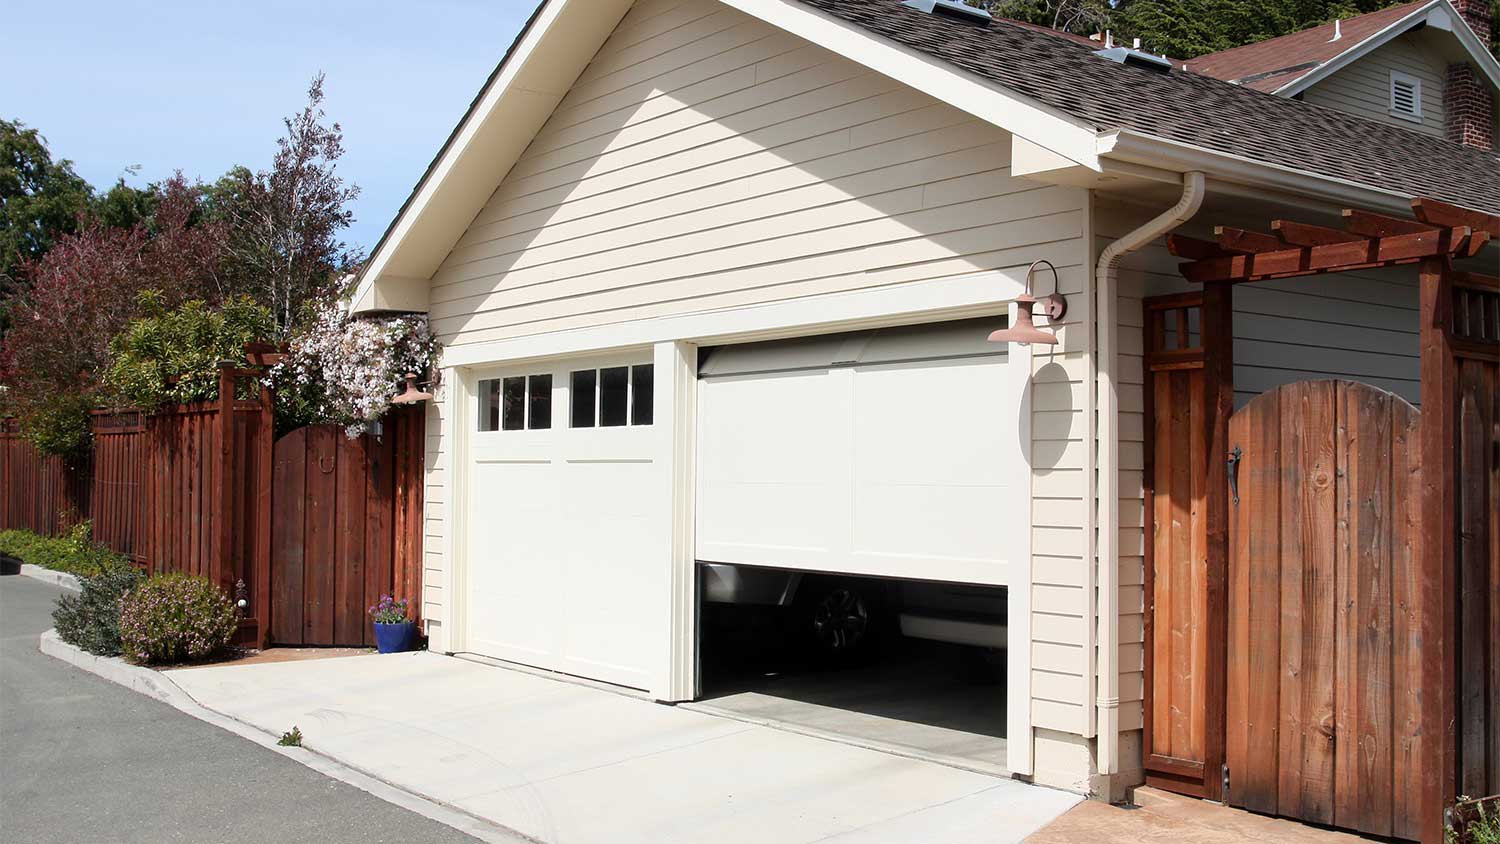
Learn how to adjust your garage door’s auto-reverse settings in five simple steps. Keep your garage door functioning smoothly with this quick and easy guide.

Take a good look at the doors in your home to notice their main difference. Here's how to tell inswing vs outswing doors apart, and when to install them.
Use our guide to identify eight common door installation problems—and how to fix them.

Do you have a cabinet door that’s banging into walls, appliances, or kneecaps? Here’s how to stop cabinet doors from opening too far with all the best solutions.