
If your sprinkler system isn’t working, it may be time for a new pump. Find out sprinkler pump replacement costs with this guide.
Don’t let a busted head rain on your parade

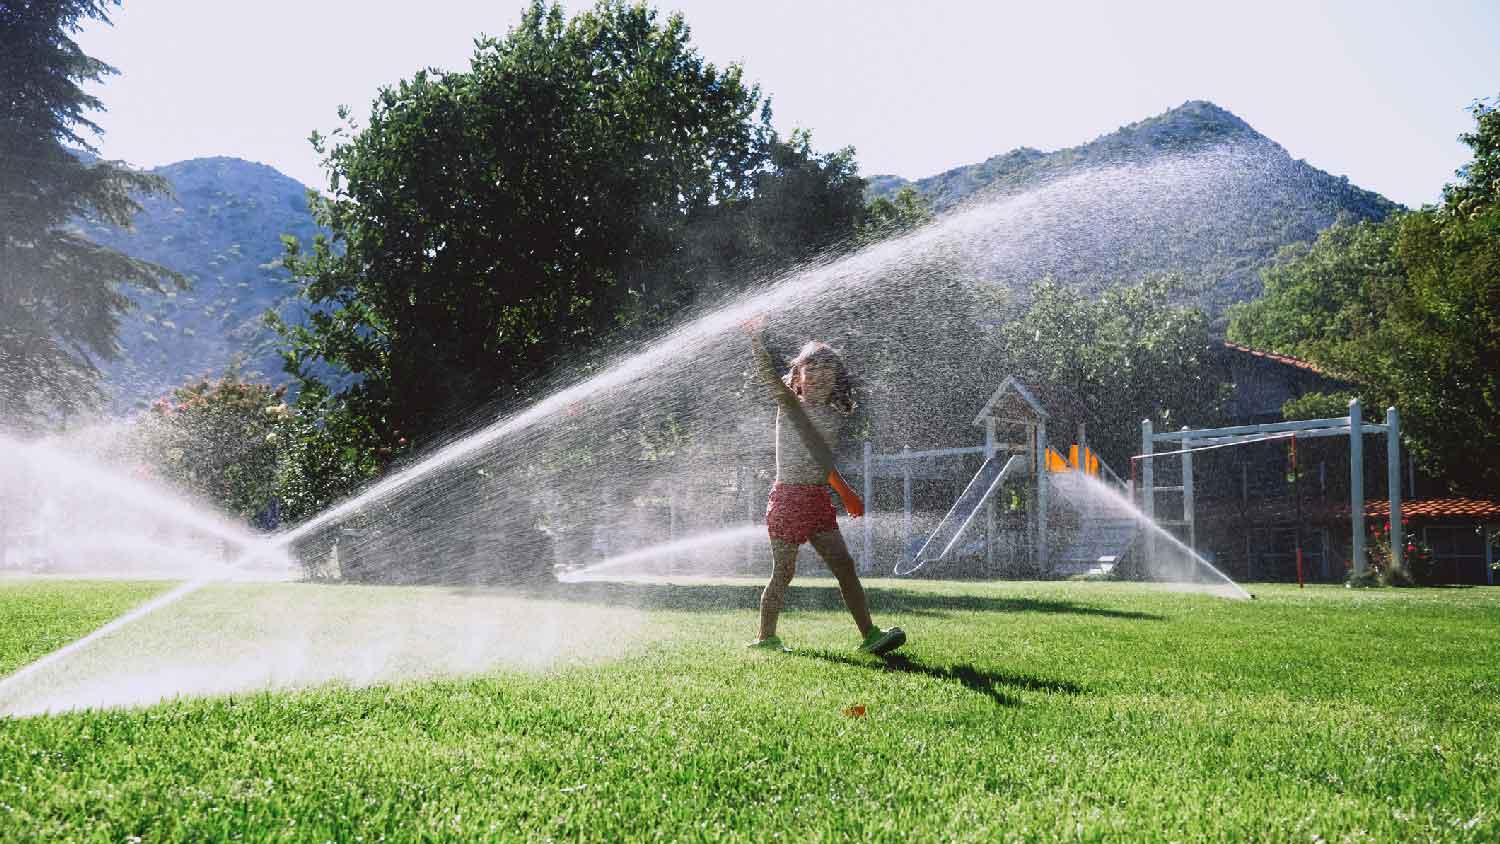
A well-functioning sprinkler system is crucial for keeping your lawn lush and green, but over time, individual sprinkler heads can become damaged or clogged. If you’re wondering how to replace a sprinkler head, the process is easier than you might think. With a few tools, some basic knowledge, and a little patience, you can swap out a broken sprinkler head in no time. This guide will walk you through the steps to ensure a smooth and efficient replacement.
Before learning how to replace sprinkler heads, you should assess them to ensure that replacing the heads is the right fix and that there’s not some other sprinkler system repair you need.
Here are some signs that you need to replace your sprinkler head:
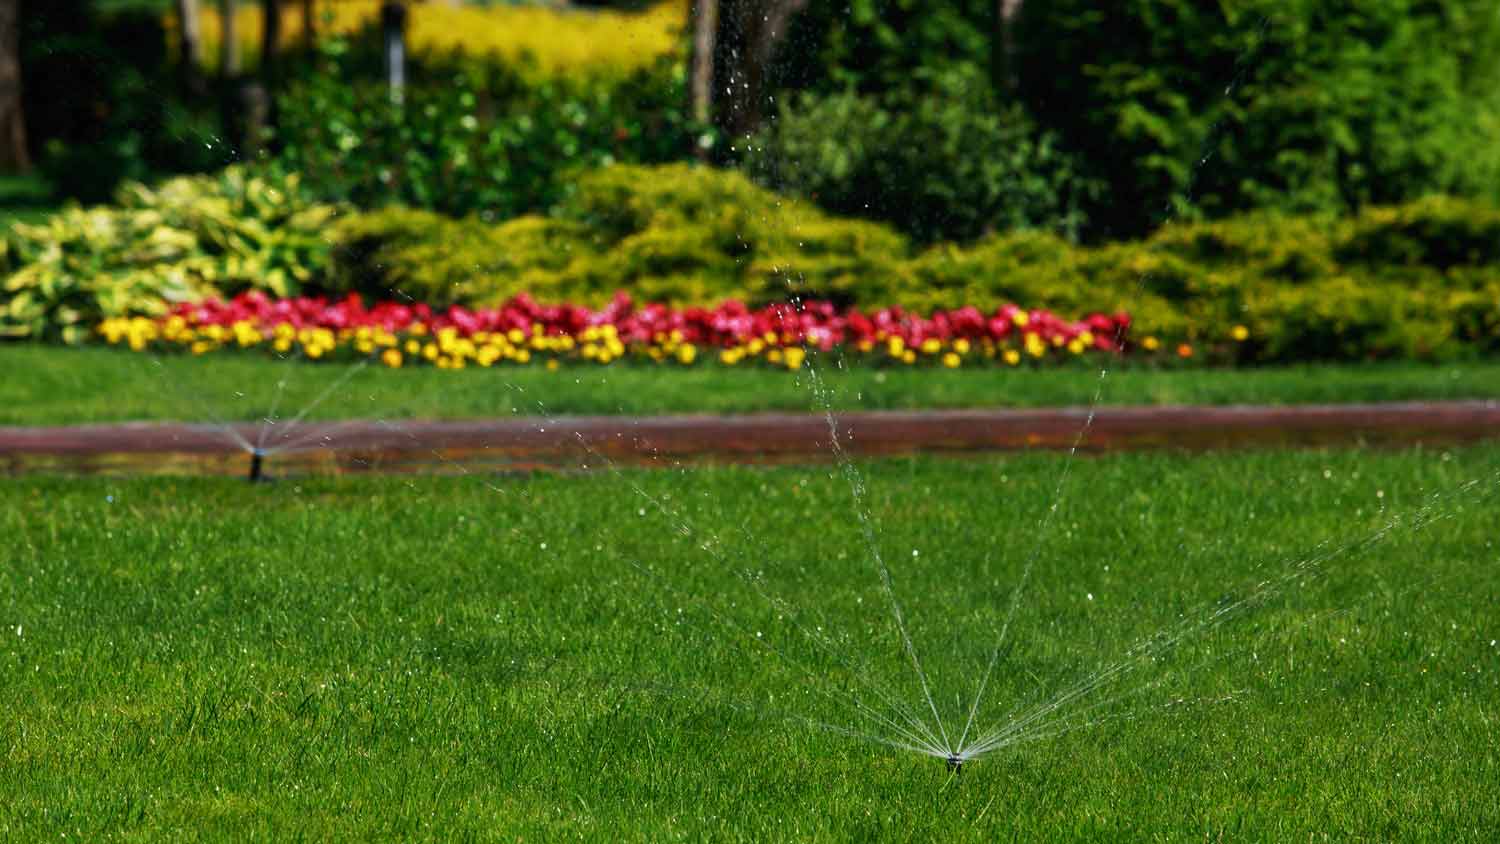
The sprinkler is not spraying evenly or at all.
There are visible cracks or broken components.
Water is leaking from the base of the sprinkler.
The head doesn’t rise properly when activated.
You notice water pooling around the head even when it’s off.
Sprinkler heads vary based on water pressure, spray patterns, and the type of lawn or garden they serve. Check the existing sprinkler head’s model number or take it to a local home improvement store to find a suitable replacement.
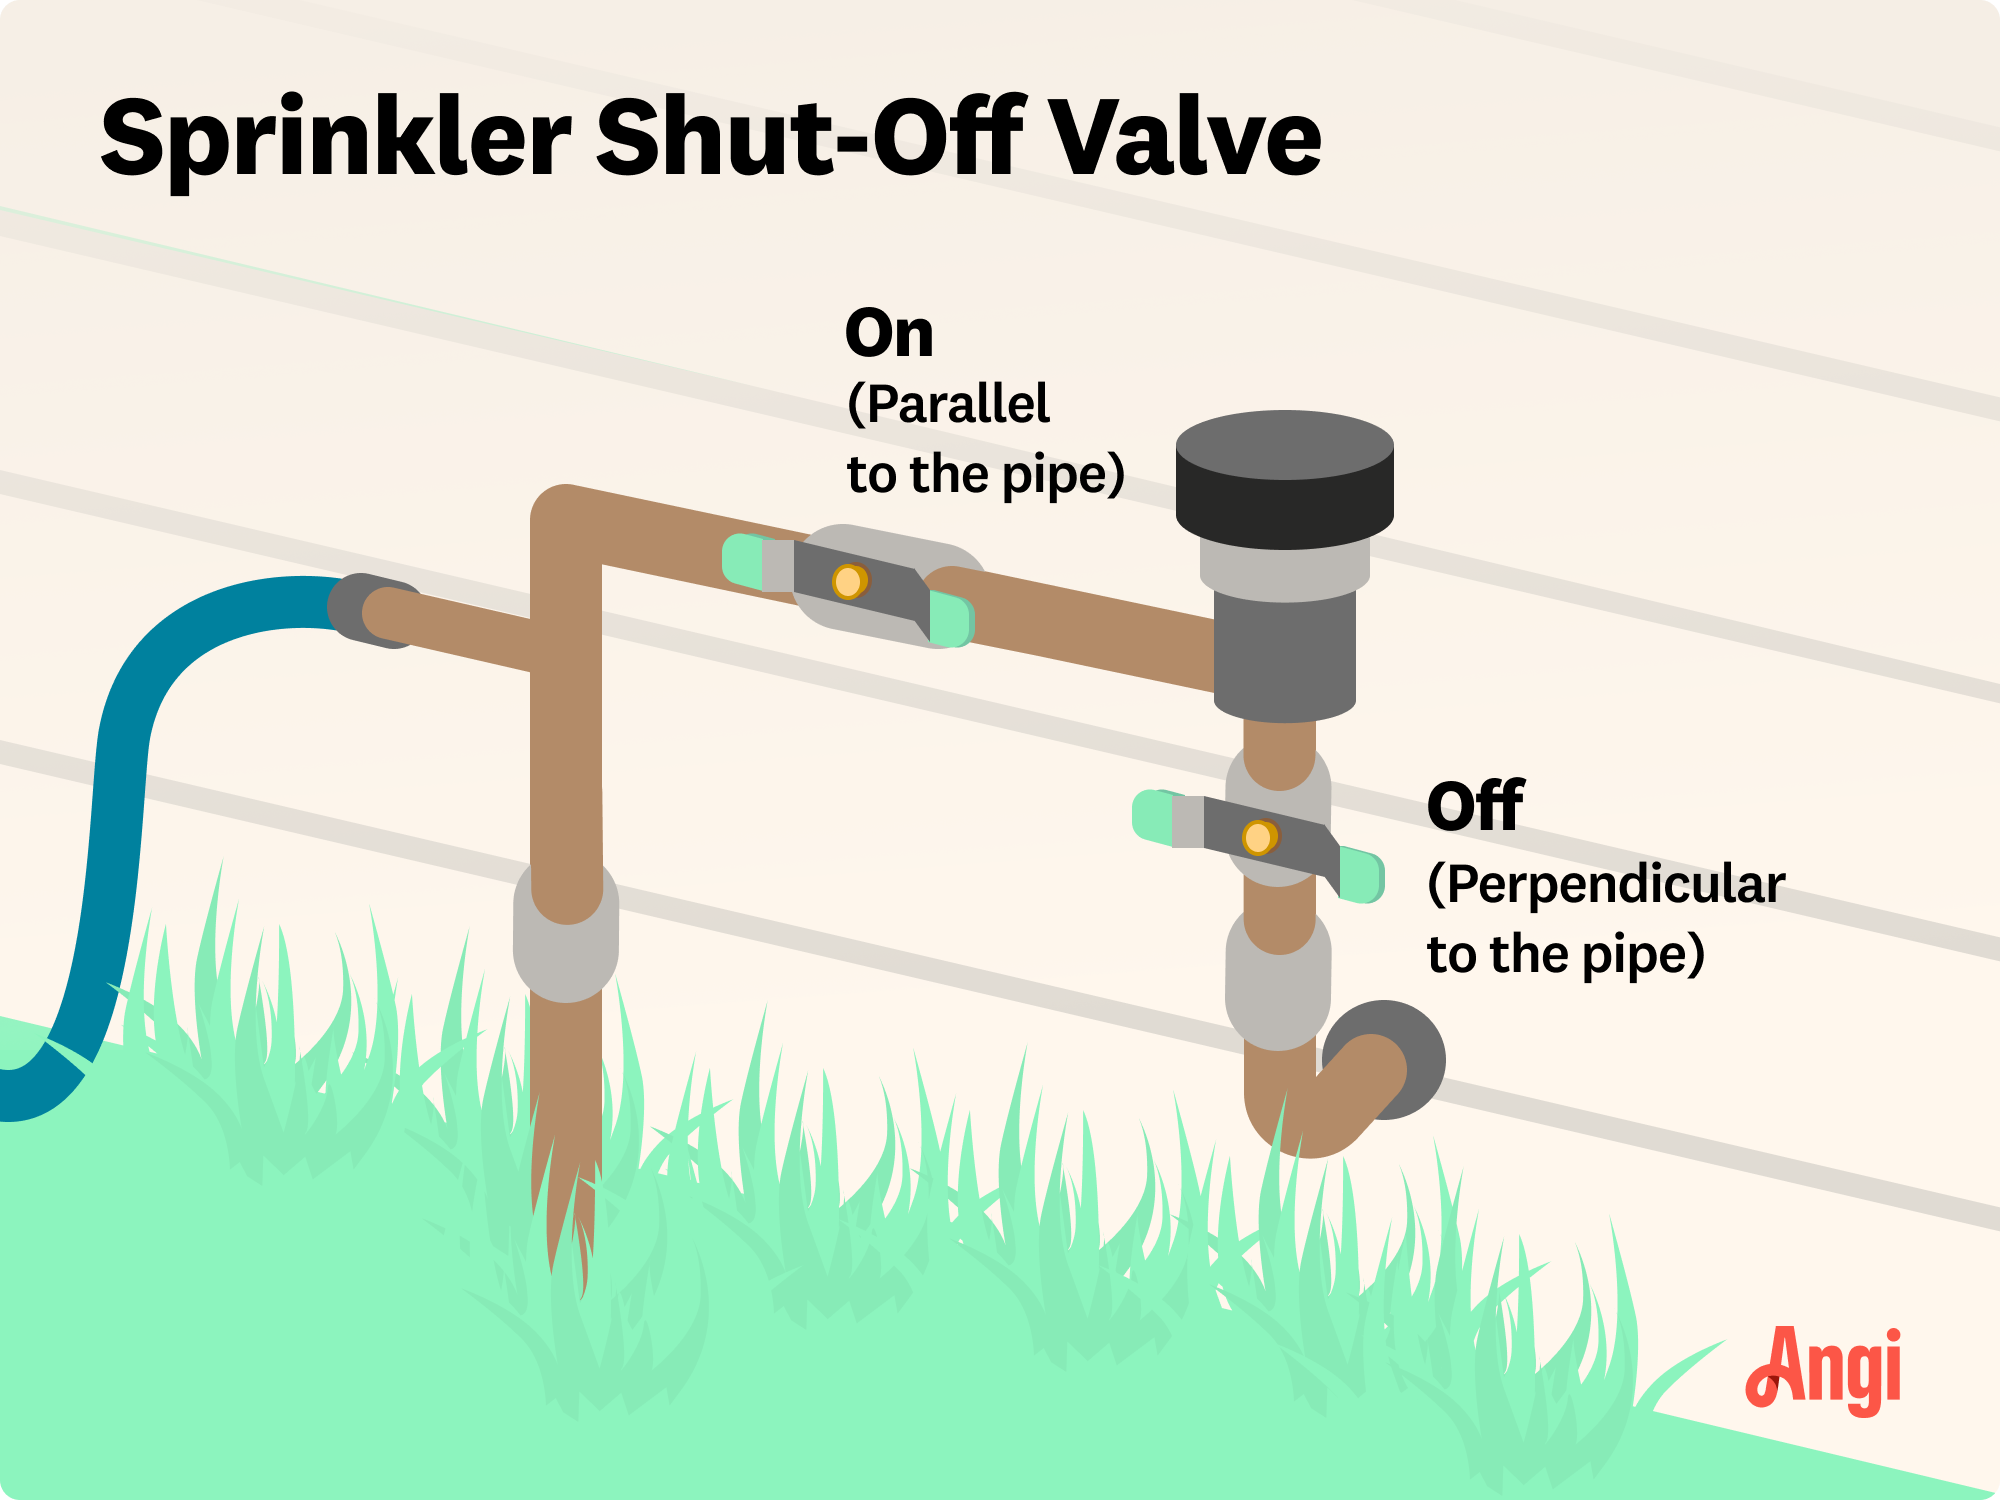
Turn off your water at the sprinkler shut-off valve. Then, it’s time to dig:
Use a shovel or trowel to carefully dig a circular hole around the sprinkler head. Aim for a radius of 2 inches.
Dig 4 to 5 inches deep, ensuring you don’t damage the underground piping.
Keep the removed grass and soil intact so that you can replace it later. You might find it helpful to set the grass on a piece of plastic or a small tarp.
If the soil is loose, gently compact the sides of the hole to prevent it from collapsing while you work. You can also pour a cup of water onto the top of the sprinkler head before removing it to help the soil compact itself a bit.
Now that you’ve exposed the sprinkler head, you can remove it:
Grip the base of the sprinkler head and gently twist it counterclockwise.
If it’s stuck, use pliers or an adjustable wrench to loosen it.
Once it’s loose, carefully pull the entire sprinkler head, including the shell, out of the ground.
Inspect the connecting pipe for debris or damage before proceeding.
With the old head removed, you can install the new one:
If you want to, you can wrap the threads of the new sprinkler head with plumber’s tape to prevent leaks, but this isn’t a requirement.
Align the new sprinkler head with the existing pipe and screw it in clockwise by hand.
Once snug, use pliers or an adjustable wrench to tighten the head, but avoid over-tightening.
Adjust the sprinkler head to ensure it’s level with the ground.
If your sprinkler head requires a nozzle, attach the correct size and adjust it to control the spray pattern.

Before calling it a day, make sure your new sprinkler head is working correctly:
Turn on the sprinkler system and watch the new head do its thing.
Check for leaks around the base.
Ensure the spray pattern covers the entire area you need to water, and adjust it as needed.
If the sprinkler isn’t performing like you think it should, recheck the nozzle size and alignment.
With the new head installed, you can put your lawn back in order:
Refill the hole with the removed soil, gently tamping it down to eliminate air pockets.
Place the grass or sod back over the hole, pressing it down firmly.
Water the area to help the grass settle and encourage regrowth.
Even a simple sprinkler head replacement can go wrong if you’re not careful. Avoiding common mistakes can save you time, money, and frustration. Here are a few key errors to watch out for during the process.
Digging too deep: This can damage underground pipes and create unnecessary repair work.
Forgetting to check compatibility: Not all sprinkler heads work with every system. Ensure your replacement matches the existing setup.
Over-tightening the head: This can crack the fittings or damage the pipe.
Skipping the test phase: Always test before closing up the area to avoid having to dig it up again.
Replacing a sprinkler head is a fairly straightforward DIY project that many can tackle on their own. It requires only basic tools and minimal effort, and it can save money. However, there are some risks involved, especially for those who are inexperienced with irrigation systems. Digging too deep or over-tightening the new sprinkler head can lead to costly damage, and selecting the wrong replacement head may result in inefficient watering.
If you’re unsure about your skill level or suspect larger system issues, such as low water pressure, leaks, or multiple malfunctioning heads, it may be best to call a sprinkler repair pro near you. A professional can diagnose underlying problems, ensure proper installation, and save you the hassle of troubleshooting potential mistakes.
Cody did a great job!
Wonderful. I am going to have them remove and replace my driveway in the spring.
 All Star Paving and Sealing
We had a 20+ year old landscape lighting system that needed replacement. Midwest Lightscapes worked with us to design a much improved lighting system, lighting the exterior of the house and the back yard. Installation of the 45 light system took one and one-half days, and went very smoothly....
 Midwest Lightscapes
Did an amazing job transforming my yard. Also installed sod in places, would recommend to everyone.
Always been satisfied with the service work and how they have taken care of my pool.
Bill Gerhardt sold the company to his employees at the end of 2019, apparently without a workable succession plan and without notifying prospective customers of this fact. Most aspects of the maintenance contract have not been fulfilled: no installation of anual plantings per contract, no...
They show up and they did take us on as a client which seems to be a problem with other lawn care providers. We have multiple properties and this one was located close to downtown and no one really wants to mess with it.
I was very happy with the service provided by AK Irrigation. They responded quickly to my email, and the woman I spoke with was polite and professional. I was able to get an appointment that same week. <br /> The technician (Tyler) arrived on time. He was very knowledgeable, and worked...
 AK Irrigation
The worker came out when he was supposed to come. He informed me he would honor the Angie's List deal, but would not do any more work for me since my son in law owns lawn care company as well, even though they do not do the same type of work. He said he did not feel comfortable giving me...
 Bello Giardino LLC
E & L Lawn Care was super. They were very responsive before and after service. They were efficient and were able to complete the job within 1 day. I have had concern about one section of sod - the owner was pro-active and did a visit to evaluate. I have no doubt they will stand behind...
 E&L lawn care
From average costs to expert advice, get all the answers you need to get your job done.
If your sprinkler system isn’t working, it may be time for a new pump. Find out sprinkler pump replacement costs with this guide.

Find out the average sprinkler system repair cost, what impacts pricing, and how to save. Get transparent estimates to plan your sprinkler repair project.

When your sprinkler head is not rotating, the common culprits are debris, dirt, or low water pressure. Read on to learn how to solve a sprinkler head problem.

Learn how to adjust Rain Bird sprinkler heads, no matter the type. Fine-tuning your sprinklers ensures optimal water usage and reach.

Is your sprinkler system on the fritz? Discover our troubleshooting tips and steps for how to fix a sprinkler system so your lawn can stay lush and healthy.
If your sprinkler head is popping up but not spraying, you could have a clog. Learn the main causes of this problem and how to fix them.