
Get expert insights on stair railing repair cost, including average prices, cost factors, and tips to save money. Plan your stair railing repair project with confidence.
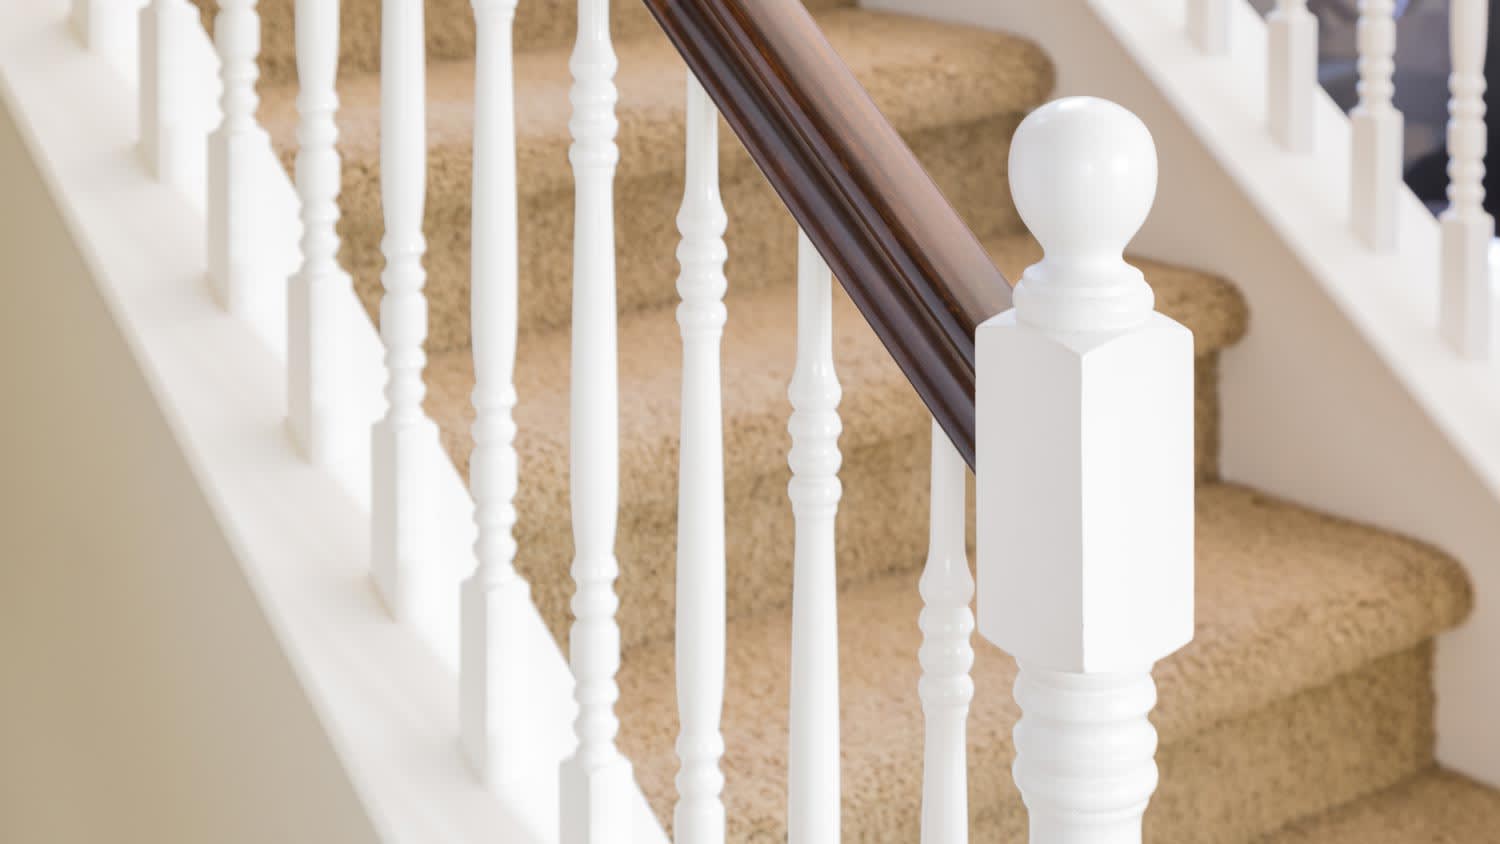
A broken spindle doesn’t mean replacing the entire railing

A loose, cracked, or broken railing spindle isn't just one of those annoying things on your to-do list—it's a safety hazard that needs to be fixed ASAP. Whether your spindle has suffered damage from daily wear, a mishap, or simply age, replacing it is a straightforward DIY project that most homeowners can tackle in an afternoon. This guide will walk you through how to replace a railing spindle, including removing the damaged piece and installing a new one that matches your existing railing perfectly.

With any luck, you have a couple of leftover spindles from the original installation hiding in your storage area. But if not, before removing anything, take precise measurements of your current spindle to ensure you purchase the correct replacement. Measure the railing height, including the length from the bottom of the top rail to the top of the bottom rail or stair tread. Also, measure the diameter or width of the spindle, as they come in various sizes.
Take note of the spindle's style and material—whether it's wood, metal, or composite—and any decorative details that need to match your existing railing design. This is also a good time to inspect the surrounding railings for any other damage that may need attention, so you can address everything at once.
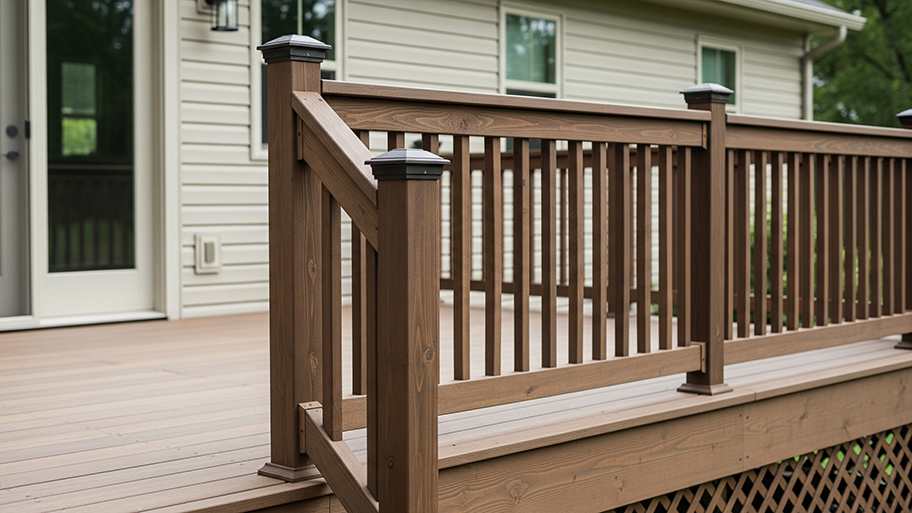
Take your measurements and a photo of your existing railing to your local home improvement store. Most stores carry standard spindle sizes and styles, but you may need to special order if you have an unusual design. Consider buying an extra spindle or two in case you need to make future repairs. If it’s an outdoor staircase, ensure it meets local railing requirements for decks and building codes.
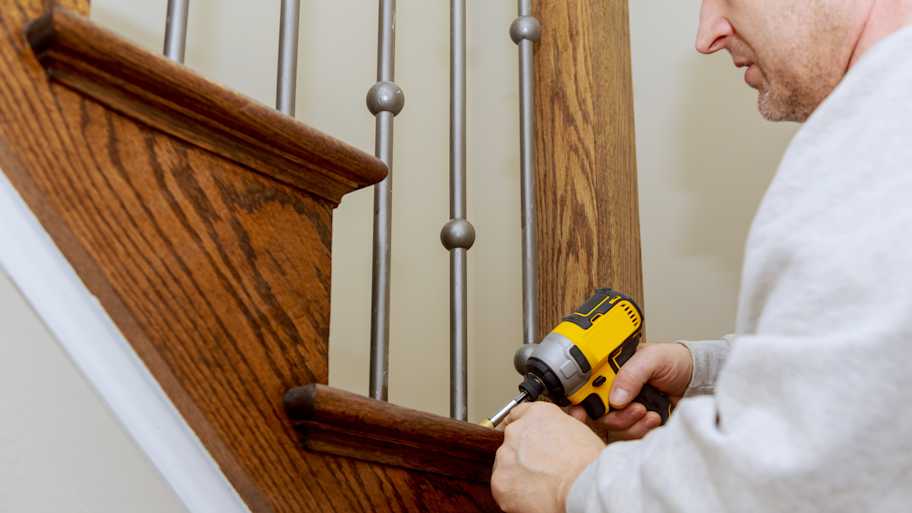
Put on safety glasses and work gloves before beginning removal. Most spindles are secured with screws from underneath the top rail and into the bottom rail or tread. Use your drill to carefully remove these screws, keeping track of their size and length for reinstallation. If the spindle is glued in place, you may need to gently work it loose with a chisel and hammer. For spindles that are dadoed (set into grooves), which is more common in older or custom wood railings, you might need to cut them out with a hacksaw, being careful not to damage the surrounding railings.
Once the old spindle is removed, clean out any debris, old glue, or wood shavings from the mounting area. Sand any rough edges smooth with 120-grit sandpaper to ensure a clean fit for the new one.
Before permanently installing your replacement, do a test run to make sure everything aligns properly. The spindle should fit snugly between the top and bottom rails without forcing it into place. Check that it's plumb using your level, and verify that the spacing matches the existing spindles on either side. If the fit is too tight, lightly sand the ends of the spindle to achieve a better fit. If it's too loose, you may need to add shims or use a slightly larger spindle.
Pre-drill pilot holes to prevent the wood from splitting, especially if you're working with hardwood spindles. Apply a small amount of wood glue to the contact points where the spindle will meet the rails. Position the spindle carefully and secure it with screws from underneath the top rail and into the bottom rail. Make sure the spindle is perfectly vertical before fully tightening the screws.
If your new spindle doesn't exactly match the color or finish of your existing railing, you'll need to apply stain or paint to blend it in. Clean the spindle with a cloth to remove any dust, then apply your chosen finish according to the manufacturer's instructions. For best results, consider touching up or painting the stair railing in its entirety to ensure a uniform appearance. If the entire staircase is in rough shape, consider refinishing the stair railings all the way up. Allow the finish to dry completely before letting kiddos or pets run up the stairs.
Replacing a railing spindle seems straightforward, but several common mistakes can make this simple project more complicated:
Mis-measuring: Always double-check your measurements before purchasing a replacement spindle. A spindle that's even slightly too short or too long won't provide proper support or may not fit at all.
Ignoring building codes: Different areas have specific requirements for spindle spacing and height. Make sure your replacement meets localcodes to avoid potential safety issues or problems when selling your home.
Rushing the removal process: Take your time when removing the old spindle to avoid damaging the surrounding railings. Rushed removal can damage other parts of your staircase.
Skipping the pilot holes: Always pre-drill holes when installing screws, especially in hardwood. This prevents splitting and ensures a secure installation.
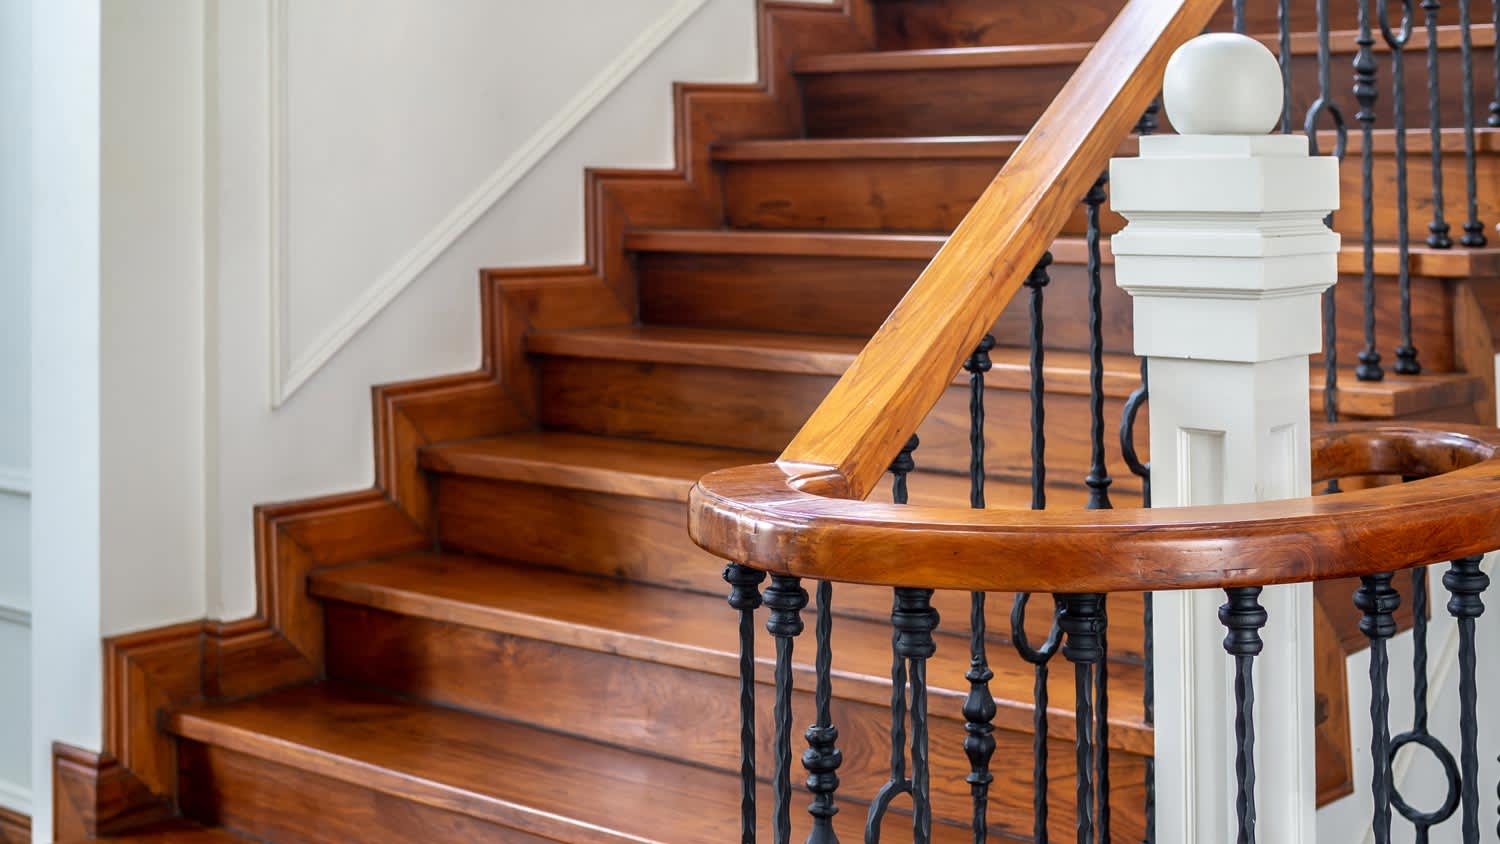
Replacing a single railing spindle is typically an excellent DIY project for most homeowners. The process is straightforward, requires only basic tools, and can save you significant money compared to hiring a professional. Compared to the $15 to $150 cost of purchasing DIY supplies, plan to pay a professional $75 to $200 per spindle.
However, professional installation makes sense if you're uncomfortable working with power tools, if your railings are made from expensive materials where mistakes would be costly, or if you discover structural issues with the railing system during your inspection, which may mean you need to build a new stair railing. Consult with local stair companies near you to ensure the job is done safely and correctly.
Incredible workers! Very skilled with the machinery, climbing, cutting, roping, and removal. Handled everything. Professionals!
 Hoffman Expert Tree Services
I m so impressed with Custom Paint Jobs LLC s craftsmanship. They truly care about quality.
Window Depot did an amazing job on my deck. I wasnt sure what I wanted to do, but their composite decking was affordable and will last a long time. I am excited to have family over, and I am no longer embarrassed by my backyard. Jeff and the ground crew were polite, respectful, and caring for...
Storms Mobile Welding was great to work with. They were prompt, professional and did an overall excellent job on the project. I highly recommend.
Great job...edging and pre clean up went well with a great job with seal coat. Friendly, efficient and professional.
 All Star Paving and Sealing
Great tree company, very professional and honest. Glad we found them, they had the best pricing
It was wonderful working with Yordy and his team. They were very professional and are experts in what they do. They have completed the work on time, with better quality and with in fairly reasonable price. We just started with backsplash work , but liking his work, we went on to provide...
The job went extremely well. Work was done as promised and the job came out better than expected due to Mr. Moyer's commitment to excellence and personal pride in providing the best work possible. He is one of those professionals who is not satisfied until the customer is completely happy...
 Pro Flooring
We needed to have a wall cabinet resized so that we could fit a larger refrigerator underneath. I removed the cabinet from the wall myself and brought it in, where Wally was able to resize it for me in his shop. The results were perfect: it's exactly the size that I asked for, and...
 Pioneer Woodworks
The work was almost completed when we gave the owner Tim Barton $400 as a downpayment to be put on his list for work in the future after we had new woodwork installed.The next day Mr. Barton had difficulty installing a door handle and took the position that it was broken before his employee...
 Above And Beyond Painting LLC
From average costs to expert advice, get all the answers you need to get your job done.
Get expert insights on stair railing repair cost, including average prices, cost factors, and tips to save money. Plan your stair railing repair project with confidence.

Old and run-down porch railings can be an eyesore and pose a risk of falling. Find out how much it costs to replace your worn out porch railings with new materials.
The average cost of a deck railing depends on size, type, material, and labor in your area. Check out this guide to determine what works for your budget.

How far apart should you space deck spindles? This spindle spacing calculator will help you determine how many spindles you'll need for each section of railing.
Not sure who to hire to repair wood stair railings? Learn which pros to call, how repairs work, and what to expect from a safe, clean finish.
Replacing a stair railing is a surefire way to update your home’s look and improve safety. Learn how to replace a stair railing with this straightforward guide.