
•
Discover the cost to install a stair railing, including average prices, key cost factors, and tips to save on your project.
Get a grip on handrail installation techniques

Learning how to install a hand railing on a wall can boost your DIY skillset and save you money. More importantly, it adds necessary safety requirements for your staircase. Installation requires precise measuring and patience, and having a helper will go a long way toward simplifying the task.

Unlike replacing a staircase railing spindle or working with exposed porch railings, where you can see the components you're working with and make absolute measurements, when installing a wall handrail, you'll need to start with measurements that may or may not line up with solid material behind the wall.
Choose your handrail height between 34 and 38 inches, which is necessary by code. Start by marking the height of the handrail at the upper and lowermost ends of the staircase. Use a 4-foot level, painter's tape to protect the wall finish, and a pencil to make marks at your desired height precisely plumb to the nose of the top and bottom stair treads.
Between your pair of railing height marks, use a stud finder to locate and mark each stud. Use painter's tape to protect the wall and a pencil to make marks. This is a rough measurement you'll use later.
Measure the overall length of the slanting portion of your handrail and cut the material to length, adding at least one foot to both ends to allow for adjustments later. Also, cut an additional length of at least 24 inches for the horizontal portion at the top of the stairs.
If you wish to paint your handrail, now is a good time to apply a first coat or primer coat and allow it to dry before moving forward.

Using your initial height marks, get an assistant or two to stretch a length of string between the marks. Using painter's tape and a pencil, make marks above two or more stud locations that will indicate the top edge of the handrail.
Now hold your rough-cut handrail material against the wall, lining up its top edge with the marks. Mark the bottom edge of the rail on the wall at your chosen stud locations. Set the rail aside for now.
At the locations where your brackets will go, including the upper and lowermost ones, use your stud finder to precisely identify the center of the stud behind the wall covering. Use a bracket, with its top lined up with the lower edge handrail marks, to mark the mounting-hole locations for the hardware.
Use a 1/8-inch drill bit to predrill the holes, feeling for the stud. If you don't find the stud behind all three holes, remark the holes using the bracket and make adjustments. Adding a slight angle to the bit can help make the task easier. Once identified, use the provided hardware screws to fasten each bracket to the wall.
Have your helper place the handrail onto the brackets. Use your level to create a plumb line mark one foot past the lowest stair nosing and another plumb mark at the nosing of the top stair.
To fine-tune your handrail cuts, use your miter saw to make a 45-degree cut, facing the wall, at the lowest mark.
At the top mark, make a cut, angled toward the floor, that equals half of the degree measurement of your staircase angle. This cut will be between 15 and 17 degrees. You can approximate and make small adjustments later if necessary.
Place the handrail back on the brackets and pre-drill each hole for the bracket installation hardware. Install the screws to fasten the handrail to the brackets. Leave them slightly loose for fine adjustments later.
Most building codes require that your handrail must extend one foot past the lowest step at an angle and one foot past the nose of the top step in a horizontal direction. Use your level and bracket-installation knowledge to measure, mark, and install a handrail bracket to support the horizontal section. Cut the extension piece with a miter to match the downward angle of the slanted portion and a 45-degree cut that faces the wall on the other end.
Secure the piece to the bracket and use wood glue to fasten the section to the slanting portion. Allow the glue to set for an hour or two before proceeding.
Use your miter saw to cut the code-mandated return ends of the handrail by matching the 45-degree cut to the ends of the handrail. Use wood glue and painters' tape to temporarily secure them. When the glue cures, return to pre-drill a hole and use a hammer, nail set, and a finishing nail to make the connection permanent. Now, make the final placement adjustments to your handrail and finish tightening the railing to the brackets.
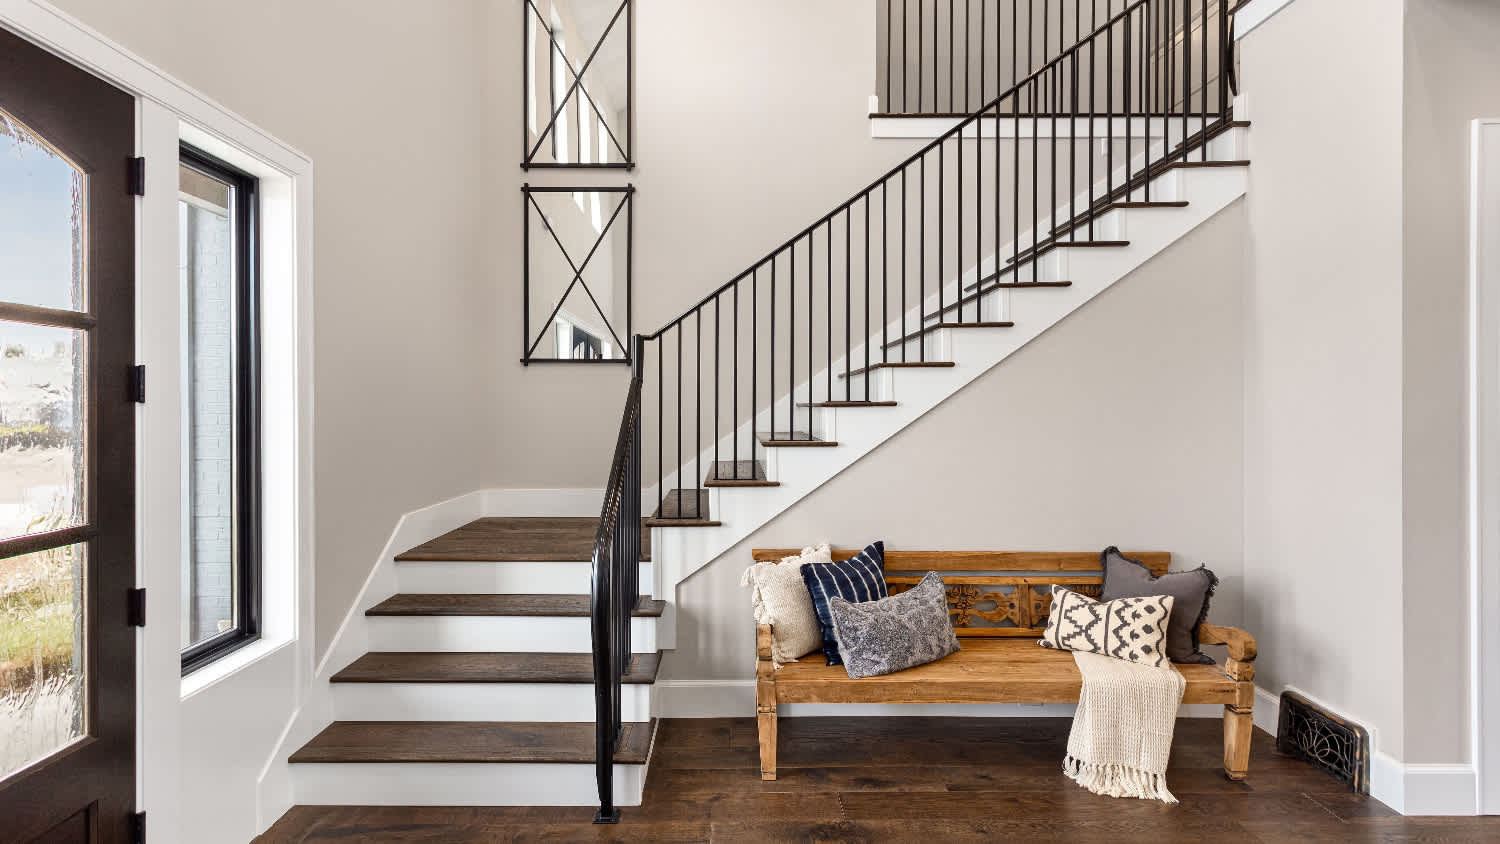
For safety reasons, a stair railing should be 34 to 38 inches above the stair tread nosing, and the baluster openings should be spaced less than 4 inches apart to prevent children from slipping through. Finally, make sure the handrails run the entire length of the stairs.
Installing a handrail on a wall as a DIY project is possible with some patience, and having an assistant will ease the process. The most essential part is taking the time to measure, mark, and cut accurately. Allow yourself some extra material for making minor corrections.
While the process is straightforward, it requires precision. Because of the stringent staircase code requirements, most homeowners choose to pay for the cost of railing installation and hire a local stair company to make sure the work is done safely and correctly.
Incredible workers! Very skilled with the machinery, climbing, cutting, roping, and removal. Handled everything. Professionals!
 Hoffman Expert Tree Services
I m so impressed with Custom Paint Jobs LLC s craftsmanship. They truly care about quality.
Window Depot did an amazing job on my deck. I wasnt sure what I wanted to do, but their composite decking was affordable and will last a long time. I am excited to have family over, and I am no longer embarrassed by my backyard. Jeff and the ground crew were polite, respectful, and caring for...
Storms Mobile Welding was great to work with. They were prompt, professional and did an overall excellent job on the project. I highly recommend.
Great job...edging and pre clean up went well with a great job with seal coat. Friendly, efficient and professional.
 All Star Paving and Sealing
Great tree company, very professional and honest. Glad we found them, they had the best pricing
It was wonderful working with Yordy and his team. They were very professional and are experts in what they do. They have completed the work on time, with better quality and with in fairly reasonable price. We just started with backsplash work , but liking his work, we went on to provide...
The job went extremely well. Work was done as promised and the job came out better than expected due to Mr. Moyer's commitment to excellence and personal pride in providing the best work possible. He is one of those professionals who is not satisfied until the customer is completely happy...
 Pro Flooring
We needed to have a wall cabinet resized so that we could fit a larger refrigerator underneath. I removed the cabinet from the wall myself and brought it in, where Wally was able to resize it for me in his shop. The results were perfect: it's exactly the size that I asked for, and...
 Pioneer Woodworks
The work was almost completed when we gave the owner Tim Barton $400 as a downpayment to be put on his list for work in the future after we had new woodwork installed.The next day Mr. Barton had difficulty installing a door handle and took the position that it was broken before his employee...
 Above And Beyond Painting LLC
From average costs to expert advice, get all the answers you need to get your job done.
Discover the cost to install a stair railing, including average prices, key cost factors, and tips to save on your project.
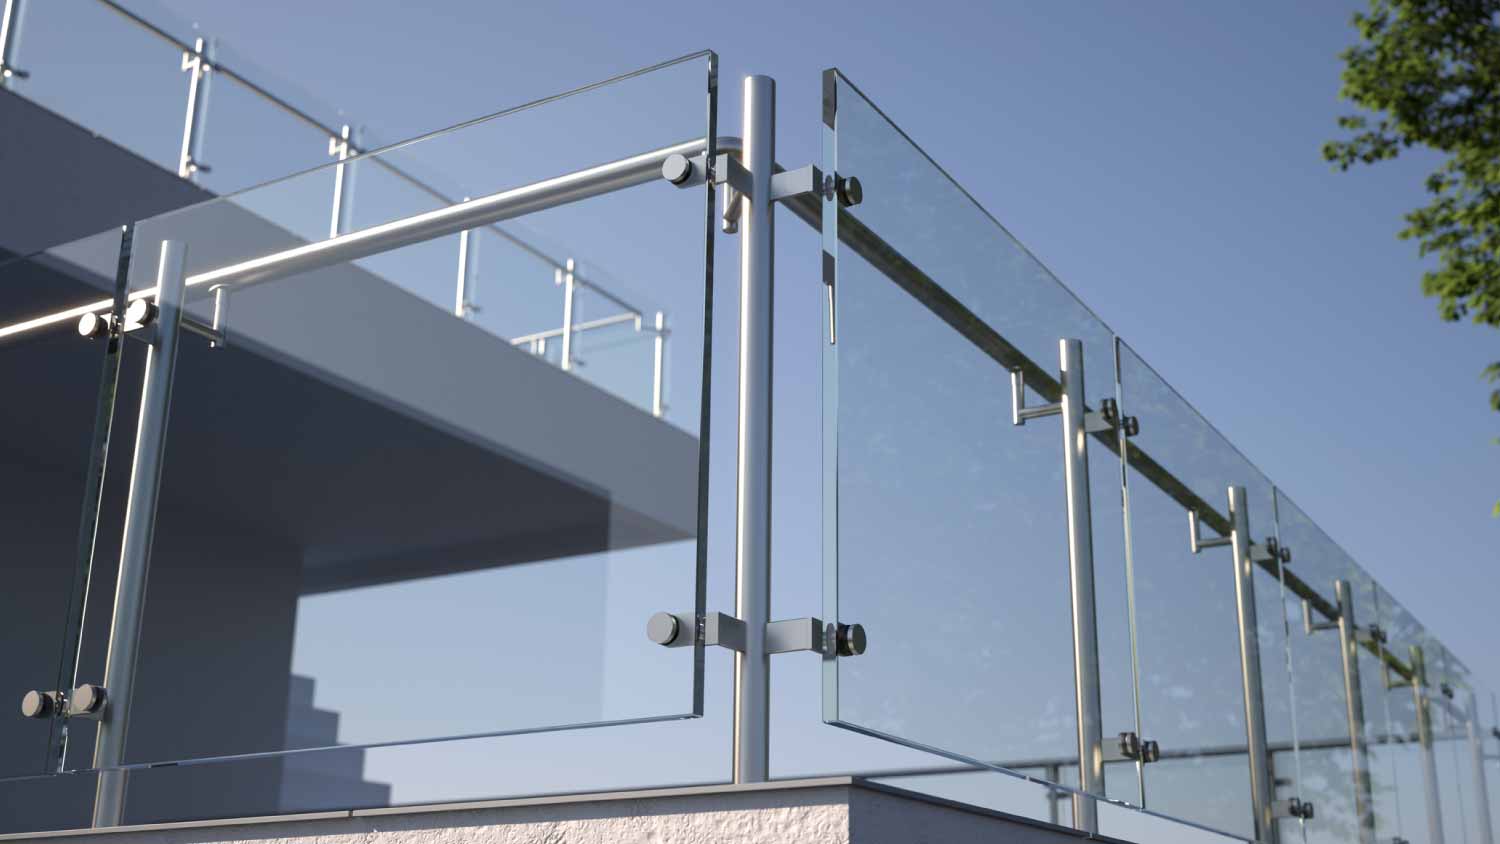
Your installed glass railing cost hinges on several factors, including materials, size, and add-on prices. Learn about the factors that impact your total cost.
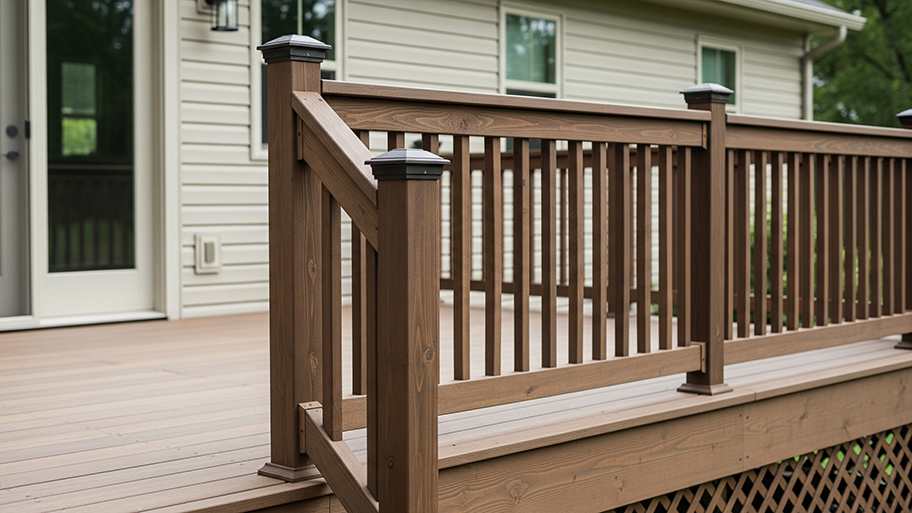
The average cost of a deck railing depends on size, type, material, and labor in your area. Check out this guide to determine what works for your budget.
Learn how to hire a stair railing installer with confidence. Find qualified pros, ask the right questions, and get your project done safely and on budget.

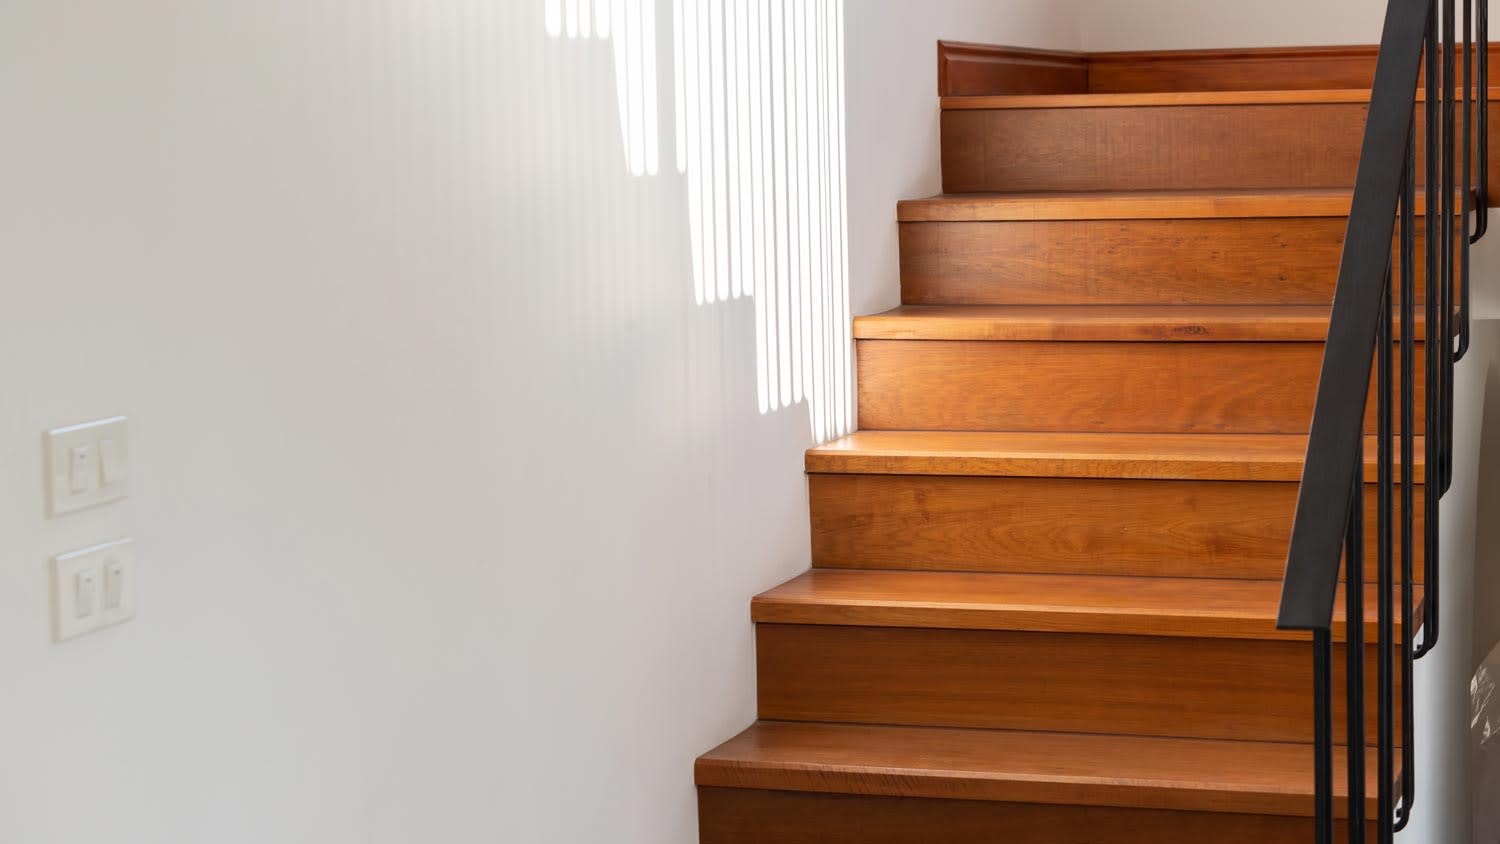
Who to hire for wood stair railing installation? Compare stair builders, finish carpenters, and railing contractors, and learn what to expect. Start here.

Learning how to install a railing on concrete steps requires taking extremely accurate measurements to purchase the right size and design of railing.