
•
Discover the cost to install a stair railing, including average prices, key cost factors, and tips to save on your project.
This easy task shouldn’t measure your patience

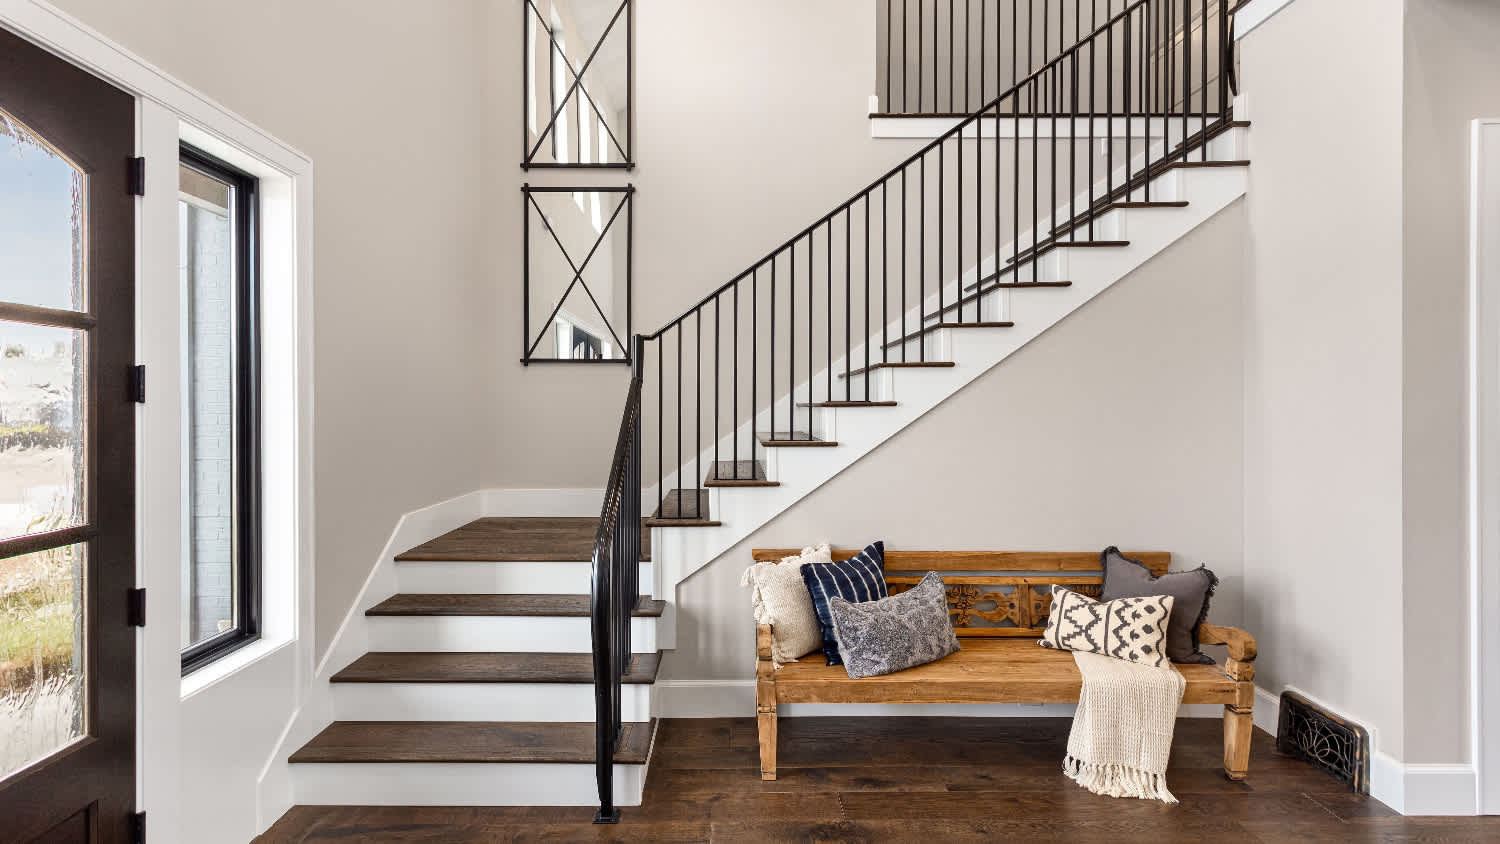
Measuring your stairs’ railing height sounds easy enough, but you may need to take more steps than you think. Everything should be checked twice and measured at multiple points, so while it isn’t a difficult job, it can take a bit of focus. This guide will walk you through how to collect all the necessary measurements (and some tips to help save time).
Carpet or wood—doesn’t matter. You need to clean your stairs. This is often overlooked, but the last thing you want to deal with is injury or improper measurements, so make sure your workspace is clean and free of any obstructions.

Use a laser level to check your stairs and existing railing (if you have one). This is a good time to check up on your stairwell, making sure there are no sagging stairs or water damage that causes warping in the wood. If you have a railing, check the level to make sure it’s consistent. In most homes, this will be a stable 30-degree to 45-degree angle the whole way up.
This is a great way to limit frustration. Instead of trying to latch your measuring tape against the lip of the bottom stair, just tape it in place. Walk up the stairs with your measuring tape and write down the measurement. Repeat the process, going back down for your secondary measurement.
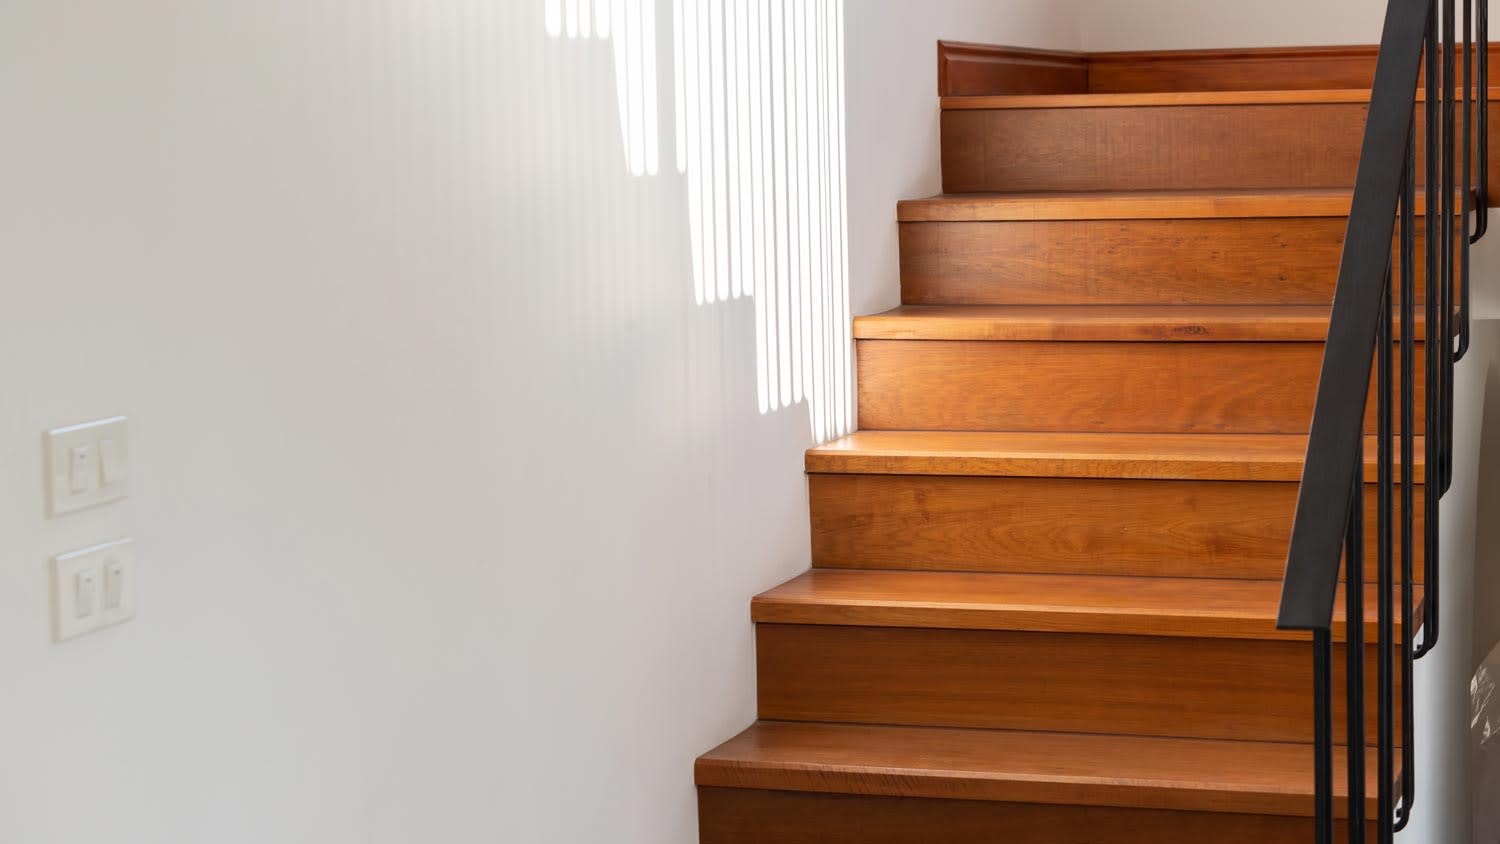
When measuring the length of the stairwell, you’ll be measuring what’s called the nosing line. This is a measurement done from the lip of the top step to the floor below the bottom step. Consider laying a length of tape along this entire measurement—it’ll make measuring from any point on the nosing line much easier.
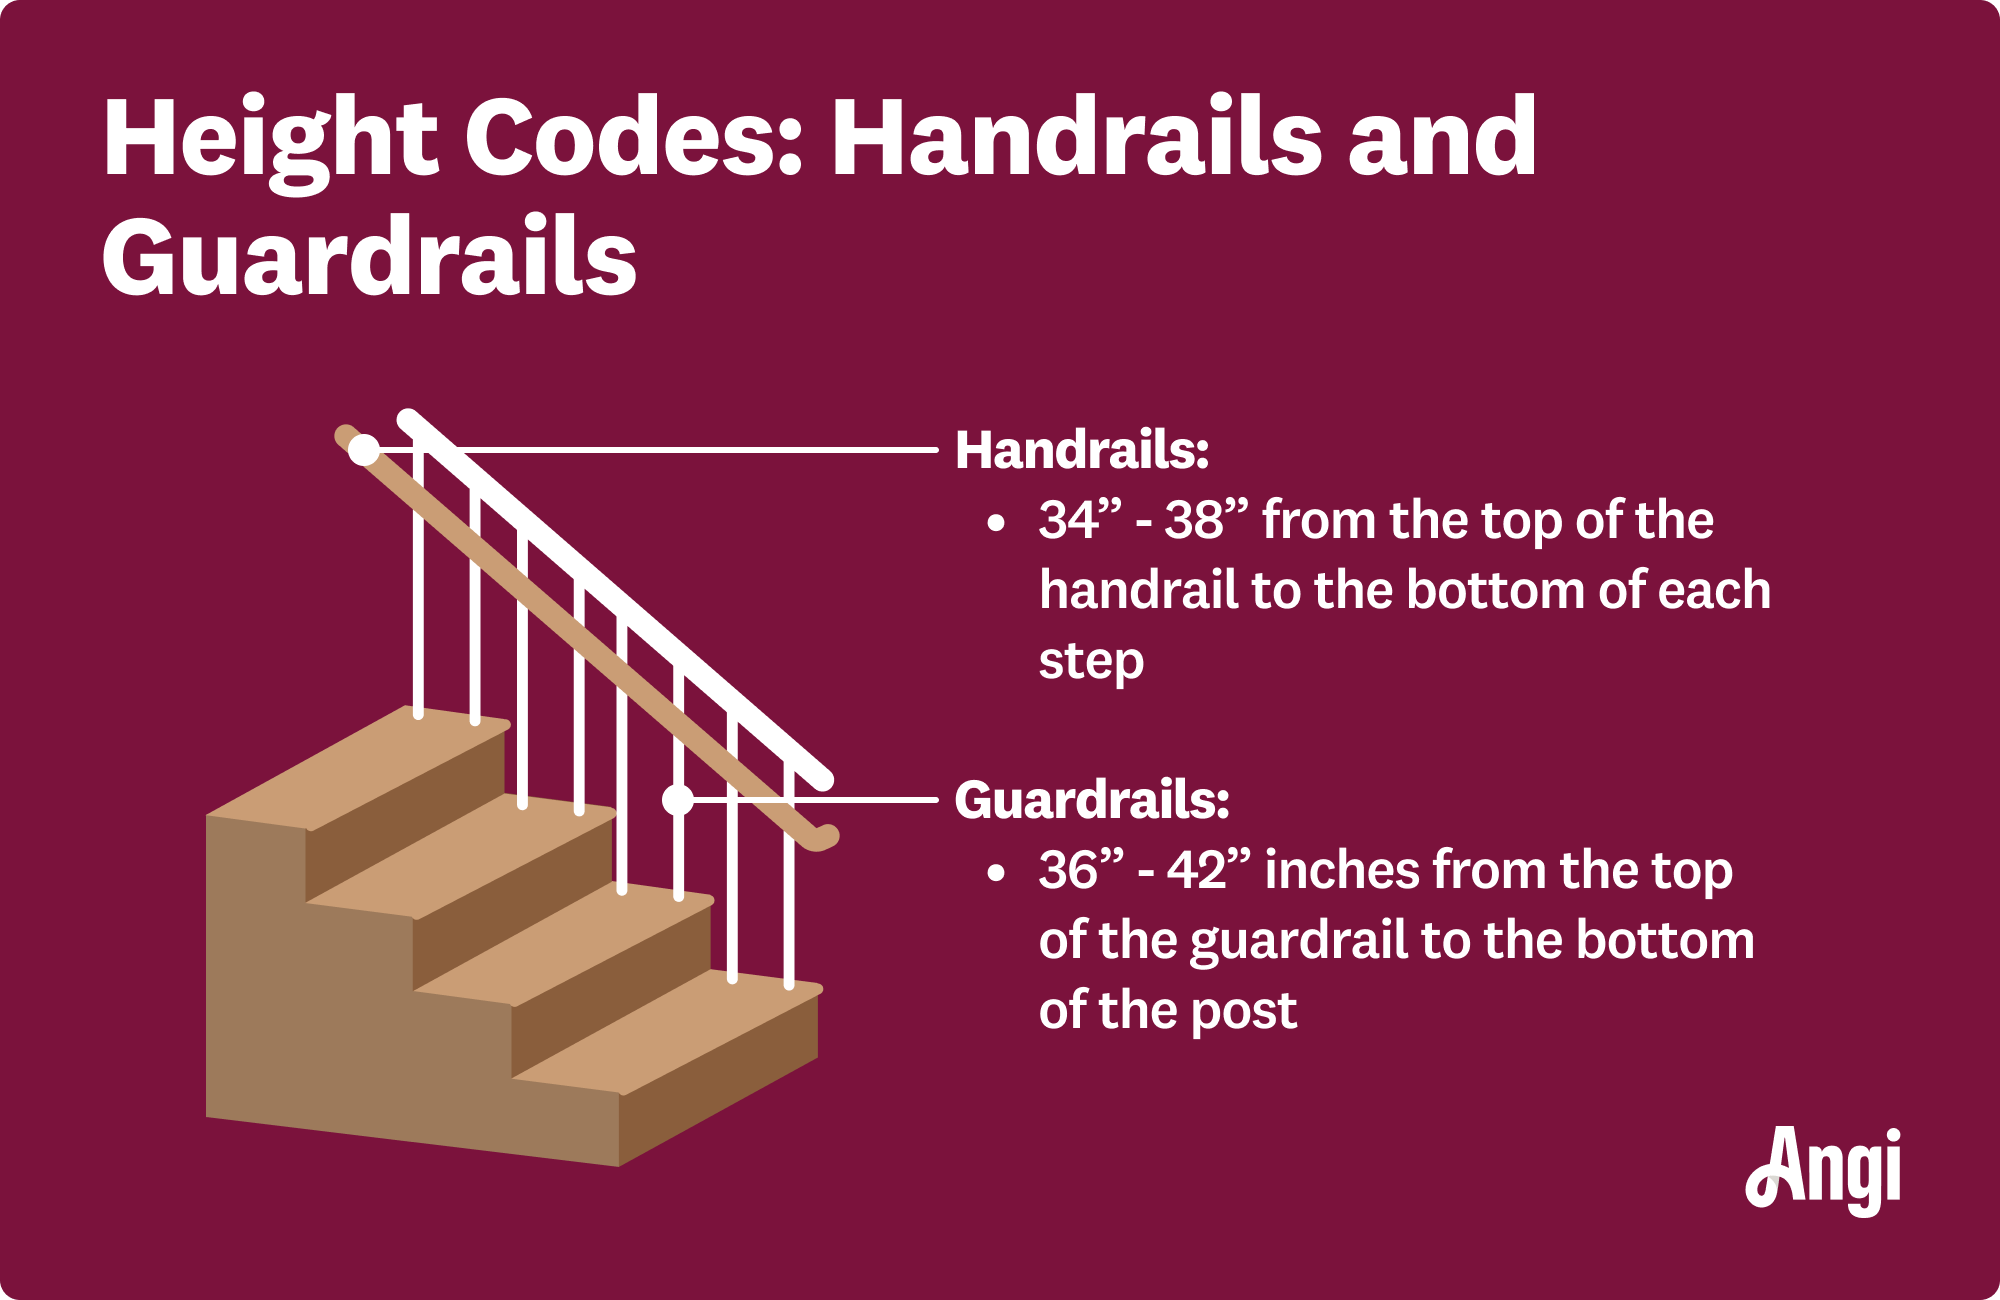
From any point of the nosing line, measure from that point upwards. There are guidelines for how high your railing should be, with most residential railings falling between 34 inches and 38 inches high. Remember that you need to measure to the top surface of your handrail, not the bottom.

Your railing length is always going to be at least as long as your nosing. Many homeowners extend the railing slightly beyond this line to allow you to raise yourself above the last step or lower yourself further when descending. Note that while commercial spaces require a horizontal extension for safety and compliance, this isn’t a requirement in residential spaces.
Your railing length is always going to be at least as long as your nosing. Many homeowners extend the railing slightly beyond this line to allow you to raise yourself above the last step or lower yourself further when descending. Note that while commercial spaces require a horizontal extension for safety and compliance, this isn’t a requirement in residential spaces.
Houses shift over time, and things can change—even stairs. Measuring multiple times and measuring correctly are a necessity. Avoid the following mistakes when measuring:
Not double-checking measurements: Everything should be checked twice. Mistakes happen.
Not checking levels: Every surface needs to be checked with a laser level (or bubble level) to ensure consistency.
Ignoring building and safety codes: You need to check and make sure your railing is compliant.
Measuring from one point: You need to collect measurements from at least 3 spots along the stairwell.
Most DIYers can measure the railing height on their stairs without the help of a pro. It’s a simple and low-cost project. However, you should hire a local stair pro to repair, replace, or install a handrail. If you’re doing any of these tasks, a pro would come and take accurate measurements for you, saving you the trouble of DIY measuring.
Incredible workers! Very skilled with the machinery, climbing, cutting, roping, and removal. Handled everything. Professionals!
 Hoffman Expert Tree Services
I m so impressed with Custom Paint Jobs LLC s craftsmanship. They truly care about quality.
Window Depot did an amazing job on my deck. I wasnt sure what I wanted to do, but their composite decking was affordable and will last a long time. I am excited to have family over, and I am no longer embarrassed by my backyard. Jeff and the ground crew were polite, respectful, and caring for...
Storms Mobile Welding was great to work with. They were prompt, professional and did an overall excellent job on the project. I highly recommend.
Great job...edging and pre clean up went well with a great job with seal coat. Friendly, efficient and professional.
 All Star Paving and Sealing
Great tree company, very professional and honest. Glad we found them, they had the best pricing
It was wonderful working with Yordy and his team. They were very professional and are experts in what they do. They have completed the work on time, with better quality and with in fairly reasonable price. We just started with backsplash work , but liking his work, we went on to provide...
We hired Jim to replace our hardwood floors with new hardwood. He and his helper Jerry did a fantastic job. Their work ethic is impeccable!! We would highly recommend McColl Floors!
The job went extremely well. Work was done as promised and the job came out better than expected due to Mr. Moyer's commitment to excellence and personal pride in providing the best work possible. He is one of those professionals who is not satisfied until the customer is completely happy...
 Pro Flooring
We needed to have a wall cabinet resized so that we could fit a larger refrigerator underneath. I removed the cabinet from the wall myself and brought it in, where Wally was able to resize it for me in his shop. The results were perfect: it's exactly the size that I asked for, and...
 Pioneer Woodworks
From average costs to expert advice, get all the answers you need to get your job done.
Discover the cost to install a stair railing, including average prices, key cost factors, and tips to save on your project.
Discover how much a wrought iron railing costs. Get detailed price breakdowns, installation factors, and tips to save on your new railing project.
Get expert insights on stair railing repair cost, including average prices, cost factors, and tips to save money. Plan your stair railing repair project with confidence.
Learn how to hire a stair railing installer with confidence. Find qualified pros, ask the right questions, and get your project done safely and on budget.

Whether you’re building a new staircase or deck, railing height codes exist to make these features safer. Get to know the right dimensions for your setup.

Your deck railings help prevent injuries, but only if they’re the proper height. Discover the ideal deck railing height to ensure your safety and compliance with building codes.