
How much does it cost to paint a room? Learn what you’ll pay to give your space a makeover, depending on room size, paint type, the pro you hire, and more.
Roll up your sleeves and take a deep breath—you’ve got this

If you want to save money while giving your home a refresh, learning how to repaint a room yourself is a great place to start. When repainting a room, you may need to work on the walls, ceiling, or trim—or all three areas. If you don’t have much experience with painting rooms, hiring a professional is smart, especially if you have a tall ceiling or tricky trim. Either way, adding modern colors will make it your new favorite room (at least until the next room repainting job you do).


Learning how to repaint a room starts with preparing the walls, ceiling, and trim. Proper preparation will save time and help you avoid mistakes later. Preparing a room for painting involves repairing damage to walls and the ceiling, applying painter’s tape, calculating how much paint you need, and moving furniture out of the way.
If the ceiling or walls have cracks or holes, you should fix these areas first. If you need to spackle a wall to fix holes, give the compound time to completely dry. If there’s peeling paint, it will affect the ability of the new paint to adhere. Carefully scrape these areas to remove loose sections without damaging the wall’s structure.
One gallon of paint should cover 300 to 400 square feet. Measure the room’s dimensions and buy the right amount of primer and paint. To simplify things, you could use the same primer on the walls and ceiling, or you could use a thicker primer on the ceiling to avoid splatters.
One of the key steps for how to prep walls for painting is to clean them. Remove dust from the ceiling and trim, too, to ensure proper paint adhesion.
No matter how careful you are, paint will splatter and drip. Take every precaution to protect your items before starting the work.
Remove outlet and light switch covers. Use painter’s tape on the edges of trim along the floor or ceiling. Cover or—better yet—remove furniture from the room. Use plastic to cover light fixtures and similar items that you cannot move.
You also need to take steps to protect the floors when painting. Put down drop cloths or plastic sheets to keep drips away.

When repainting, you’ll want to apply primer first. What does paint primer do? It provides an even surface for the new paint to adhere to. If you have darker colors on the wall now, primer will reduce the risk of the old color bleeding through the new color.
Always stir paint—including primer—before pouring it into a tray to ensure an even mixture of the ingredients and color pigments.
Repainting a ceiling is optional when repainting a room. If you like the current color and it’s in good condition, you may be able to skip working on the ceiling.
You want to avoid splatters when working over your head while repainting a ceiling. Use a thicker paint that’s made specifically for the ceiling to reduce the risk of splatters.

After repainting the ceiling, you can begin working on the walls. You don’t need a special type of splatter-free paint for the walls.
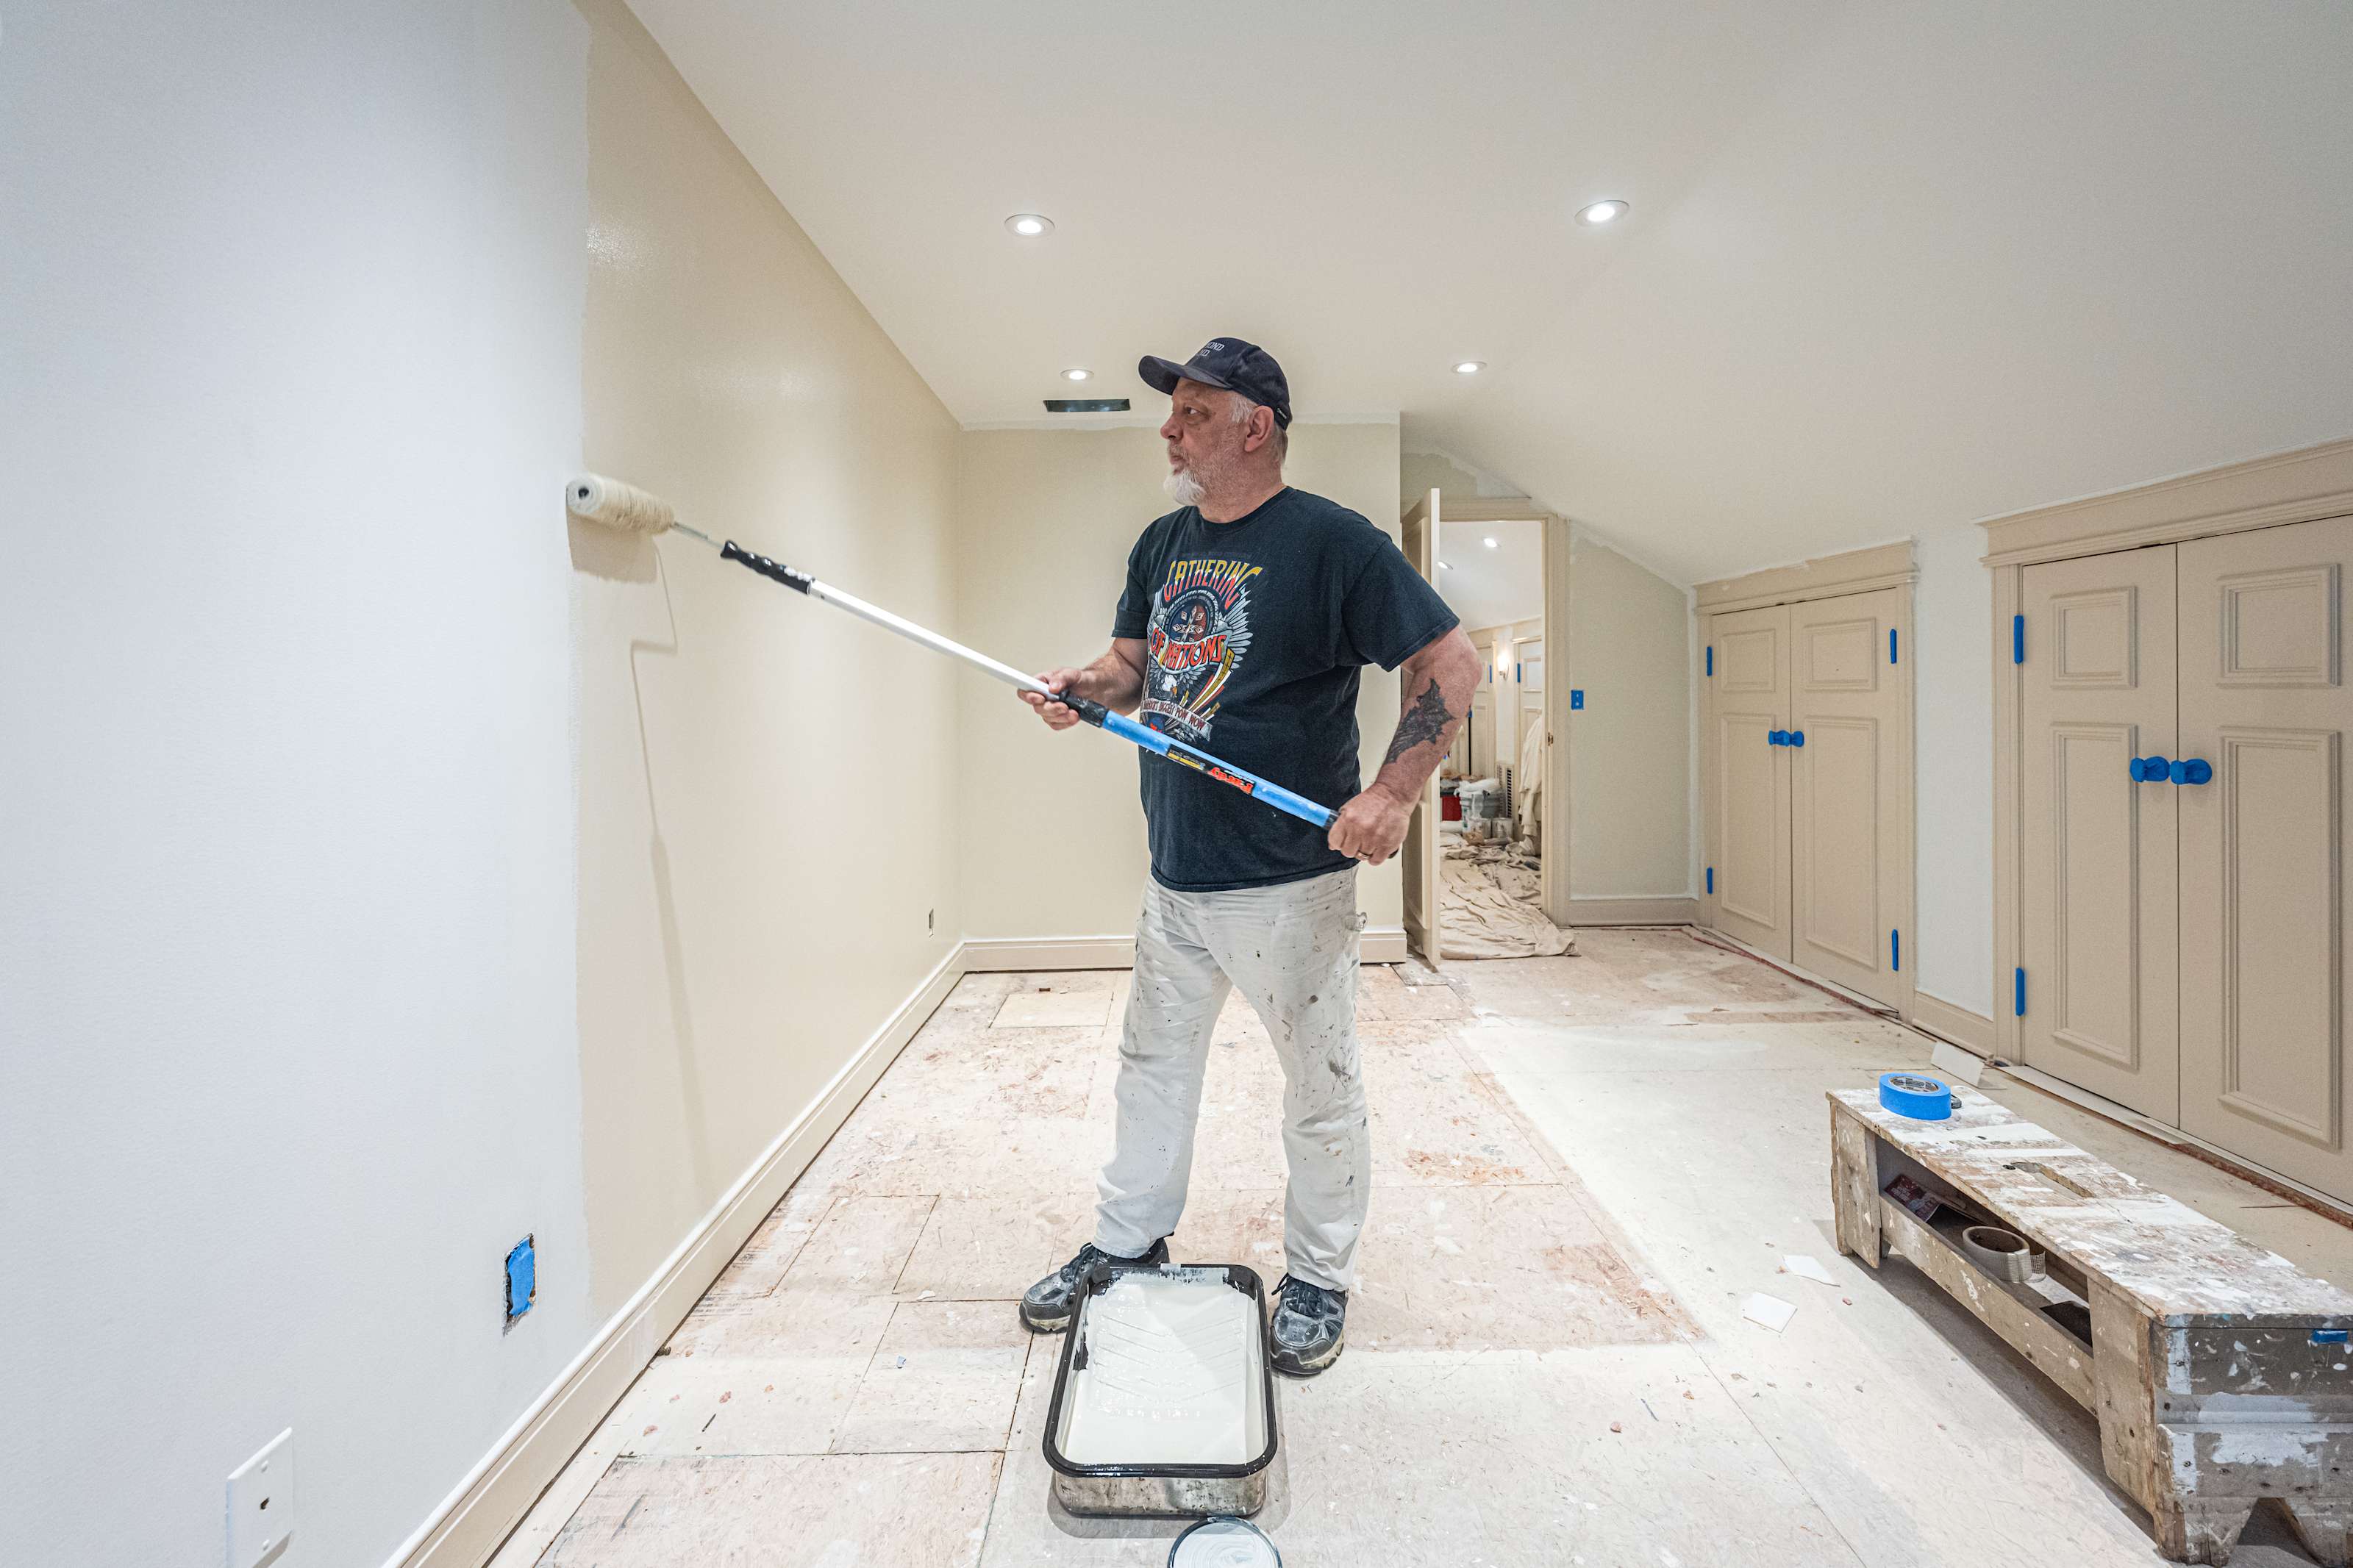
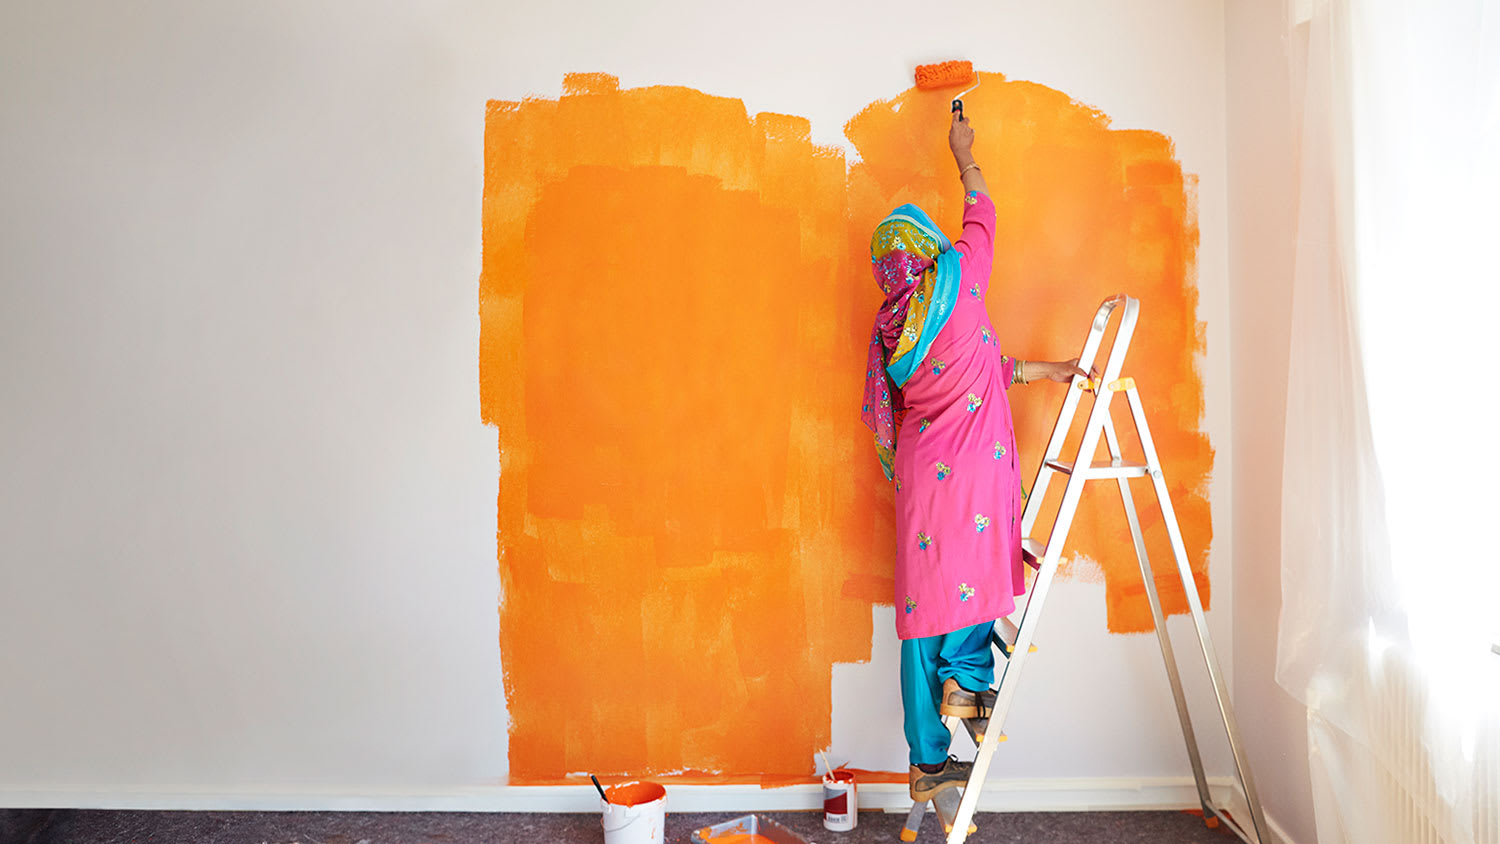
Use a brush to carefully cut in areas near where you’ve applied painter’s tape. Then, use a roller for the wide-open sections of the wall (or ceiling).
Depending on the type of paint and the humidity levels in the house, it can take anywhere from two to 24 hours for paint to dry before you can add a second coat. Let the paint dry before deciding whether to add a second coat. If you have good coverage and no bleed-through after one coat, you can skip the second coat.
To be certain about the coverage level, look for any bare spots on the ceiling or walls at different times of the day and under different lighting conditions.

If your process of repainting a room also involves repainting the trim, completely finish the walls and ceiling first, and let everything dry. Remove the old painter’s tape and put down new tape to protect the walls and ceiling while you’re painting the trim.
It’s best to paint the room’s trim with a brush. Trim may have grooves or curves that make it tough to receive full coverage with a roller. Let the first coat dry before deciding whether to apply a second coat.
If your baseboard and doorway trim take a lot of abuse from kids and pets, consider using satin or semi-gloss finishes, which are easier to wipe down.
After everything is painted and dry, remove all the painter’s tape. Carefully pick up the drop cloths and move the furniture back into the room.
Clean your paint brushes and rollers. Seal any extra paint tightly, so you can use it again for touch-ups later.
If you want to repaint a room as a DIY project, you need to avoid making certain mistakes, including:
Failing to clean and prepare the surface
Using poor-quality paint and equipment
Not researching colors ahead of time
Not using a primer
Repainting trim before walls
Failing to cover or move furniture
Failing to protect the floors and light fixtures
Failing to use painter’s tape
Being in a hurry
Using too much paint, causing drips
Not waiting for the paint to dry before the next step
The best way to avoid mistakes when repainting a room in your home is to hire a local professional wall painter. If you make errors, you may have to purchase extra paint, driving up the cost and time to do the work yourself.
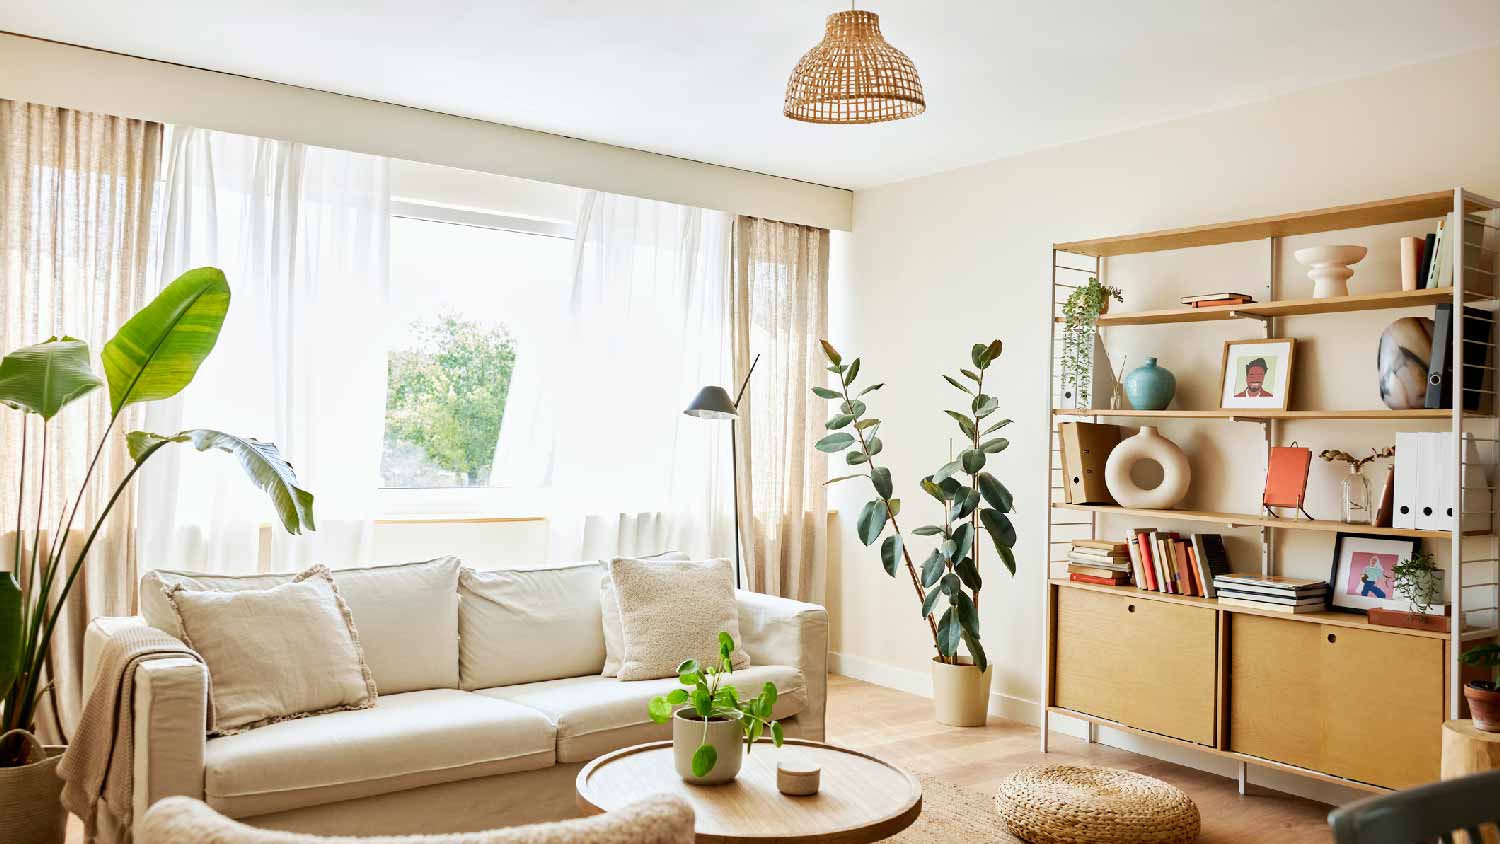
Deciding when to repaint a room in your home should start with an inspection of the existing paint. If you see worn or faded spots or if the walls have significant scuffs from furniture, pets, and children, it’s a good time to repaint. A fresh coat of paint and modern color schemes can also refresh a room's style.
Ideally, people will repaint a room every three to 10 years. Rooms that are frequently used and exposed to moisture, like bathrooms and kitchens, will need repainting more often than rooms that are not used often.
If you’re looking to freshen up your home before putting it on the market, keep in mind that neutral colors have a broader appeal to homebuyers because they act as a blank canvas and give off a calming, clean vibe.

Most people can learn how to repaint a room themselves as a DIY project. However, if you have a higher-than-average ceiling or have a lot of complex trim inside the room, you should rely on a local interior painting professional. The charge for using professional painters is between $2 and $6 per square foot for interior work.
The pro will have the ladders and gear needed to repaint a room quickly and successfully. Rather than going through the hassle of climbing ladders to reach the upper area of walls or the ceiling yourself, a pro can do the job safely. If you don’t own the right ladders, you’ll have to rent or buy them, increasing the cost of the DIY work.
Custom Paint Jobs LLC is the go-to choice for all your painting needs. They painted both the interior and exterior of my house flawlessly. Their work speaks for itself!
Beginning with the estimate, Larry and Peyton were super helpful in getting my new condo's interior re-painted. Not only was the job well done, but also done in a super timely manner as promised.
 Five Star Painting of Plain City and Powell
From average costs to expert advice, get all the answers you need to get your job done.
How much does it cost to paint a room? Learn what you’ll pay to give your space a makeover, depending on room size, paint type, the pro you hire, and more.
If you’re looking at bare walls and wondering how long it takes to paint a room, we’ve got you. Keep reading to learn how much time interior painting takes.

From modern grays to bold jewel tones, there are various color options when painting a living room. Use this guide to find the best paint color for your space.
Redecorating, refreshing, or otherwise changing up the look of your living room can transform your home and your mood. If you want a change but don’t know where to start, here are 12 ideas for livening up your living room in 2021 and beyond.
Whether you’re painting an accent wall or overhauling your entire interior, you’ll want to consider the space’s lighting before committing to a paint color.
Overwhelmed by painting choices? Here's how to choose paint colors for your home interior to blend space functionality with your unique style.