
Explore how much concrete countertops cost to install based on factors like their size, thickness, location, finish, and labor rates.
Cement your place as a DIY expert with this ambitious project

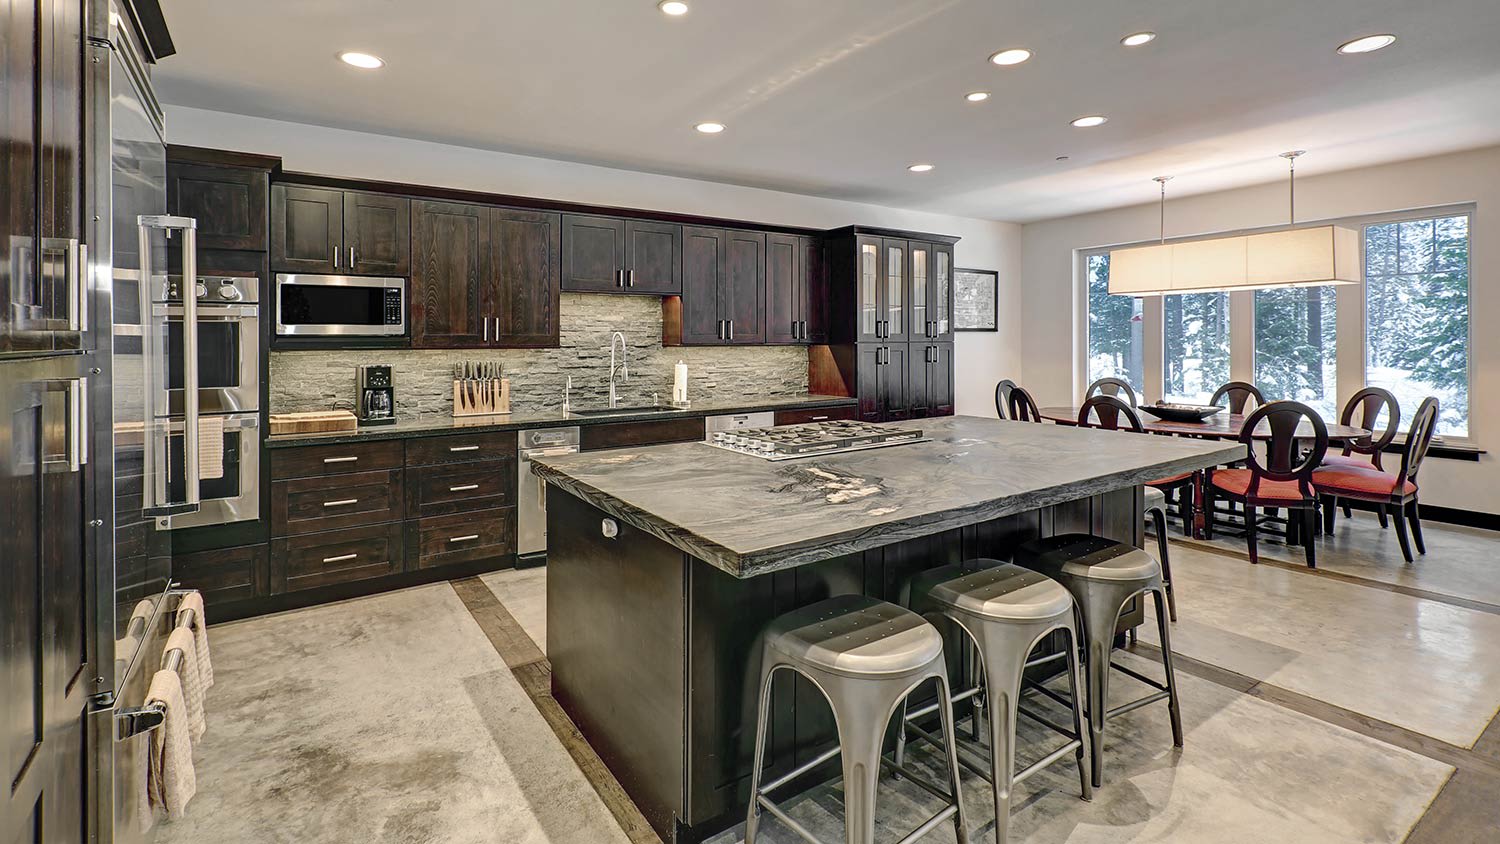
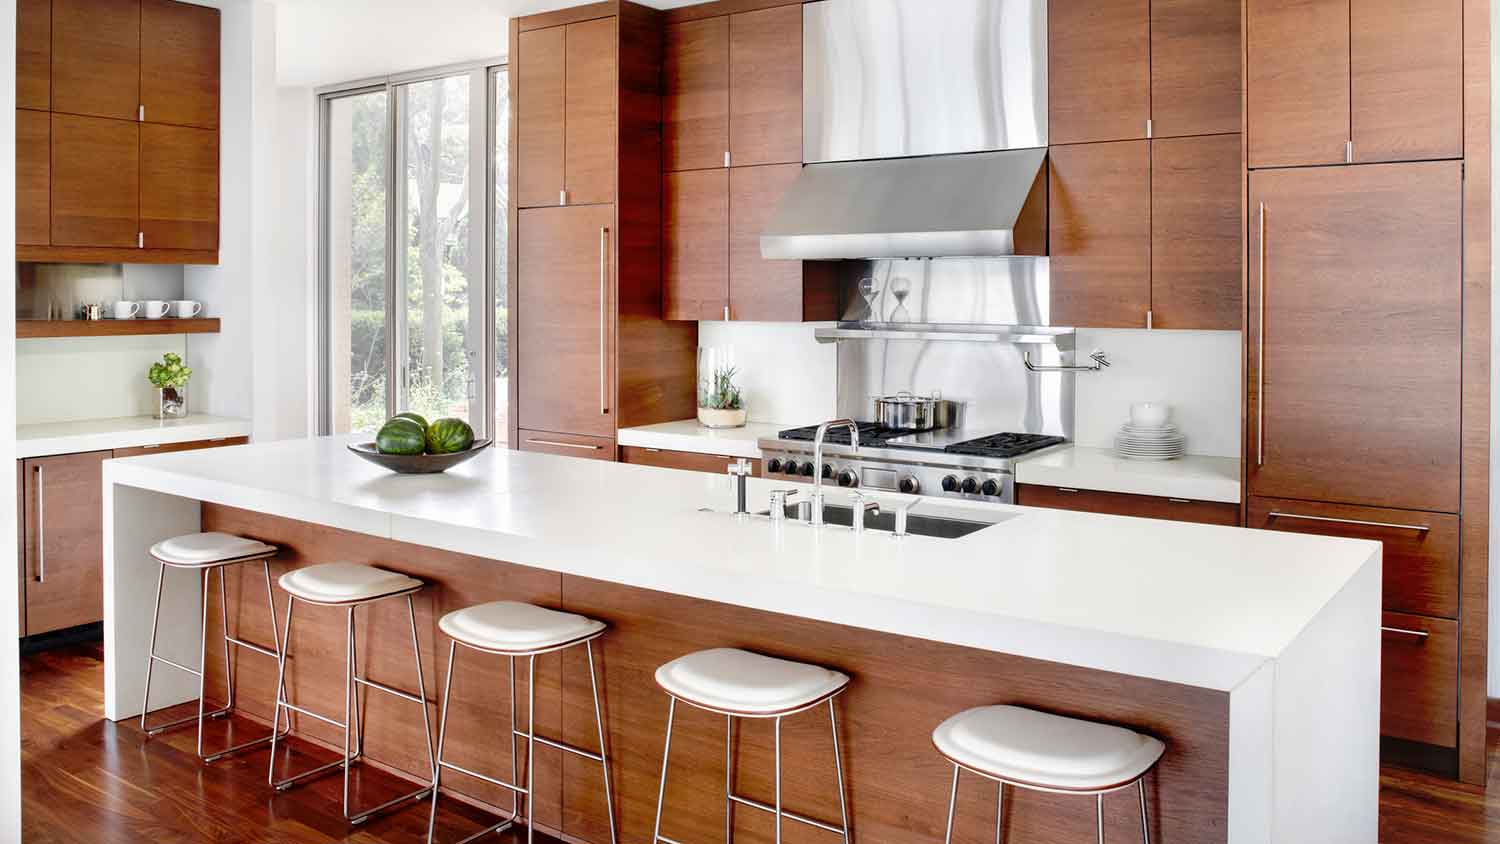
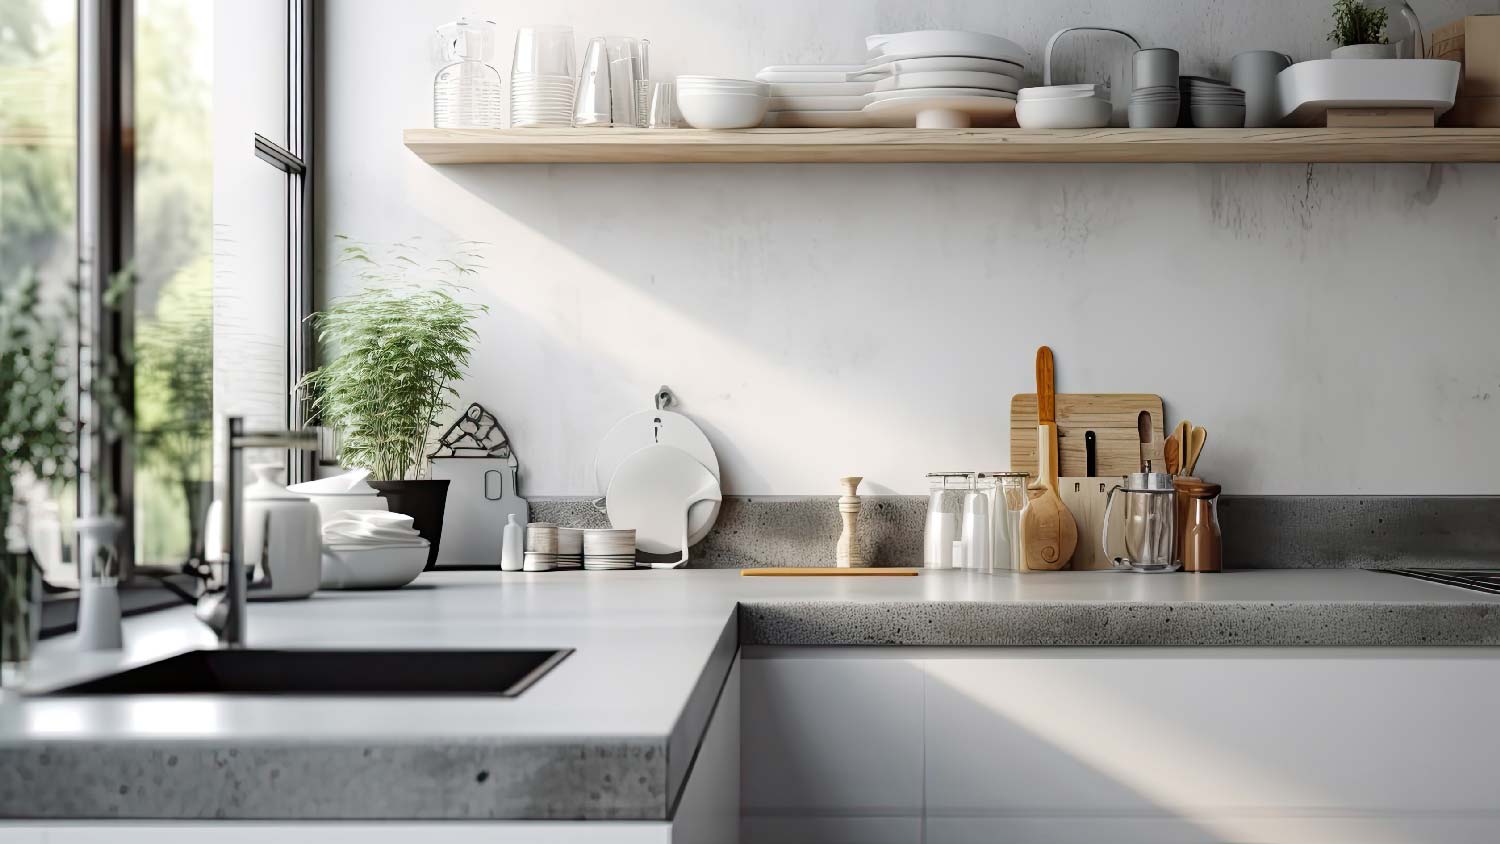
Learning how to make concrete countertops isn’t a project for DIY rookies—it’s a multi-step, messy, and meticulous process. But with a lot of patience, planning, and the right techniques, you can create sleek countertops that are the perfect pick for a contemporary kitchen.

To hold that sloppy concrete mix, you need to create a mold.
Carefully measure your existing countertops or determine what size you want if it’s a new layout.
Cut out sheets of inexpensive, non-stick melamine-coated particle board to match the desired base size and thickness of the sides using a circular saw.
Don’t forget to add 3/4-inch to account for overhang.
Set the base sheet between a pair of sawhorses and clamp the side strips onto the base before screwing them in place at 12-inch intervals.
Insert the screws from the outside to make it easy to remove them.
Create a recess in the mold to fit your sink, cooktop, or other inlaid fixtures. Use a piece of foam cut to size to create a sink mold. It should be higher than the melamine sides so you don’t pour concrete over it. Do a dry fit to make sure it’s the right size, and seal it in place with caulk.
Apply silicone caulk around the mold’s joints, smoothing it with a wet finger as you work. Applying silicone spray once the caulk dries helps the countertop to slide out of the mold more smoothly once cured.
Reinforcing the sides will hold the mold tightly in place when you pour the heavy concrete.
Lay several 2x4s underneath the length of the mold, ensuring you have at least an inch of overhang at all edges. Attach 2x4s on all four sides around the mold on top of the overhangs using 2-inch screws.
Avoid drilling the screws into the mold itself.
Placing galvanized structural steel mesh in the concrete mix provides additional reinforcement and reduces the risk of the cement cracking. Cut the mesh to fit with wire cutters, leaving around 1 inch free from mesh around the mold edges. Hold off adding it to the mold until you’re pouring the concrete.

Mix the concrete according to the manufacturer’s instructions while wearing a protective face mask, goggles, and gloves. This can take some elbow grease if you don’t have a concrete mixer and are relying on a wheelbarrow and shovel or a 5-gallon bucket and a drill with a paddle bit. Don't add too much water—aim for a consistency similar to peanut butter.
For a unique concrete countertop, add a pigment to the mix to create a customized color.
Scoop or pour the concrete into the mold, pressing the mix into the edges and corners with a trowel to help prevent air bubbles from forming. Once the mix reaches about halfway up the sides of the molds, place the steel mesh on top of the mixture—don’t let it touch the sides—and add more concrete on top.
Once the mold is full, use a straight piece of lumber or trowel to screed the surface with a back-and-forth motion. As this levels the concrete, you may need to add more concrete mix and repeat the process until the mold is full and level.
Air bubbles in the concrete look unsightly and can lead to cracking. To bring them to the surface before the concrete cures, gently tap a rubber mallet along the sides of the mold. No mallet? Running a sandpaper-free orbital sander along the mold edges generates air bubble-releasing vibrations. Run a cement float or hand trowel across the surface to release any lingering air bubbles and then again, as the concrete is hardening slightly, to smooth the surface.
Cover the countertop with a plastic sheet or a damp burlap cloth to protect it from falling debris and lock in moisture. You want the surface to cure slowly over at least four days to one week.
Once the concrete has cured fully, carefully remove the mold screws and gently tap a putty knife into the corners of the mold with the rubber mallet to pry the sides loose.
Rope in some helpers to allow you to lift the heavy concrete slab off the base panel and flip it over before resting it face-up on your pair of sawhorses.
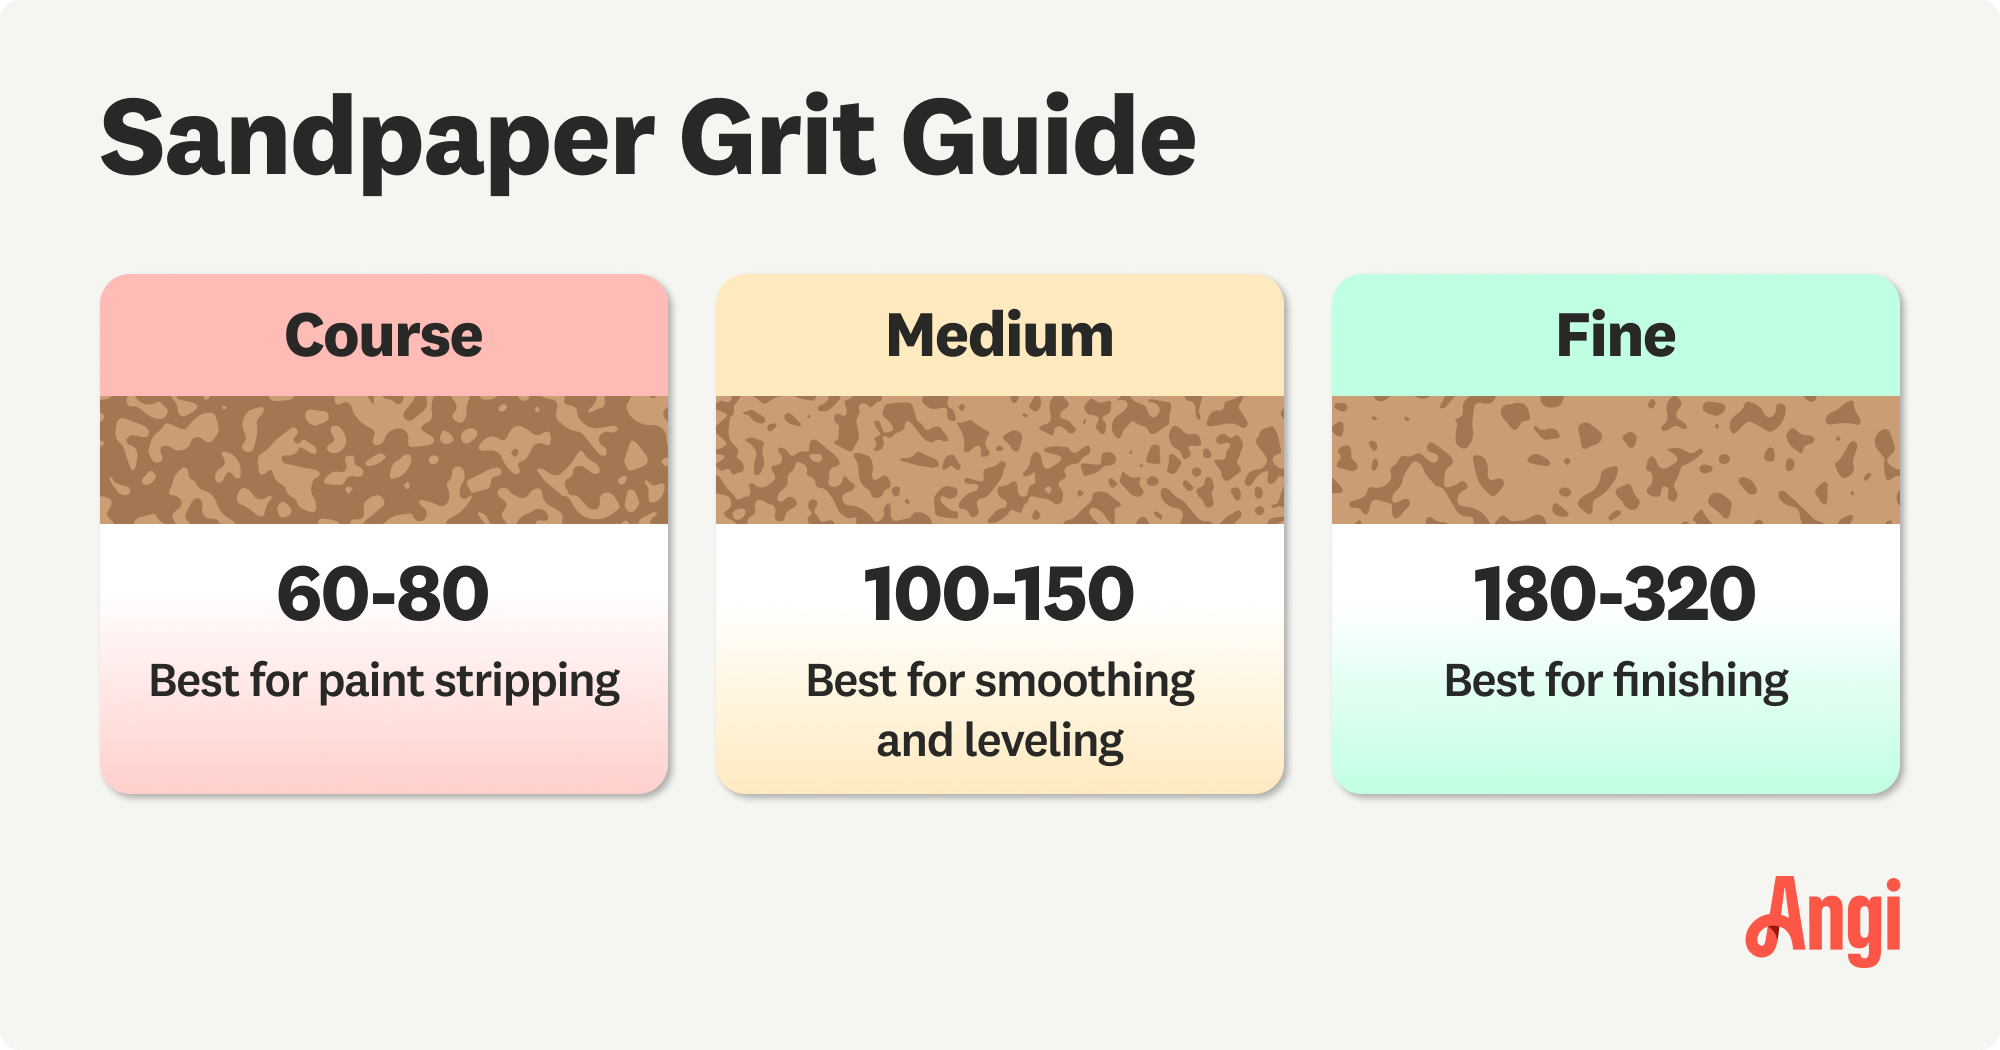
Sand your concrete countertop sides and top using an orbital sander and 80-grit sandpaper while wearing a protective face mask. If any cracks or air bubbles appear, use a concrete patching compound to perform spot repairs and allow the patches to dry completely. Wipe down and then sand again with the 80-grit sandpaper, followed by 120-grit sandpaper and then 220-grit sandpaper. Gradually increasing the grit will leave you with a smooth, polished surface.
Before sealing the concrete countertops, vacuum the surfaces and wipe them down with a wet cloth. Wait for it to dry, then apply two or three coats of a food-safe concrete sealer. A dry, clean surface helps prevent unsightly staining.

If you’re a handy homeowner with a wide range of tools and the confidence to tackle precision projects, then learning how to make concrete countertops could be worth it. The average professional cost to install concrete countertops is $1,500 to $6,000, and you could save 50% to 90% by doing it yourself.
However, it’s a complex, time-consuming, multi-step process, and concrete slabs are heavy and awkward to lift. Getting any steps wrong can compromise your concrete, ruining the aesthetic, reducing the surface's durability, or rendering it unusable. Hiring a countertop contractor near you or learning how to install simpler laminate countertops can save a lot of time and stress.
I had FabClean 614 clean my apartment, and she did an outstanding job. She was so professional and efficient. My apartment looks absolutely spotless every surface, every corner, all cleaned to perfection. Definitely highly recommend FabClean 614 if you're looking for top-notch cleaning...
Cole has been handling plumbing and general contracting for our four properties over the past three years, and he’s always done a great job. Most recently, he installed a sink and countertop in our retail store where none existed before, and it turned out exactly how we needed. He’s...
 ANB Renovations LLC
This company is my go to resource for all my post renovation clean ups. They get the place spotless! All we have to do after is stage the place and sell, sell, sell! They are super professional and have some amazing scent that is left in every property. I highly recommend!
I had Ace Fireplace Services install custom chimney caps for my home, and the results are stunning. They fit like a glove and have added a touch of sophistication to my chimney. I can't recommend their services enough.
 Ace Fireplace Services
Supreme Brick & Chimney did an excellent job restoring the brick and mortar joints on my home. Their team was professional, knowledgeable, and completed the work on time. I highly recommend them and will hire them again in the future! Thanks!
 Supreme brick & chimney
I recently hired Custom Paint Jobs LLC to repaint my home, and I couldnt be happier with the results. Their attention to detail and professionalism were outstanding. Highly recommended
Window Depot did an amazing job on my deck. I wasnt sure what I wanted to do, but their composite decking was affordable and will last a long time. I am excited to have family over, and I am no longer embarrassed by my backyard. Jeff and the ground crew were polite, respectful, and caring for...
If I could give 10 stars for Kitchen Tune Up, I would. I cannot say enough good things about my experience with Kitchen Tune Up and the entire team involved in the process of my kitchen project. They went above and beyond as far as service and quality with my cabinets, paint, countertops, and...
Great job...edging and pre clean up went well with a great job with seal coat. Friendly, efficient and professional.
 All Star Paving and Sealing
They are very reliable and available. They the drains all the time
 The Waterworks
From average costs to expert advice, get all the answers you need to get your job done.
Explore how much concrete countertops cost to install based on factors like their size, thickness, location, finish, and labor rates.
Though concrete is durable, it does have some issues. You can combat these common problems with concrete countertops if you know what to look for.
Tired of your neutral-colored concrete countertops? Paint them for a fun DIY project that will totally transform your kitchen.
Choosing between concrete and granite countertops is a big decision. They both have long life spans but very different looks and upkeep requirements.
Is this trendy material all it’s cracked up to be? Not if it cracks from a poor installation! This guide will help you weigh concrete countertop pros and cons.

Concrete countertops need sealing to protect them from stains and burns. Learn how to seal concrete countertops to keep your kitchen looking good for longer.