
Find out how much it costs to install crown molding by type and size. Use our expert guide to figure out how much crown molding you need, how much crown molding costs near you, and whether you need to hire a pro.
Crown your room with the perfect molding

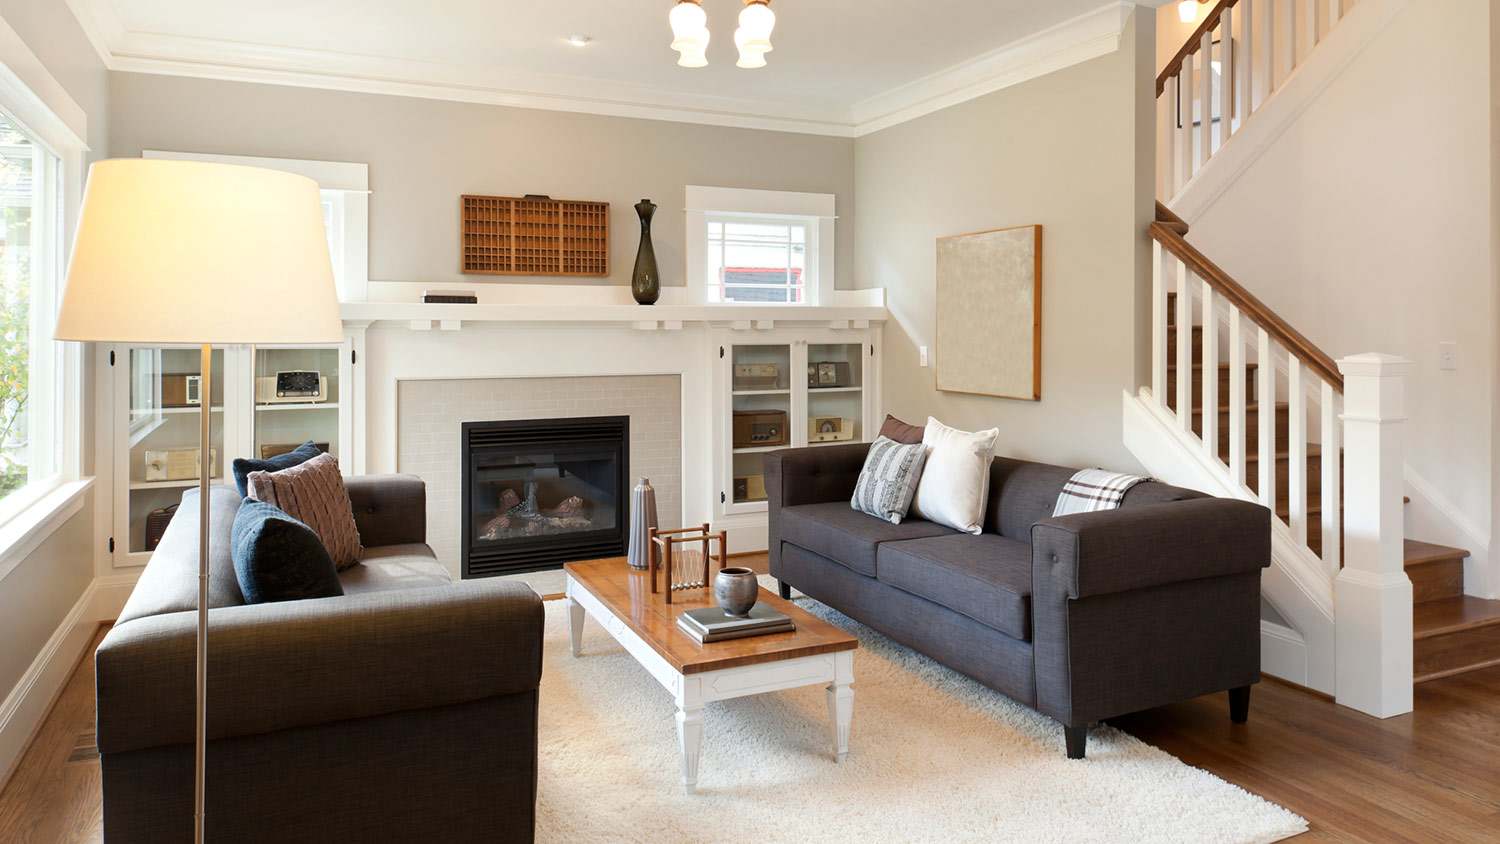
Choosing crown molding versus no crown molding depends on your ceiling height, room proportions, and how much architectural detail you want to add.
Your budget shapes material choices, as wood molding costs more upfront than MDF or polyurethane but adds classic appeal and value.
Pick a molding style that matches your home's architecture, testing sample pieces in your space under different lighting before you commit.
Hiring a local crown molding installation professional removes the guesswork from complex angles and ensures precise cuts for a flawless finish.
Crown molding can instantly elevate a room's appearance, adding architectural interest and sophistication to any space. But honing in on the details can feel overwhelming at first. Whether you're renovating a single room or updating your entire home, knowing how to choose crown molding involves room proportions, moisture levels, and your budget. Follow these 10 essential tips to select crown molding that enhances your home's beauty and value.
Installing crown molding in your home can offer a healthy ROI of between 50% and 80% on average. Thanks to its aesthetic value, your investment return on a premium finish like this will be at the top of that range in high-end or move-in-ready markets.

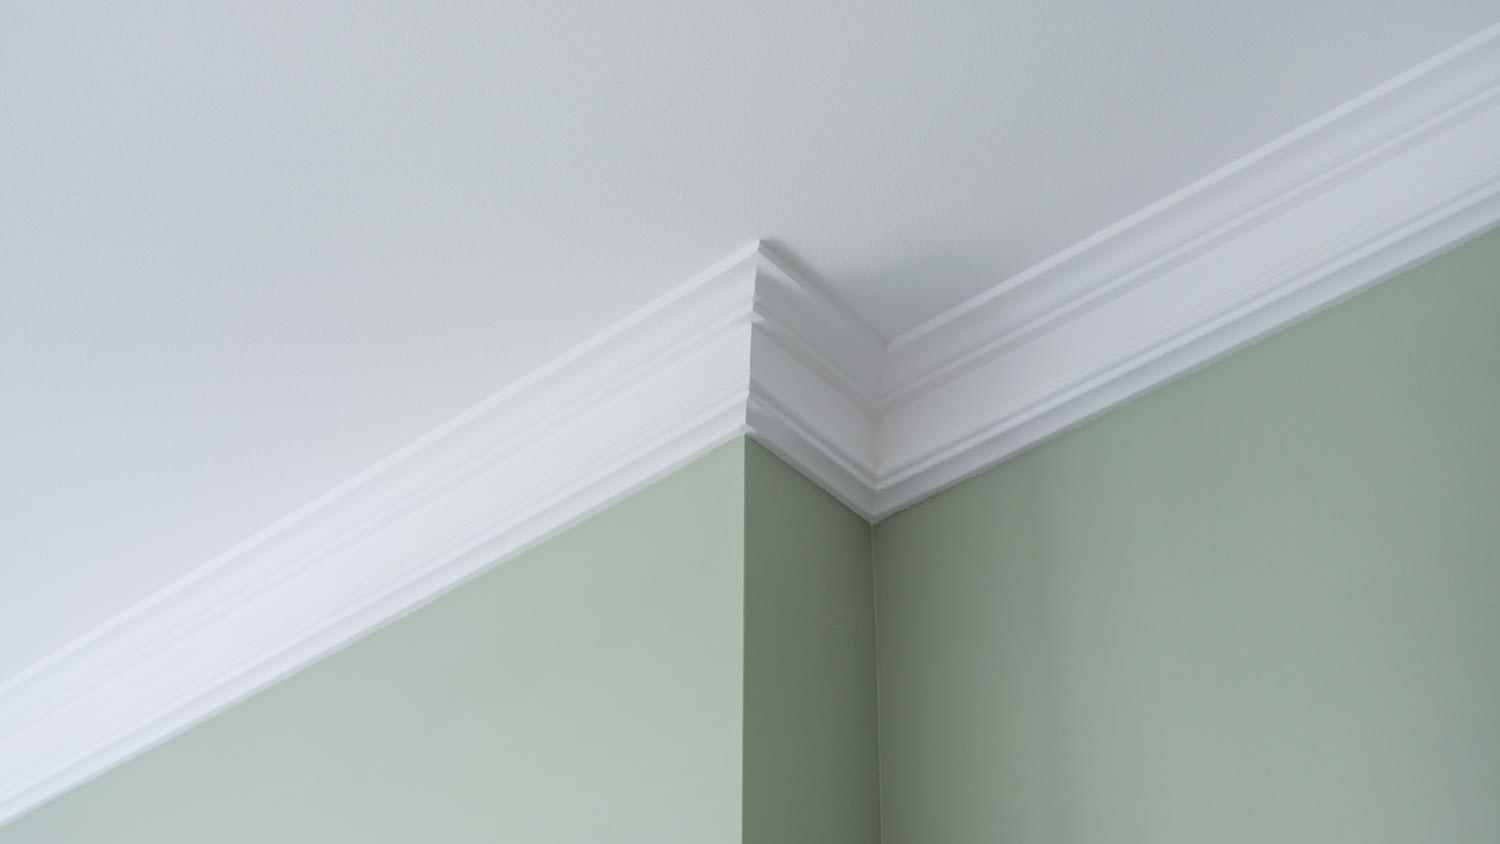
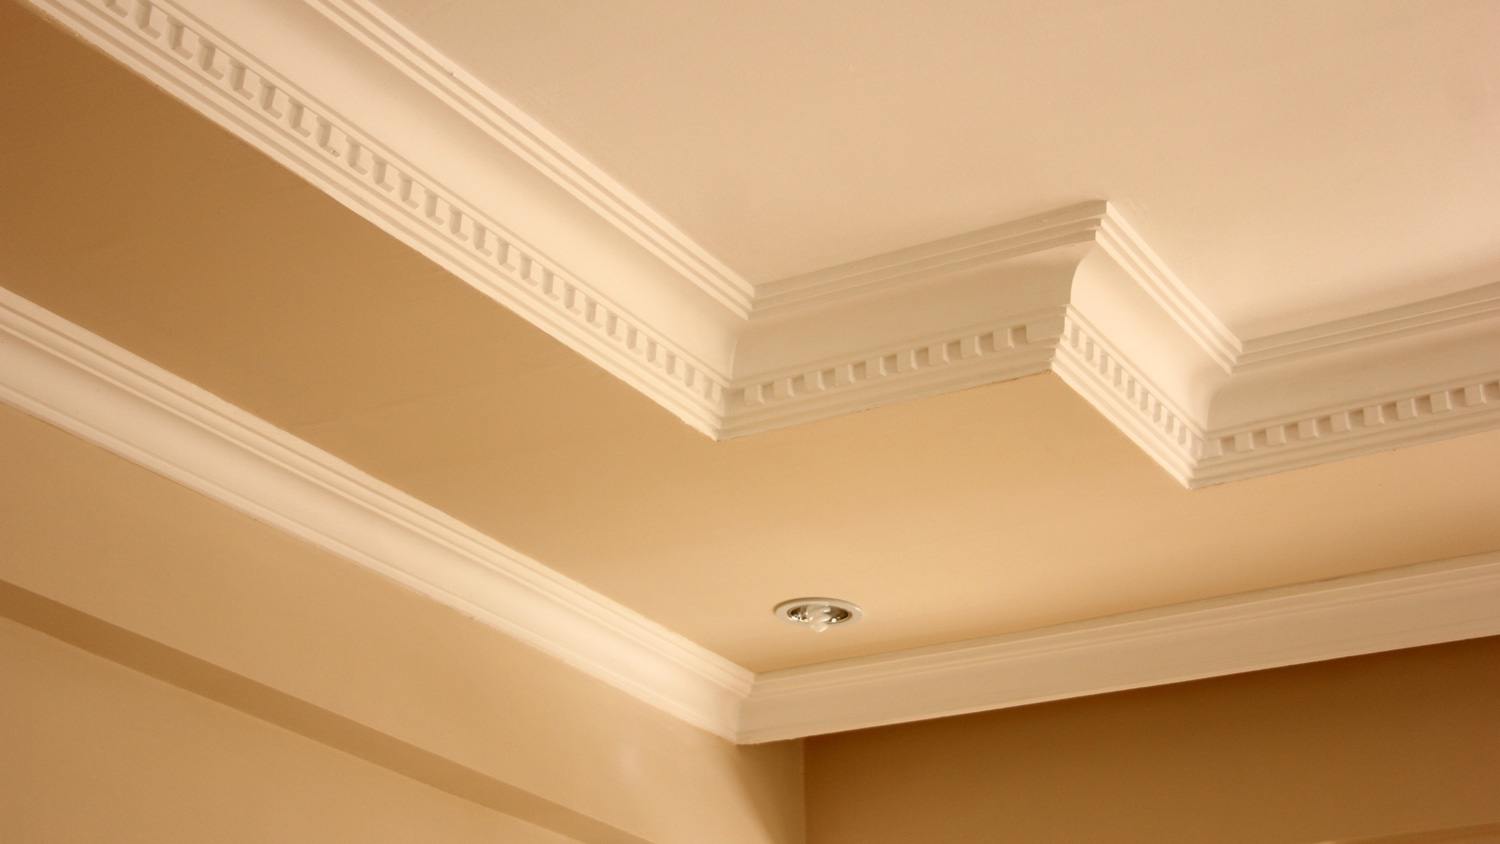
The size of your crown molding should complement the proportions of your room. For rooms with standard 8-foot ceilings, choose molding between 2 1/2 and 6 inches high. Rooms with 9-foot ceilings can accommodate 3 to 7 1/2-inch molding, while ceilings 10 feet or higher are enhanced by even larger, more elaborate profiles. Oversized molding in a room with low ceilings can make the space feel cramped, while tiny molding in a room with soaring ceilings may get lost in the visual shuffle.
Different crown molding materials offer varying benefits in terms of cost, durability, and appearance. Wood molding provides a classic, high-end look but requires more maintenance and costs more upfront. MDF (medium-density fiberboard) offers a smooth finish at a lower price point and is well-suited for painting. Polyurethane molding resists moisture and insects while maintaining intricate details, making it ideal for bathrooms and kitchens.

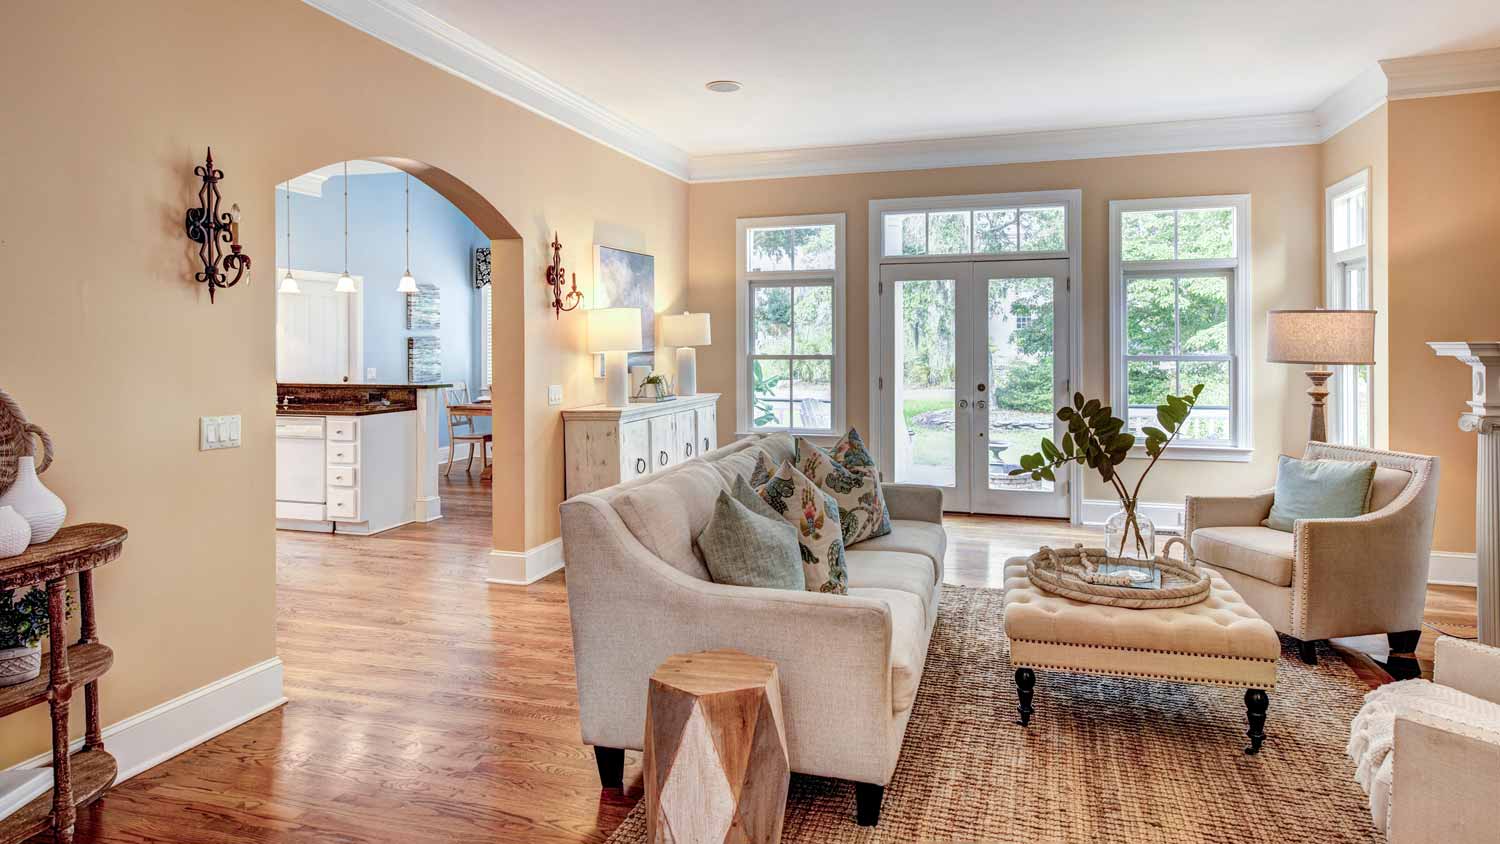
Your crown molding should harmonize with your home's existing architecture. Traditional homes benefit from detailed molding with curves and decorative elements. Contemporary homes look best with clean, simple lines and minimal ornamentation. Craftsman-style homes pair well with substantial, geometric molding, while Victorian homes can handle elaborate, multi-layered crown molding designs.

Think about long-term maintenance when selecting crown molding. If you prefer low-maintenance options, consider pre-primed or pre-painted molding, or opt for materials such as polyurethane that require fewer touch-ups. Wood molding may need periodic refinishing, especially in high-humidity areas. Plan for the painting process early. While painting crown molding only requires five simple steps, some homeowners find it easier to paint it before installation, while others prefer to paint after it’s up for seamless coverage.
Different rooms have varying environmental conditions that affect how well crown molding holds up over time. Bathrooms and kitchens experience higher humidity levels, making moisture-resistant materials such as polyurethane or properly sealed wood excellent choices. Bedrooms and living areas with consistent temperatures can accommodate a wider range of materials.
Crown molding costs vary significantly based on material, complexity, and installation method. Set a realistic budget that includes materials, tools (if you're doing it yourself), or professional installation costs. Wood molding typically costs more than composite alternatives but may add more value. Factor in additional expenses, such as primer, paint, and potential wall repairs. Getting quotes from pros can help you understand the full scope of the costs involved.
Crown molding can increase your home's resale value when chosen and installed properly. Classic, timeless designs tend to appeal to a wider range of buyers than highly trendy or unusual styles. Quality materials and professional installation typically provide better returns than budget options that may look dated quickly. Consider how your crown molding choice fits with your home's overall upgrade plan and market expectations in your area.
Before purchasing large quantities of crown molding, buy a small sample piece to test in your space. Hold it up against your walls and ceiling in different lighting conditions—natural daylight, evening lamps, and overhead fixtures can all make the same molding look dramatically different. Make sure it jives with your existing baseboards and overall aesthetic. Take photos to review later, and live with the sample for a few days to ensure you're happy with the scale and style.

Check for electrical wiring, HVAC vents, or plumbing that might interfere with your crown molding installation. Ceiling-mounted light fixtures, smoke detectors, and air vents may require special cuts or custom solutions. Plan how your molding will work around these obstacles before making your final selection. Plus, if your room has numerous ceiling fixtures or unusual angles, simpler molding profiles may be more practical than ornate designs.
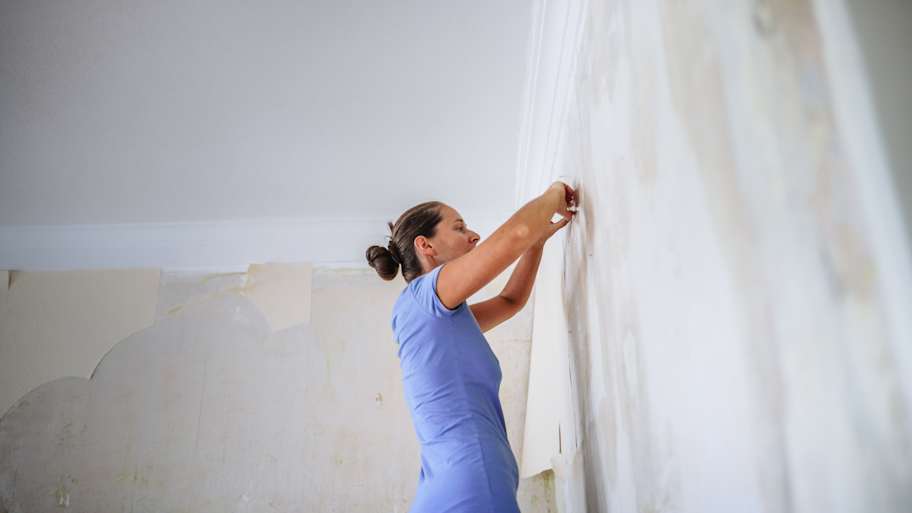
Installing crown molding requires precision measuring, cutting complex angles, and working with tools such as miter saws. Be realistic about your skill level when it comes to tasks such as cutting crown molding, coping crown molding, and the many other intricate aspects of installing crown molding yourself. Simple, straight runs in rectangular rooms may be manageable for experienced DIYers, but rooms with multiple angles, vaulted ceilings, or intricate molding profiles often require professional expertise.
For complex installations or if you're unsure about any aspect of the process, consider hiring an experienced crown molding installation professional near you who can ensure a flawless finish (and keep you off a ladder).
Incredible workers! Very skilled with the machinery, climbing, cutting, roping, and removal. Handled everything. Professionals!
 Hoffman Expert Tree Services
I m so impressed with Custom Paint Jobs LLC s craftsmanship. They truly care about quality.
Window Depot did an amazing job on my deck. I wasnt sure what I wanted to do, but their composite decking was affordable and will last a long time. I am excited to have family over, and I am no longer embarrassed by my backyard. Jeff and the ground crew were polite, respectful, and caring for...
Storms Mobile Welding was great to work with. They were prompt, professional and did an overall excellent job on the project. I highly recommend.
Great job...edging and pre clean up went well with a great job with seal coat. Friendly, efficient and professional.
 All Star Paving and Sealing
Great tree company, very professional and honest. Glad we found them, they had the best pricing
It was wonderful working with Yordy and his team. They were very professional and are experts in what they do. They have completed the work on time, with better quality and with in fairly reasonable price. We just started with backsplash work , but liking his work, we went on to provide...
We hired Jim to replace our hardwood floors with new hardwood. He and his helper Jerry did a fantastic job. Their work ethic is impeccable!! We would highly recommend McColl Floors!
The job went extremely well. Work was done as promised and the job came out better than expected due to Mr. Moyer's commitment to excellence and personal pride in providing the best work possible. He is one of those professionals who is not satisfied until the customer is completely happy...
 Pro Flooring
We needed to have a wall cabinet resized so that we could fit a larger refrigerator underneath. I removed the cabinet from the wall myself and brought it in, where Wally was able to resize it for me in his shop. The results were perfect: it's exactly the size that I asked for, and...
 Pioneer Woodworks
From average costs to expert advice, get all the answers you need to get your job done.
Find out how much it costs to install crown molding by type and size. Use our expert guide to figure out how much crown molding you need, how much crown molding costs near you, and whether you need to hire a pro.
Discover how much it costs to remove crown molding based on factors like its size, location in your home, material, and more.

If your crown molding has edges or seams, you may want to caulk it. You can DIY this work or hire a pro—use this guide to learn the cost for both.
Need crown molding installed? Learn who to hire, what it costs, and why a trim or finish carpenter is the best choice for a polished, professional look.
Does crown molding add value to your home? It adds aesthetic value to some designs, but you should install it less because of ROI and more because you love it.
There are a lot of crown molding materials to choose from, and you’ll need to know the benefits of each to know how to pick the best one for your needs.