
•
Discover the cost to install a stair railing, including average prices, key cost factors, and tips to save on your project.
Safety never goes out of style

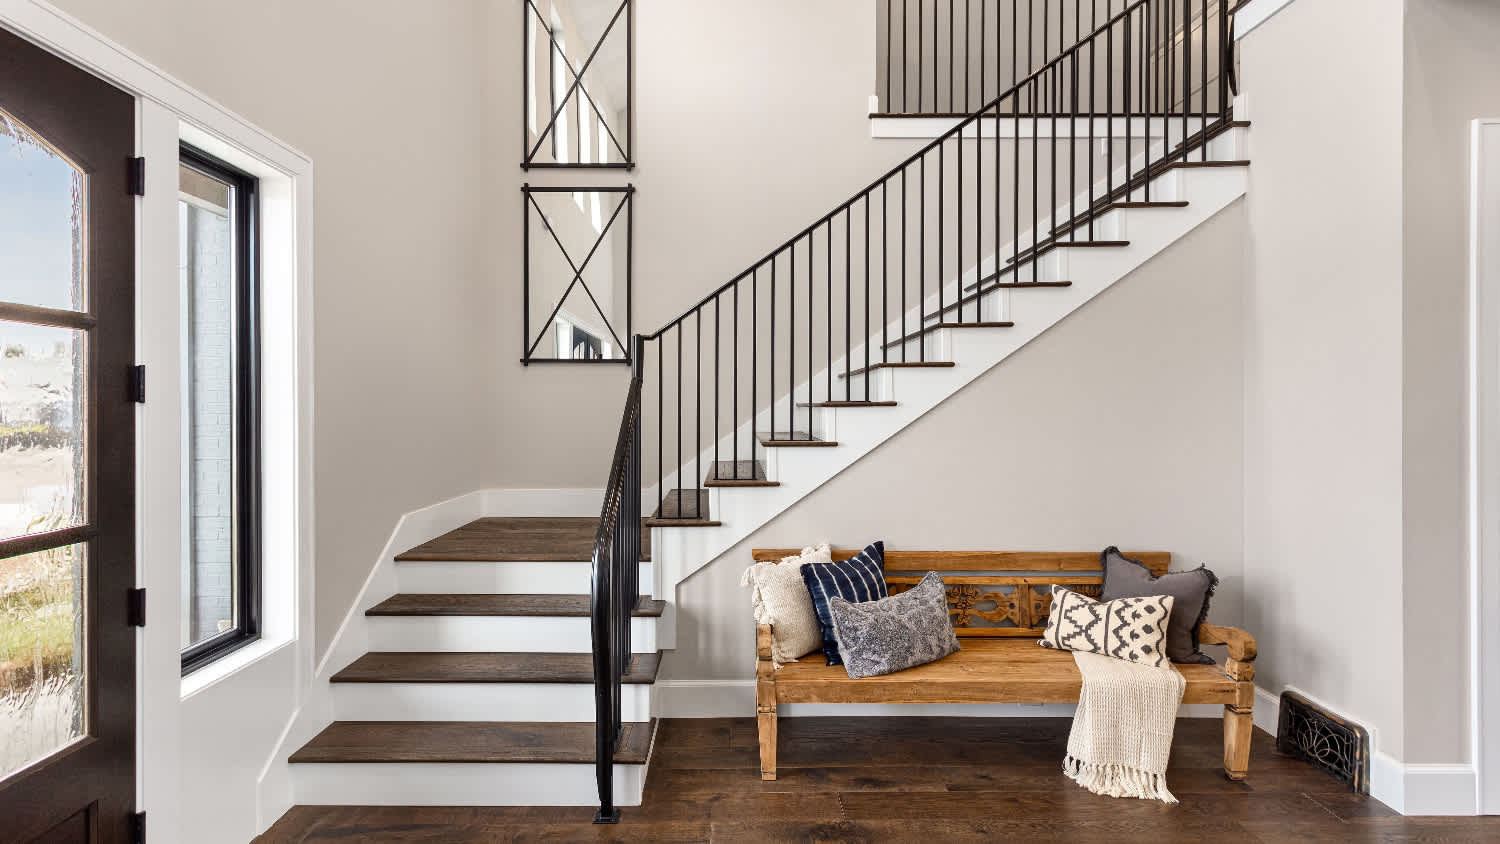
Having stairs in your home can come with risks, especially if you live with children or someone with mobility challenges. Whether you're replacing an outdated handrail or adding one for safety, learning how to install a stair railing is a manageable DIY project for handy homeowners. Learn how to properly install a railing that prevents falls, meets building code requirements, and enhances the look of your staircase.
For safety reasons, a stair railing should be 34 to 38 inches above the stair tread nosing, and the baluster openings should be spaced less than 4 inches apart to prevent children from slipping through. Finally, make sure the handrails run the entire length of the stairs.
Measure the length of your staircase and plan your layout. Use a measuring tape to determine the distance between the top and bottom of the stairs along the angle of ascent. This will help you calculate the length of your railing and where you’ll position the brackets.
Consider building codes during this phase. Most building codes require the handrail height to fall between 34 and 38 inches above the stair tread nosing. Check your local railing height code before getting started. If you need to know how to replace a stair railing, you'll need to plan extra time for removal and filling in any old holes.
Use a stud finder to locate wall studs along the stairway. Studs provide a secure anchor for your handrail brackets. Mark each stud location clearly with a pencil. Brackets should be mounted into studs to ensure the railing is strong and safe. Drywall alone won’t hold the weight of a person leaning on the rail.

Mark a consistent height line along the wall using your measurements. A chalk line can help keep this line straight and even. Once the height line is in place, use it to mark where each handrail bracket will go. Brackets should be evenly spaced: one at the top, one at the bottom, and one every three to four feet in between. Make sure the wall is plumb, meaning it's straight up and down with no leaning or bowing.
Measure the distance between the top and bottom points where the handrail will be mounted. Then, use a miter saw to cut your railing to fit this length, making sure the ends are cut at a 45-degree angle. If you plan to paint, stain, or seal the railing, now is the time to do it. Finishing the railing before installation helps you get a smoother, more even coat and prevents drips on surrounding surfaces.
Secure the brackets to the wall or posts using 1/2 inch wood screws or longer, enough to penetrate the studs or structural framing. Use a level to make sure each bracket is aligned properly with your marked height line. Double-check your placement before driving the screws in, as brackets that are even slightly off can result in a crooked or unstable railing.

Position the handrail and attach it to the brackets. This may involve sliding the railing into place or screwing it down from underneath. Support the weight of the rail evenly while attaching it and ensure the railing is aligned properly, running smoothly along the stair angle. It's a good idea to have a support person help you keep the railing properly aligned.
Test the railing by applying firm pressure along its length. It should feel solid and stable. If you notice any movement, tighten the screws or recheck bracket alignment. Fill any screw holes or seams with wood filler and touch up the finish as needed.
Installing a stair railing helps improve safety for everyone in the home. However, if it's not installed properly, the risk of injury increases. Avoid these common mistakes to ensure a safe, stable, and visually appealing result.
Ignoring building codes: One of the most common errors is installing the handrail at the wrong height. Always check and follow local building codes.
Not securing brackets into studs: Attaching brackets directly to drywall or hollow sections can lead to a weak, wobbly railing. Fasten brackets into wall studs for proper support.
Failing to check for plumb and level: If the wall isn’t plumb or your markings aren’t level, the railing can end up slanted or uneven. Check alignment with a level throughout the process.
Improper bracket spacing: Placing brackets too far apart can cause the railing to flex or sag. Space them every 3 to 4 feet and always place one at each end for stability.
Cutting the railing at the wrong angle or length: Miscalculations here can result in large gaps or a poor fit between the rail and wall or posts. Always double-check your angle and measurements before making cuts.
Skipping finishing steps: If you’re painting or staining the handrail, do so before installation to avoid drips or uneven coverage. Also, don’t forget to sand rough edges and fill screw holes for a clean finish.
Installing a stair railing can be a rewarding DIY project if you have basic carpentry skills and a straightforward setup, like attaching a handrail along a straight staircase. If you know how to build deck stairs, installing a stair railing indoors should be manageable. DIY can help you save money on labor costs and allows you to work at your own pace.
However, it’s best to hire a stair railing installer near you if your staircase has complex angles, curved railings, or requires customization. The cost to install a stair railing with a pro ranges between $500 to $1,300. A licensed contractor can ensure the railing is safe, secure, and code-compliant, which is especially important in homes with children, older adults, or those with mobility concerns. If you're at all unsure of completing the job, hiring a pro gives you much-needed peace of mind.
Incredible workers! Very skilled with the machinery, climbing, cutting, roping, and removal. Handled everything. Professionals!
 Hoffman Expert Tree Services
I m so impressed with Custom Paint Jobs LLC s craftsmanship. They truly care about quality.
Window Depot did an amazing job on my deck. I wasnt sure what I wanted to do, but their composite decking was affordable and will last a long time. I am excited to have family over, and I am no longer embarrassed by my backyard. Jeff and the ground crew were polite, respectful, and caring for...
Storms Mobile Welding was great to work with. They were prompt, professional and did an overall excellent job on the project. I highly recommend.
Great job...edging and pre clean up went well with a great job with seal coat. Friendly, efficient and professional.
 All Star Paving and Sealing
Great tree company, very professional and honest. Glad we found them, they had the best pricing
It was wonderful working with Yordy and his team. They were very professional and are experts in what they do. They have completed the work on time, with better quality and with in fairly reasonable price. We just started with backsplash work , but liking his work, we went on to provide...
We hired Jim to replace our hardwood floors with new hardwood. He and his helper Jerry did a fantastic job. Their work ethic is impeccable!! We would highly recommend McColl Floors!
The job went extremely well. Work was done as promised and the job came out better than expected due to Mr. Moyer's commitment to excellence and personal pride in providing the best work possible. He is one of those professionals who is not satisfied until the customer is completely happy...
 Pro Flooring
We needed to have a wall cabinet resized so that we could fit a larger refrigerator underneath. I removed the cabinet from the wall myself and brought it in, where Wally was able to resize it for me in his shop. The results were perfect: it's exactly the size that I asked for, and...
 Pioneer Woodworks
From average costs to expert advice, get all the answers you need to get your job done.
Discover the cost to install a stair railing, including average prices, key cost factors, and tips to save on your project.
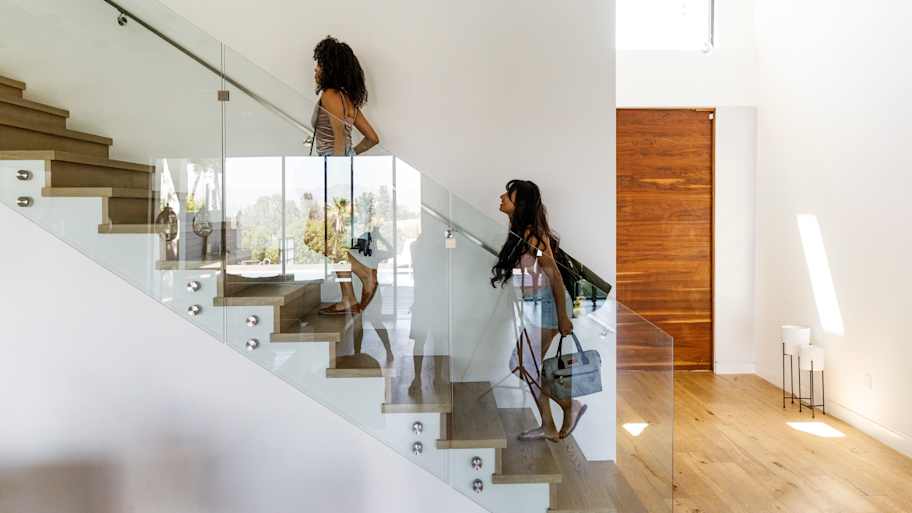
Your installed glass stair railing cost depends on factors such as materials, size, and complexity. Discover the ones that will affect yours the most.
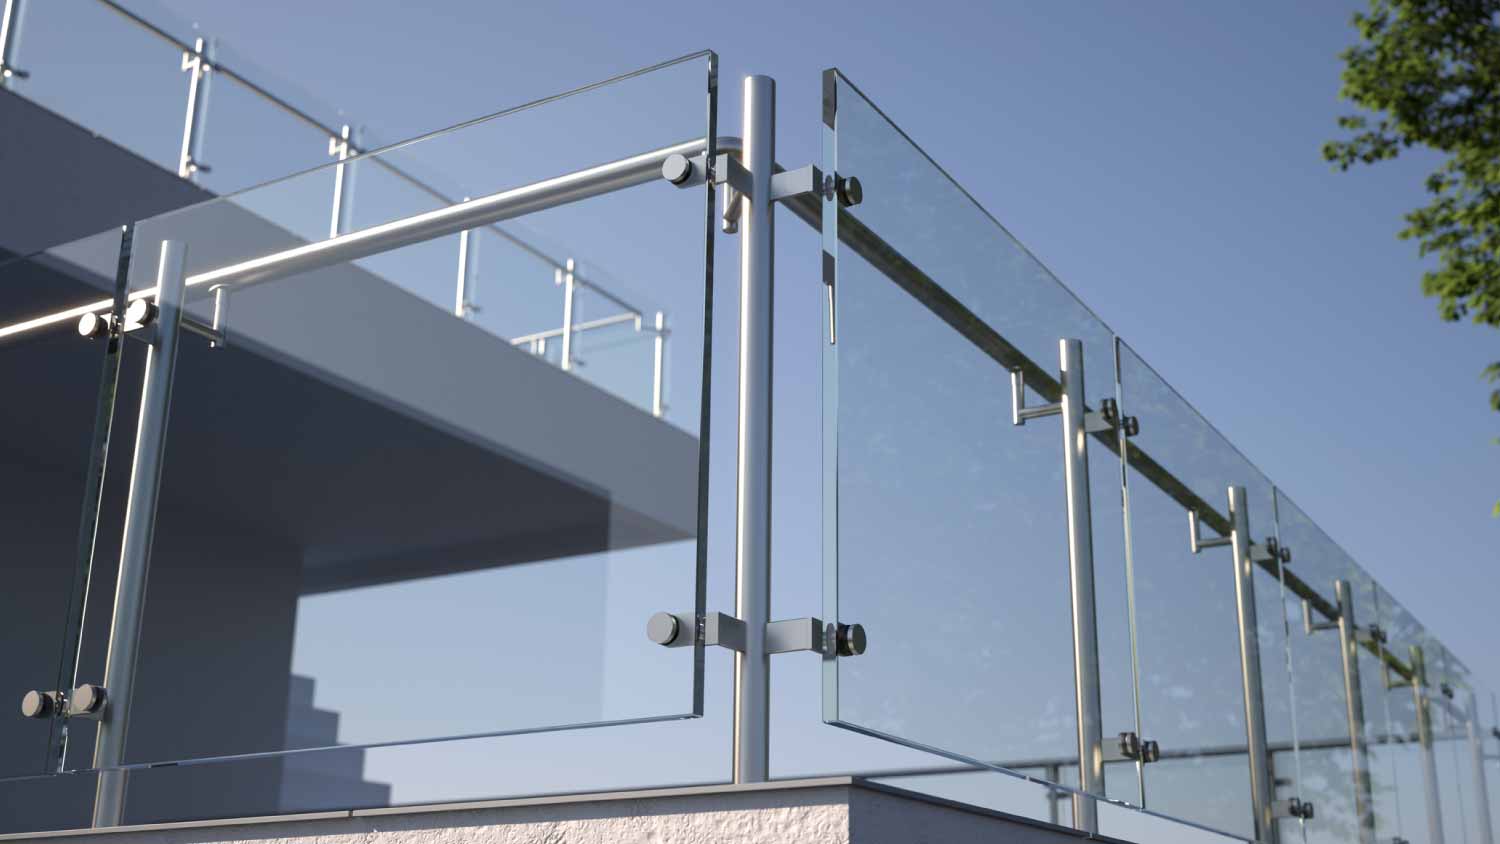
Your installed glass railing cost hinges on several factors, including materials, size, and add-on prices. Learn about the factors that impact your total cost.
Learn how to hire a stair railing installer with confidence. Find qualified pros, ask the right questions, and get your project done safely and on budget.
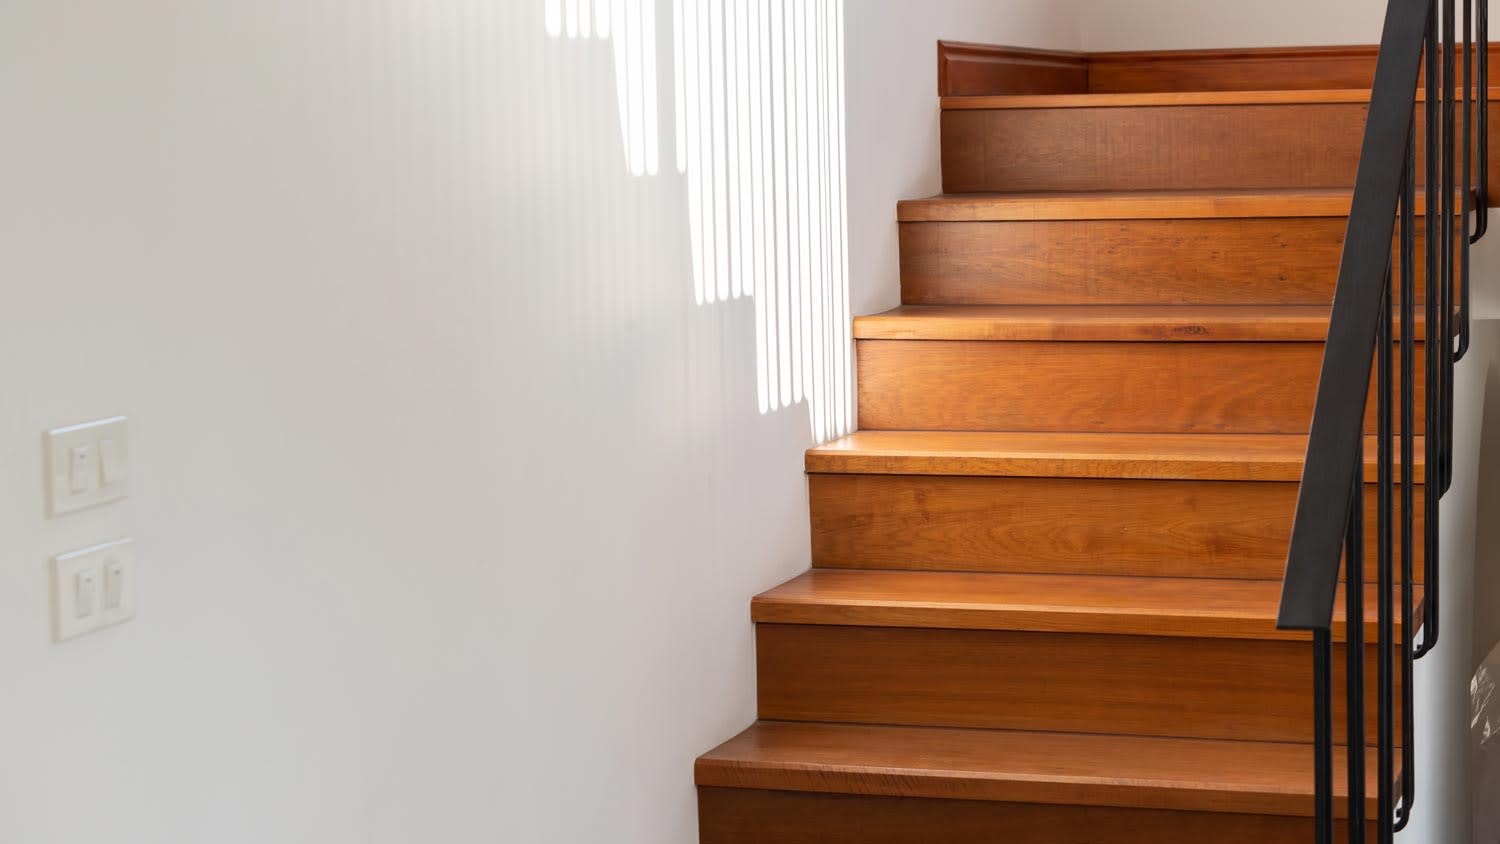
Who to hire for wood stair railing installation? Compare stair builders, finish carpenters, and railing contractors, and learn what to expect. Start here.
If you’re renovating your house—whether adding a floor inside or a deck out—you may need to install a new stair railing. Here’s how to build a stair railing from scratch.