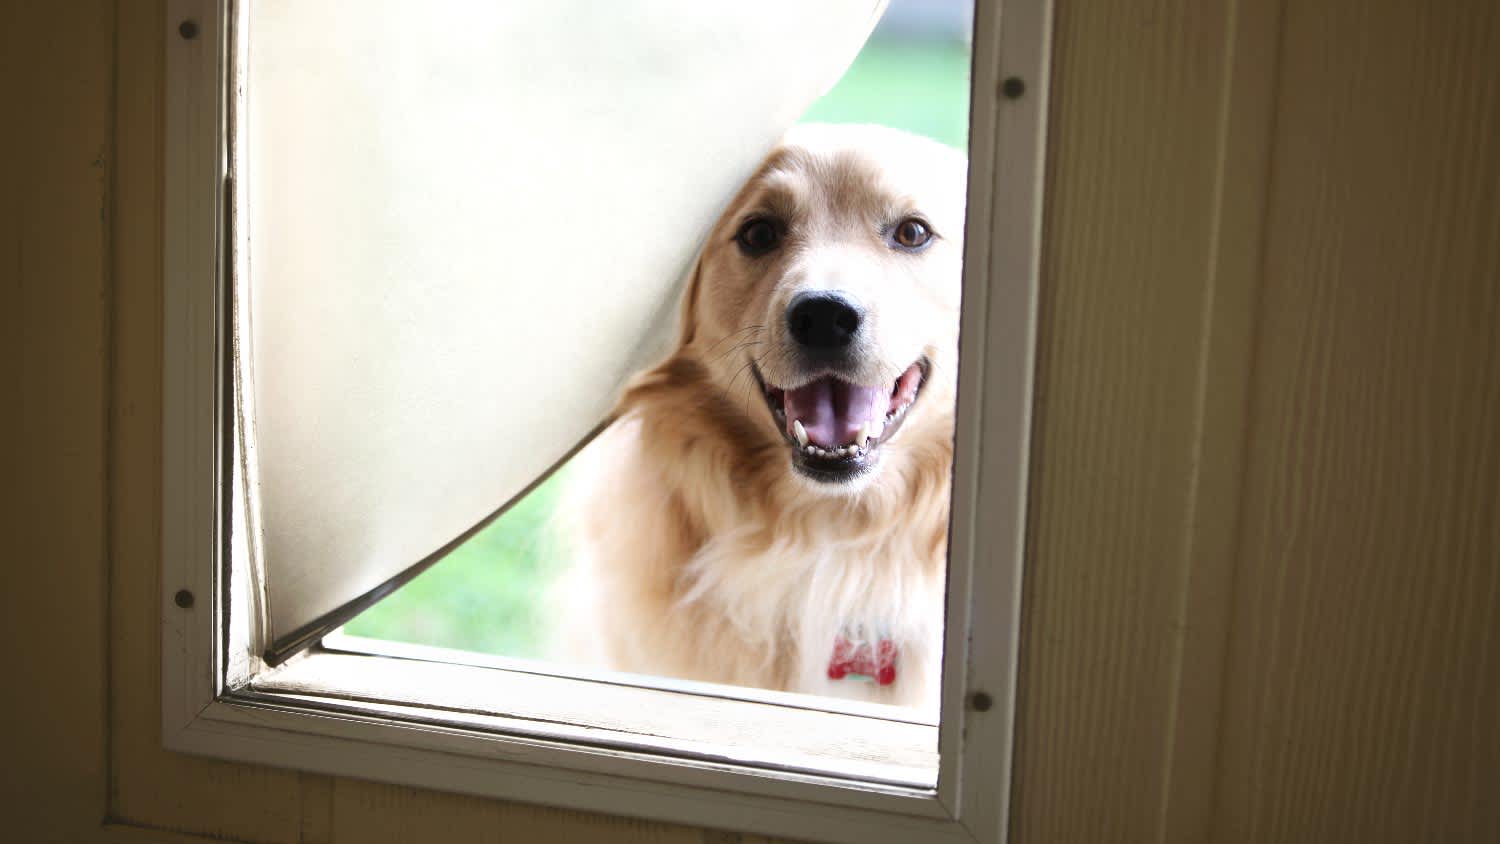
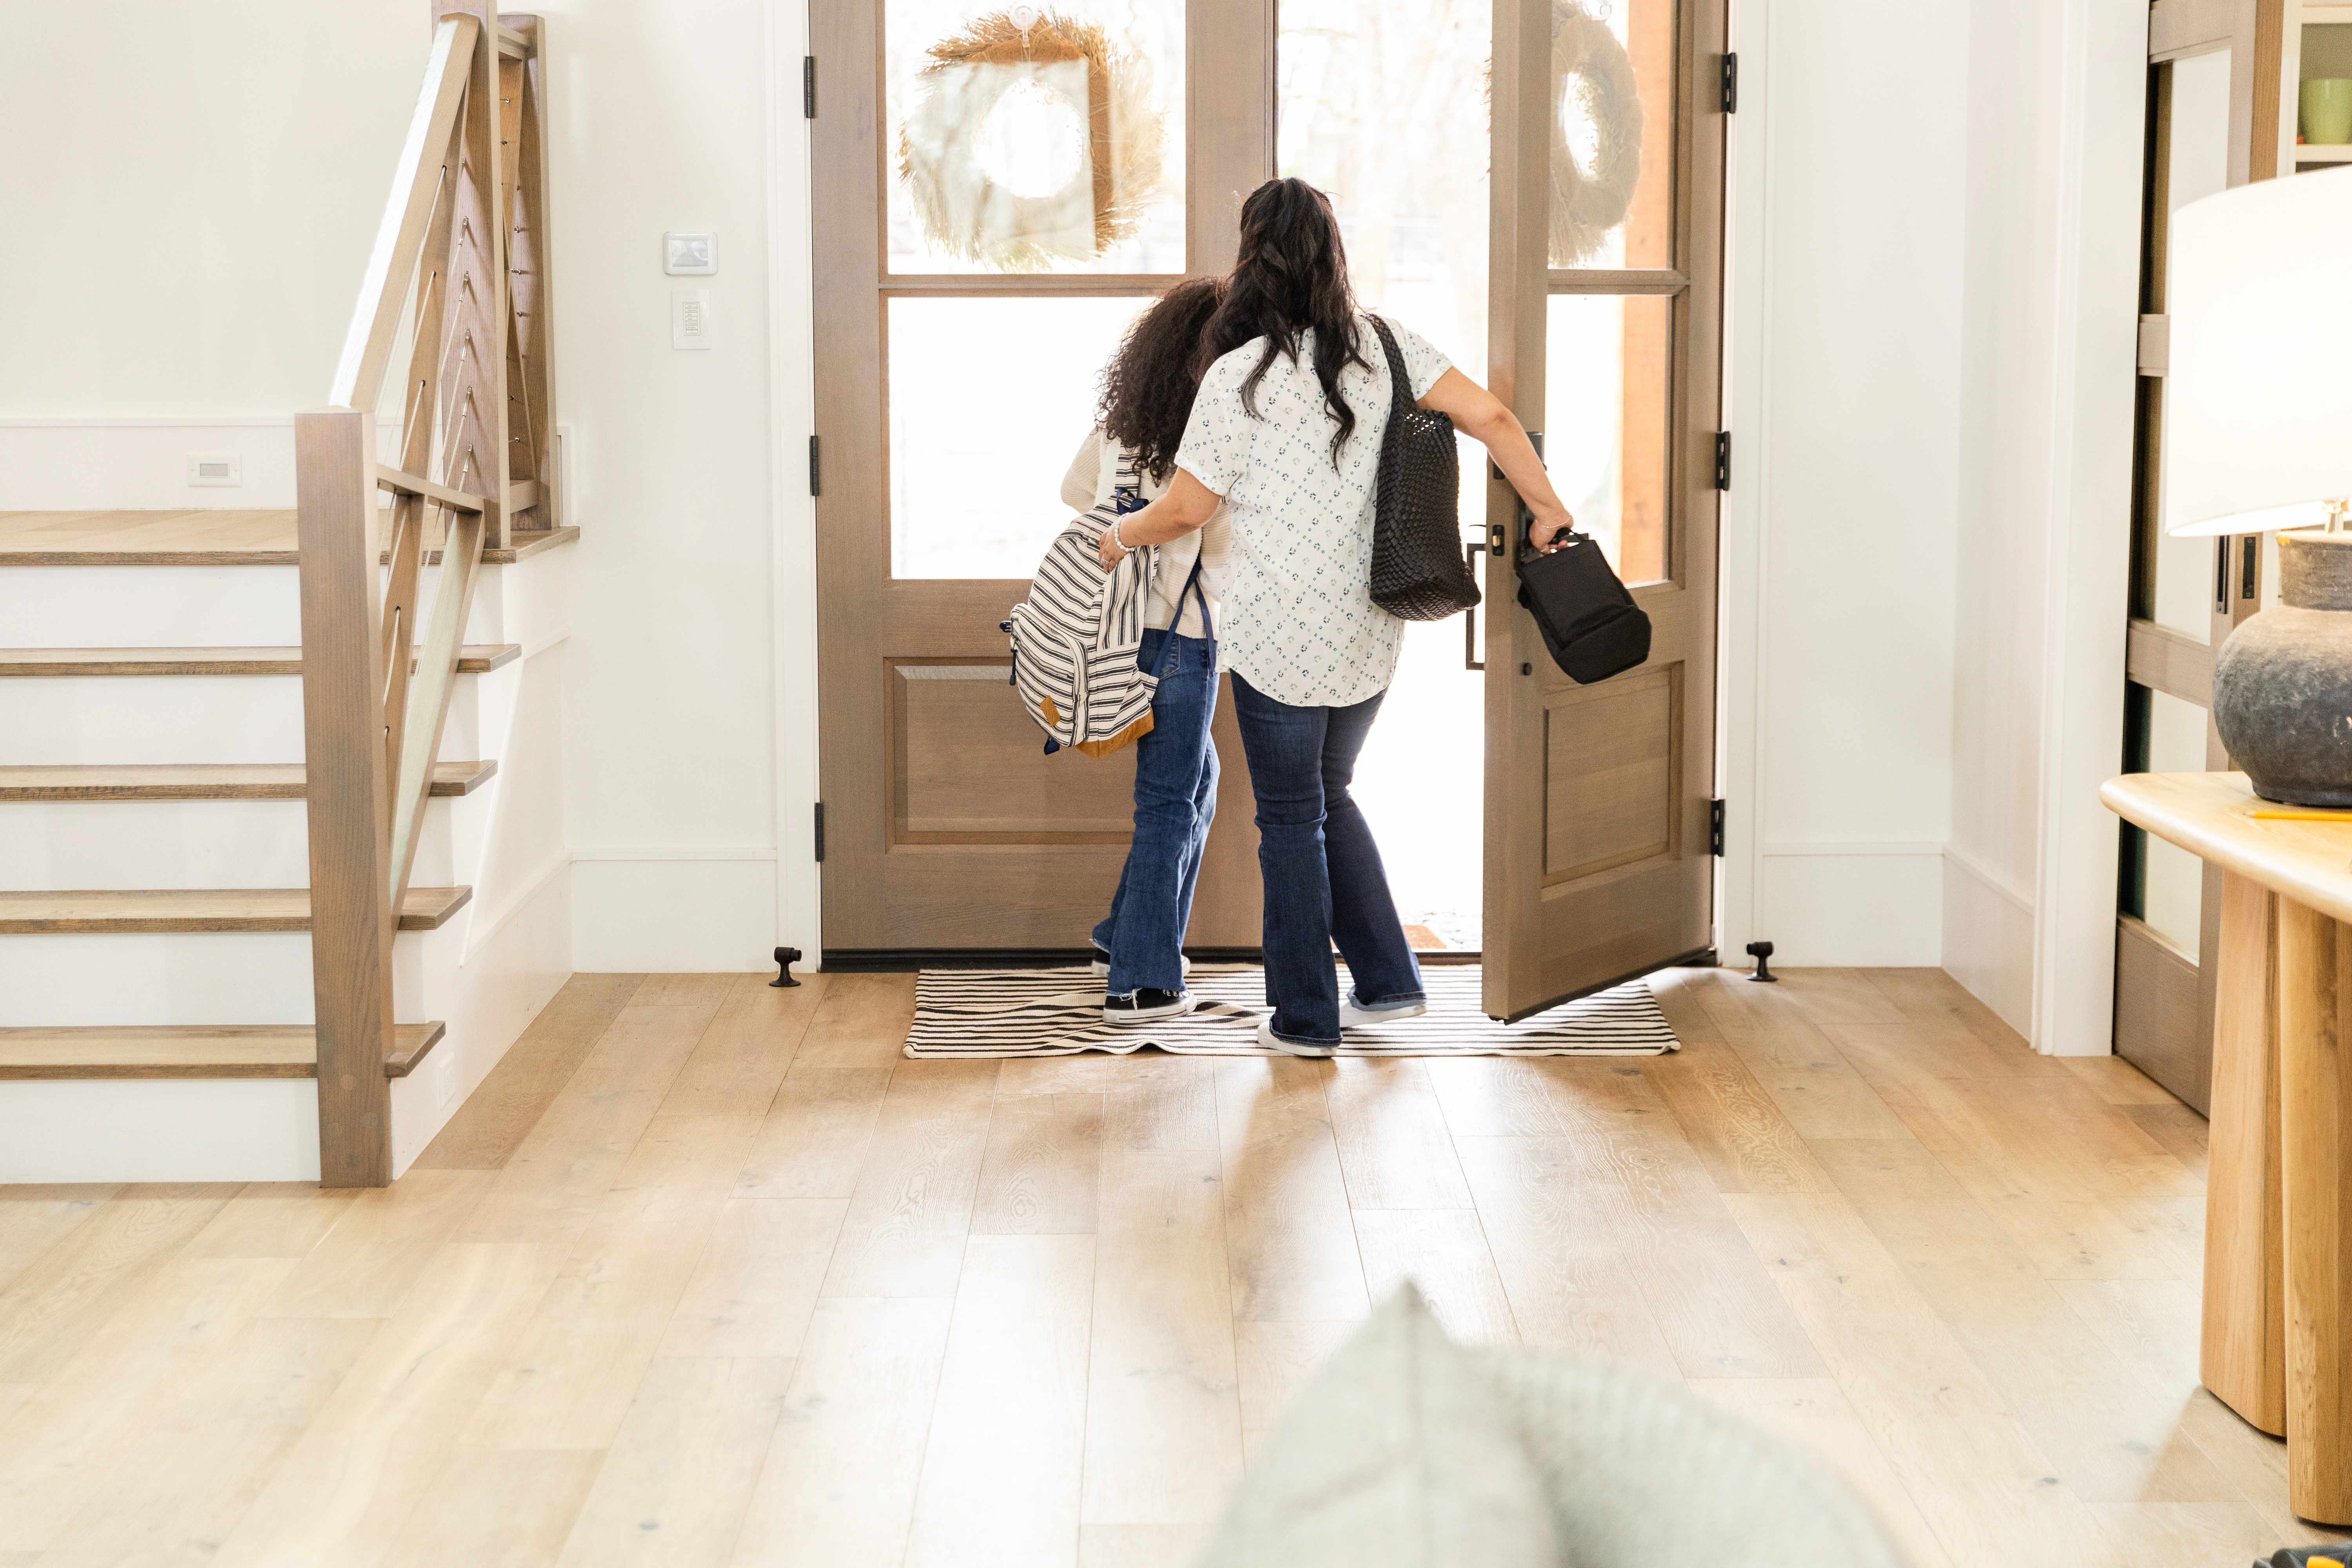
There’s nothing better than a dog door to give your pet free access to the outdoors. Use this dog door installation cost guide to see what it will cost you.
No need to “jamb” yourself up—just measure two or three times

When it comes to doors, one thing you can count on is that nothing is ever quite as “standard” as it seems. Even if you think your door is a standard size, inaccurate measurements—or assumptions—can turn what should be an easy swap into a headache. Learning how to measure a door is essential, especially if you’re already eyeing your perfect new door. Whether replacing an old door or upgrading your entry, knowing precisely what you’re working with is the first step to getting it right.
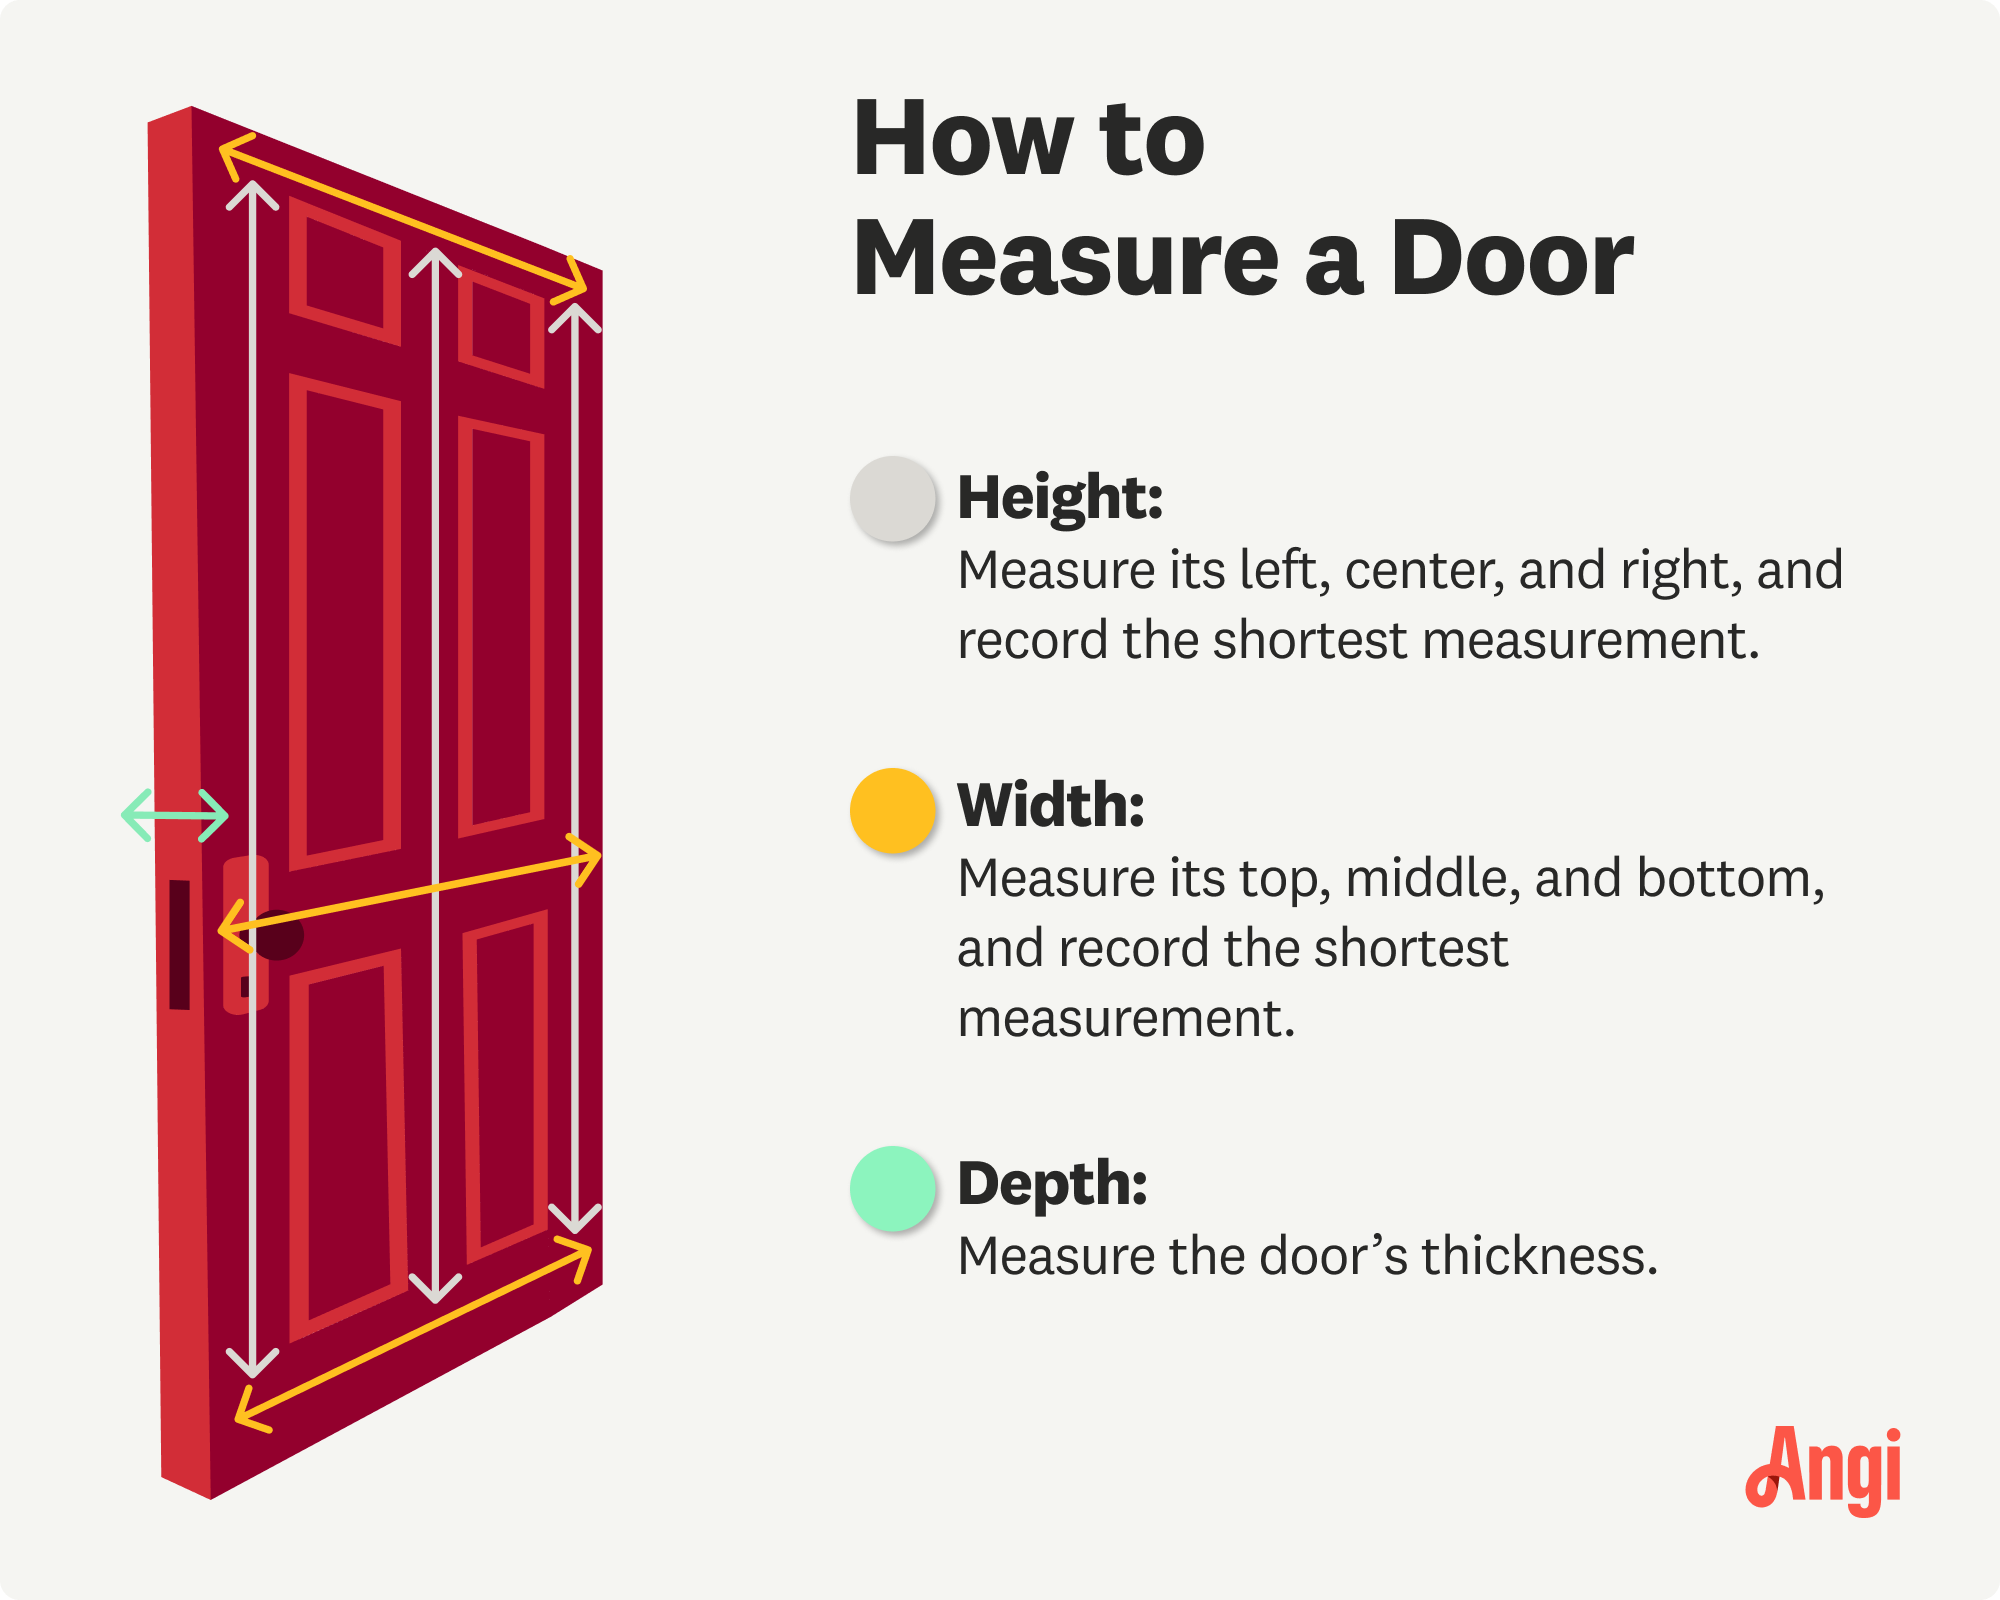

Start with the width. With a measuring tape, measure horizontally across the door slab—not the frame. You’re going from one edge of the door to the other. Do this at the top, middle, and bottom of the door. Don’t be surprised if the numbers vary a little. Older doors tend to shift or warp. If they do, go with the largest measurement.
Place the measuring tape at the top edge of the door and extend it straight down to the bottom edge. Again, you’re measuring the slab only, not the door jamb or threshold. Take one measurement on the left and another on the right—just in case the floor or frame isn’t perfectly level. If they’re slightly different, jot down the taller of the two measurements to ensure a replacement door won’t drag or bind when installed.

While your door is open, measure its thickness or depth from one face to the other. Most residential doors are 1⅜” or 1¾” thick but don’t assume. You need this measurement to match a new door to your hinges and latch hardware so it can sit correctly in the frame.
Stand on the side of the door where you push it open. If the hinges are on your right and the door opens away from you, it’s a right-hand swing. If they’re on your left, it’s a left-hand swing. This part sometimes trips homeowners up, but don’t overthink it. Just note the hinge placement and swing direction from where you naturally enter the room. Although not a “measurement,” this will be useful when picking a replacement or planning hinge placement during a refit.
You'll need to measure the rough opening if you’re swapping the whole door unit, not just the slab. Starting with the width, measure from the inside edge of one side jamb to the other. Then, measure the height from the top inside edge of the head jamb down to the sill or finished floor. Use the same “large measurement wins” rule here, too.
Even the most confident DIYers can slip up when measuring a door. A small mistake could mean reordering parts, delaying installation, or realizing your perfect-fit door doesn’t fit. Most mistakes are easy to avoid if you know what to look for. Here’s what not to do when measuring your door:
Measure the frame instead of the slab: Only include the frame if you’re replacing the entire unit. Otherwise, focus strictly on the door itself.
Take just one measurement: Always measure the width and height in at least three places. Go with the largest number.
Round too early: Don’t round until you have the final measurement. Early rounding can result in an incorrect number.
Ignore the swing direction: If you don’t note whether it’s a left-hand or right-hand swing, you could end up with a door that opens the wrong way.
Mix up door types: Interior and exterior doors aren’t measured or installed similarly. Make sure you know which one you're working with before measuring.
Assume your door is standard: Door sizes vary, especially in older homes. Measure every time.
Use a faulty measuring tape: A warped or stretched tape will give you wrong measurements. Use a metal measuring tape that stays stiff.
Fail to label your notes: Messy notes lead to confusion. Write down every measurement clearly and specify where it’s from using terms like “width (top)” or “height (right side).”
If you have a measuring tape and a few minutes, measuring a door is a zero-cost DIY job—easy, quick, and completely manageable for most homeowners. But here’s the catch: mess it up, and that free task can cost you hundreds in returns, delays, and custom reorders. Hiring a professional door installer usually runs about $40 to $90 an hour, and for that, you get precise measurements, experience with tricky frames, and no guesswork. This is especially helpful in older homes or if you’re ordering a custom or high-end door. If the door’s expensive, paying for precision could be well worth it.
Terrible experience. Walls/trim/floors/cabinets/doors all have drip marks, overspray, etc. Tiling at the fireplace had to be redone by another vendor due to incorrect and shoddy install by Profect. Contractor had his children in our house while he was on site without prior authorization or...
 Profect painting & exteriors
Jason has helped me with multiple household projects, with the most recent being new door installation. He has always showed up on time and organized and has done an incredible job! Jason is very professional and he's now my go-to for anything around my house that needs to be fixed or...
Company came to look at my garage door that was off track. They also said I needed a brace on the other garage door. They put the door back on track, and I paid to install the brace. The technician told me I needed a new garage door opener, and it would cost $1000. Red flags went off in...
 Precision Overhead Garage Door Service
On Sunday 2/26 I requested quotes via Angi from 4 refrigerator repair businesses. Northwest Appliance responded to me Monday morning (2/27) and my refrigerator was repaired by noon the same day. Great communication, they did everything they said they would. The technician had the parts on...
Excellent customer service and knowledge. I was recommend to him from my neighbour. My front door and window came in great and were installed beautifully perfectly, I m very satisfied with their excellent work, so decided to order one more big bow window for my living room. I cant wait for...
Called ahead and worked quickly to install keyless locks on vintage wooden doors.
Scott did not get appropriate access to the property prior to the scheduled inspection which required us to come back later in the day to complete it. He also, unprofessionally, knocked on a neighbor?s door in his attempts to reach someone with access. His overall report was fine though the...
Door Depot was very responsive - they came out the day after my call to assess my needs, then returned at my convenience to complete the work. They arrived early, and the work was completed in a shorter period of time than estimated. Very pleased with the results. I would definitely use them...
 Door Depot LLC
Replace garage doors: Fast response, competitive estimate, timely work done well.
Jeremiah did an awesome job cleaning 28 windows inside and out! He was fast, efficient and now I have a beautiful view again. This was a Groupon for $139 for 20 windows, but I had 28 windows/doors cleaned, so there was an extra $6 per window. Totally worth it.
 Complete Home Services
From average costs to expert advice, get all the answers you need to get your job done.
There’s nothing better than a dog door to give your pet free access to the outdoors. Use this dog door installation cost guide to see what it will cost you.
Planning to install a new or replacement storm door? Learn how to measure for a storm door to ensure a snug, secure fit for your home.
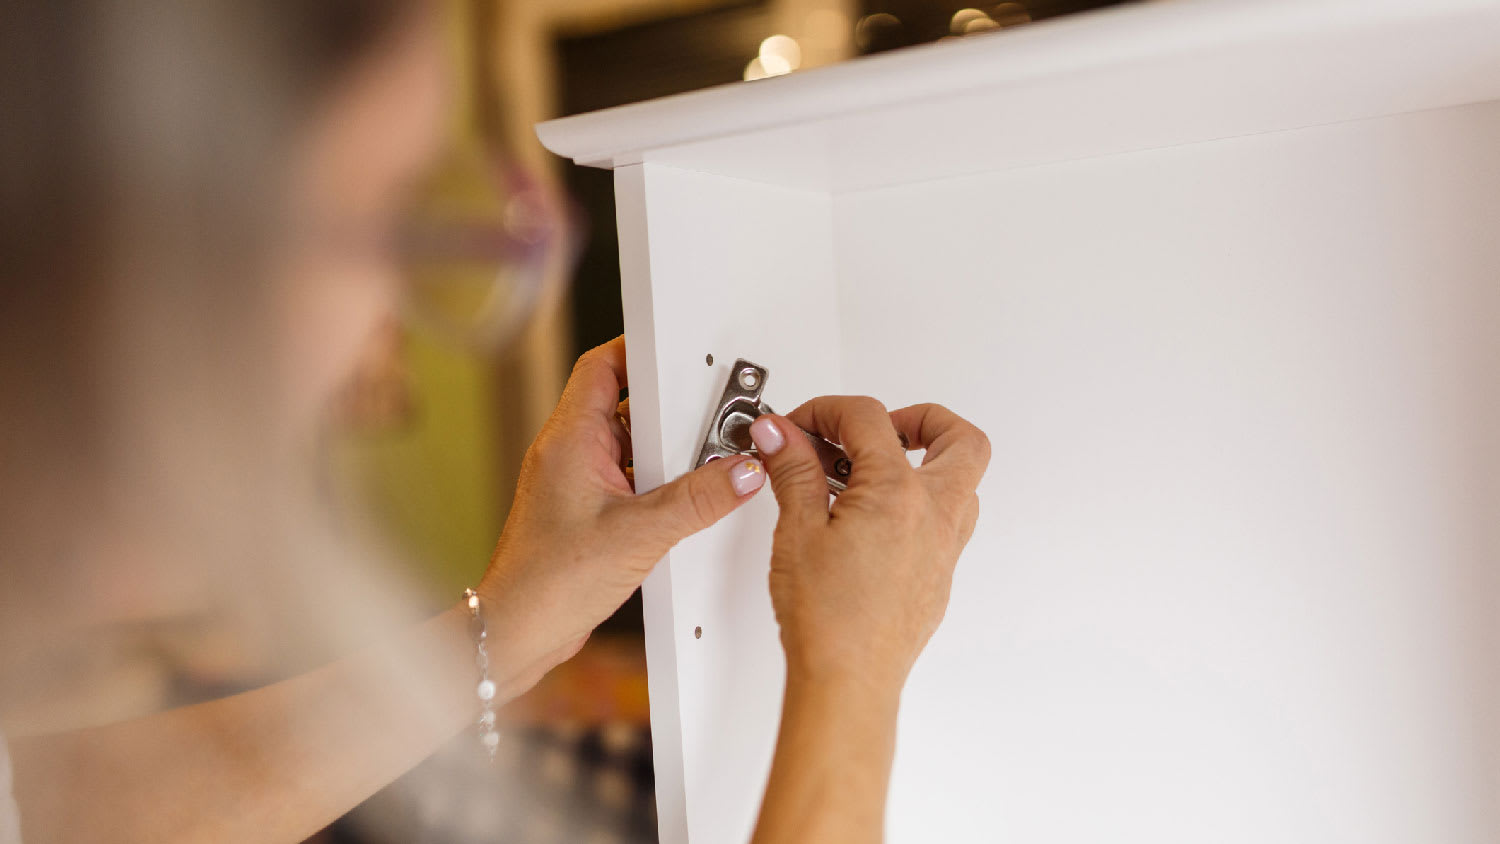
Understanding how to measure cabinet hinges is essential for any homeowner looking to replace or upgrade their cabinetry. Learn how with this DIY guide.
French doors are an elegant way to functionally add light to your home. Our guide explores standard French door sizes and dimensions.
Sizing garage door springs requires accurate measurements and the garage door weight. Keep reading to learn how to size garage door replacement springs.
Use this guide to standard garage door sizes to pick out the right door for your new construction or garage renovation.