

•
Discover the average custom closet cost, including price ranges and key factors, to help you budget and plan your project with confidence.
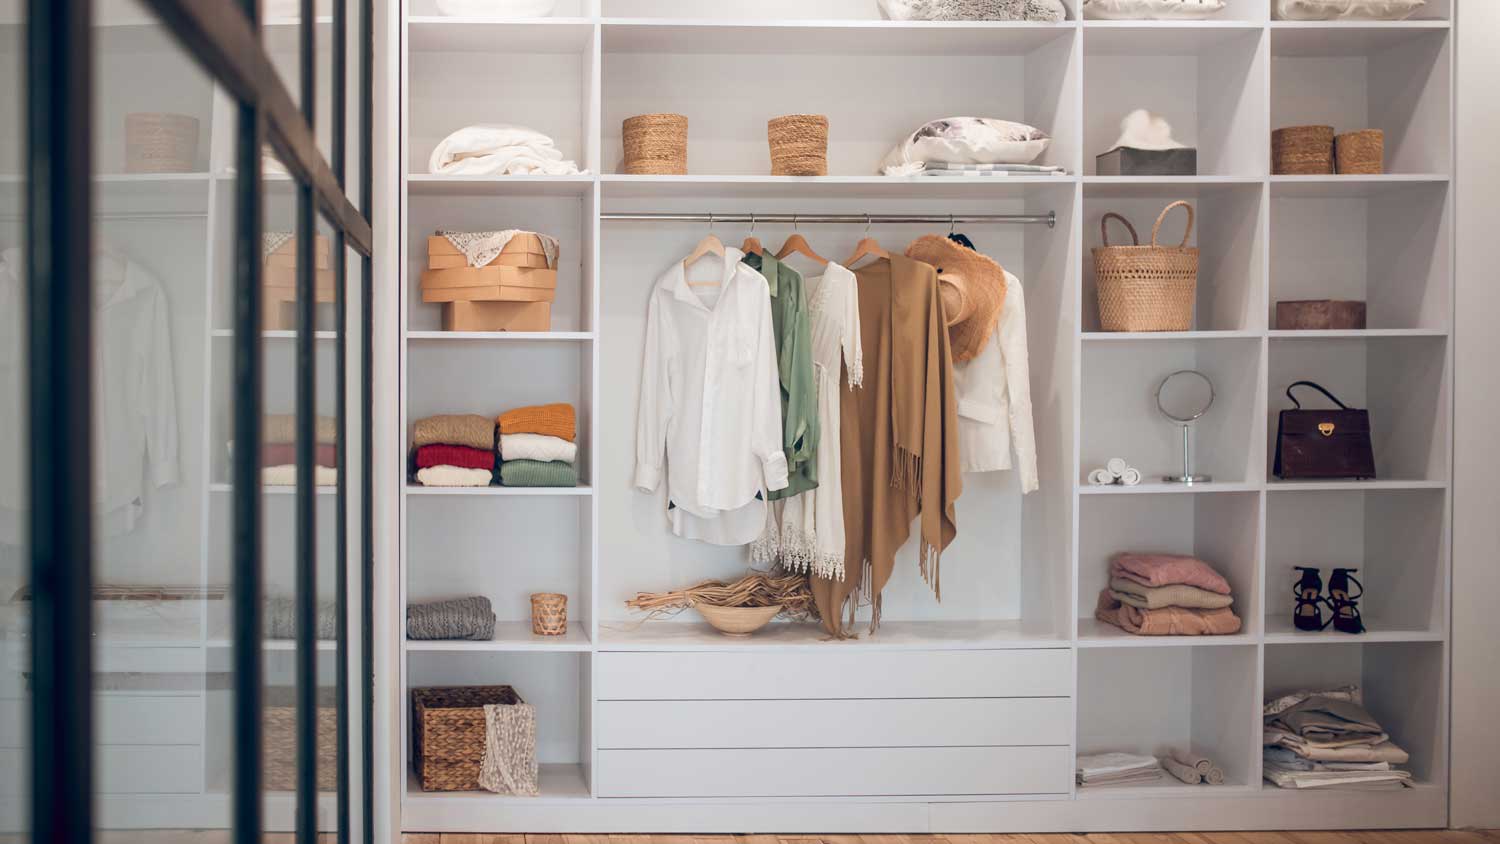
Bring your closeted shelving ideas to life

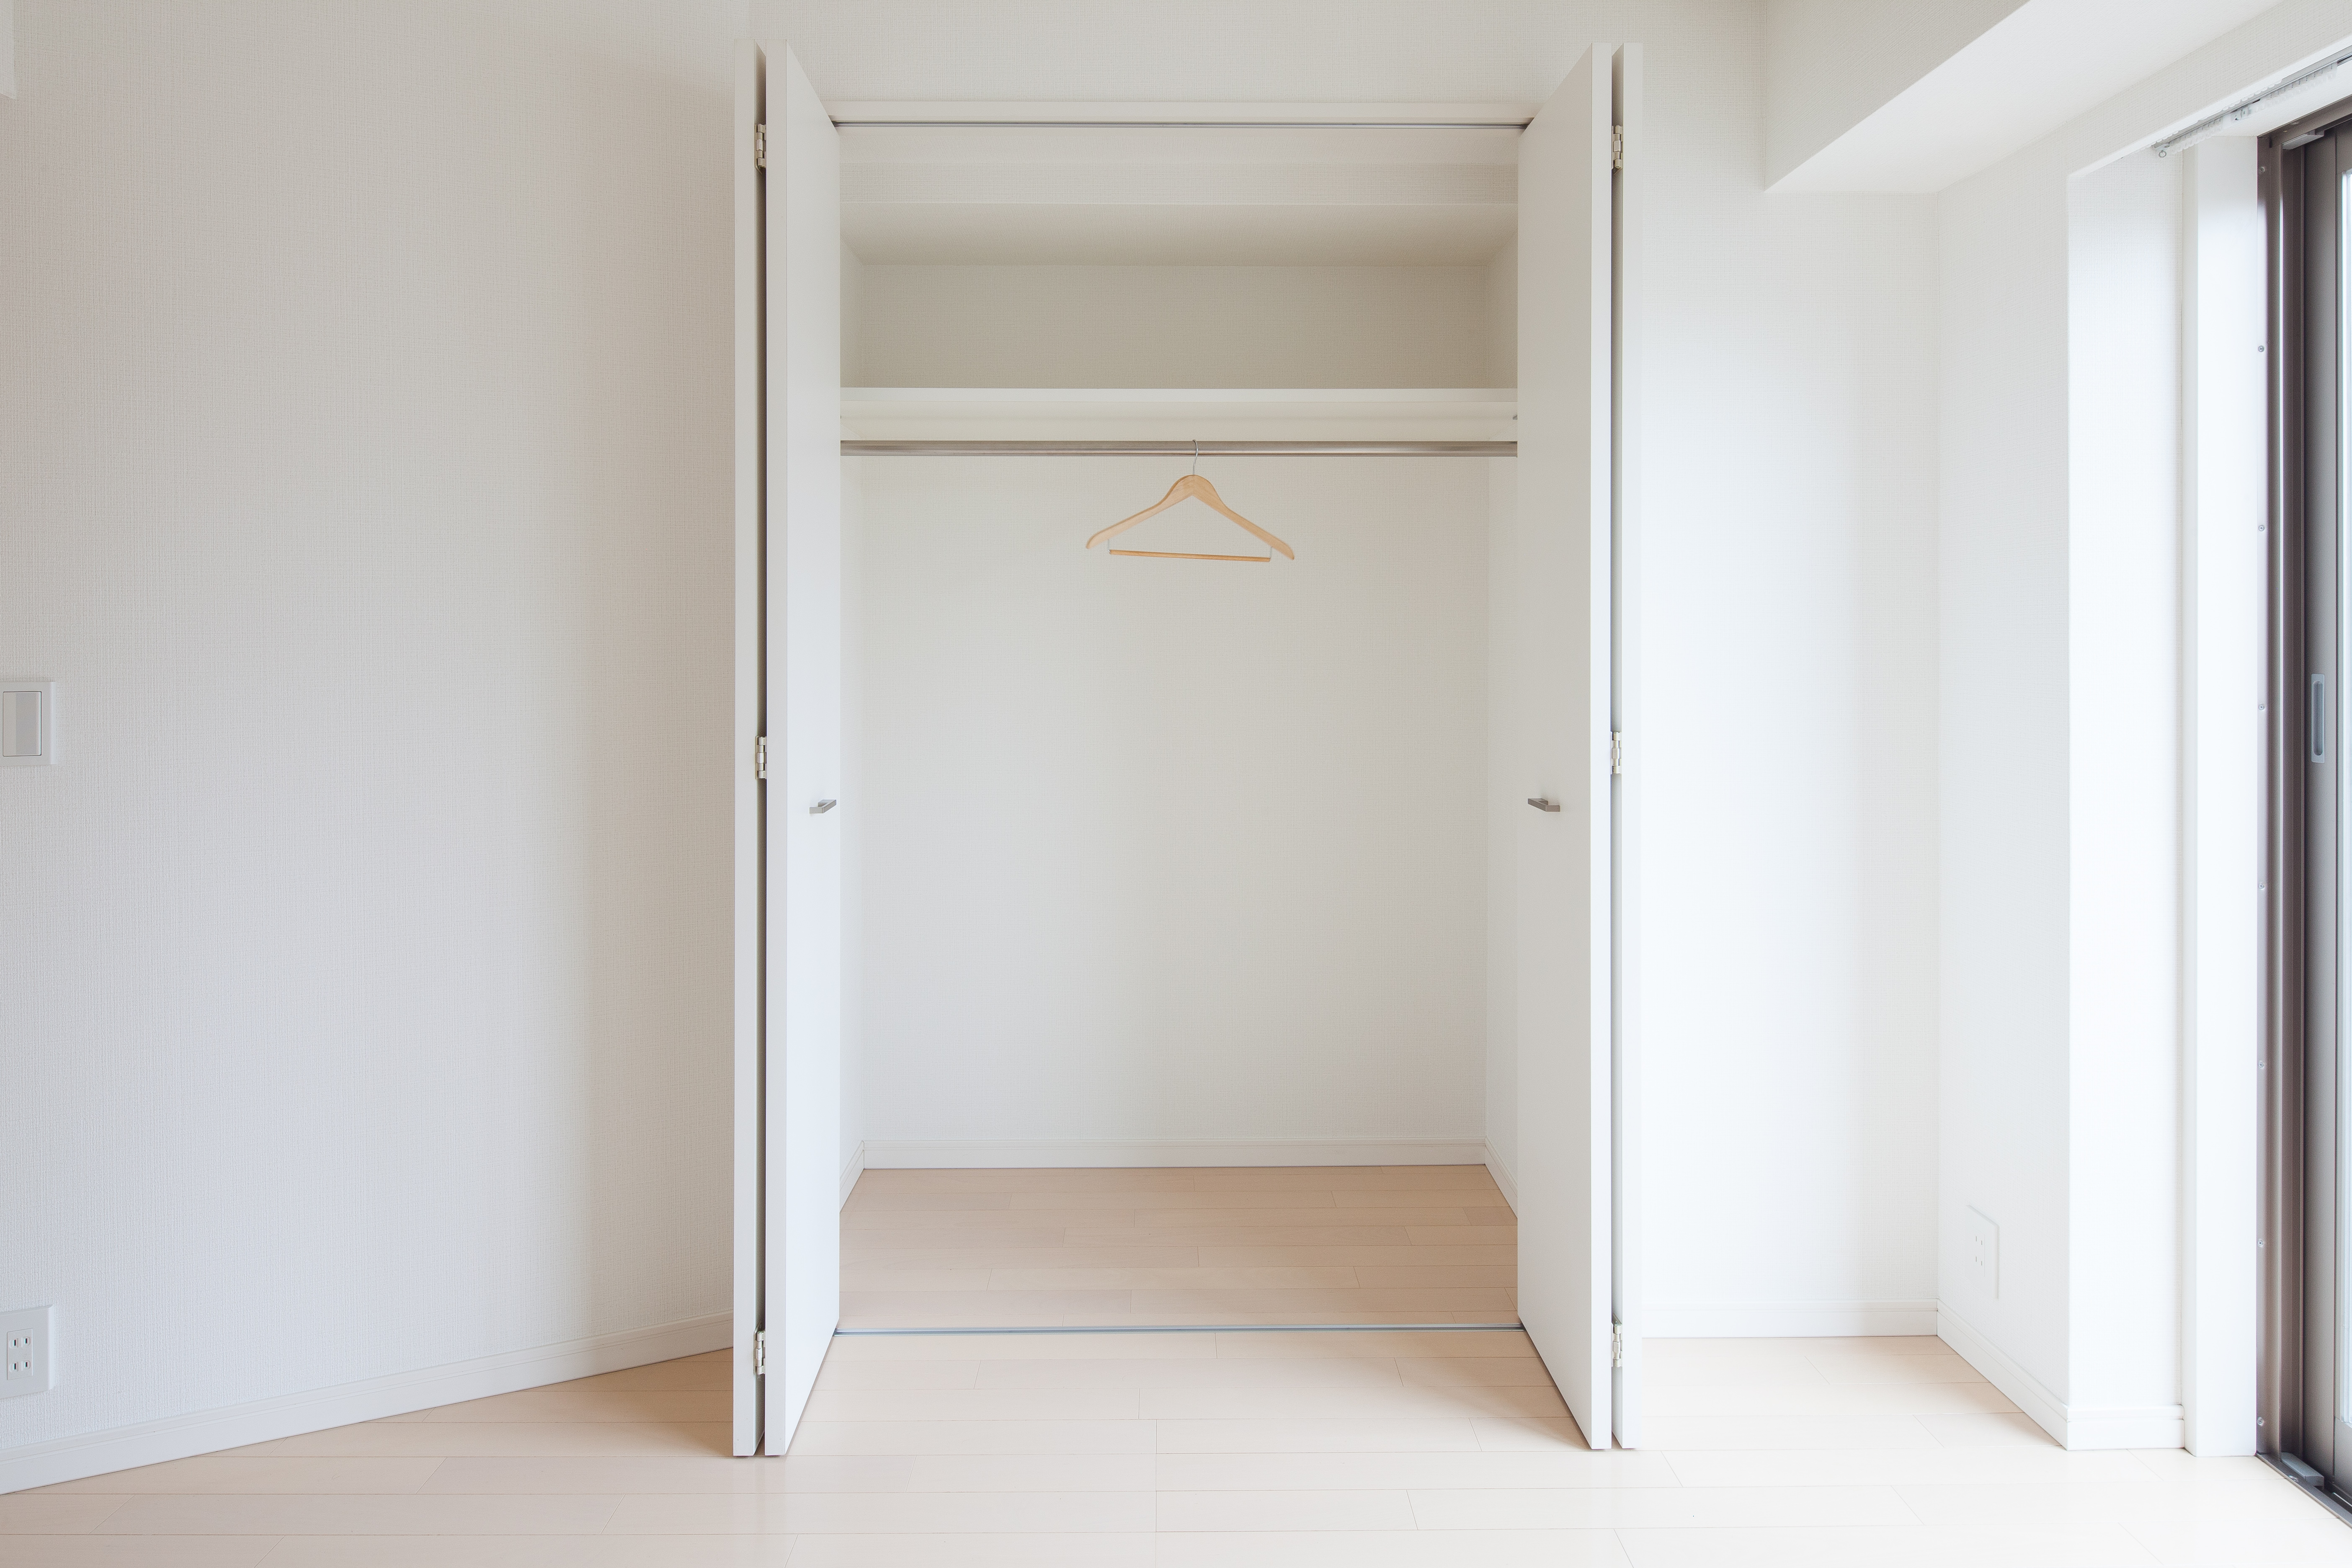
Learning how to install wire closet shelves has never been easier. Today's modern designs look great, install easily, and are available, well, right off the shelf. The best way to start is to make a detailed plan and purchase the components you need. After that, it's just a matter of following these installation steps.
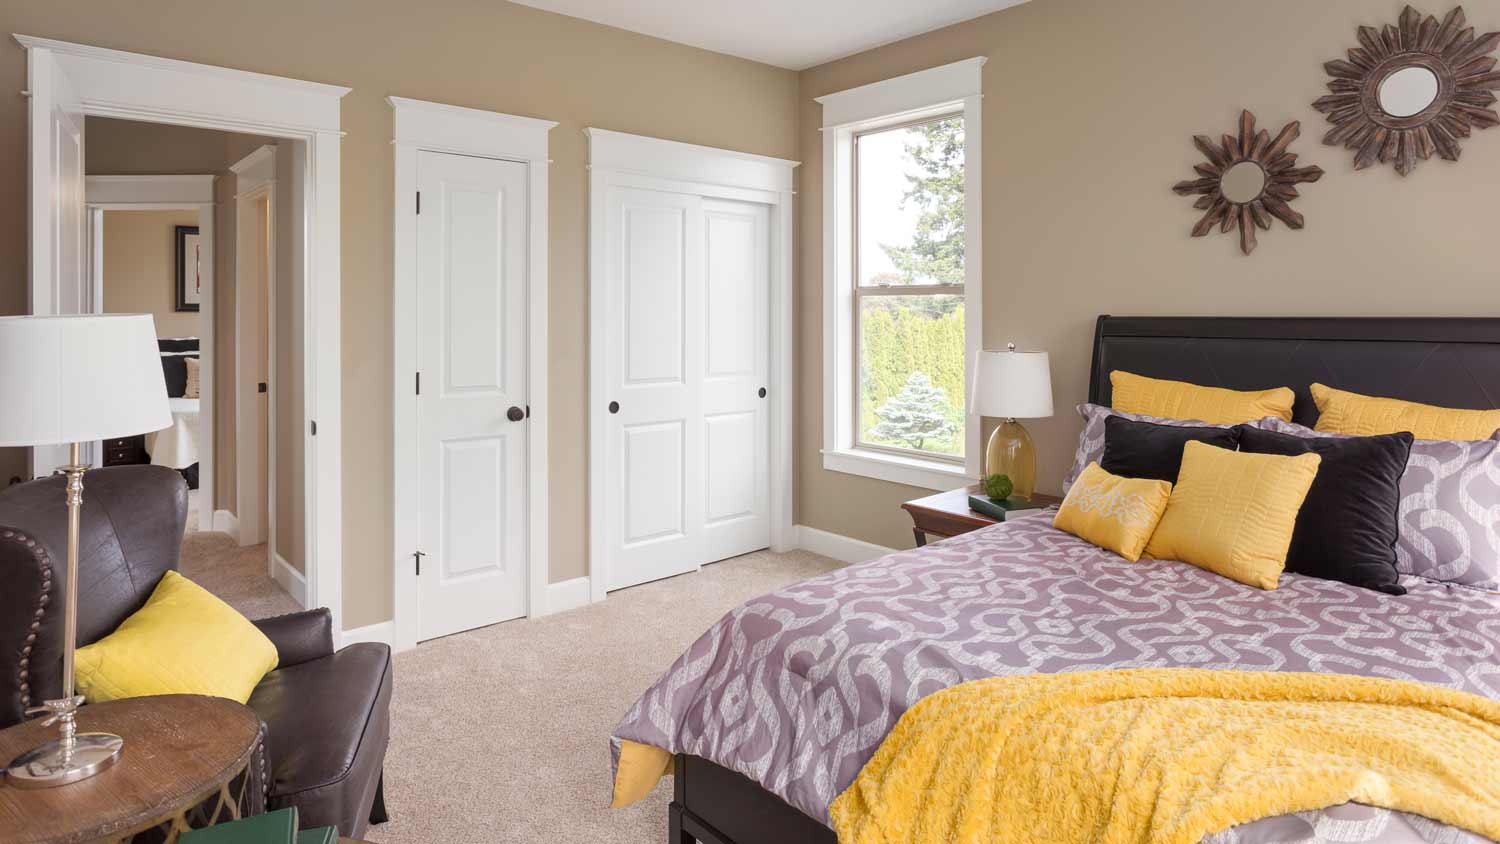
If you're installing wire shelving in an existing closet space, removing the old shelves is necessary. Doing so will leave behind plenty of holes and probably some scratches in the wall. Use drywall compound or spackle and a putty knife to fill in the gaps and sand it smooth after it dries. Choose your favorite closet paint color and give the space a fresh coat.
Use closet design ideas right from the shelving manufacturer, or create your own. While shelving units are available in design packages, you can also purchase single units to customize your installation.
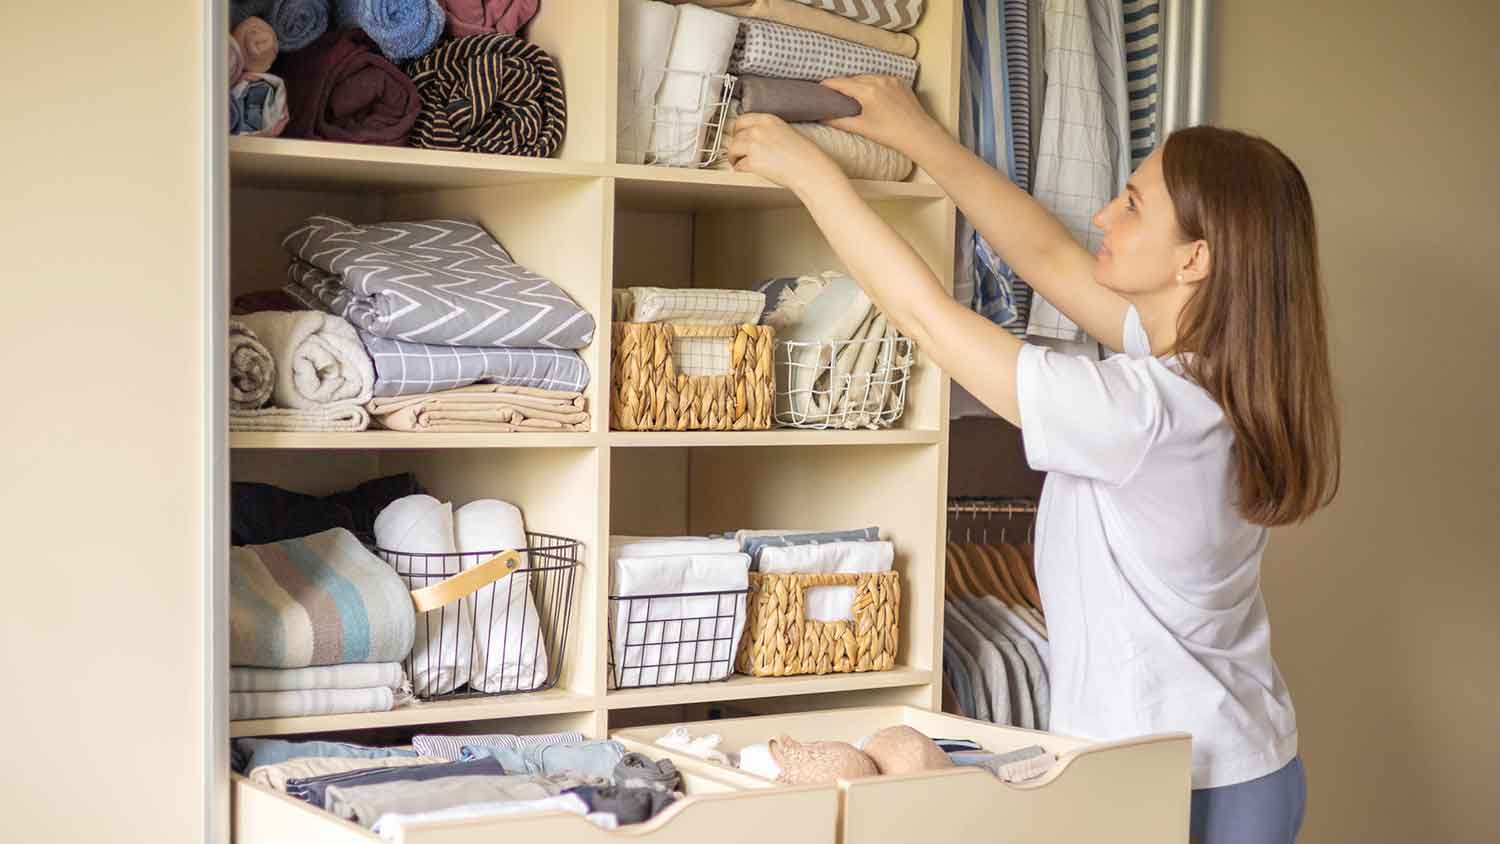
While learning how to design a closet takes some practice, the shelving kits can help make your job easier. In any case, measure the area and draw out your installation plans, adding as much detail as possible.

Your closet wall will have studs behind the drywall spaced at 16 or 24 inches apart. Use a stud finder to locate a couple of them, then use your tape measure to identify where the rest are. Mark the locations with a small pencil mark that the shelving hardware will conceal.
Depending on the height of the wire shelf system you have, you can hang the upper track into the top plate of the wall near the ceiling, or into the wall studs below. Use a bubble level to mark a horizontal line where the track will be. The top plate consists of a horizontal stud at the top of the wall within 1.5 inches of the ceiling junction.
To install the track, put on your safety glasses, place it on the horizontal line, and install the first screw (of the ones that came with your shelves) into the first stud on one end of it. Confirm it's level and install the remainder of the screws, using one per stud, or every 16 to 24 inches if putting it into the wall's top plate.
Install your shelf system supports, or standards, by clicking them into the hanging track and lowering them into place. Space them no more than 24 inches apart and install them directly over your stud markings where possible. Affix them to the wall using the provided screws, spacing them every 16 to 24 inches. Use toggle bolt drywall anchors to secure the supports where they don't line up with a wall stud.
Where you place your individual shelves will determine where you install the shelf support brackets. To place them, simply click the pieces into the wall standards and lower them into position.
Place one near each shelf end and one on each standard where the shelf intersects. Remember to leave room for any accessories, such as shoe racks, pre-fab drawers, or additions, like custom-built drawers.
If the size of your reach-in closet is narrower than the shelves are long, or if the predetermined kit layout doesn't fit your needs, you'll have to cut one or more shelves. You can use a hacksaw or a bolt cutter to make any necessary cuts, leaving stubs on the ends to install the kit-provided plastic end caps.
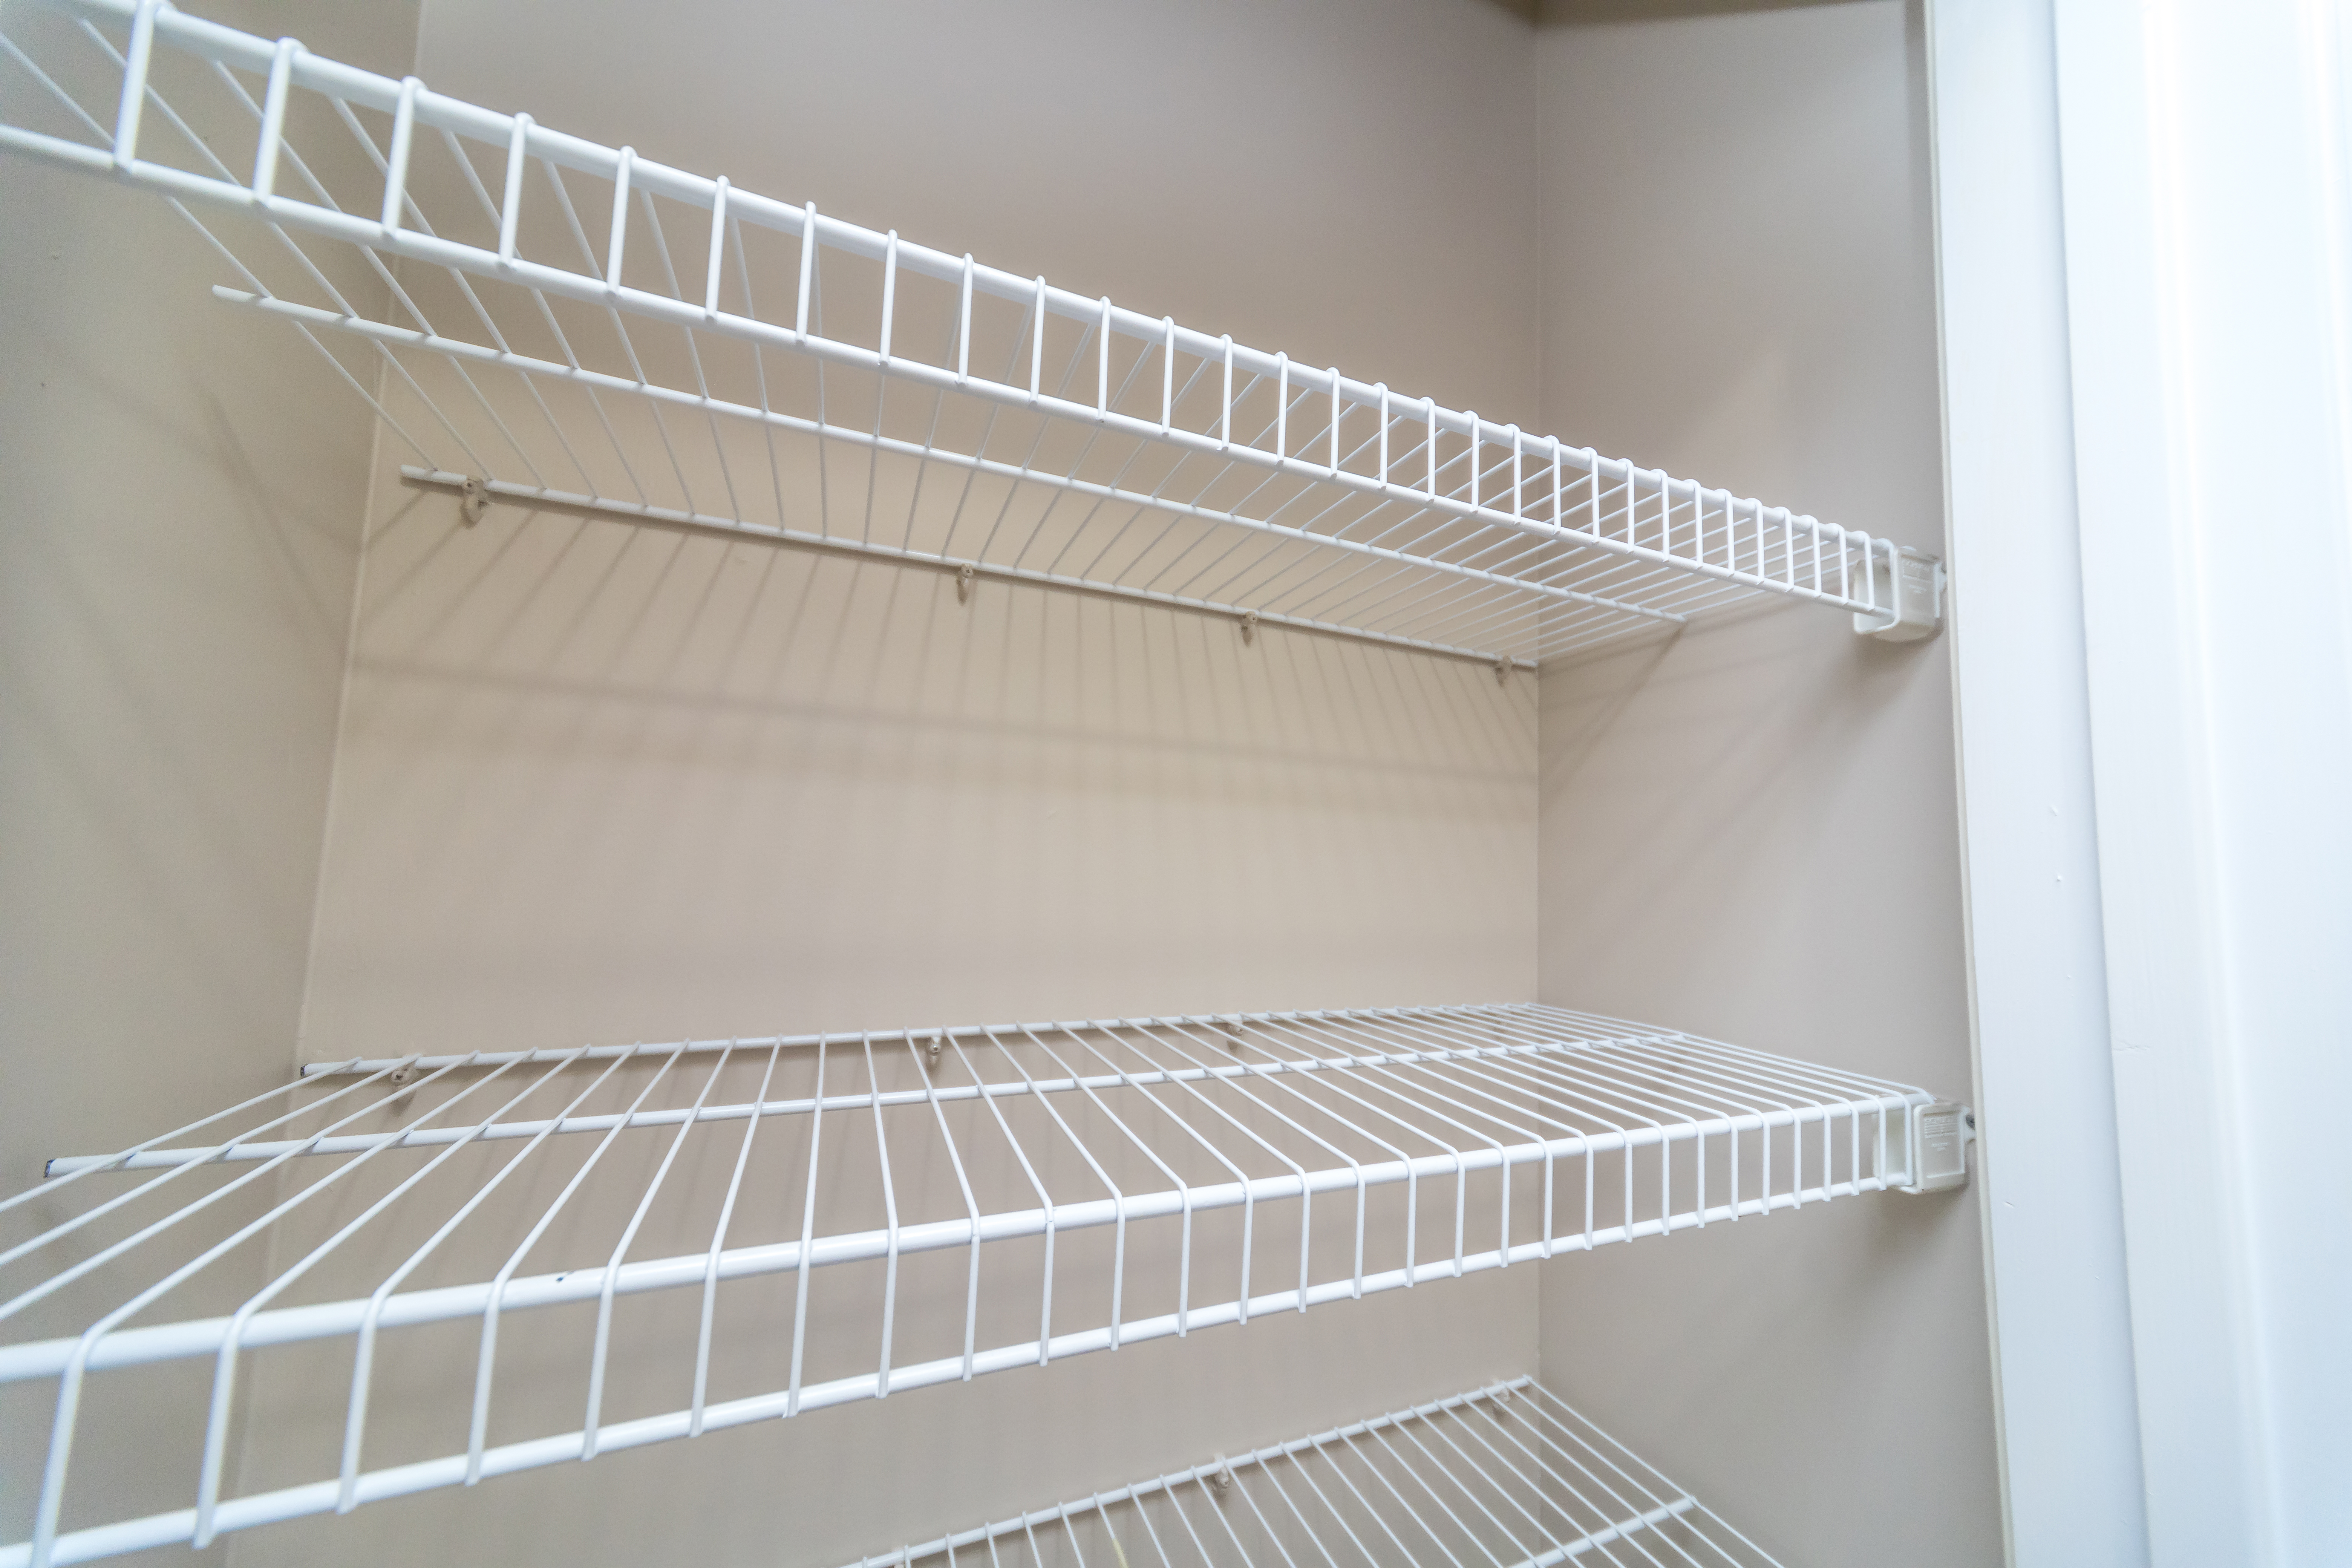
Place the shelves, one at a time, onto the shelf brackets. Angle the front of each shelf into the clip or indent at the end of the bracket, and lower the shelf into place. When complete, install the plastic end caps on all of the shelf ends.
Depending on the shelving system and accessories you have, follow the included instructions for hanging closet rods, drawers, shoe racks, or any other add-ons you choose.
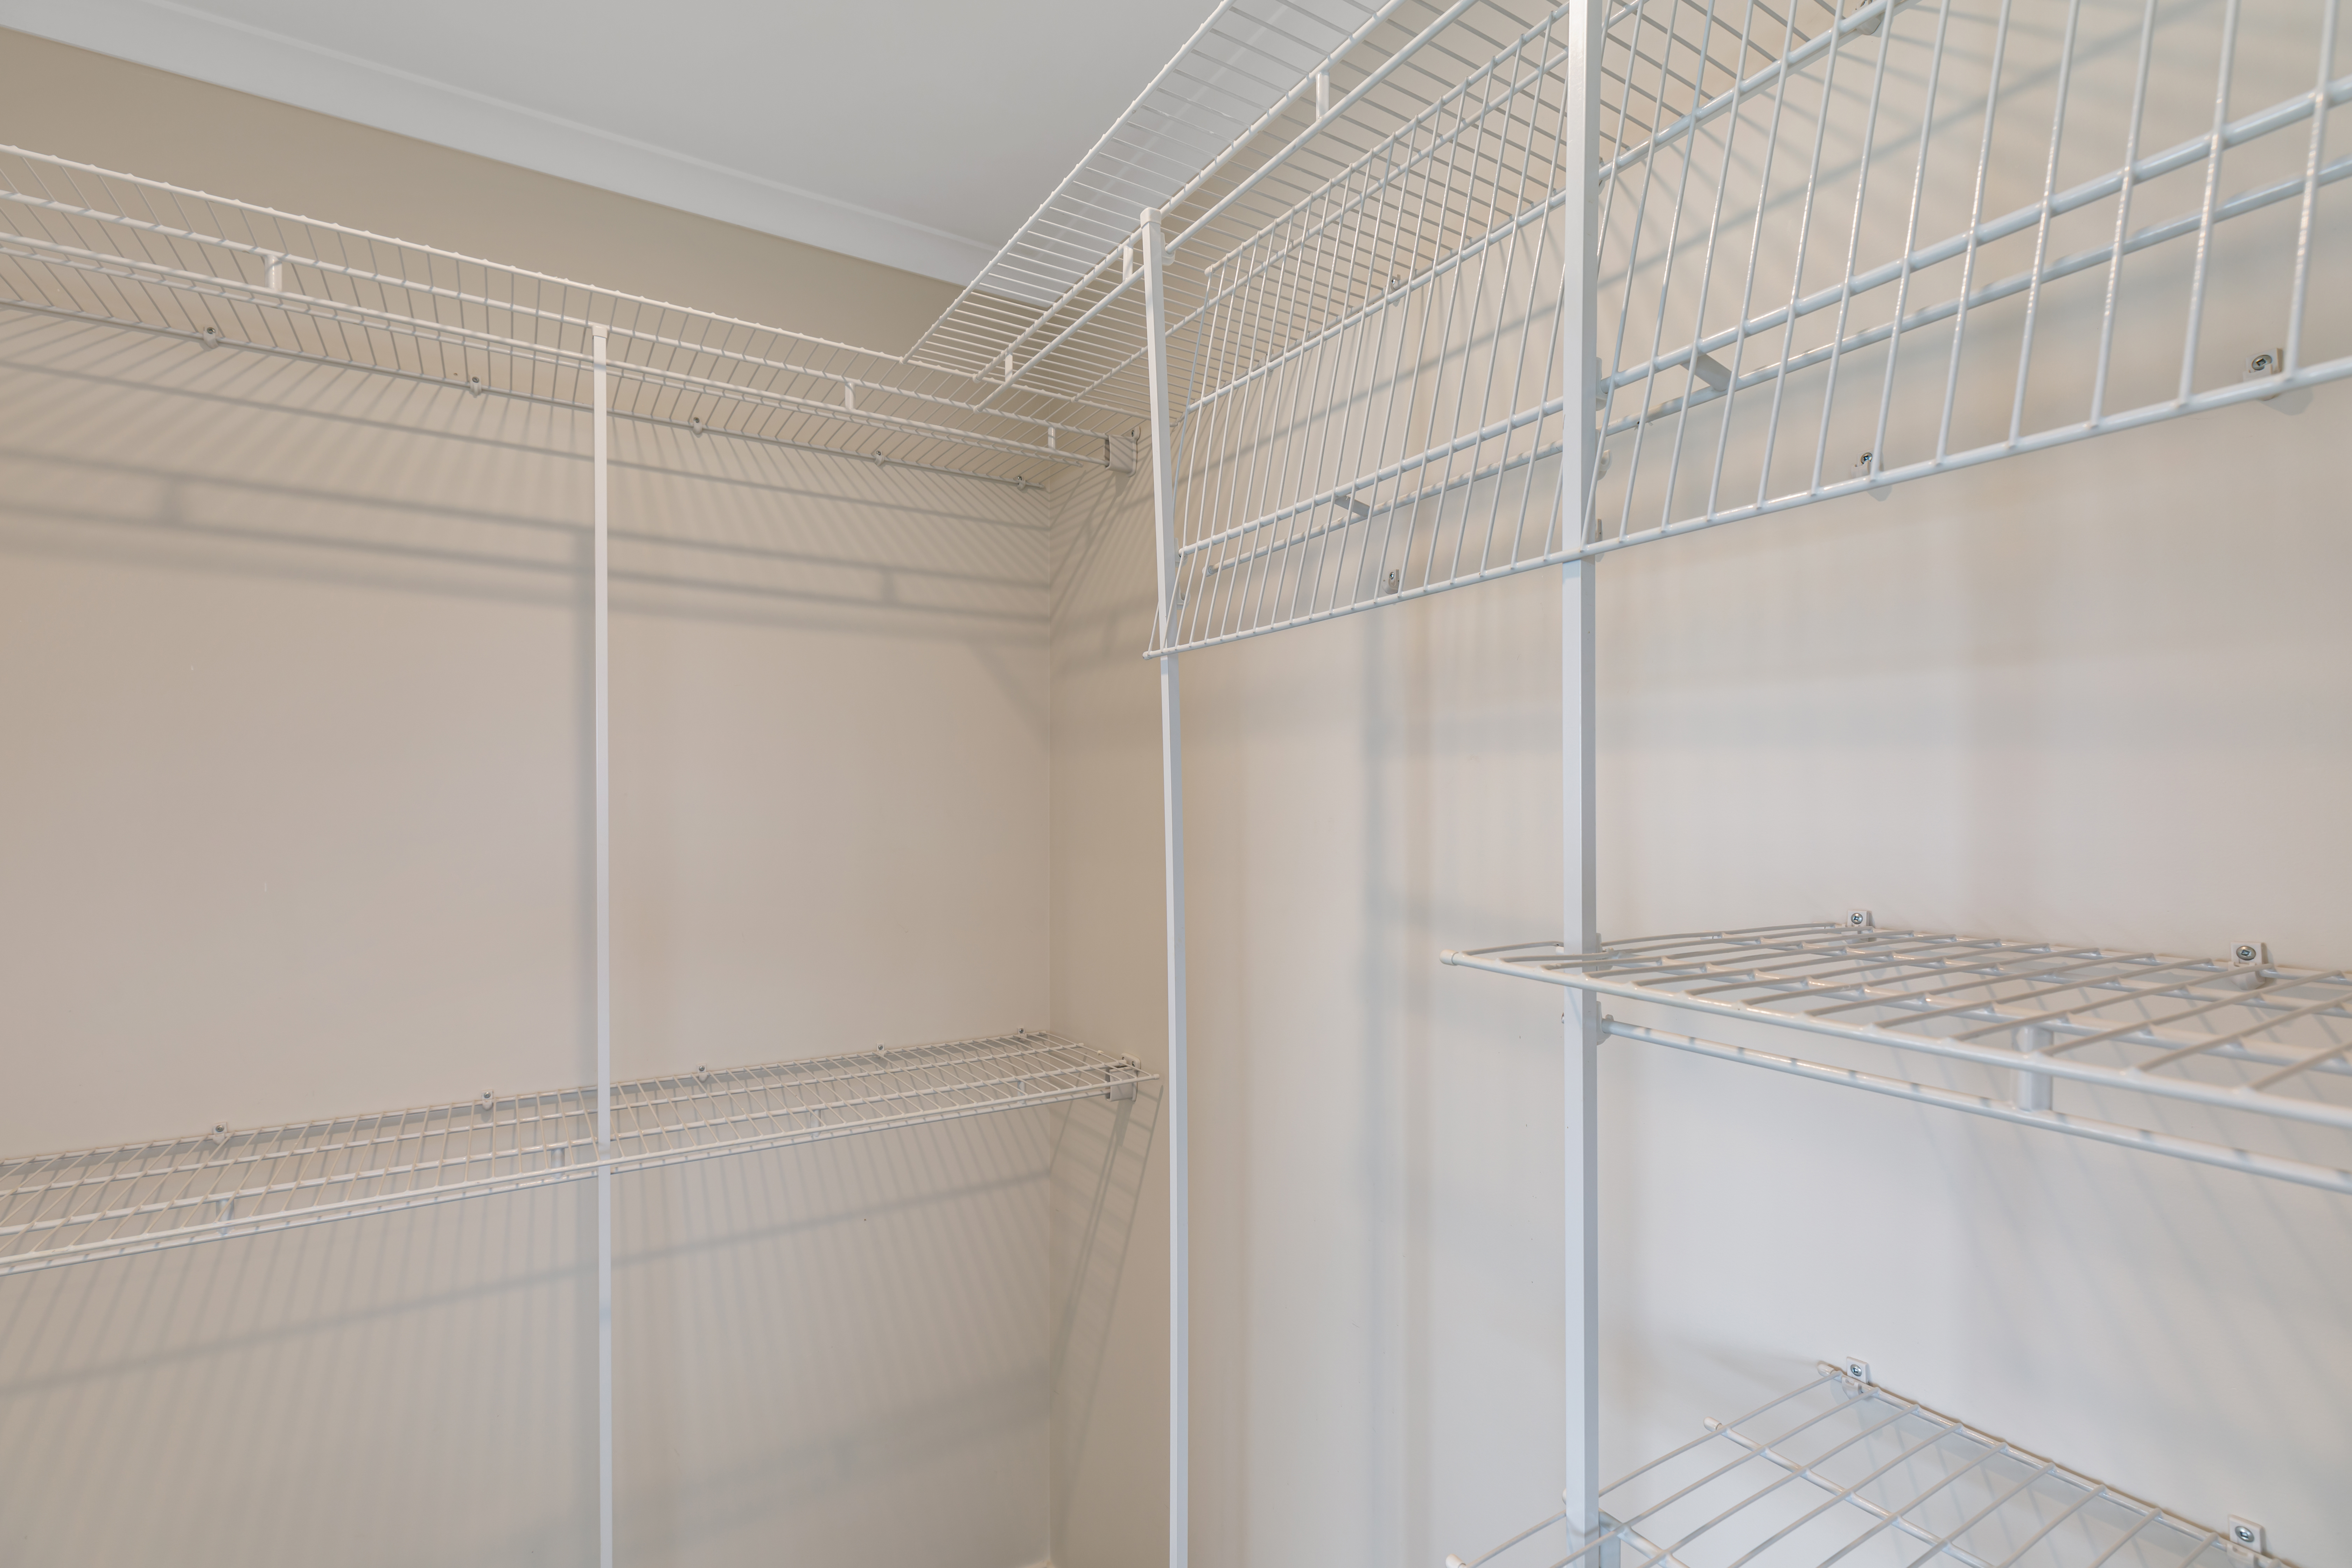
While installing a DIY custom closet is straightforward on a small scale, full-on, walk-in closet design and installation can get pretty complex. Installing wire shelving as a DIY project can be an effective way to save money over professional installation, which can cost over $1,000.
However, making a workable closet out of an empty space is challenging from a design standpoint. Many homeowners simply choose to hire a local closet maker to ensure the space becomes as useful and efficient as it can be.
Raven and crew does absolutely fantastic job. They are very professional if any concerns were to occur with any of her work she always took responsibility and finished out with a great job. I have worked with her business for a year and have always been satisfied. Very trusted business and...
Amazing job. Efficient and quick without compromising quality. Basement feels brand new. Would use them again in a heartbeat.
 AffordaPro Restoration
We have bought and sold numerous times over the past 50 years. Sherman Hall and Top Line are top notch. Thorough and detailed, he explains every possibility, probability, and eventuality. High class and pleasant. The best.
 Top Line Home Inspections, LLC
Fantastic group, very communicative, and they really did a great job cleaning my condo. Will be hiring them for recurring cleaning!
Supreme Brick & Chimney did a great job with a cleaning and inspection of the fireplace! He was efficient, on time, and very pleasant. The space was kept very clean, and the fireplace was spotless when he was done. He also performed a thorough inspection, and did a great job talking us...
 Supreme brick & chimney
This company is my go to resource for all my post renovation clean ups. They get the place spotless! All we have to do after is stage the place and sell, sell, sell! They are super professional and have some amazing scent that is left in every property. I highly recommend!
Custom Paint Jobs LLCs custom murals brought life to our childrens rooms. They love it!
Window Depot did an amazing job on my deck. I wasnt sure what I wanted to do, but their composite decking was affordable and will last a long time. I am excited to have family over, and I am no longer embarrassed by my backyard. Jeff and the ground crew were polite, respectful, and caring for...
Great tree company, very professional and honest. Glad we found them, they had the best pricing
The team is awesome!! I can generally pick up and clean throughout the week, but they CLEAN! Windows, stair rails, microwave. All the things I can’t ever seem to get to regularly. The house looks and smells great after they leave.
From average costs to expert advice, get all the answers you need to get your job done.
Discover the average custom closet cost, including price ranges and key factors, to help you budget and plan your project with confidence.
Discover the sliding mirror closet door installation cost, including material, labor, and additional expenses. Learn how to budget and save on your project.

Need a little extra room for clothes storage in your home? Learn about the average cost to build a closet, some cost factors to consider, and more.
Closets can be tricky to fill, but custom shelves allow you to maximize their storage potential. Find out how to build custom DIY closet shelves.

If you’re constantly sorting through piles upon piles of clothes in your closet, it’s time to get organized. Follow this guide to install a closet organizer.
Design your ideal storage space with this guide to closet shelving dimensions by height, depth, type, and room. Learn how to measure and what to consider.