
Concrete is one of the longest-lasting septic tank materials. Find out concrete septic tank prices for your wastewater management project.
Make both routine and unexpected septic maintenance a breeze

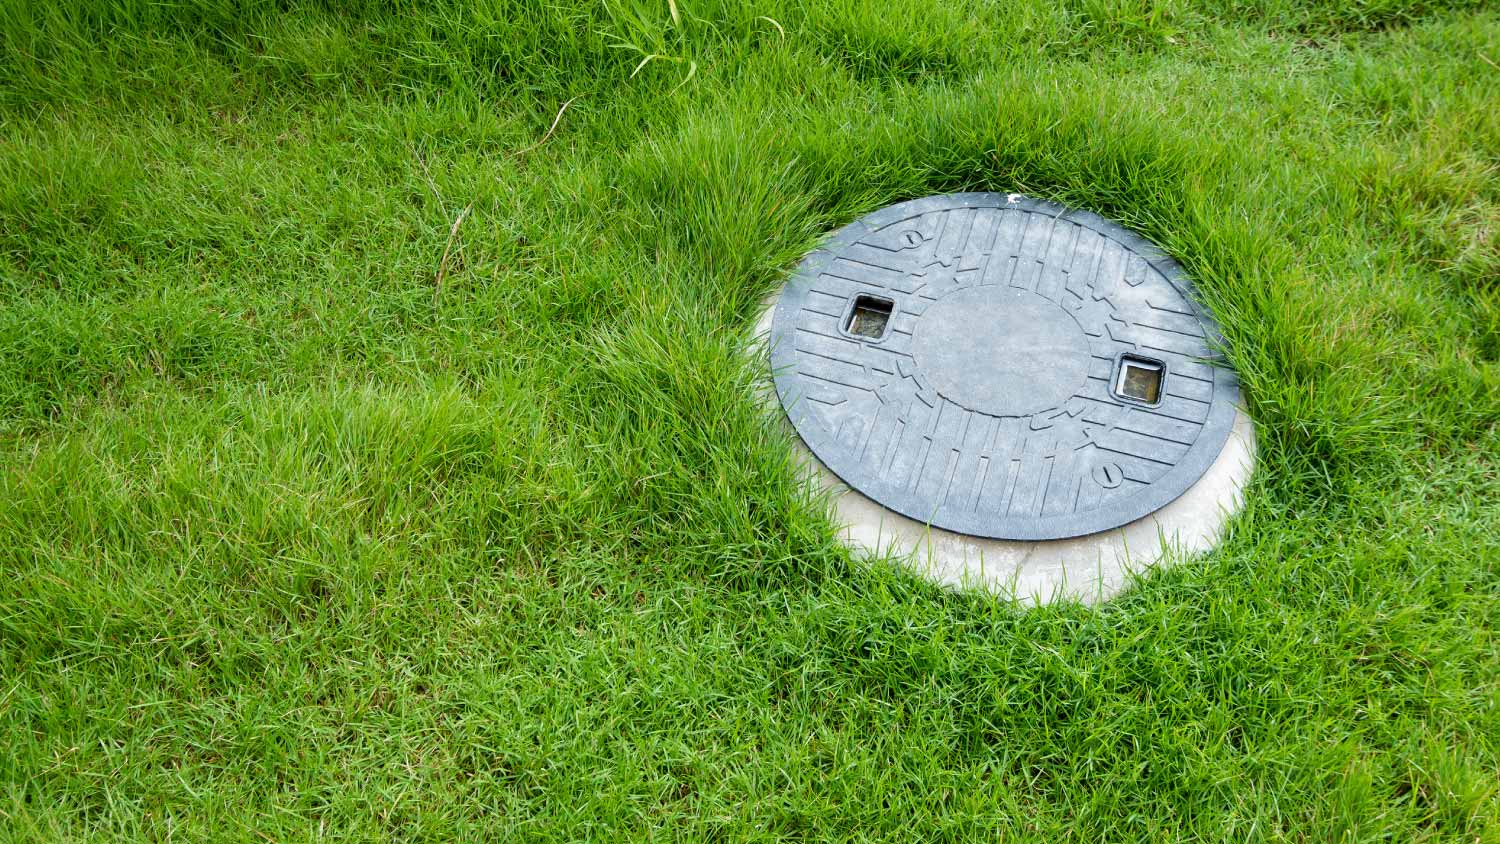
Your home’s septic tank is a crucial element in your home’s septic system. Regular preventative maintenance comes with a price—like the cost of pumping your septic tank—but it’s required to continue treating and expelling your home’s wastewater appropriately. Unfortunately, septic tanks are buried in the ground, so accessing them for these critical checkups and repairs can be a challenge. Instead of digging up your tank’s lid every time a pump or other maintenance is needed, you can take advantage of a riser. In this guide, we'll walk you through how to install a septic tank riser so you can have inspections and maintenance performed with ease.
Make sure you gear up properly. Grab some sturdy gloves and safety goggles to protect yourself from any unexpected sharp edges, flying debris, or nasty sewage fumes. Also, take a moment to check for utility lines like electricity, gas, and water around your septic tank. The last thing you want is to accidentally mess with those and create a whole new set of problems.
You’ll also be dealing with heavy, toxic odors, so be cautious around your open tank lid. Wear a respirator mask to protect yourself from those fumes. Because of all these dangers, it’s a better idea to have a local septic pro handle this job instead of trying it yourself.

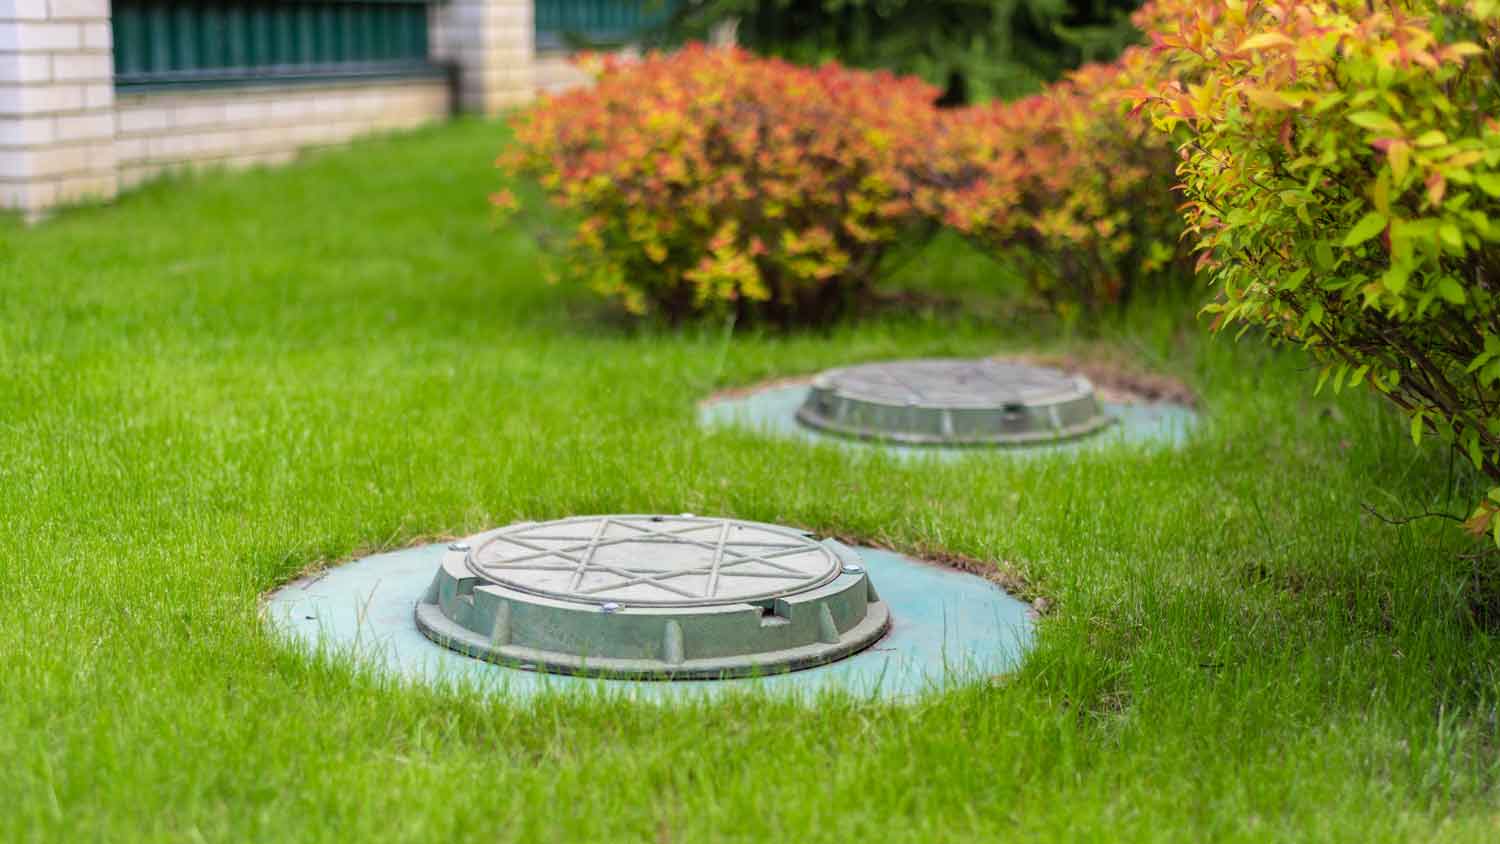
If you’re not sure where exactly your tank is buried, the first step in installing a septic tank riser is, of course, finding your septic tank. Its location won’t necessarily be obvious, so you’ll likely need to consult your home’s blueprints, look for evidence of the buried tank, or use a soil probe to locate the tank lid. Consult a professional if you're not sure where to start.

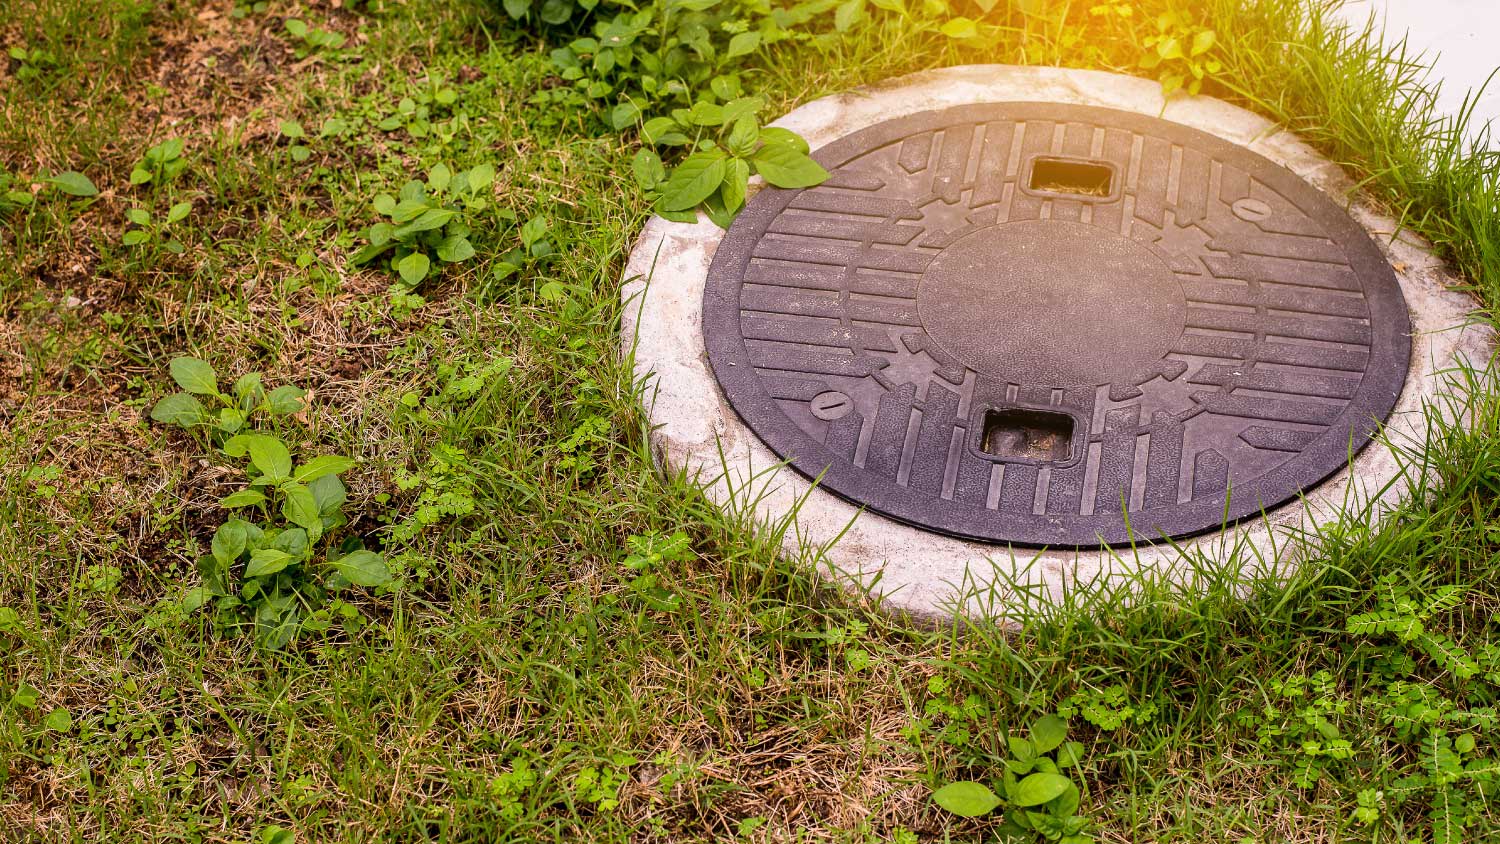
Once located, you’ll need to uncover your septic tank lid so you can remove it and attach all the riser kit components to it. Using a shovel, carefully dig around the lid until it is fully exposed. Be mindful not to damage the tank during excavation.
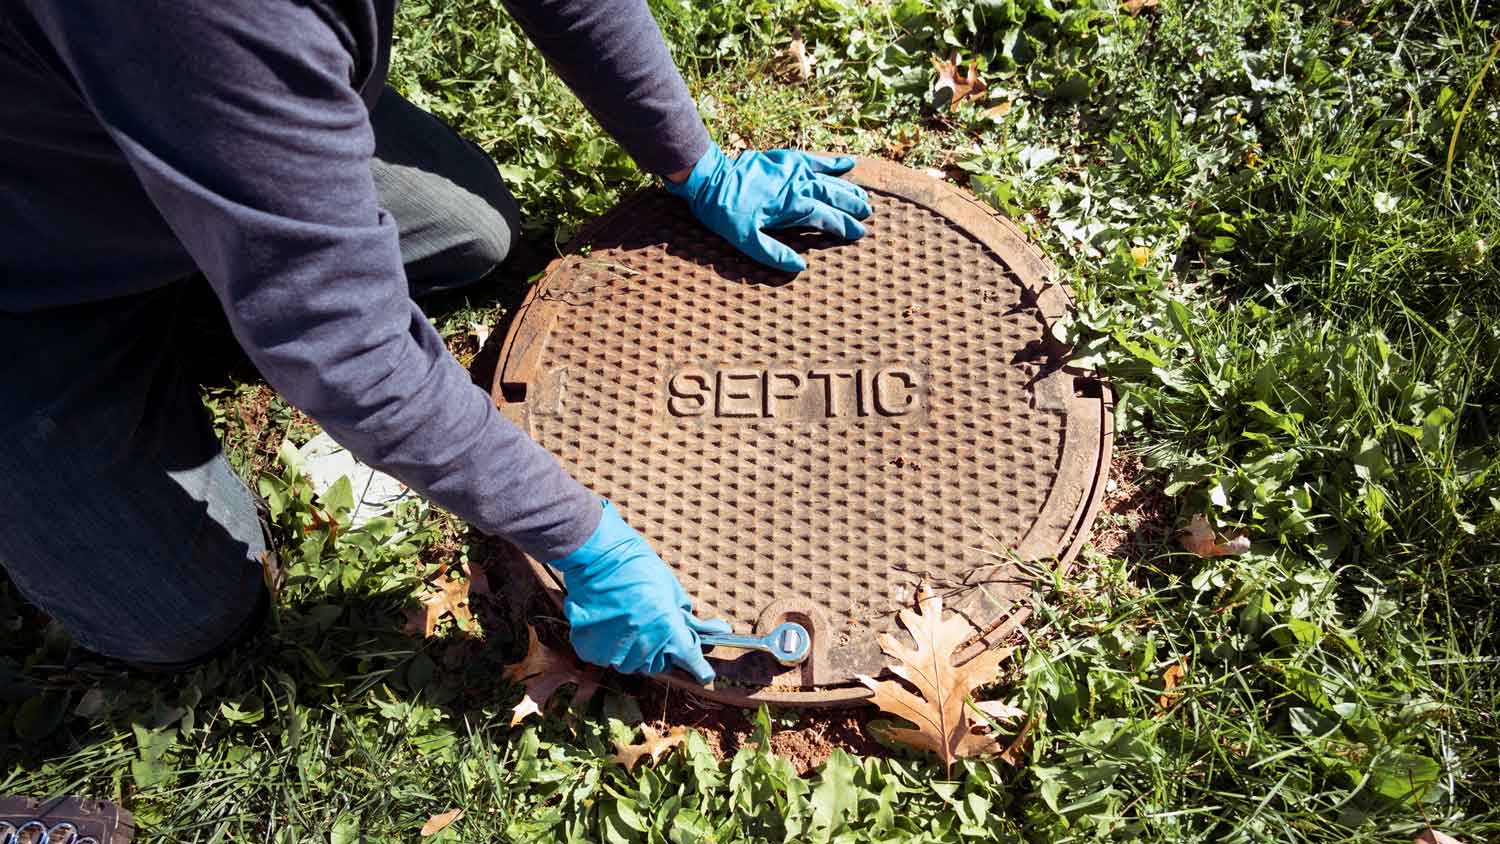
Most septic tank lids are secured with screws or bolts around the rim. Depending on how your tank’s lid is secured, you may need to use an electric drill or wrench to loosen and remove the screws and bolts and possibly a pry bar to lift the lid free. Be sure to have a helper available to lift the lid off of the tank if it is too heavy for a single person to remove.
Be extremely cautious while working around an open septic tank and keep children and pets away from your work to prevent falls and injuries.
During this process, you’ll be using sealants and adhesives to attach the riser to the tank’s opening. This process requires the shelf or rim of the tank opening to be as clean and free of dust and debris as possible. Using a broom or a wire brush, remove any dirt, debris, or obstructions from the area that the base ring will be installed to ensure a clean working surface.
Your septic tank riser kit will include a base ring, which will be installed flush onto your tank’s opening. Carefully place the base ring of the septic tank riser kit onto the cleaned area and be sure it fits appropriately. Use butyl sealant rope on the base ring where it will connect with the rim of the tank so that you have an airtight seal and a strong adhesive.

The height of your riser rings will depend on how tall you want your riser to be once installed. You may want the riser to be flush with your lawn or you may want it to protrude from the lawn a few inches. To cut the riser rings, first measure the height required for your septic tank riser with measuring tape. Then, use a circular saw to cut the riser rings accordingly. Ensure the rings are cut evenly before you secure them onto the base ring.
Now that your riser rings are the appropriate height, you can stack them onto the installed base ring, securing them tightly. Use butyl sealant rope between each ring to prevent any leaks and use an electric drill to fasten the screws provided in the kit into place.

The riser kit’s lid is the final piece of the septic tank riser puzzle. Place the lid of the septic tank riser kit onto the stack of riser rings, following the manufacturer’s instructions. Make sure it forms a secure and airtight seal. Once the lid is in place, you can fill in the sides of the riser with dirt until just the lid of the riser is visible on your lawn.
When it comes to septic tank riser installation, you have two options: DIY or hiring a professional. The choice hinges on your comfort with DIY projects, budget, and your septic system’s complexity. Doing this task yourself can save money and offer flexibility, but it requires certain tools and knowledge. Additionally, it exposes you to safety risks and possibly some costly septic issues down the road if steps are performed improperly.
Hiring a septic company near you can bring expertise, safety measures, and regulatory compliance to ensure the job is done correctly and efficiently. If you're unsure about your septic system or concerned about safety and regulations, it's wiser to opt for a professional to ensure a proper and trouble-free installation.
I recently moved to another state and chose United Trust Van Lines after comparing several companies. Their team was punctual, professional, and extremely careful with my belongings. I was especially impressed with how they handled my home office setup and fragile items. Everything arrived on...
Positive experience. As previously stated, the replacement/repair could not be completed (no fault of the plumbing tech) b/c misinformation was rec?d by property management maintenance. Thanks to the plumbing tech for your efforts. Appreciate you!
 The Waterworks
As usual with ECO, tech Jordan was outstanding, very professional, very knowledgeable, and very thorough with repairs made to tankless water heaters. Very highly recommend ECO!!!
 Eco Plumbers, Electricians, and HVAC Technicians
I would recommend this company to anyone! He showed up on time, was friendly, completed a very difficult repair on our dryer vent cover, was responsive, and pricing was extremely fair and competitive. I would have him back to do any of our repairs or cleanings without hesitation!
Best cleaning I've had at my property
I'm a repeat customer of All Star Paving & Sealing and I appreciate the service that all start paving has done for me in the past. I just recently had them out for an estimate and things couldn't have gone better. The staff that they send out to do the estimates are very knowledgeable. The...
 All Star Paving and Sealing
Supreme Brick & Chimney is one of the best service providers I’ve interacted with. Extremely efficient, knowledgeable, and thorough. They took the time to walk me through their detailed full-service inspection and were extremely professional. Not to mention their turnaround time was...
 Supreme brick & chimney
They were great! They were thorough and efficient and paid attention to the details. Definitely recommend. I'm definitely going back!
Storms Mobile Welding was great to work with. They were prompt, professional and did an overall excellent job on the project. I highly recommend.
Great experience all together. Dog friendly, courteous, great results and honest with recommendations. Will certainly be using Cardinal in the future for any carpet repairs
From average costs to expert advice, get all the answers you need to get your job done.
Concrete is one of the longest-lasting septic tank materials. Find out concrete septic tank prices for your wastewater management project.
If it’s been there for a while, it can be hard to find the septic tank in your yard. Learn how much it costs to locate a septic tank with this guide.

How much does a septic system cost? Explore impacting factors, important add-ons, and how you can save money on septic system installation right here.
Septic tank risers make it easy to access your septic tank when it’s time for routine inspection, maintenance, and pumping, saving you precious time and labor costs.

Installing a septic tank on your property requires following many local codes. Learn septic tank installation requirements to ensure yours passes inspection.
Knowing your septic tank’s location can help you prepare for maintenance, renovations, and more. For tips on how to find a septic tank, check out this guide.