
Screen door installation costs depend on size, type of frame material, and the number of doors. Here’s everything you need to know.
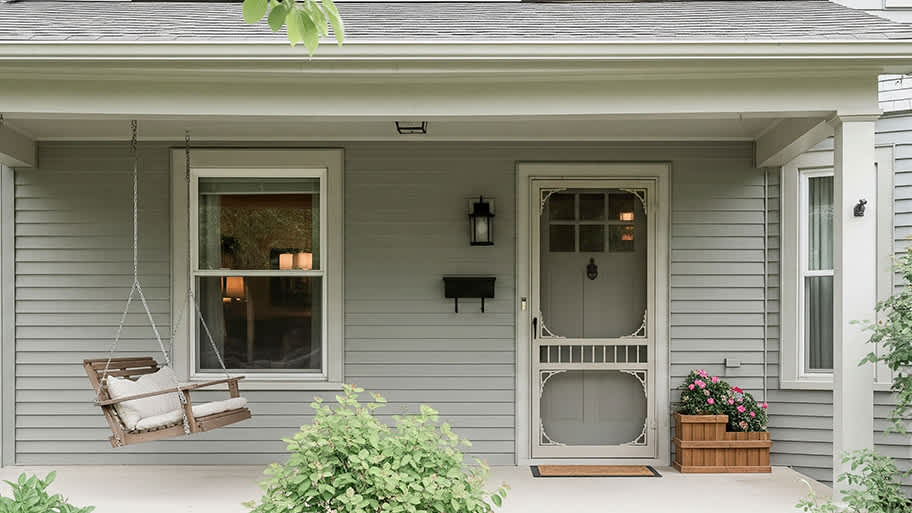
Let the breeze in, and keep unwanted visitors out

A screen door provides a barrier between the outdoor elements and the indoors. It allows you to let the sights, sounds, and fresh air in—no fly swatter necessary. Learn how to install a screen door yourself to enjoy the outdoors from the comfort of your home.
Before you begin the project, it’s important to pick the right door, so it will last for years to come. You can use our Screen Door Buying Guide for a comprehensive explanation of what to look for when purchasing a screen door, but here are some of the main points.
In general, you can choose between wood or vinyl screen doors, so weigh the pros and cons of the different types of screen doors before making your selection:
Wood screen doors are a great option for homes that have wood siding, and can be painted or stained for a custom look. Wood screen doors provide a classic, traditional feel, and may have more of an upscale look than vinyl. Repairs are simple with wood doors as well; if the frame breaks or gets damaged, it’s easy to fix, keeping your screen door repair costs low.
Wood doors have a higher upfront cost than vinyl, and will require more regular maintenance. They need to be repainted or restained every few years, so keep in mind how much upkeep you’ll need to do to keep these doors looking great.
Vinyl screen doors come in a variety of styles and finishes, and can be a great way to match your home’s look. Vinyl doors are more lightweight than wood doors, and are often easier to maneuver and install. Their lower upfront cost makes them a good option for budget-conscious homeowners, and they’re easy to clean and maintain.
Vinyl screen doors are prone to cracking and drying out when exposed to direct sun for an extended period of time, and they’re more difficult to repair than wood screen doors. With some damage, you may find you need to replace the entire door.
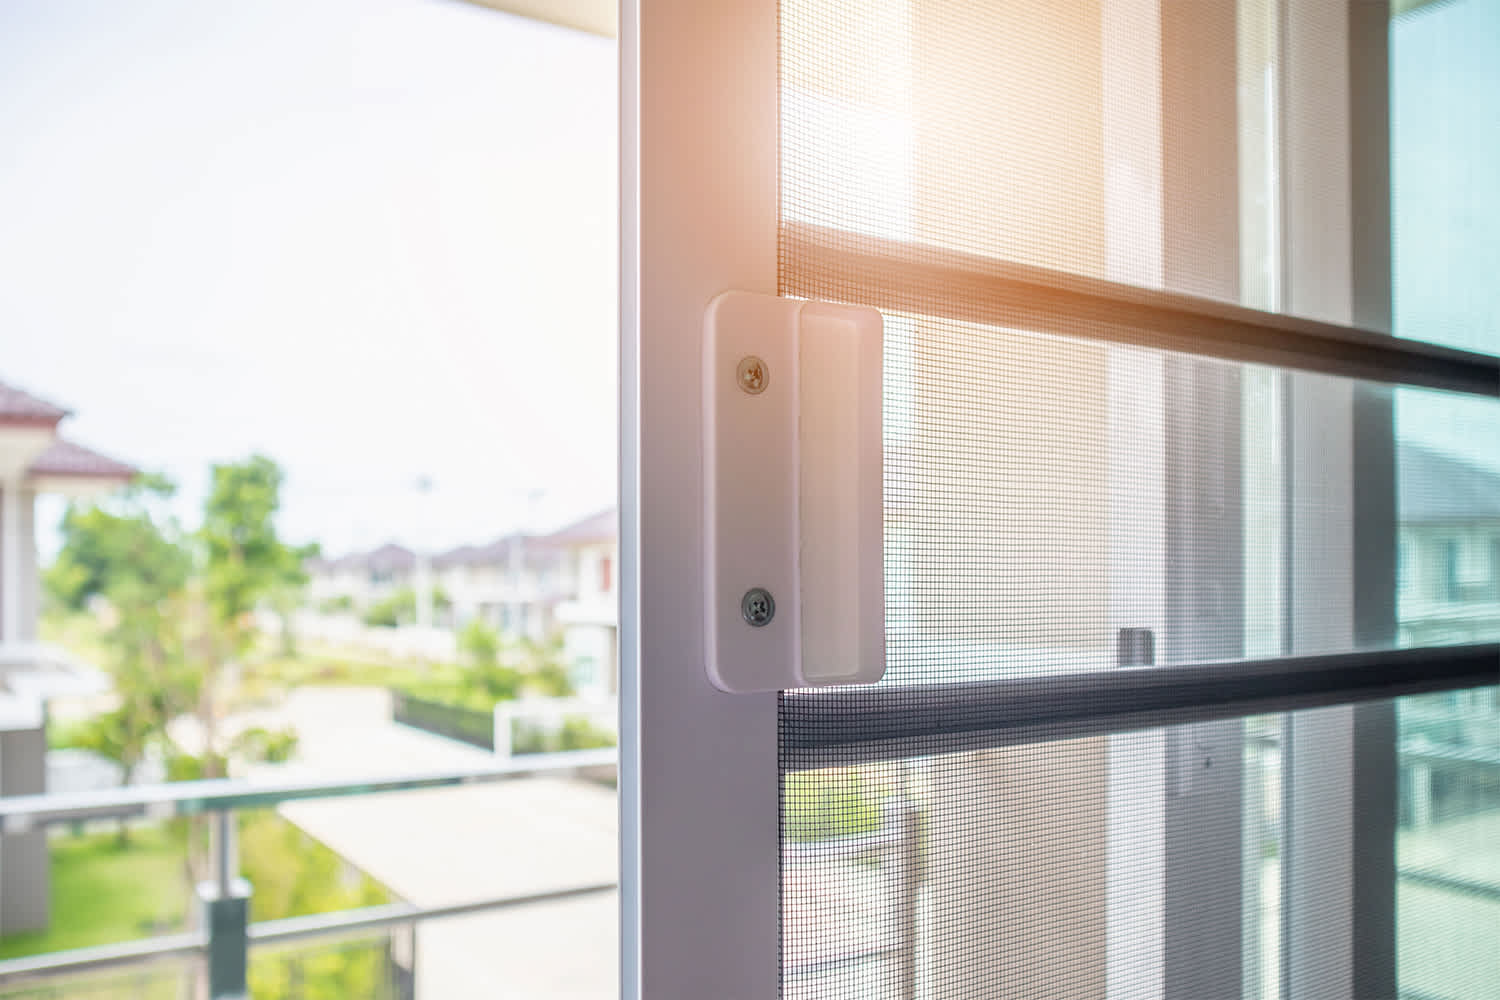
Once you’ve decided what type of screen door to purchase, carefully measure the door frame to find the correct size. To measure width, take measurements of the door frame at the top, middle, and bottom of the frame. To get the height, measure the frame vertically to the floor from the left, middle, and right sections. Subtract one-quarter of an inch from the shortest measurement on each side to determine the correct size. This will ensure a tight fit and appropriate clearance for the door.
Once you have purchased the correct-sized door, you want to fit it into the opening. Start by determining the way the door will swing. If the handle and latch are either adjustable, or do not interfere with the main door’s handle, attach it on the same side as the main door’s hardware. If the handle and latch will obstruct the main door’s hardware, attach it to the opposite side.
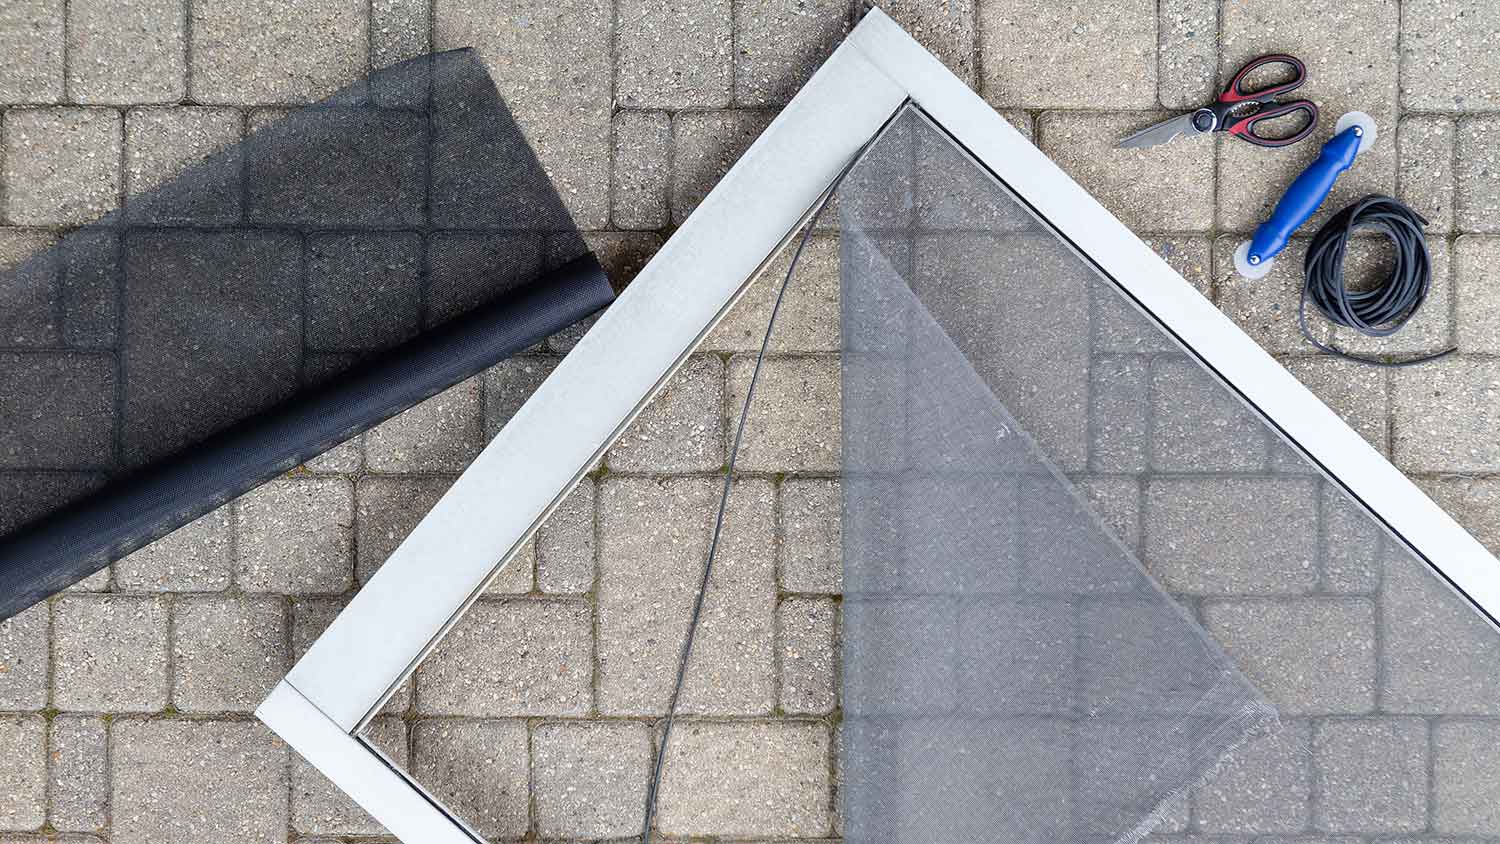
After you have determined the direction the door will swing, use wooden shims on the sides, top, and bottom of the door to hold the door in place. If the door is too wide or too tall for the opening, you may need to remove some of the frame and trim excess material to get a proper fit.
To trim the door, use the tape measure and ruler to mark the overlapping section. Use a circular saw to cut the excess material from the frame. Then, use a sanding block to smooth over the rough areas.

Sometimes, wooden door frames will leave the top and bottom edges unfinished. Moreover, you will need to touch up paint on the edges if you trim off the excess wood. Sealing unfinished edges with a matching paint color protects the door frame from wear and tear, and ensures long-term durability.
If you opted for a fully unfinished wooden frame, paint or stain the door before you install it for easier application. Using an angled paint brush, apply the paint in even coats over the surface and edges, and allow it to fully dry. Choose an exterior paint or stain for long-lasting results.

Using the hinge side of the main door as a guide, mark the placement of the hinges on both the screen door edge and the door jamb with a pencil. Make sure the hinges are placed in the right direction to swing the way you want them to. Using the marks, drill pilot holes with a drill bit that is smaller than the screws. Drilling pilot holes prevents splitting and cracking in the material.
After the pilot holes have been drilled, attach the hinges with the provided screws. If applicable, attach any included hinge caps over the exposed screws by snapping them into place.
Next, move on to the other side of the door and attach the handle. If the door opener is not attached to the door, you will first need to pick the location for the handle. Remember to place it above the main door’s handle so the new handle doesn’t get in the way. Once you have picked the placement of the handle, mark the location with a pencil and drill pilot holes. Then, attach the handle into place with the included screws.
Next, attach the included hook-and-eye latch to keep the door secure, as needed. Mark the location of the latch (usually above the handle) and drill pilot holes in the door jamb and in the screen door with a smaller drill bit. Then attach the hook-and-eye latch by hand.
Test the door by opening and closing it, attaching the latch each time to ensure the handle and latch are in the right position. If you notice the hinges are sagging, you may need to adjust the screws. Conversely, if the door is rubbing against the door jamb, you may need to loosen the screws for a proper fit.
If you notice a large gap between the bottom edge of the door and the door sill, you can install a door sweep on the bottom to prevent drafts, or crawling bugs and debris, from getting inside. A door sweep can be found at most hardware stores and is usually attached by drilling pilot holes and attaching the screws. However, refer to the manufacturer’s directions for detailed instructions.
Here are a few reasons to consider installing a screen door in addition to your main door:
They’re energy-efficient, since you can turn off your air conditioning unit and open the door to naturally cool your house.
Installing a screen door keeps pesky bugs outside, so you can take in the views in peace.
A screen door serves as a barrier between your front door and the outdoor elements, protecting the surface of the main door.
It keeps unwanted critters out while keeping furry friends inside.
A new screen door that blends with your home's exterior boosts curb appeal.
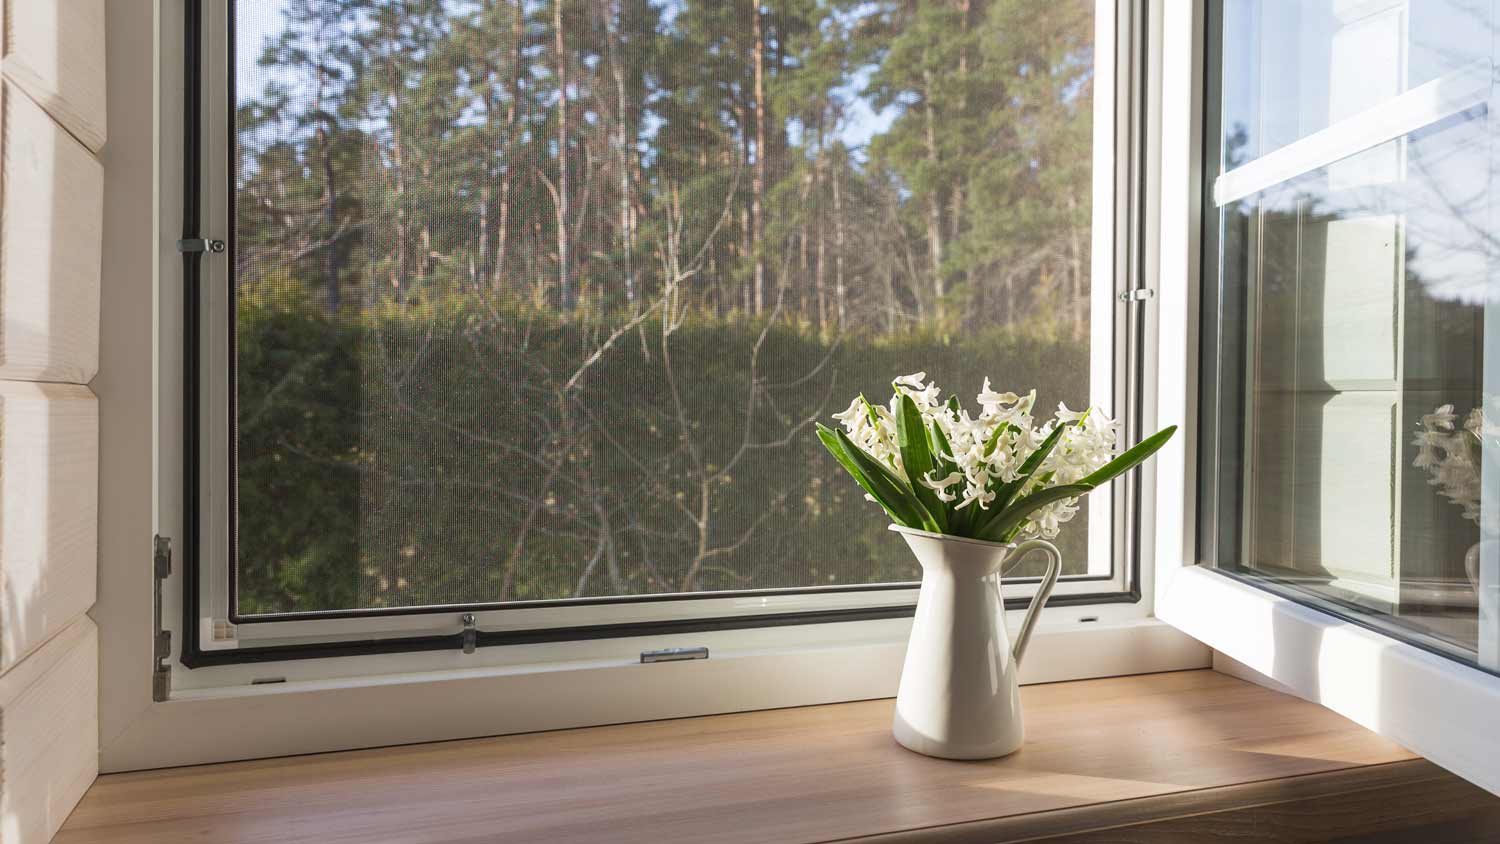
It allows fresh air to circulate throughout your home, providing more ventilation.
Based on data from Angi, 84% of homeowners are looking to replace an existing door when it comes to exterior door installation. Only 15% want to add an exterior door when one didn’t already exist.
Learning how to install a screen door can make this an afternoon DIY project that handy homeowners can tackle. For bigger or more complicated projects, a local screen door installer will know how to install a sliding screen door, square a frame that isn’t level, or expand a door frame to install a screen door that’s bigger than your current one.
Door installation costs largely depend on the type of door. A screen door costs $100 to $1,500, with an average cost of $300. Some people choose to hire a screen door specialist to install it, but others may find it more effective to hire a handyperson to complete other jobs at the same time. Hiring a handyperson costs $50 to $150 per hour.
Terrible experience. Walls/trim/floors/cabinets/doors all have drip marks, overspray, etc. Tiling at the fireplace had to be redone by another vendor due to incorrect and shoddy install by Profect. Contractor had his children in our house while he was on site without prior authorization or...
 Profect painting & exteriors
Jason has helped me with multiple household projects, with the most recent being new door installation. He has always showed up on time and organized and has done an incredible job! Jason is very professional and he's now my go-to for anything around my house that needs to be fixed or...
Company came to look at my garage door that was off track. They also said I needed a brace on the other garage door. They put the door back on track, and I paid to install the brace. The technician told me I needed a new garage door opener, and it would cost $1000. Red flags went off in...
 Precision Overhead Garage Door Service
On Sunday 2/26 I requested quotes via Angi from 4 refrigerator repair businesses. Northwest Appliance responded to me Monday morning (2/27) and my refrigerator was repaired by noon the same day. Great communication, they did everything they said they would. The technician had the parts on...
Excellent customer service and knowledge. I was recommend to him from my neighbour. My front door and window came in great and were installed beautifully perfectly, I m very satisfied with their excellent work, so decided to order one more big bow window for my living room. I cant wait for...
Called ahead and worked quickly to install keyless locks on vintage wooden doors.
Scott did not get appropriate access to the property prior to the scheduled inspection which required us to come back later in the day to complete it. He also, unprofessionally, knocked on a neighbor?s door in his attempts to reach someone with access. His overall report was fine though the...
Door Depot was very responsive - they came out the day after my call to assess my needs, then returned at my convenience to complete the work. They arrived early, and the work was completed in a shorter period of time than estimated. Very pleased with the results. I would definitely use them...
 Door Depot LLC
Replace garage doors: Fast response, competitive estimate, timely work done well.
Jeremiah did an awesome job cleaning 28 windows inside and out! He was fast, efficient and now I have a beautiful view again. This was a Groupon for $139 for 20 windows, but I had 28 windows/doors cleaned, so there was an extra $6 per window. Totally worth it.
 Complete Home Services
From average costs to expert advice, get all the answers you need to get your job done.
Screen door installation costs depend on size, type of frame material, and the number of doors. Here’s everything you need to know.

Create more usable space by installing a garage door screen, which allows for entertaining or working with plenty of fresh air and zero bugs. Here’s how much installing a garage door screen will cost you.
Are there holes in your screen and a squeak in your hinges? We break down how much screen door repair costs from small fixes to total replacement.
What should you look for in a security screen door? Steel frame or aluminum? What kind of lock? There are many options and features for security doors for your home. Before you have a security screen door installed, here’s what you need to know.
Wondering who to hire for door or window screen installation? See which pros to call, compare options, and get the job done right.
Not sure how to hire a pro for screen installation? Learn what questions to ask, qualifications to check, and tips for finding the best screen installer.