
Several factors impact dryer vent installation cost. Use this guide to learn what affects the cost, and how much you should budget for this project.
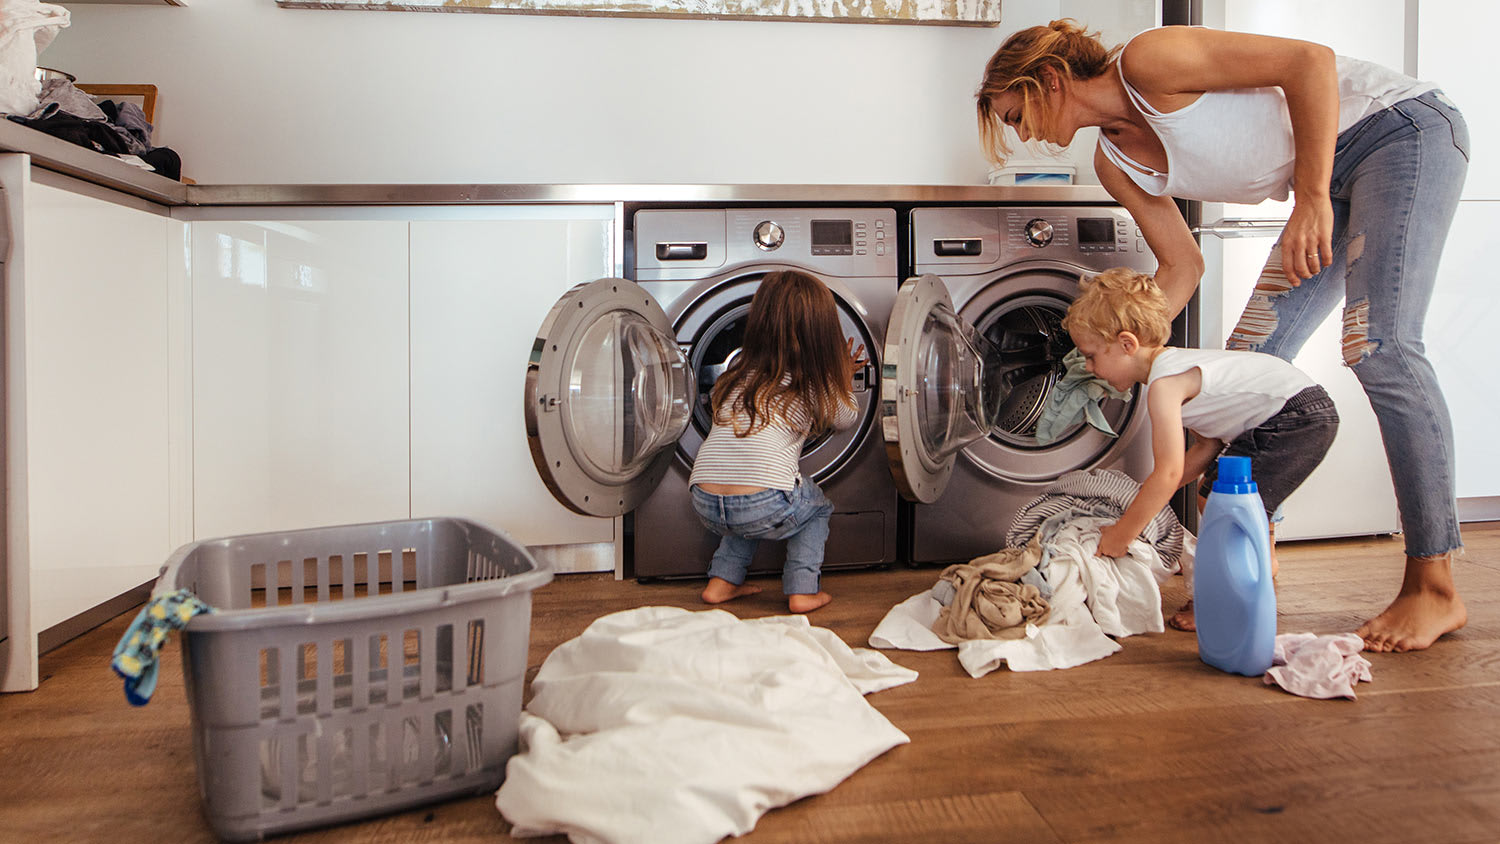
Do this project in less time than it takes to work through laundry day

Safe and effective venting for your clothes dryer is crucial for your laundry machine's performance and safety. That’s not to say it’s a difficult task, though. In fact, with a few tools and a little know-how, it’s an excellent DIY project for expanding your skills.
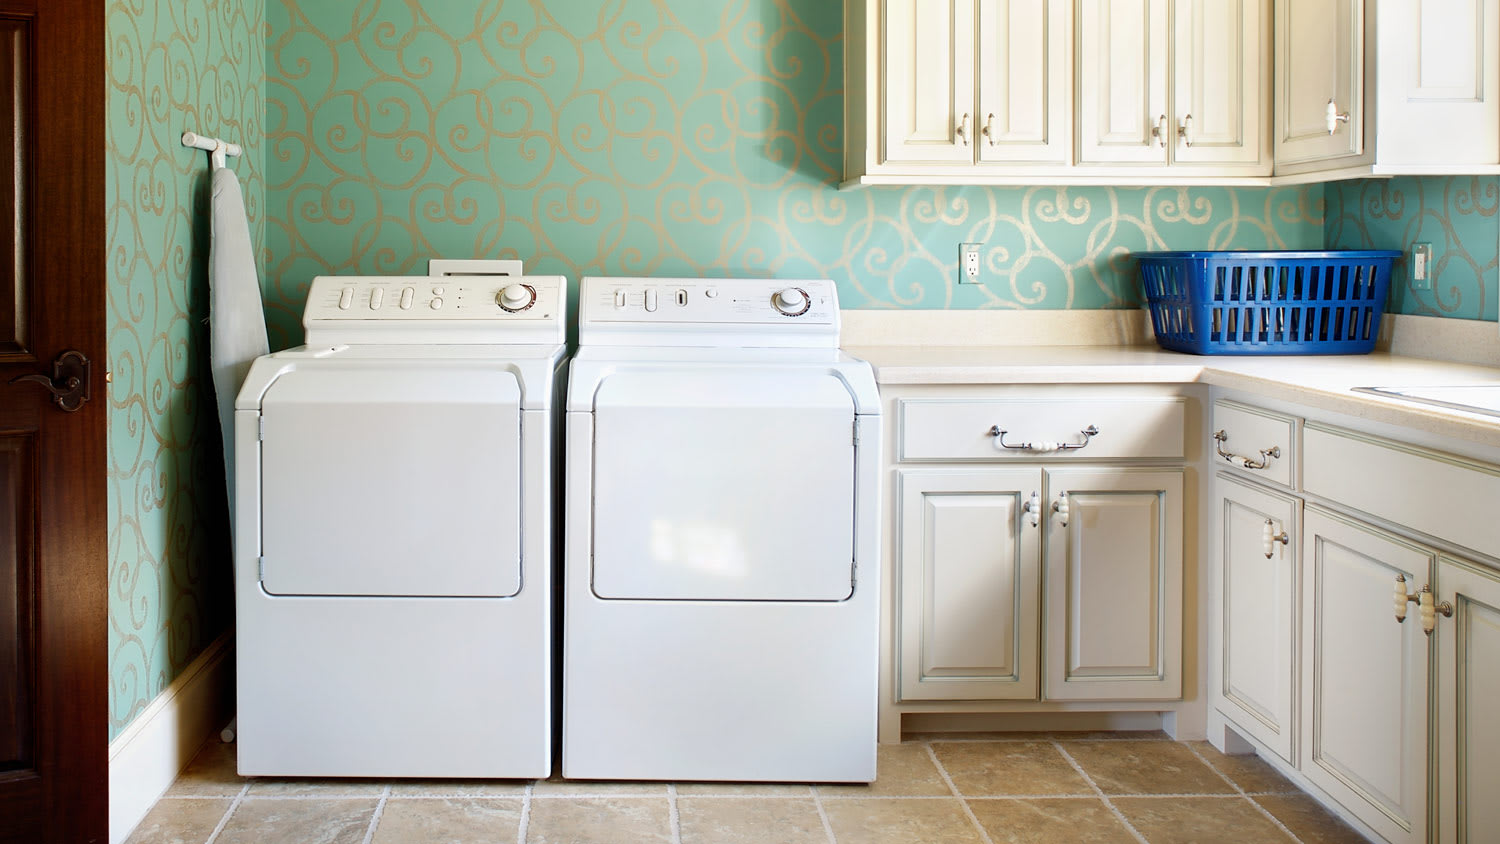
64% of Angi customers reported having dryer vents located in the basement or first floor, while 25% reported having them on the second floor or higher.

For new installations, your municipality will likely require you to obtain a building permit before putting in a new dryer vent. Check with your local permitting office to get details for where you live to verify requirements before beginning any work.
But if you’re just fixing a leaky dryer vent or replacing a damaged vent pipe, you can reuse the existing exhaust hole in the side of the house (making this DIY even easier).

Planning a route for your dryer vent will depend on where your dryer is located, so you'll have to find and choose the most straightforward path to the exterior. This often involves positioning the vent out of an exterior wall and extending it above ground level. The maximum allowable distance and number of elbows vary by community but often tops out at 25 feet minus 5 feet for each elbow.
To start, measure the distance from the dryer’s location to the point where the vent will exit the home. Add several inches for overlapping the duct ends. Make note of the number of elbows you’ll need. Remember that most dryer vent elbows can adjust their angle up to 90 degrees. While shopping for supplies, choose a wall vent cap that’s appropriate for your home's siding material.

First, create a pilot hole as a guide for choosing the exact spot to drill the vent exhaust hole. If you're replacing an existing dryer vent, you may be able to skip this step. Next, you’ll drill a pilot hole through the exterior wall using a long, thin-diameter drill bit. If the location is concrete or stucco, use a masonry drill bit. Be sure to adjust the pilot hole’s location if it’s too close to any mechanical components.
Once you’re happy with the vent location, grab your hole saw to create a larger hole for the vent pipe. Use a 4 and 1/4-inch hole saw and start drilling from the outside of your house (if your siding material allows) as a guide. Then, finish drilling the hole from the inside.
For masonry or stucco siding, use a small masonry drill bit to drill successive holes around a 4 and 1/4-inch circle in the location about 1/4 to 1/2 inches apart. Next, use your cold chisel and hammer to break away the material until you form a hole.

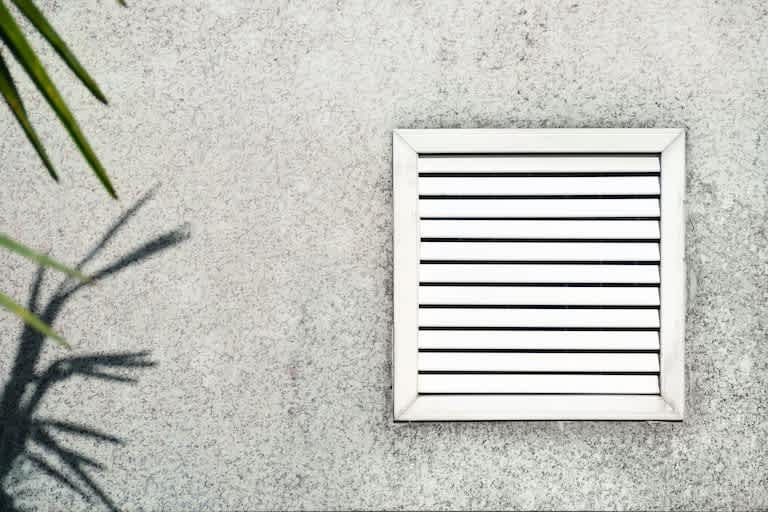
To install a wall vent cap, slide the duct side into the hole and fasten it with the screws that came with the vent, exterior grade screws, or concrete screws for masonry or stucco siding. Use the exterior grade caulk to seal the edges of the vent to the wall.

Now, go back inside the house. The easiest way to connect your parts is to start at the vent cap pipe and work your way toward the dryer.
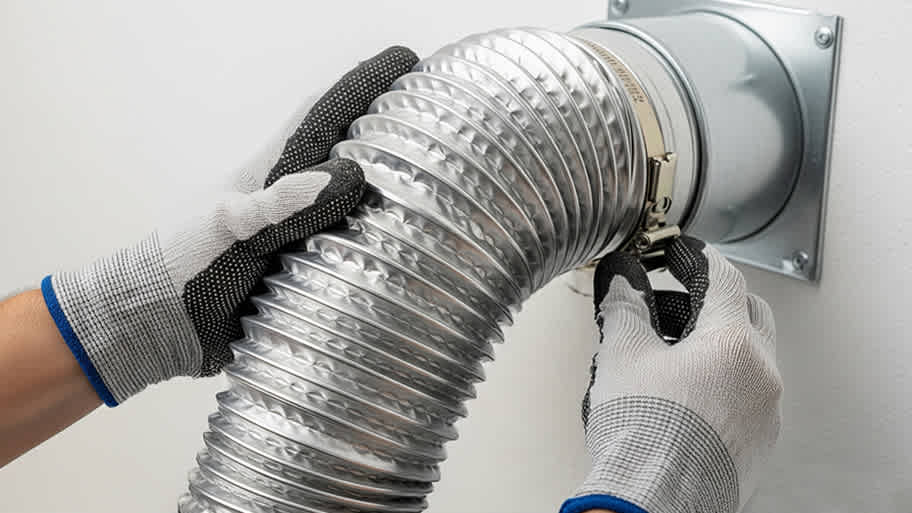
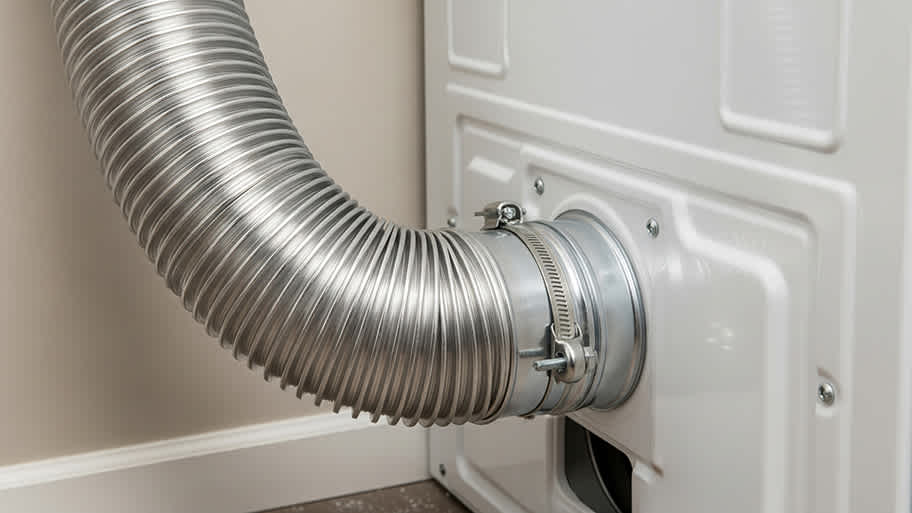
Connect the first section of the duct (or the first elbow) to the vent cap pipe with a dryer vent clamp and screwdriver. Join the open edges of the straight duct pieces together by overlapping them and inserting one edge into the other. You should feel the edges lock together.

For this step, it’s easiest to push the dryer into its final location to measure and then move it away from the wall so that you have room to work. Use the aviation snips to cut the last, unjoined straight duct section to the correct length; join the edges to close the pipe. Connect this section with the other sections before inserting the final elbow. Push the dryer back into its original position. Attach the ductwork to the dryer exhaust using another dryer vent clamp.

Use aluminum foil tape to seal all connection seams between the duct sections. If your duct runs up the side of a wall, cut a length of galvanized pipe hanger strap with aviation snips and wrap it over one of the sections. Secure the strap to the wall with screws appropriate to the type of wall material.

We know you did a great job. But for quality assurance purposes, turn on your dryer and allow it to run for a few minutes. Walk outside and check for a steady flow of hot air from the vent cap. If there is no hot air coming out of the vent, check your installation for loose connections. Remember to call the city to schedule a final inspection and close the permit.
After several laundry loads, inspect your dryer vent again to ensure everything is in order. Remember to create a schedule for cleaning your dryer vent from time to time to keep it performing like new.
The cost to install a dryer vent depends on several factors, but mostly the time it will take to make enough holes to connect to the exterior. The overall cost also varies based on whether you’re installing it yourself or hiring a professional. You can expect to pay about $49 to $140 for a professional to install a dryer vent. Usually, it costs between $20 to $35 per hour in labor costs, and most installations take between 2 to 4 hours.
If you have the know-how and tools, installing a dryer vent can be the ideal weekend afternoon DIY project. But it’s best to get a scope of the project’s complexity before you start. This will allow you to gauge your capabilities and assess whether or not you need to call in a professional.
Installing your dryer vent as a DIY project is excellent for saving money—in most cases, you can do the work for under $100. The easiest project is installing an inside dryer vent because it does not involve placing any holes in your wall, and there are kits to complete the process. Installing an outside vent can be accessible, too, if the necessary ductwork is already in place. However, if your dryer is located deep in the interior of your home, or routing the ductwork proves to be complex, an HVAC company or a local handyperson can help.
Positive experience. As previously stated, the replacement/repair could not be completed (no fault of the plumbing tech) b/c misinformation was rec?d by property management maintenance. Thanks to the plumbing tech for your efforts. Appreciate you!
 The Waterworks
Carpet repair done well. Scheduling was easy. Showed up on time.
As usual with ECO, tech Jordan was outstanding, very professional, very knowledgeable, and very thorough with repairs made to tankless water heaters. Very highly recommend ECO!!!
 Eco Plumbers, Electricians, and HVAC Technicians
I would recommend this company to anyone! He showed up on time, was friendly, completed a very difficult repair on our dryer vent cover, was responsive, and pricing was extremely fair and competitive. I would have him back to do any of our repairs or cleanings without hesitation!
Everything from initial contact to completion was absolutely top notch. We contacted the business during off hours to leave a message, and the owner still reached out to feel out the issue within minutes. We were scheduled and repaired within 48 hours. I cannot say enough about the...
 Supreme brick & chimney
Ace Fireplace Services came to the rescue for my chimney repair. They were quick to pinpoint the issue and worked their magic to fix it. My chimney is now in excellent shape, and I'm a satisfied customer.
 Ace Fireplace Services
On Sunday 2/26 I requested quotes via Angi from 4 refrigerator repair businesses. Northwest Appliance responded to me Monday morning (2/27) and my refrigerator was repaired by noon the same day. Great communication, they did everything they said they would. The technician had the parts on...
Excellent! We were very satisfied with the service provided and the entire experience from start to finish. Very friendly and professional staff. I was able to instantly get in contact with them for a quote and the response time and overall communication remained quick and easy throughout the...
 Prime Cleaning Service
Description says they handle window repair including rotten hardwood - they called me back right away but didnâ t leave a voicemail. I followed up 3 days later and they said they donâ t do that kind of work.
I needed reliable, affordable help the day of with moving a couple of appliances and misc items. It was a relief to hear back from Tanzillo almost instantly that morning so I could stop looking and move on to plan and prepare. Every part of the move was friendly and professional. Next time I...
From average costs to expert advice, get all the answers you need to get your job done.
Several factors impact dryer vent installation cost. Use this guide to learn what affects the cost, and how much you should budget for this project.
A dryer vent cleaning cost averages about $140 when done by a professional. Read our tips to understand the key cost factors involved in dryer vent cleaning.
Installing a gas dryer can help you save on your monthly energy bills. Depending on whether you need a new gas line, gas dryer installation costs will vary greatly.
If you need to move your dryer, or you’re buying a home without proper ductwork, you’ll want to make sure the right pro installs your dryer vent. Read on to find out who installs dryer vents to get the job done quickly and easily.
If you have a dryer in your home, the odds are that you also have a dryer vent. Discover what this feature does and why it’s so important.
You might not think much of lint, but it’s actually a major fire hazard. Running your own dryer and dryer vent inspection can help you spot dangerous buildup.