

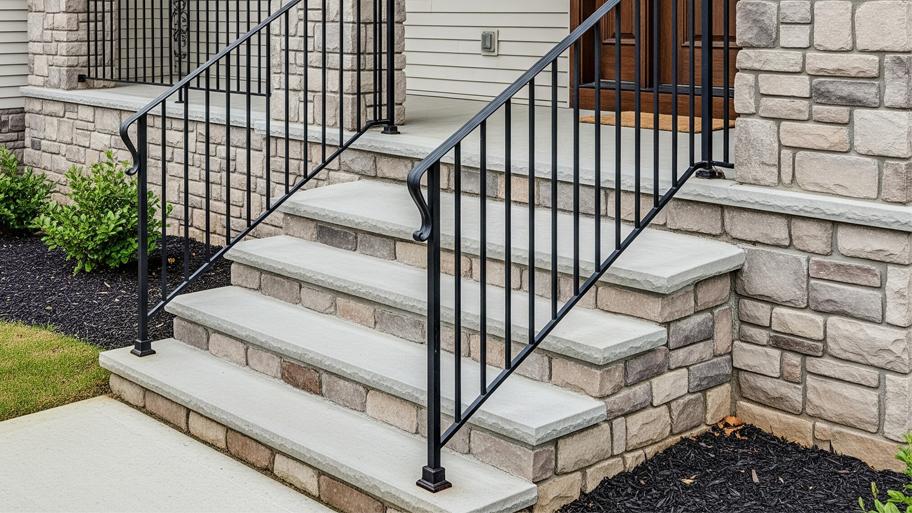
Get a firm grip on stair railing and baluster costs based on material, style, and the whether you choose to hire a pro. Read on to learn more.
Trim work that steals the show


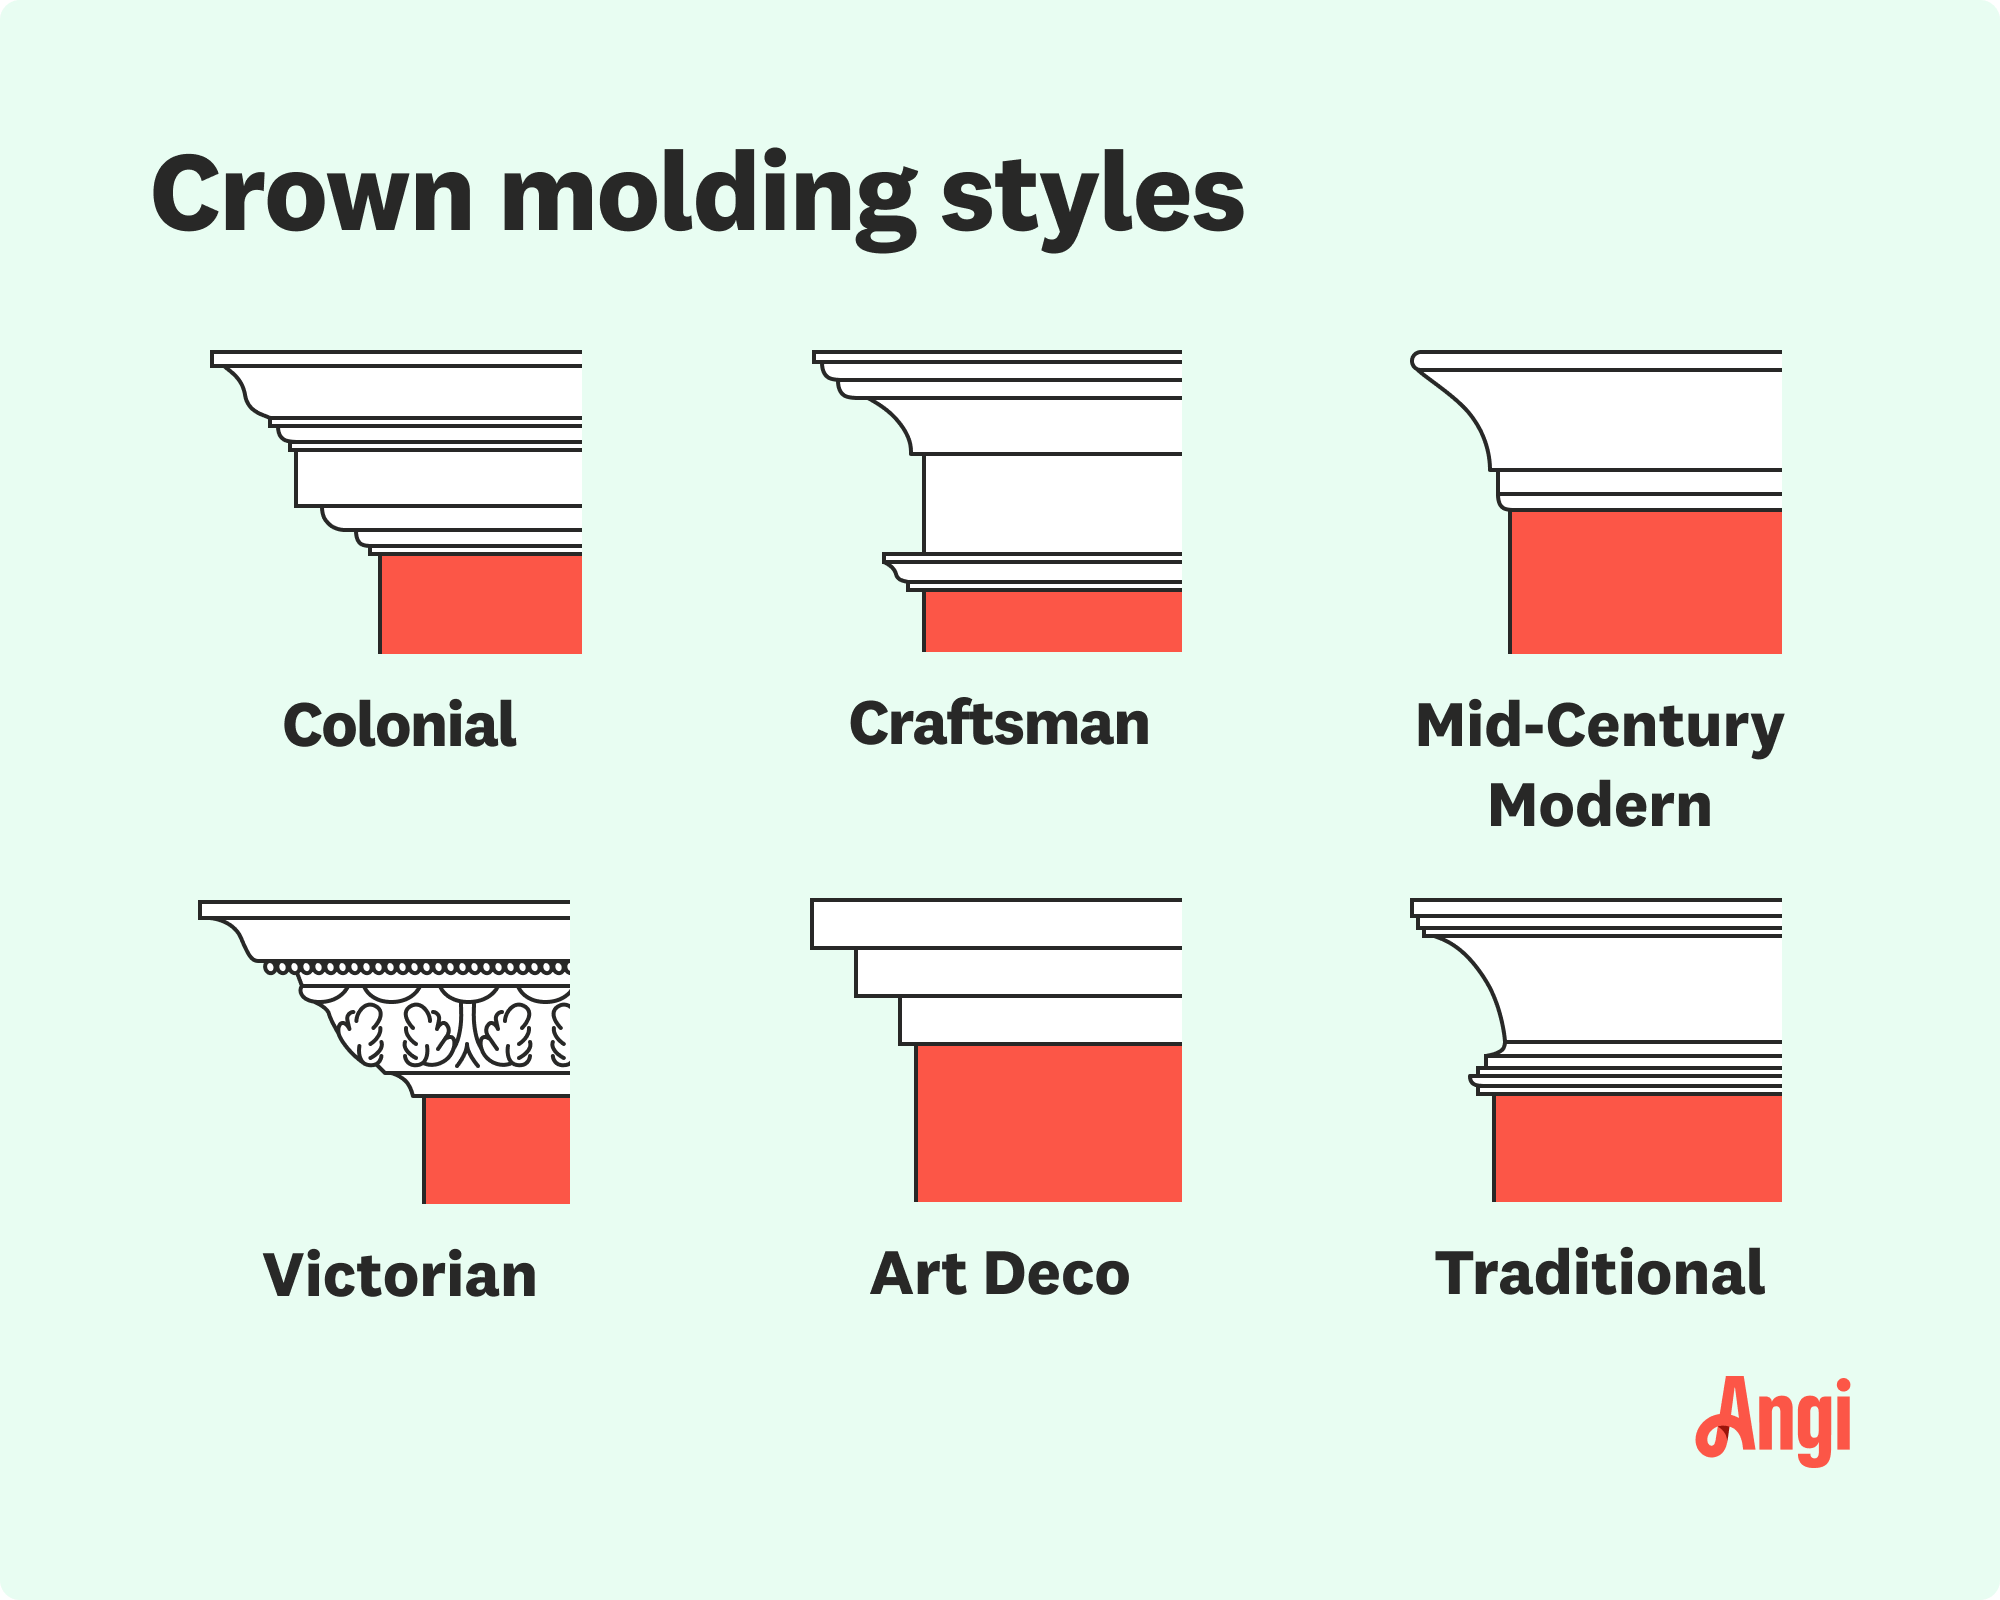
Adding crown molding to your cabinets is a simple and stylish way to elevate the look of your kitchen or bathroom. This polished and custom-built finish can bridge the gap between your cabinet tops and ceiling to create a smooth transition that enhances the overall design. Learn how to install crown molding on cabinets to add depth and height to a room for a satisfying upgrade.
Installing crown molding in your home can offer a healthy ROI of between 50% and 80% on average. Thanks to its aesthetic value, your investment return on a premium finish like this will be at the top of that range in high-end or move-in-ready markets.

Measure the top perimeter of your cabinets using a tape measure. Record the length of each section where you plan to install crown molding, including both the front and sides. Sketch a rough diagram of your cabinet layout and note any corners, especially inside and outside corners, where you'll need angled cuts. Double-check your measurements and add a few extra inches to your total material estimate to give you some wiggle room in case of mistakes or miscuts.
Most cabinets don’t have a wide enough edge at the top to securely attach crown molding, so you’ll need to create a surface to nail into. That’s where nail cleats (also called nailers or cleating strips) come in. Cut thin strips of wood to fit along the top inside edge of your cabinets. Secure them with wood screws, making sure they’re flush with the cabinet face so the crown molding will sit at the correct angle. These strips act as a sturdy backing for your molding for a strong and lasting installation.

Once your cleating is installed, you can move on to cutting the crown molding. Use a miter saw to make precise cuts, setting it to 45 degrees for corner joints. For outside corners, you’ll cut both pieces at opposing angles. For inside corners, you can use miter cuts or adjust one piece to fit snugly against the other.
Dry-fit each piece before installing it to ensure a good fit. When you’re ready, apply a small bead of wood glue to the back of the molding, then nail it to the cleating with finish nails. Work your way around the cabinets, making sure each joint is tight and flush.
After the crown molding is installed, fill in any gaps, seams, or nail holes for a smooth finish. Use wood filler or spackling compound to fill the nail holes and any visible joints between molding sections. If there are small gaps between the molding and the ceiling or cabinet, caulk can help create a seamless transition. Allow the filler to dry completely, then sand it smooth with fine-grit sandpaper.

Use painter's tape around the molding and, if it isn't already primed, apply primer to the molding. Allow the primer to dry and then paint or stain the molding to match the finish of your cabinets. Apply additional coats as needed, allowing enough dry time between coats.
For a successful crown molding installation that enhances your kitchen, avoid these common mistakes:
Skipping the Nail Cleat: One of the biggest mistakes is trying to attach crown molding directly to the top edge of the cabinet without installing a nail cleat. Most cabinet tops are too narrow to support molding securely, which can lead to poor alignment or sagging over time.
Incorrect Miter Cuts: Crown molding is tricky because it sits at an angle, meaning your cuts need to account for both the wall and ceiling (or in this case, the cabinet face and ceiling). A common error is setting the miter saw incorrectly or assuming a 45-degree cut will always work. Always make test cuts, and remember that inside and outside corners require opposite angles.
Not Measuring Twice: It’s easy to miscalculate lengths or angles, especially with corner pieces. Rushing through the measuring process or forgetting to allow for miter cuts can waste material and lead to gaps or uneven seams.
Neglecting to Fill and Sand: Failing to fill nail holes, gaps, or seams between molding pieces can make even well-installed molding look unfinished. Always take the time to fill, sand, and caulk for a seamless appearance.
Skipping Primer or Paint Touch-ups: If you skip priming or neglect to touch up paint over nail holes and filled areas, the finished product can look blotchy or mismatched. Even pre-finished moldings need minor touch-ups to look polished.
Installing crown molding requires precise measuring, angled miter cuts, and a steady hand when nailing and finishing the molding. If you're comfortable using a miter saw, working with wood trim, and have the patience to get clean joints and seams, this can be a rewarding weekend upgrade.
If you don't have much experience with carpentry projects or access to the proper tools, hiring a local crown molding installer would be a better choice. Crown molding can be tricky and time-consuming to get just right. The cost to install crown molding ranges between $620 and $2130, depending on the length of your cabinets.
From average costs to expert advice, get all the answers you need to get your job done.
Get a firm grip on stair railing and baluster costs based on material, style, and the whether you choose to hire a pro. Read on to learn more.

Whether you need to heat your home for the winter or just enjoy lighting a fire now and then, it helps to know the price of a cord of wood in your area.
How much does outdoor railing installation cost? Find out the cost to install a railing on concrete steps, porches, and patios, including material and labor.
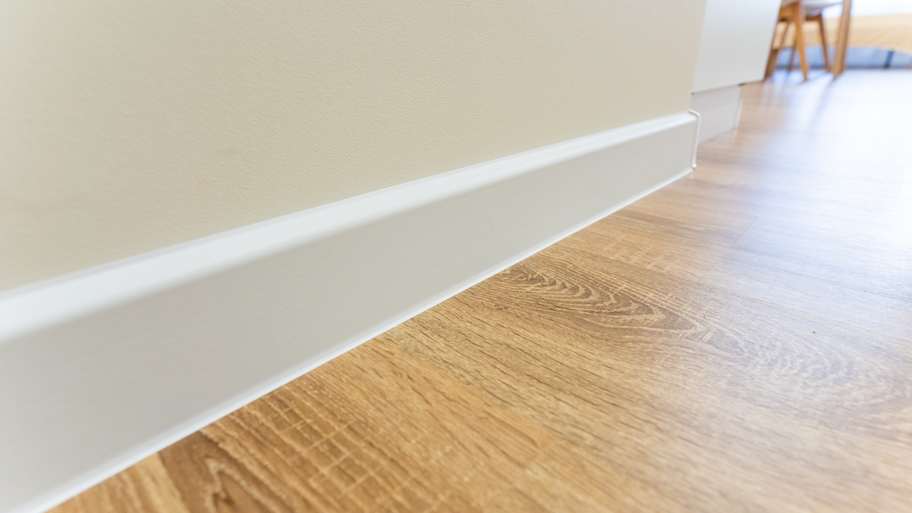
Shopping for budget-friendly wood trim options? Compare MDF baseboards versus pine for a look that best suits your design needs while staying on budget.
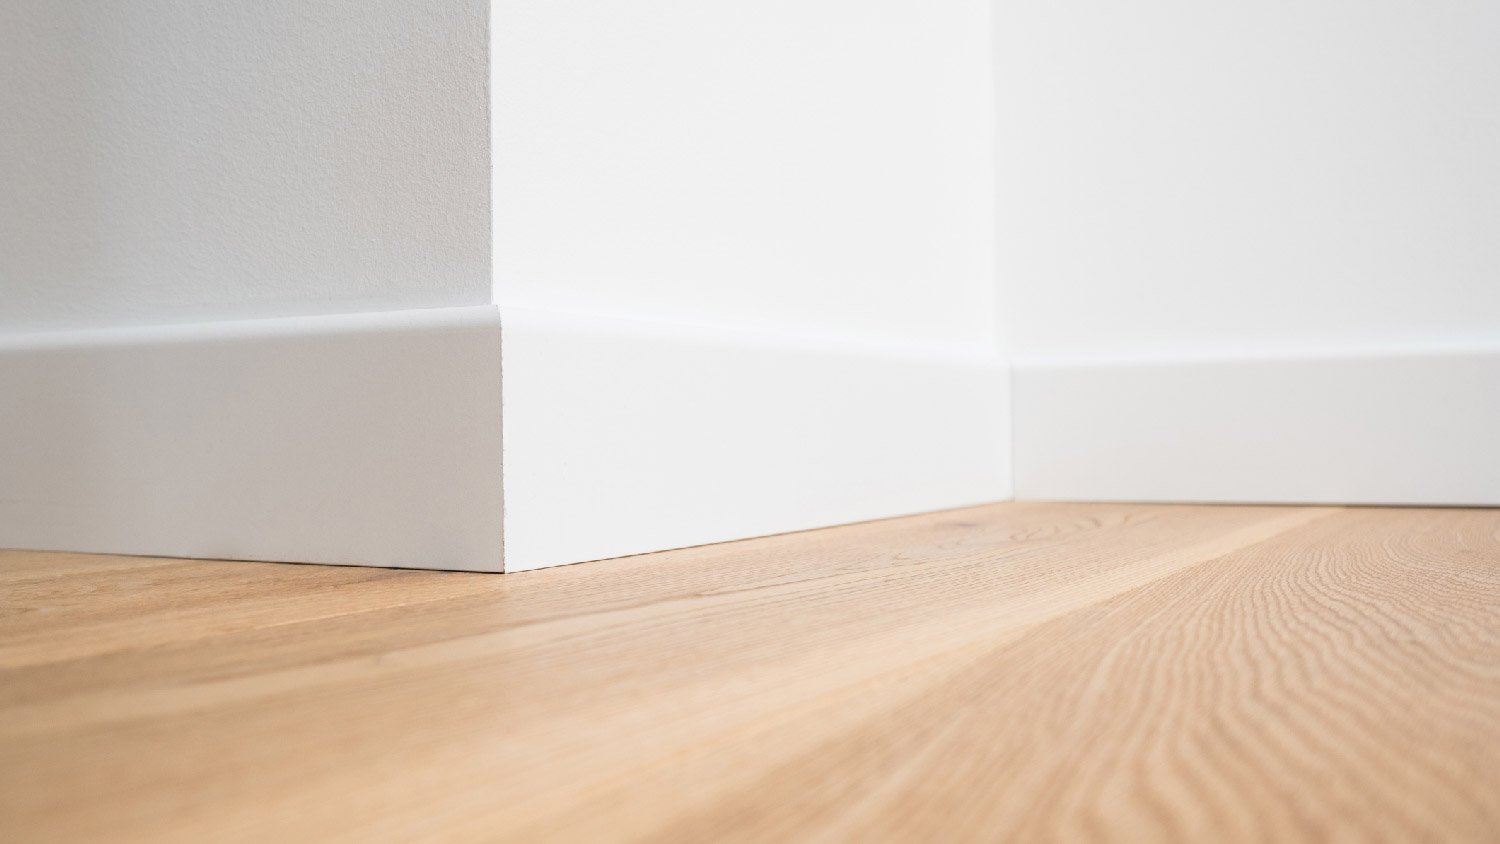
Baseboard holes are no small blemish. They're easily visible in a room. Learn how to fill nail holes in baseboards to keep walls clean and smooth.
Learning how to cut baseboards for perfect corners in a DIY project requires precise measurements of the wall angles and a little math.